
How to Create a Project from an Awarded Bid
If you are awarded a bid by a client, you can convert it directly into a project in Construction without re-entering its data from scratch. The System automatically transfers the bid’s client, cost sheets, and quotations to the new project. This article explains the steps for completing this conversion.
Steps to Create a Project from an Awarded Bid
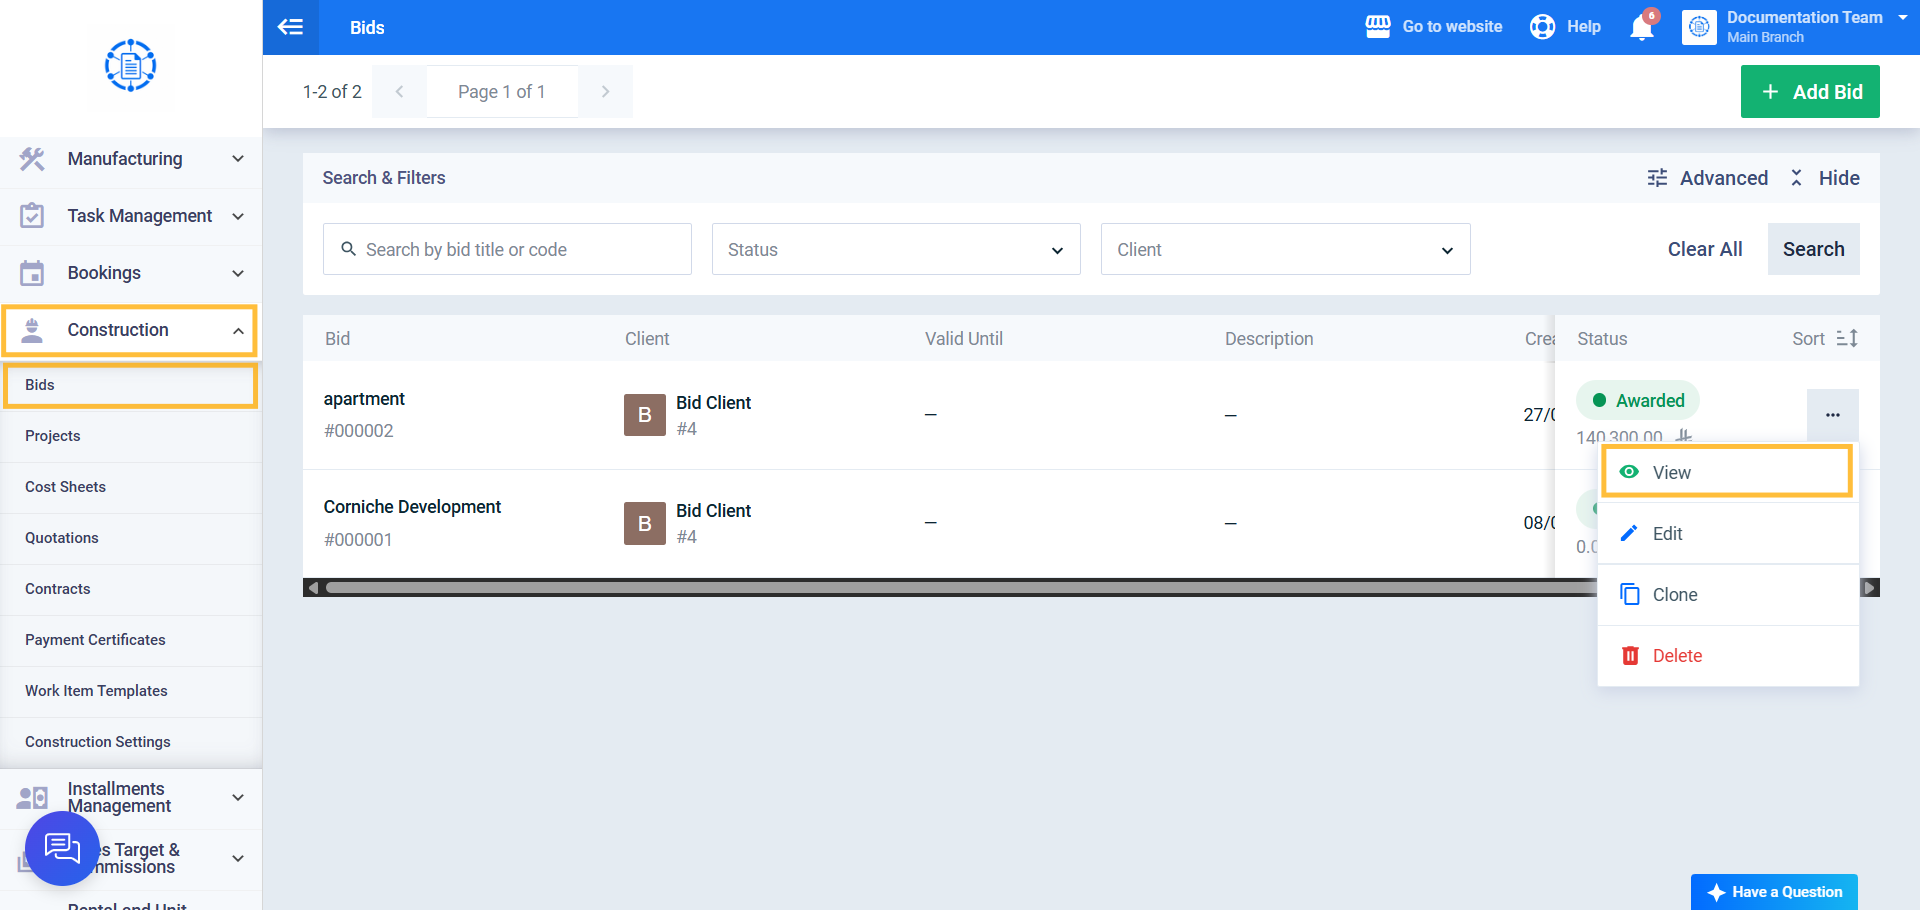
Step 1: Open the Awarded Bid
From the main menu, click Construction, then Bids. From the actions icon, click View next to the bid that was awarded to the client and has not yet been converted into a project.
Step 2: Click Convert to Project
From the main actions bar at the top of the bid view screen, click Convert to Project.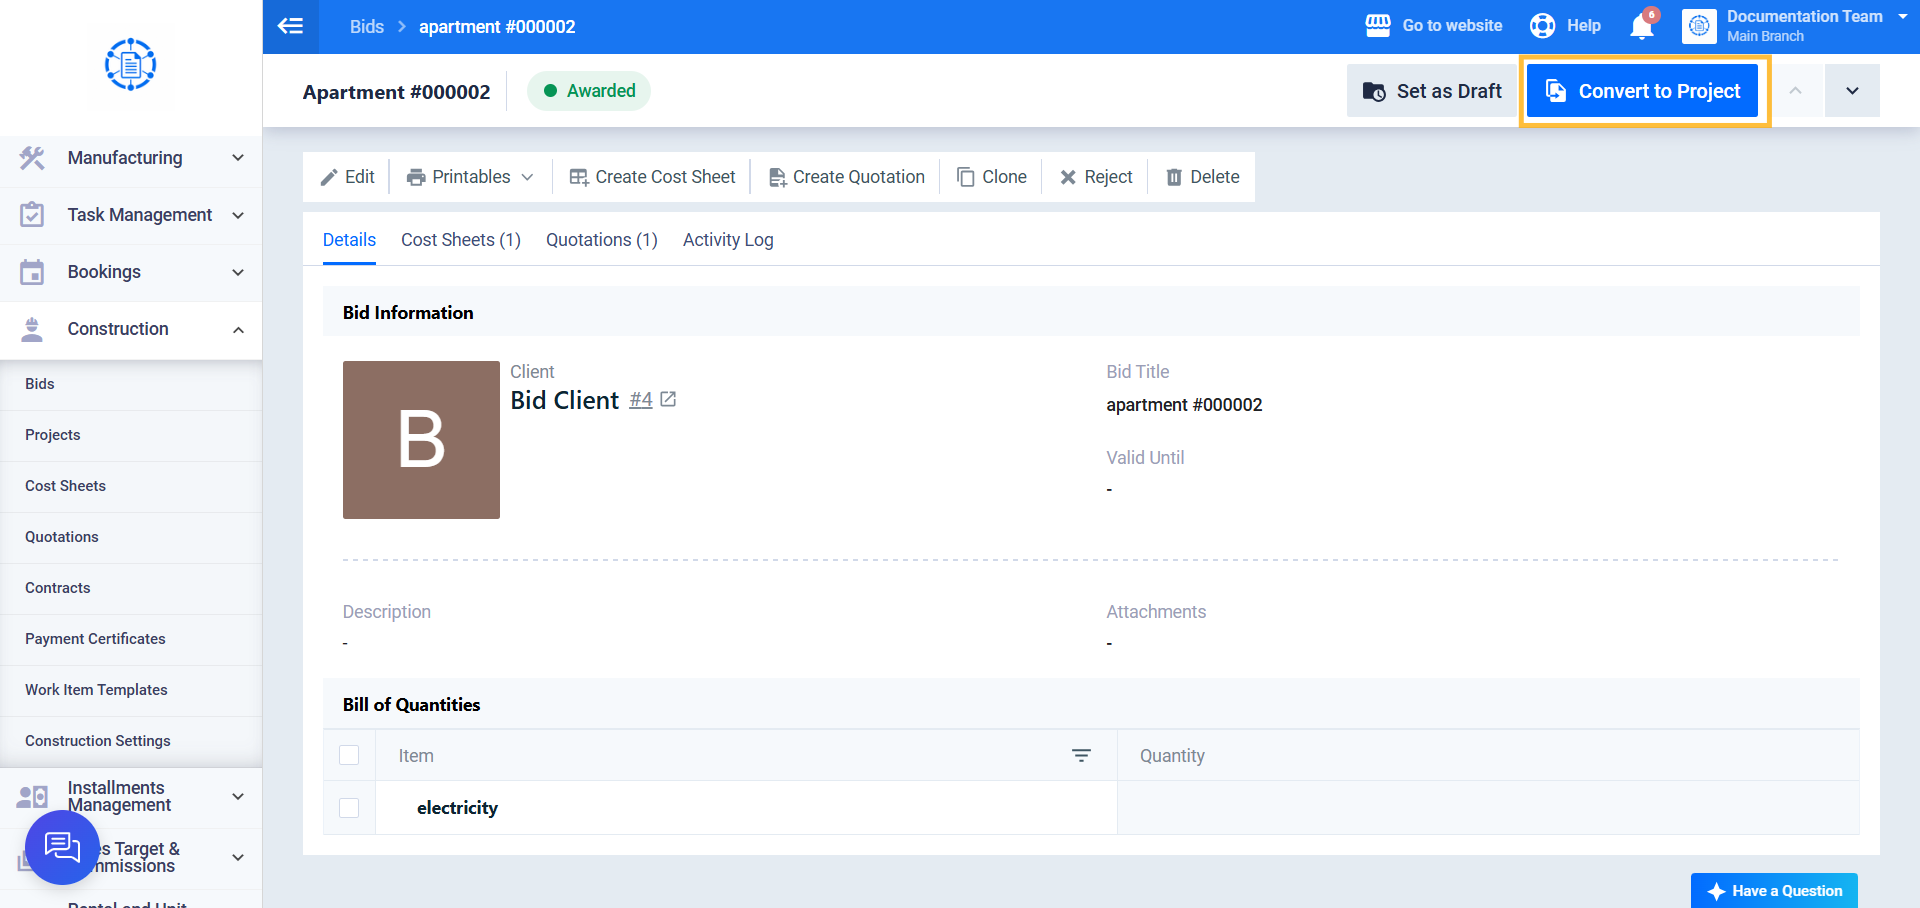
Step 3: Review the Automatically Populated Data
You will be redirected directly to the Add Project form. The Bid field will already be populated with the bid you came from, and the Client field will already be populated with the client of that bid. The client cannot be edited in this case.
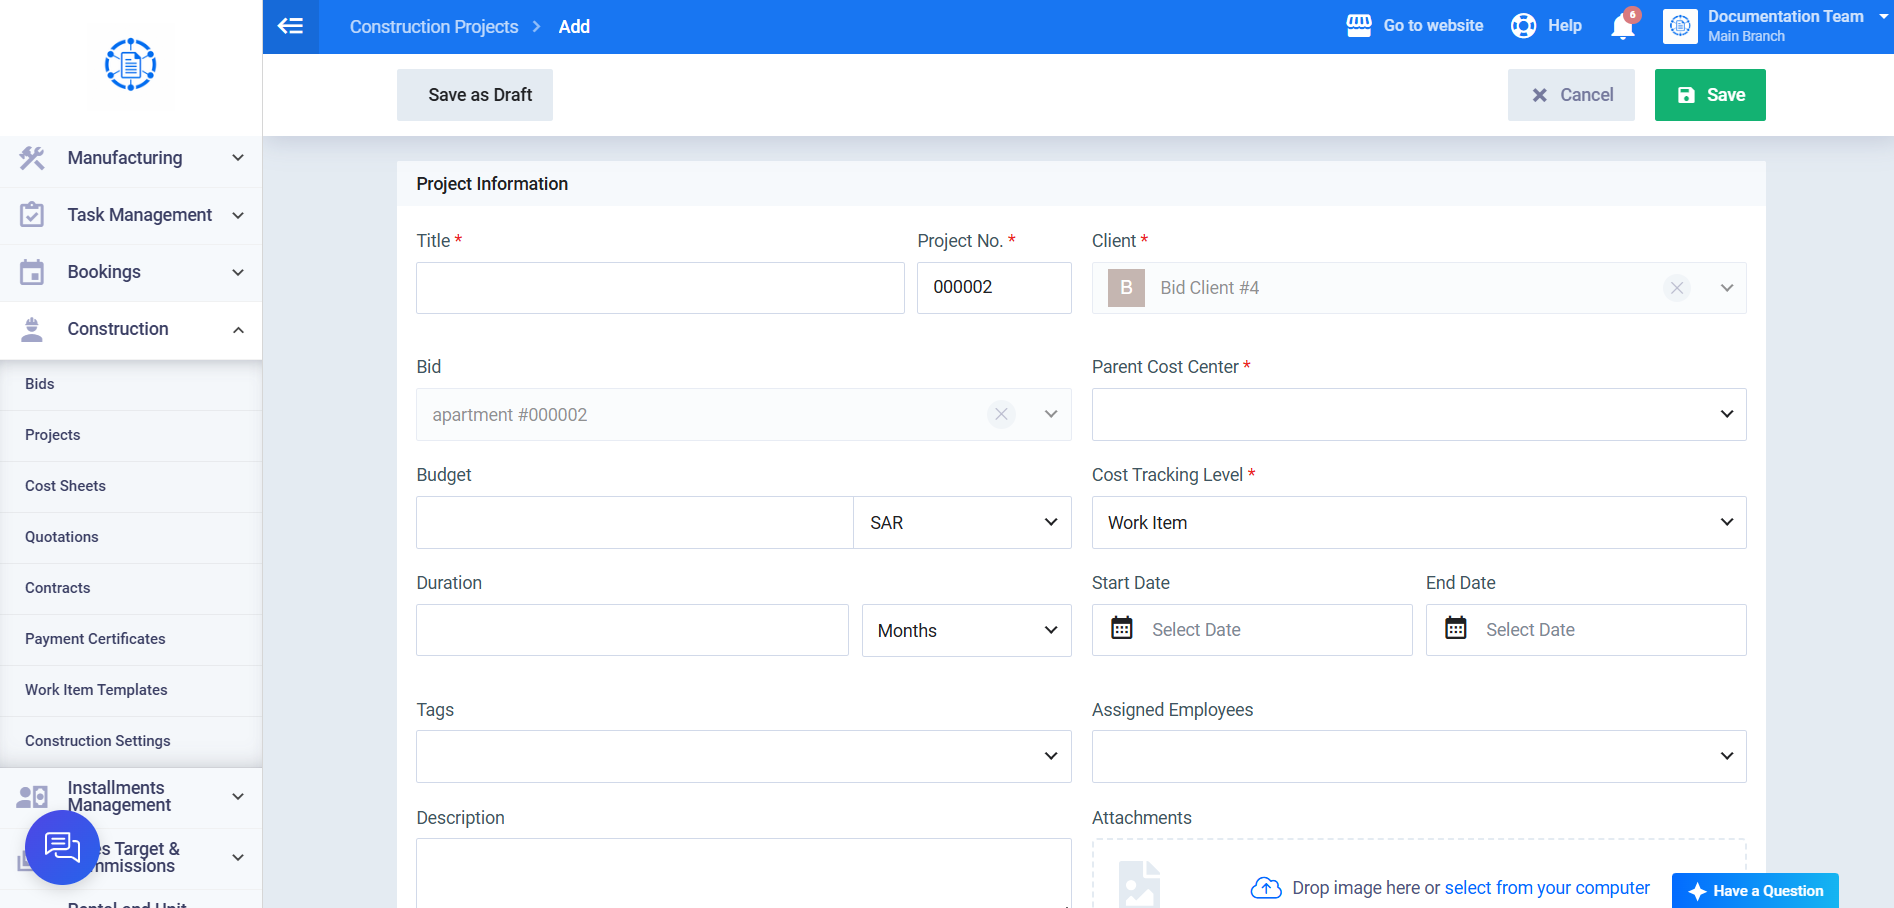
Step 4: Complete the Remaining Project Data
Enter the project Title, select the Parent Cost Center and Cost Tracking Level, and complete the remaining optional fields (Budget, Duration, dates, Tags, Assigned Employee, Description, and Attachment) as needed.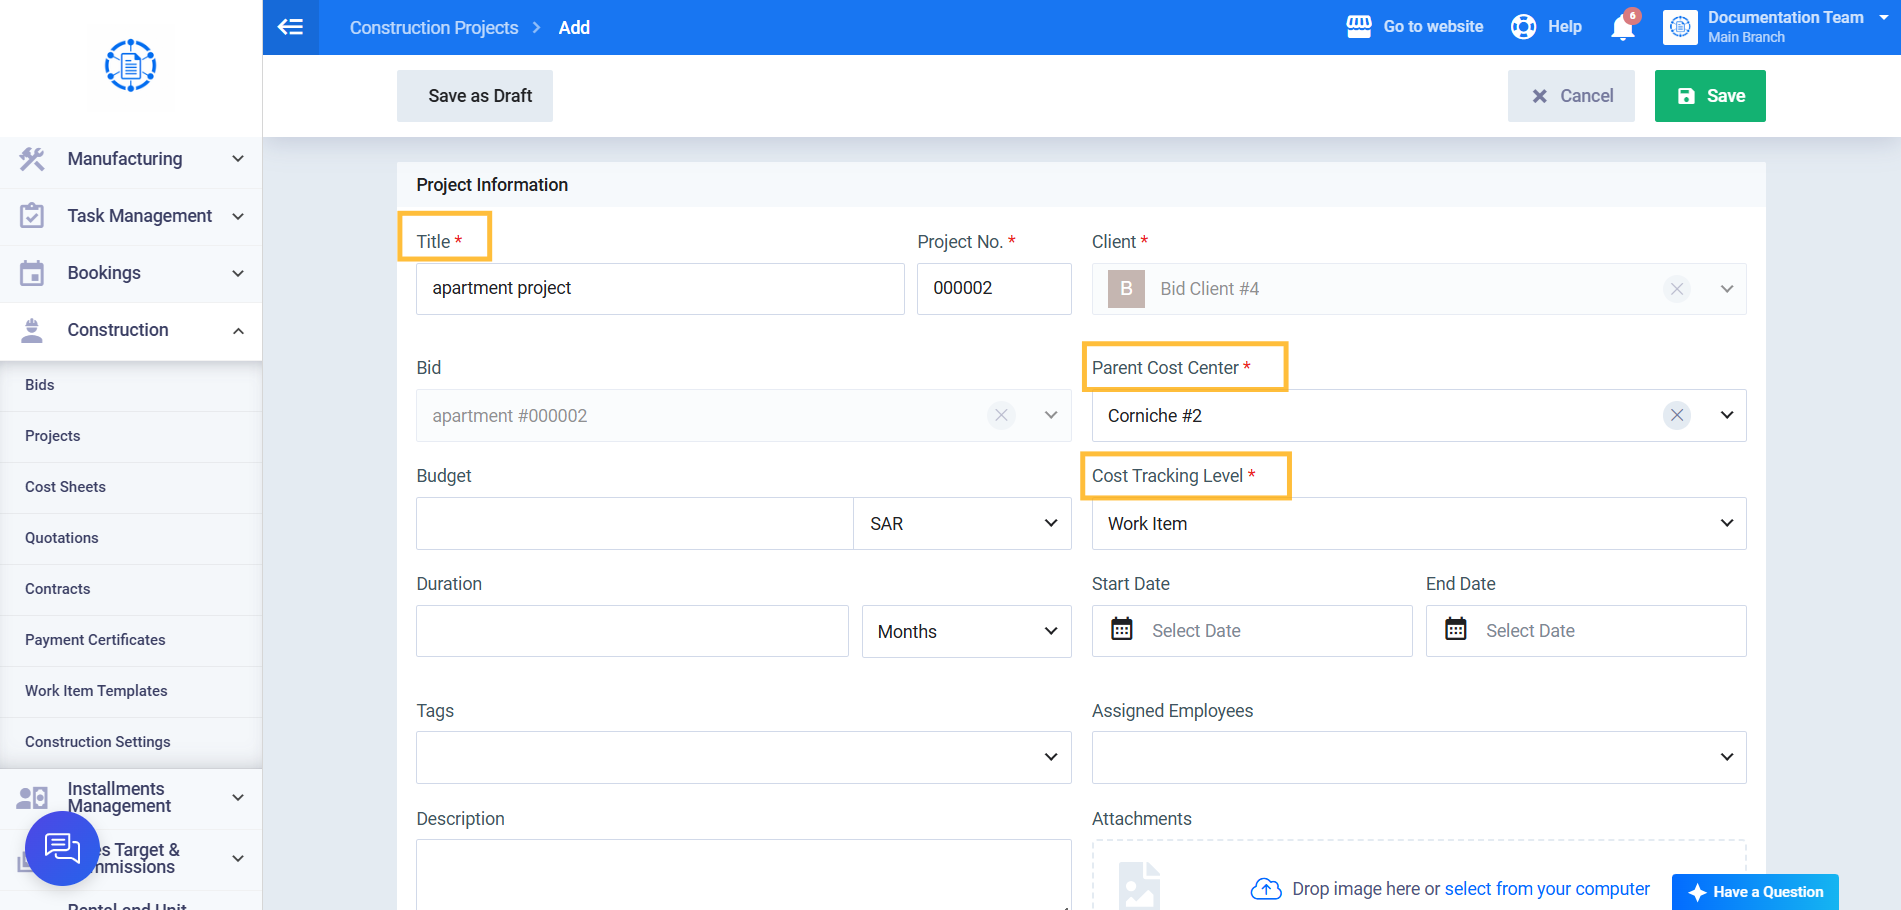
Step 5: Save the Project
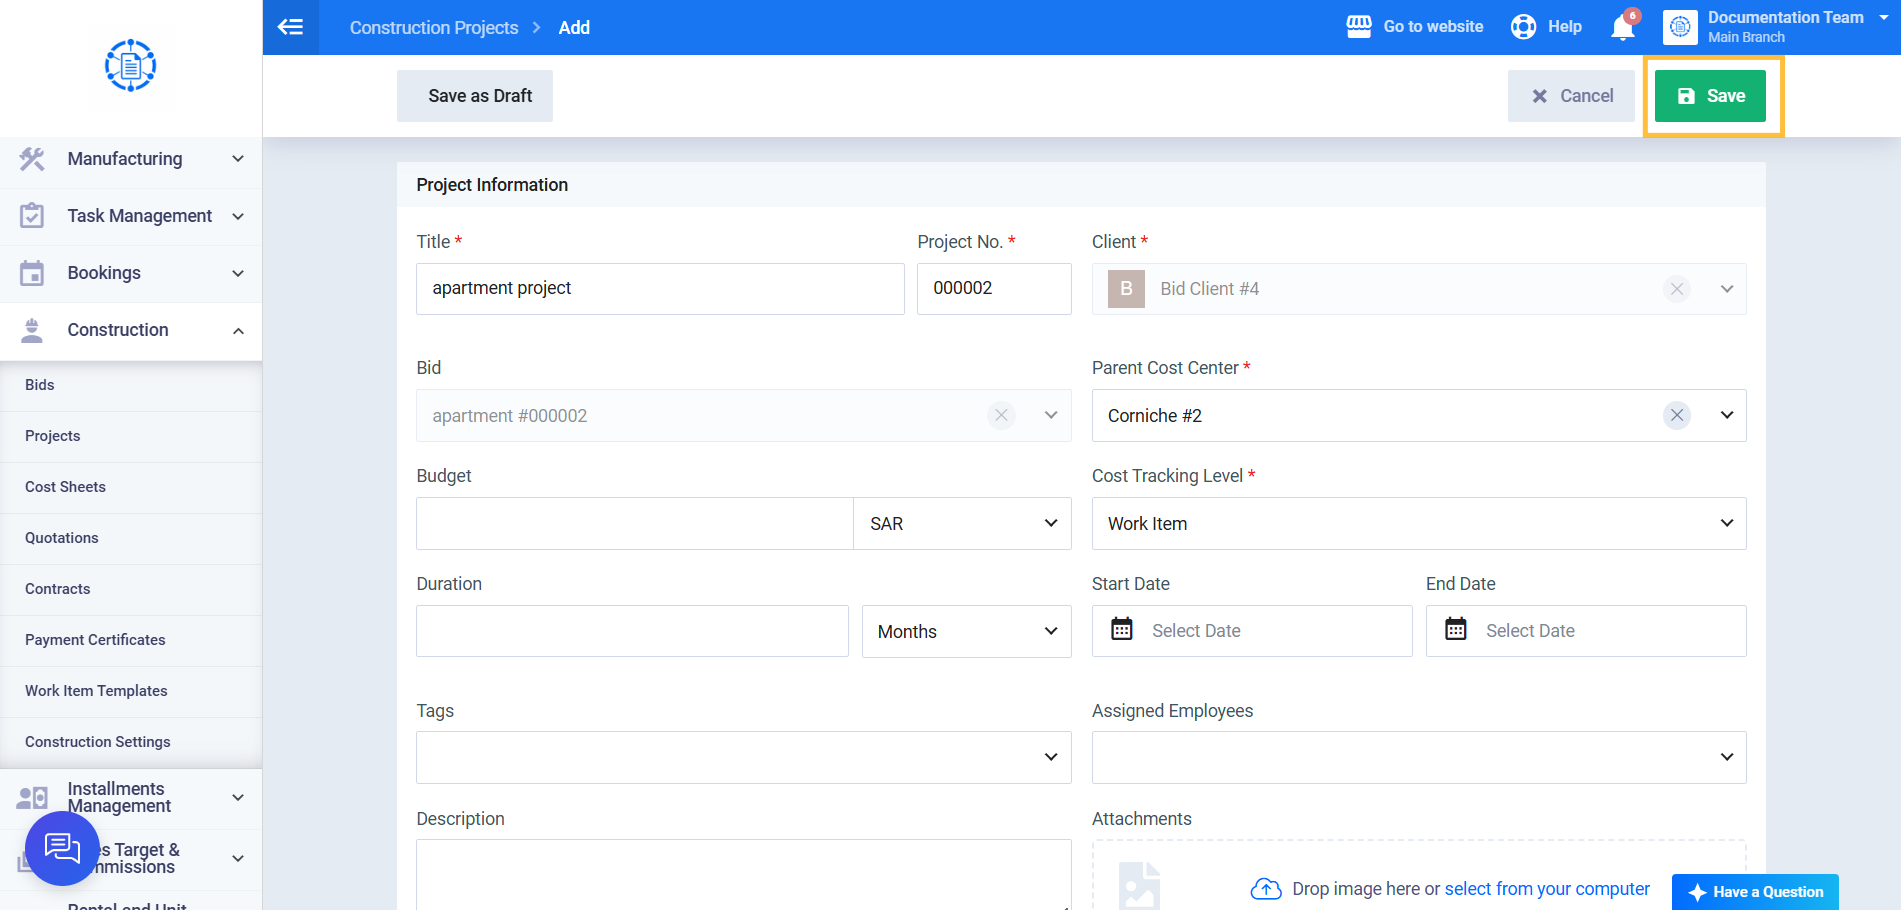
Click Save to create the project with “New” status, or Save as Draft to save it as a draft. You will be automatically redirected to the new project view screen after saving.
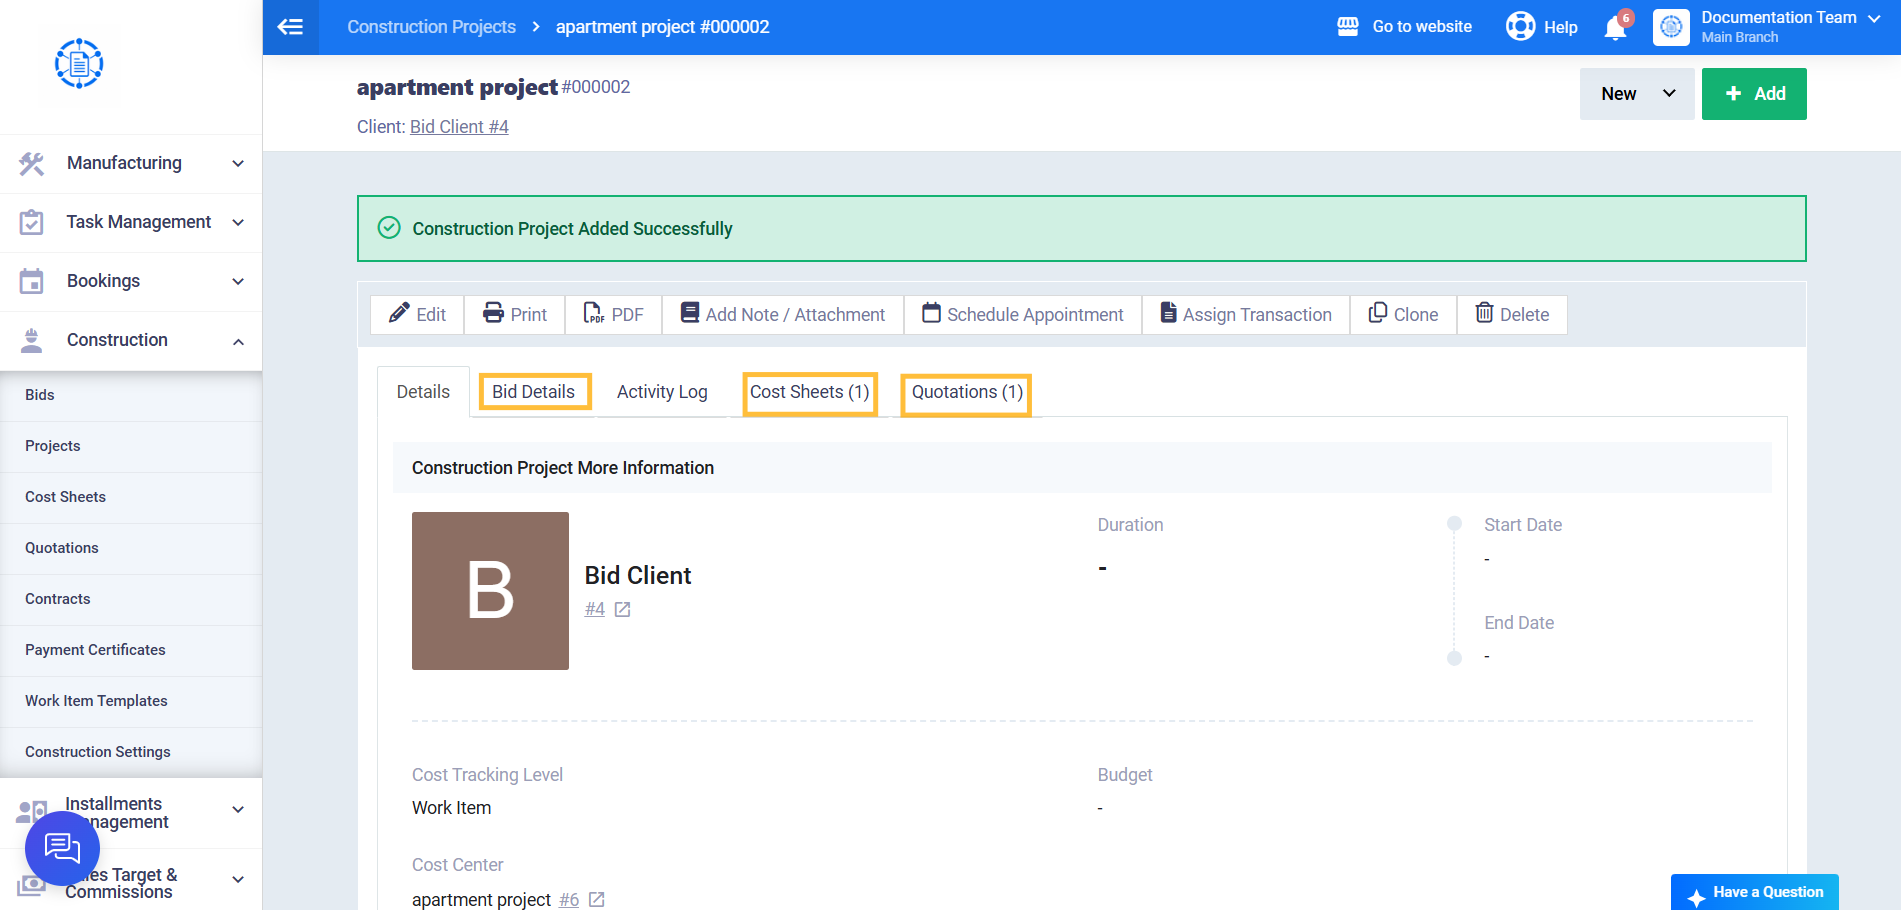
Step 6: Verify That the Bid Data Has Been Transferred to the Project
From the project view screen, you will find:
- Bid Details tab, which displays the original bid data.
- Cost Sheets tab, which contains all cost sheets that were linked to the bid.
- Quotations tab, which contains all quotations that were linked to the bid.