


Statuses and Actions of the Workflow Type
You can easily distinguish documents of the workflow by adding different states, which are also used in the search and filtering process.
As for the actions, they are associated with the appointments that you add for the client on the workflow document.
What is the Difference between Actions and Statuses?
- The status is distinguished by color and controlled in terms of activity; you can use it for searching and filtering
- As for the action, it is associated with the appointments that you add to one of the documents of this type of workflow
Settings of Statuses and Actions of a Workflow Type
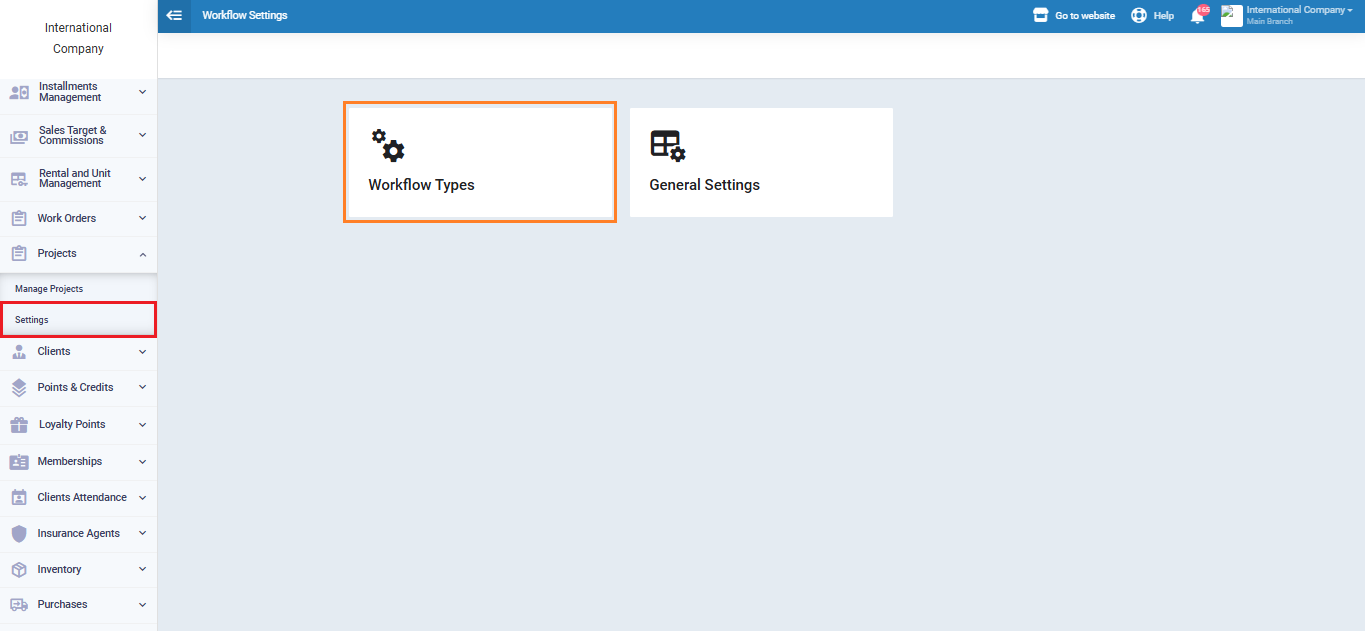
Press on “Settings” dropped down from “Workflows” in the main menu, then press on the card “Workflow Types”.
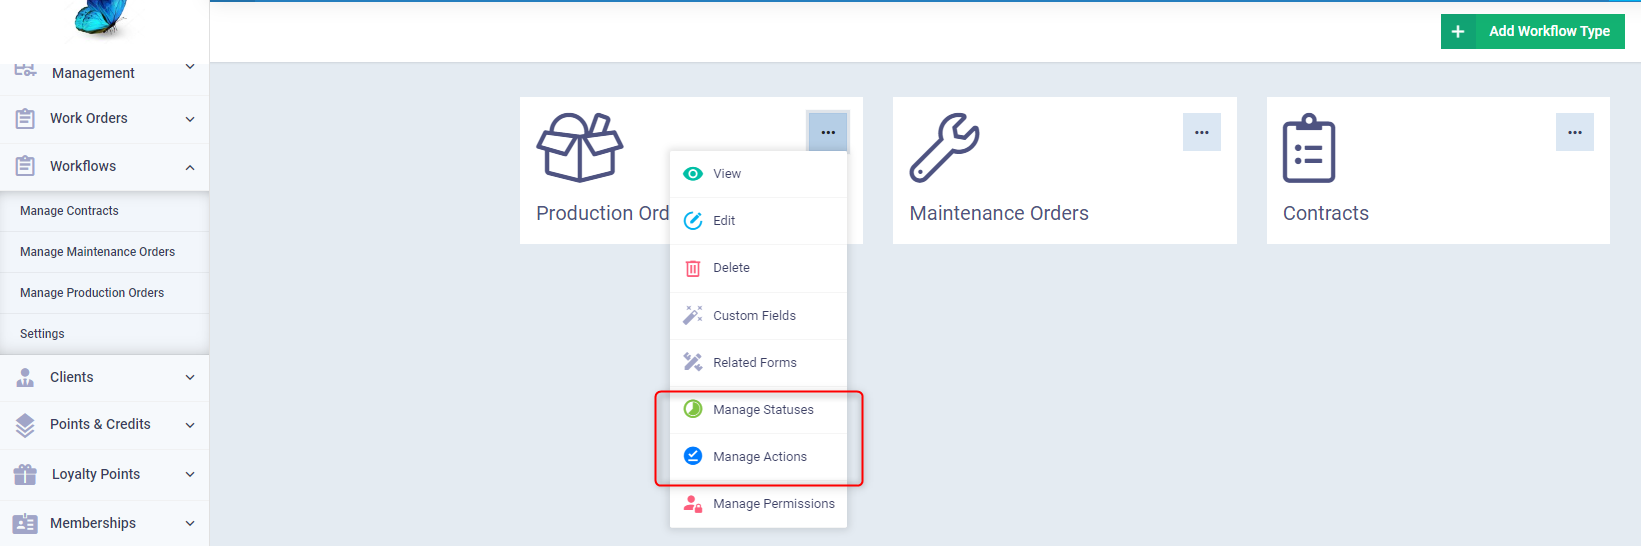
Press on the three dots next to the type of workflow you want to add a status or action to, then press on
“Manage Statuses”
or
“Manage Actions”
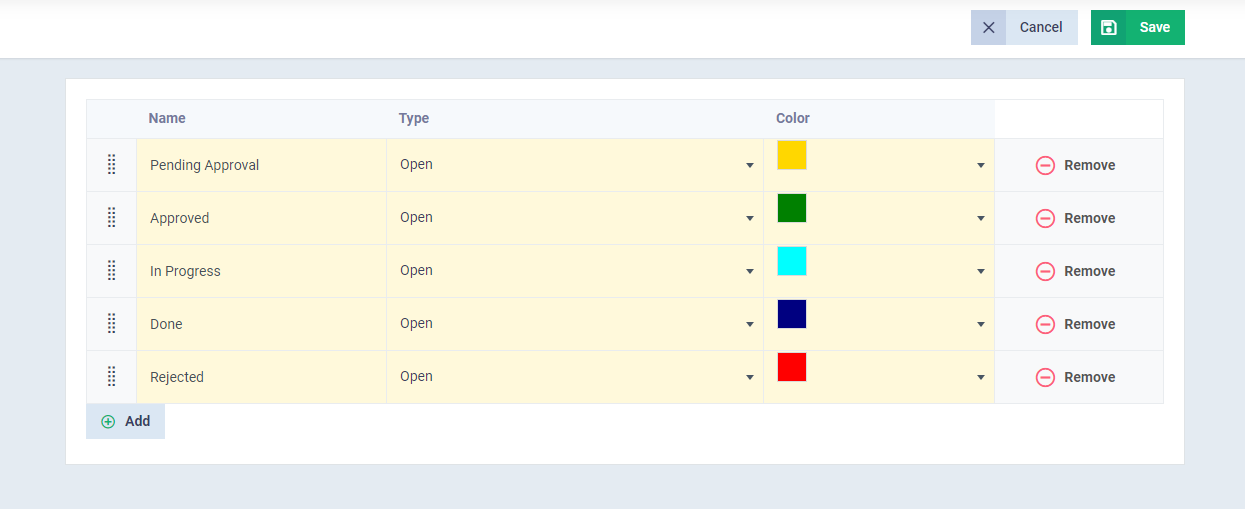
How to Add New Statuses to the Workflow Type
After clicking on “Manage Statuses”, enter the name of the status and choose its type from either “Open” or “Close”, select a color to distinguish each state, and then press the “Save” button.
To create more than one status, click on the “Add” button, and to delete any status, click on “Remove”.
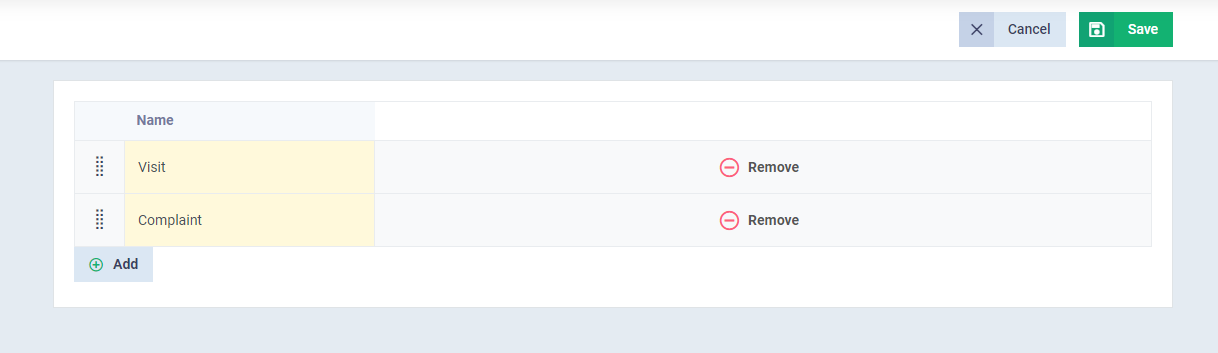
How to Add a New Action to the Workflow Type
After pressing “Manage Actions”
Enter the name of the action you want to add then press the “Save” button.
To create more than one action, press the “Add” button, and to delete any action, press “Remove”
Assigning a Status to the Workflow Document
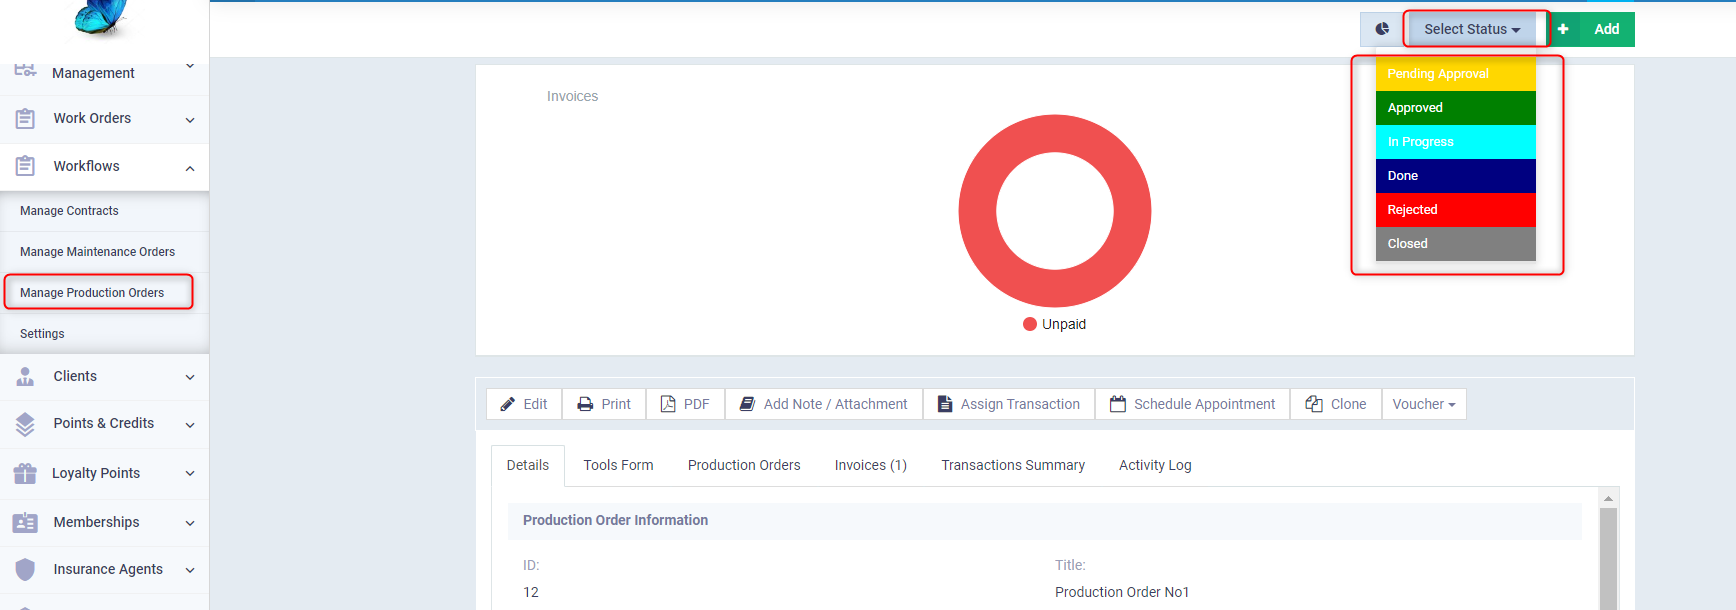
Press on the type of workflow you want to add a status to one of its documents from the dropdown sidebar under “Workflows” in the main menu, and press on the workflow document you wish to assign a status to, press the “Select Status” button if this is the first status being added for the workflow document, or on the current status of the workflow document if a state has been previously assigned to it, and choose the status from the dropdown list to automatically update the workflow status.
Assigning an Action to the Workflow Document's Appointment
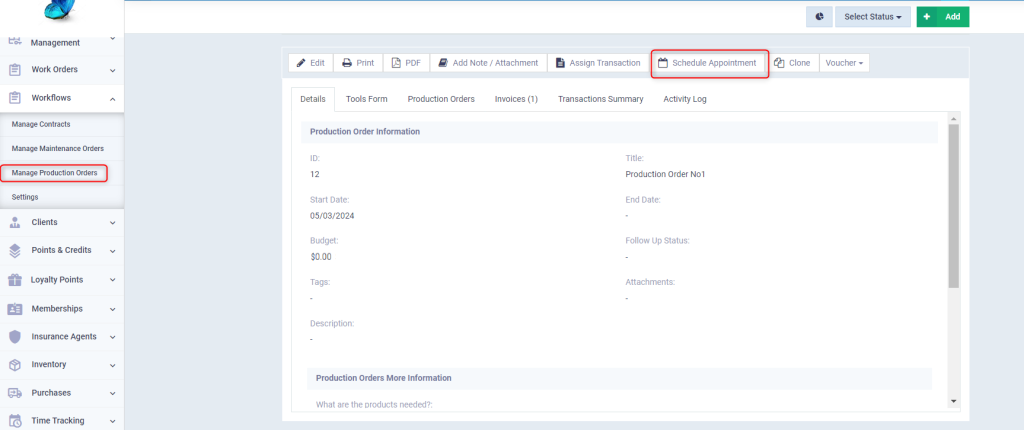
Click on the workflow type you want to add a status to one of its documents from the dropdown sidebar under “Workflows” in the main menu, and click on the workflow document you wish to assign a status to, then click on “Schedule Appointment”
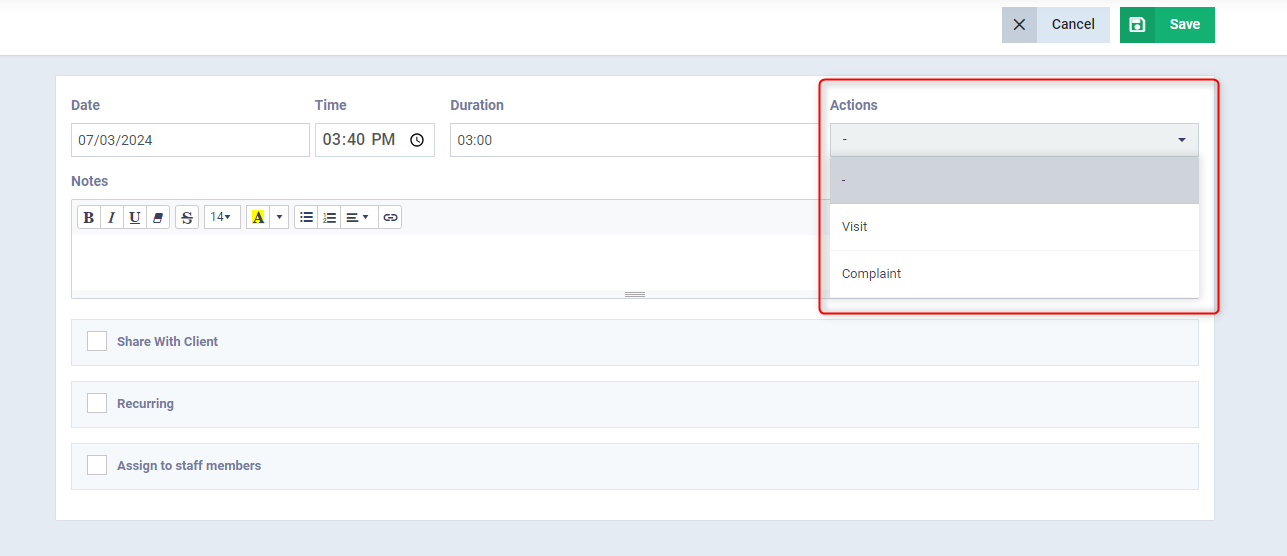
Enter the usual data for the appointment and select the action you want to schedule the appointment for from the dropdown menu.
Searching and Filtering using the Statuses
Click on the workflow type you want to add a status to one of its documents from the dropdown sidebar under “Workflows” in the main menu.
Go to the search section, click on the status field, choose the state you wish to search for from the dropdown menu, then press the “Search” button to easily track documents of the workflow type with this status.
