


The Related Forms of the Workflow Type
Related forms follow the procedures you can add to a document within a workflow type, to appear in an independent screen where you customize its fields, filled out by the user, and then displayed on the viewing screen alongside detailed data and activity log.
An example would be adding a screen for installment data and placing fields for data such as installment amount, and installment period.
This form can be added to the workflow document you wish to add it to, while it is not obligatory to add it to all documents of the workflow type. Here are the details of adding and using “Related Forms” in this article.
Adding a New Custom Related Form
The related forms consist of a part that includes basic information such as the name of the form, who has access rights to it, and the second part relates to the design of the form where form fields are added, and their properties are controlled. To add a new custom form:
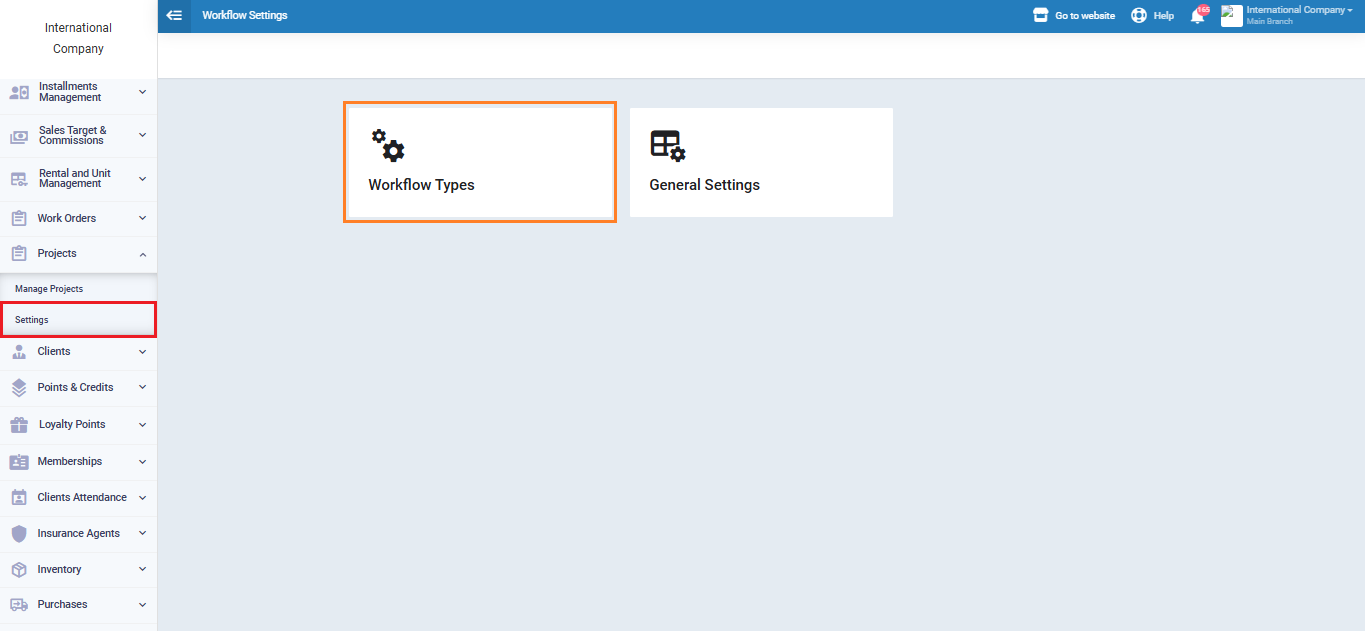
Press on “Settings” dropped down from “Workflows” in the main menu and press on the card “Workflow Types”.
Press on the three dots next to the type of work cycle you want to create a custom template for, then press on “Related Forms”.

Press the “New Custom Form” button.

Enter the custom form information:
- Name: Enter a name for the custom form, preferably descriptive of its purpose.
- Key: Similar to a code that identifies the form, can be a number, or a letter in English.
- Status: Either choose active to enable the use of the form or inactive.
- Description: If there are any details worth including about the custom form and its purpose.

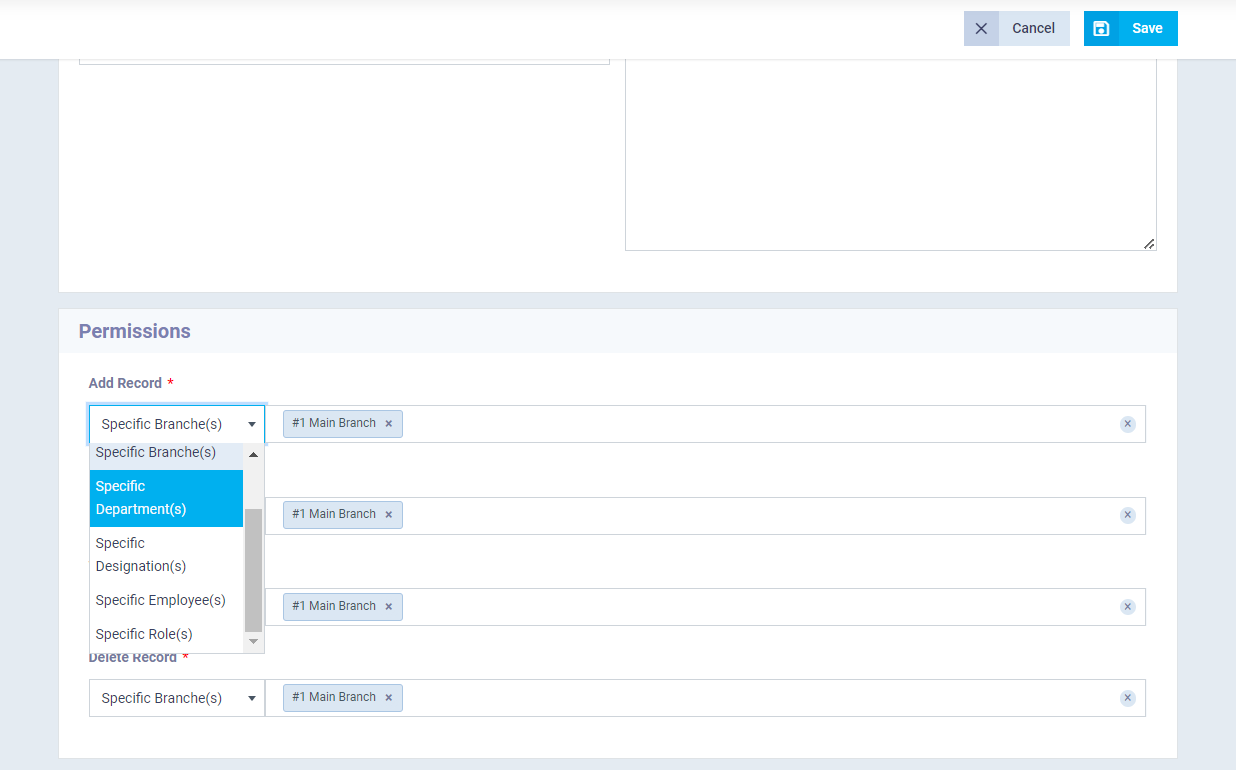
Control the permissions of the custom form:
- Add Record: Choose who can add this custom record. Is it available for a specific branch, department, job title, or just one employee?
- Update Record: Choose who can edit this custom record.
- View record: Choose who can view this custom record.
- Delete record: Choose who can delete this custom record.
Then press the “Save” button.
Designing the Related Form
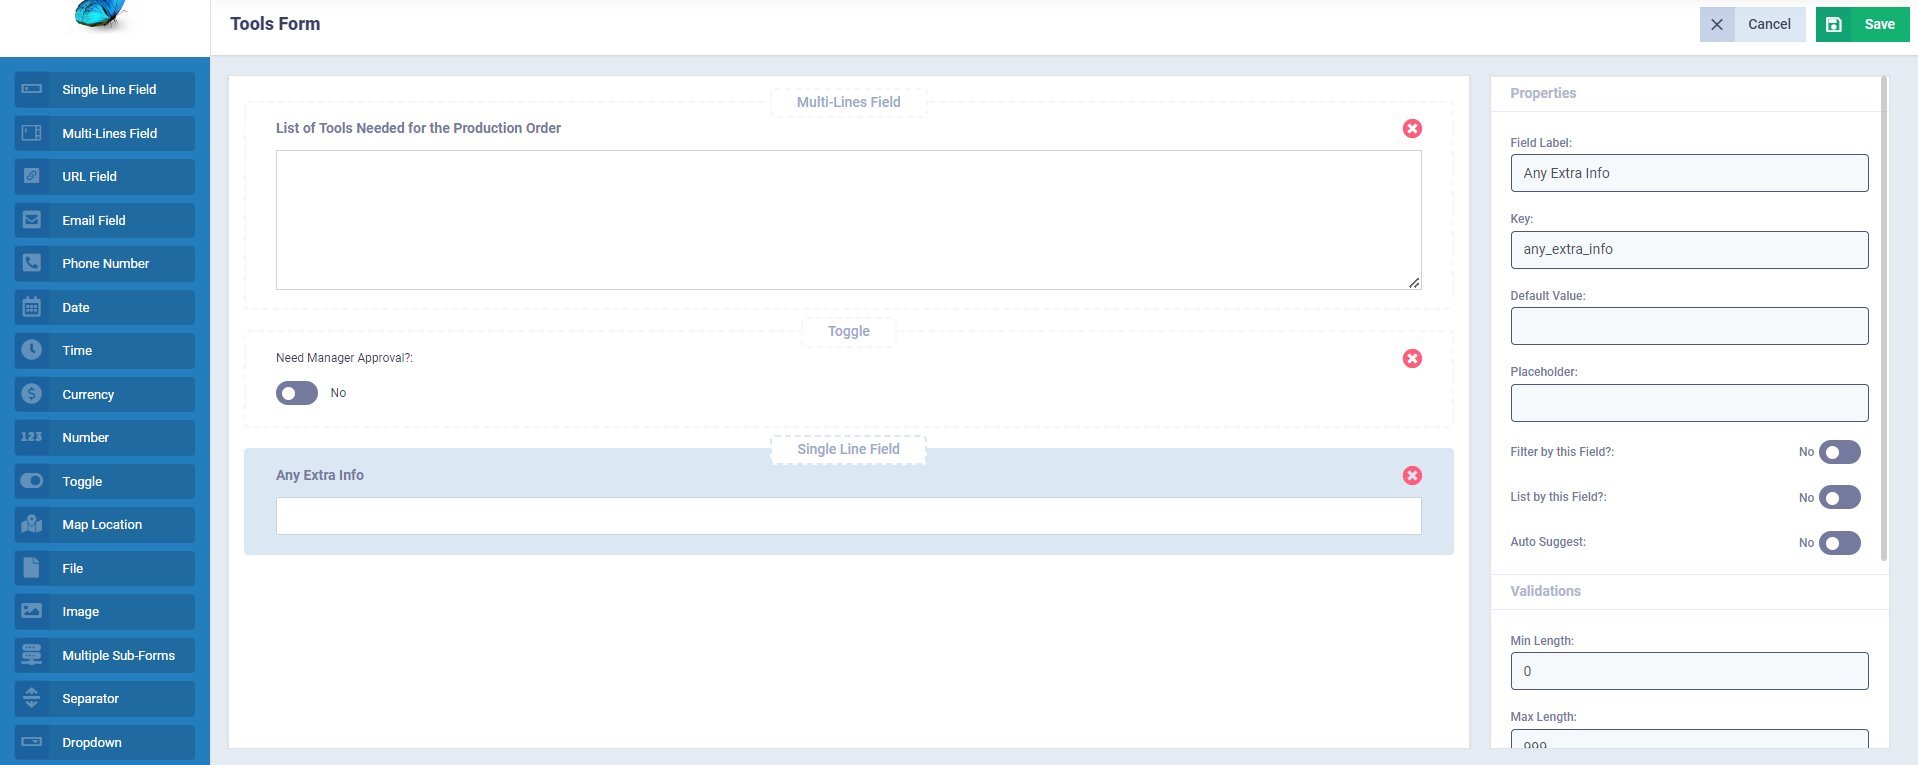
After adding information and permissions for the custom form, you will be directed to the form structure page. Here in the list are fields of different types that allow for the inclusion of various data types in the form. You can add:
- Single or multiple line text statement.
- A dropdown list containing choices.
- Email.
- Date.
- URL.
- Map Location.
And many more types of data.
All you have to do is drag the type of field you want and drop it in the middle, then write the field title, adjust its settings, control its properties, and in the end, press the “Save” button.
Adding a Related Form to the Workflow Document
Press on “Manage Production Orders/your specific workflow type name” dropped down from “Workflows” in the main menu and press on the workflow document you want to add the related form to.
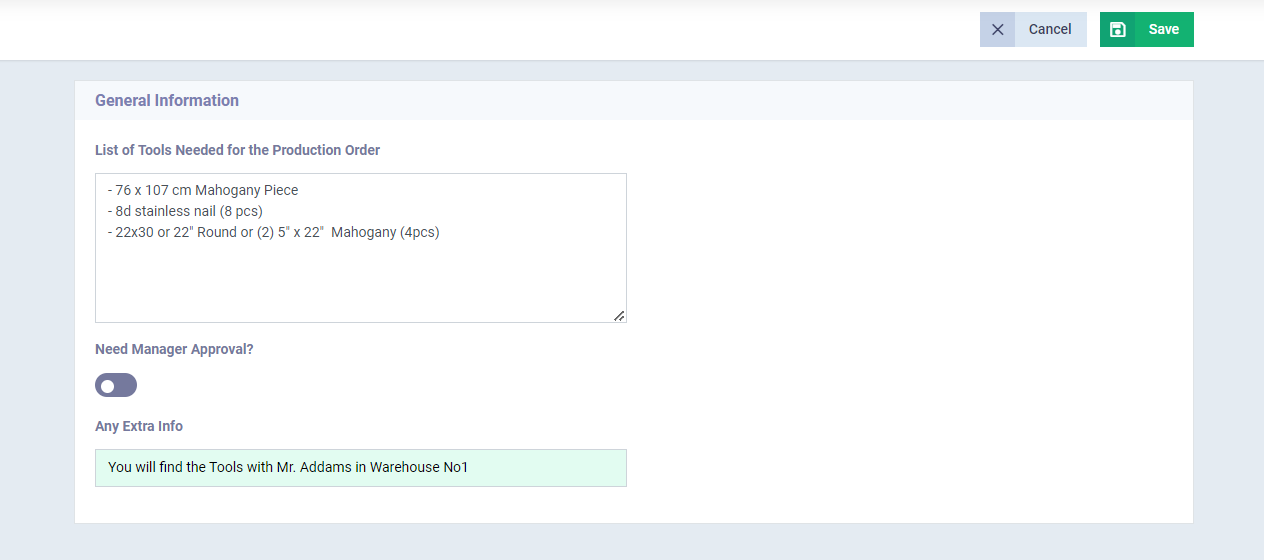
Press the “Add” button and select the related form you want to add to the workflow document from the dropdown list.
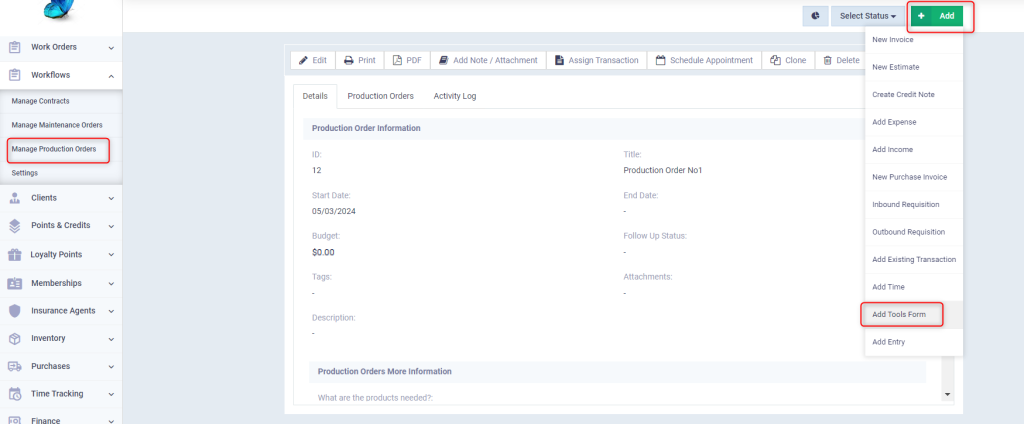
Enter the required information in the form fields then press the “Save” button.
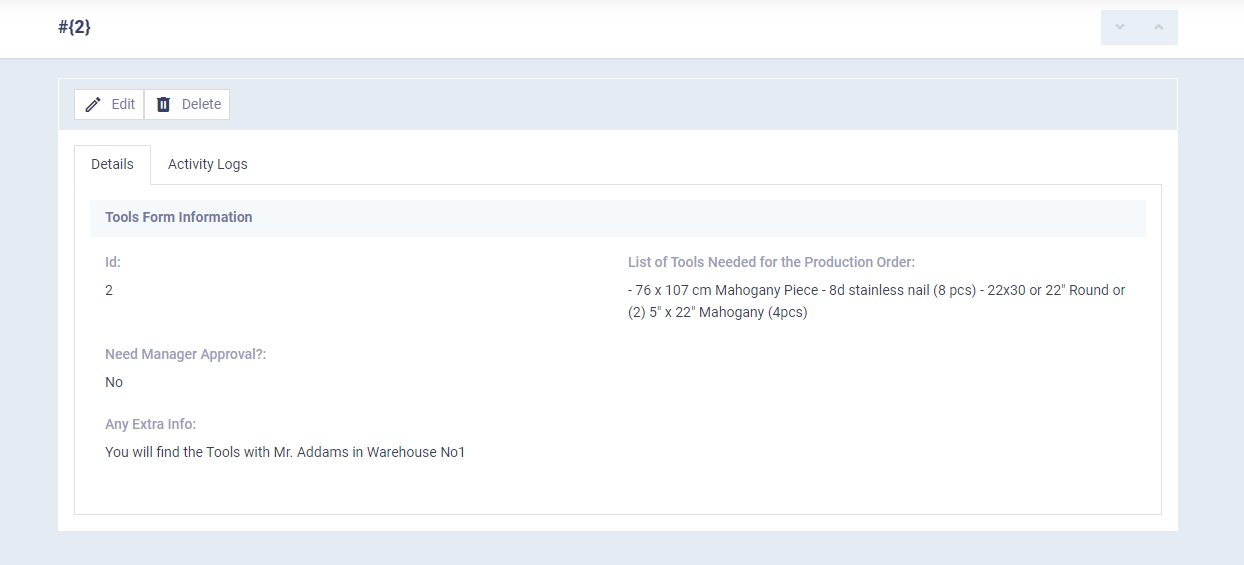
After adding the related form to the workflow document, a tab with the name of the related form appears in the workflow file next to the “Details” tabs.
To take an action on the related form of this workflow document, press the three dots next to it “…” and choose from the dropdown menu:
- View.
- Edit.
- Delete.

The details of the related form information for the workflow document appear when reviewed as follows.
Actions on the Related Forms
To review all the related forms on your system’s workflow type
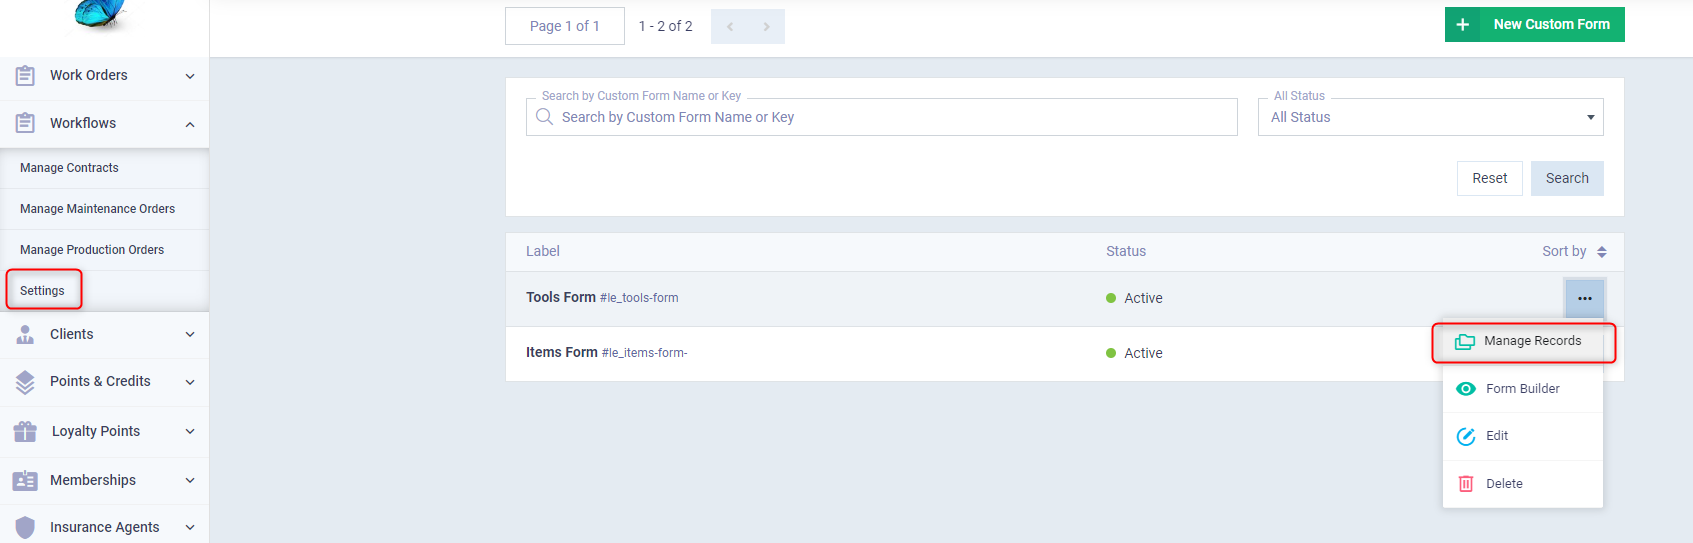
Click on “Settings” dropped down from “Workflows” in the main menu and click on the workflow type you wish to, then click on related forms.
Then click the three dots next to the form name “…” and click on:
- Manage Records: Click it to view all this workflow type’s related forms that you have already added to your workflow documents from this custom form.
- Form Builder: Click it if you want to modify the design of the custom form.
- Edit: To edit the basic information of the custom form such as its name and permissions.
- Delete: To delete the custom form.
After clicking “Manage Records” or on the form itself, all the forms associated with this custom form for the workflow type will appear, allowing you to review their data or perform some actions.
