


A Comprehensive Guide to Time Tracking
Through the time tracking app, you can track the working hours of your employees on a specific project to calculate the total cost for each employee based on their working hours, as well as the overall cost of the project.
Time Tracking Settings
Adding Employees Hourly Rate
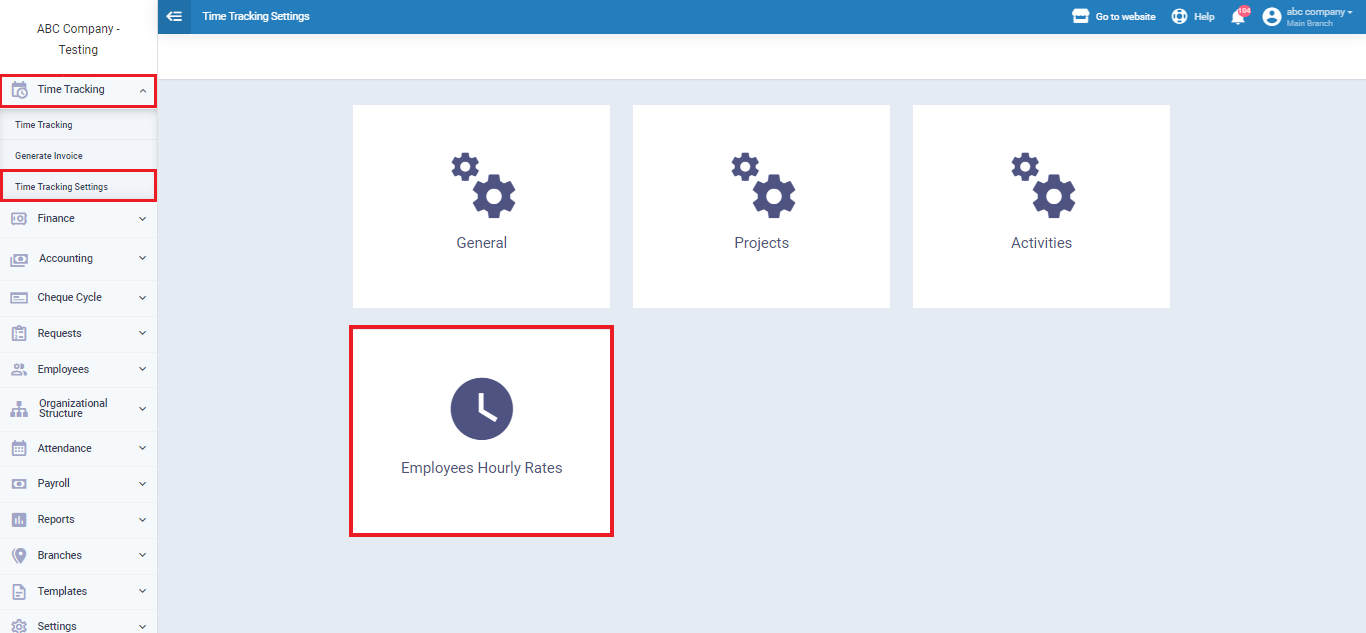
Click on “Time tracking settings” in the dropdown menu of “Time tracking” then choose “Employees Hourly Rate”
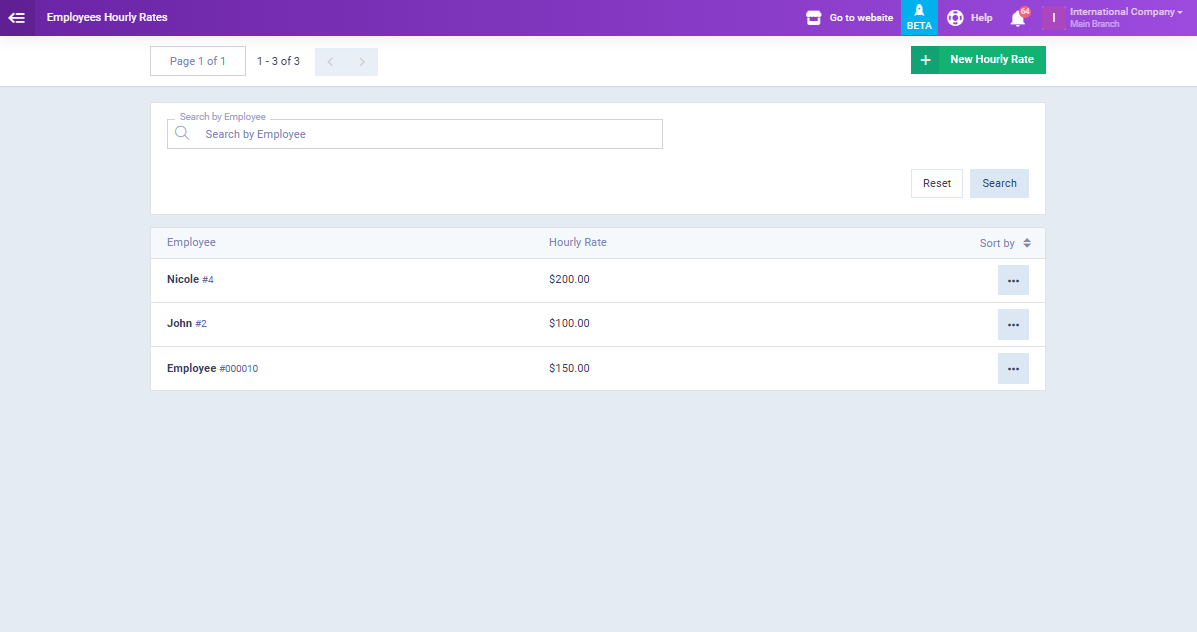
Click on “New Hourly Rate“
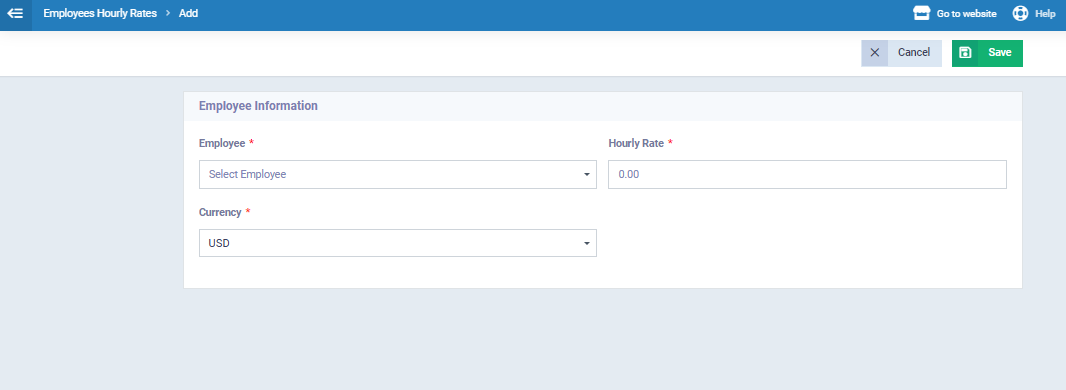
Choose the employee for whom you want to set the hourly rate, select the currency, and enter the hourly rate in this currency for that employee.
Time Tracking General Settings
- Enable the feature ” Calculate entered time records in Expenses report, Profit & loss report, and other financial reports” if you want to display the costs resulting from time tracking in the financial reports on the system.
- First day of the week: Choose from the dropdown menu the first day of your workweek to appear in the time tracking table initially.
![]()
- Admin Hourly Rate: Enter the hourly cost for the admin to be calculated when the admin works on a time-tracked project.
![]()
Controlling Activities
Activities appear when creating time tracking and are used to distinguish your various time-tracking activities. They are also used for searching and filtering, especially when generating time-tracking reports.
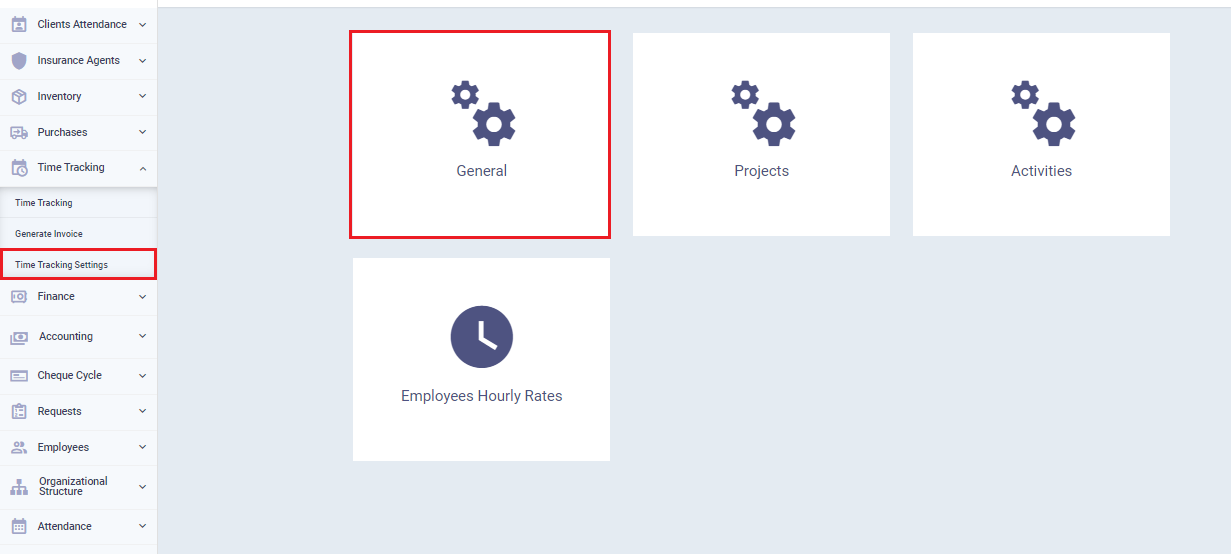
Click on “Time Tracking Settings” from the dropdown menu of “Time Tracking” then choose “Activities”
![]()
Click on “New Activity”
![]()
- Enter the activity name.
- Activate “Active” if you want to use this activity in time tracking records.
- Press the “Submit” button.
![]()
Controlling Projects
Projects appear as activities when creating time tracking and are used to distinguish between different time-tracking projects. They are also used for searching and filtering, especially when generating time-tracking reports. Hourly rates for employees can be customized within them to differentiate them from the automatically set rate in the “Employee Hourly Rate” setting.
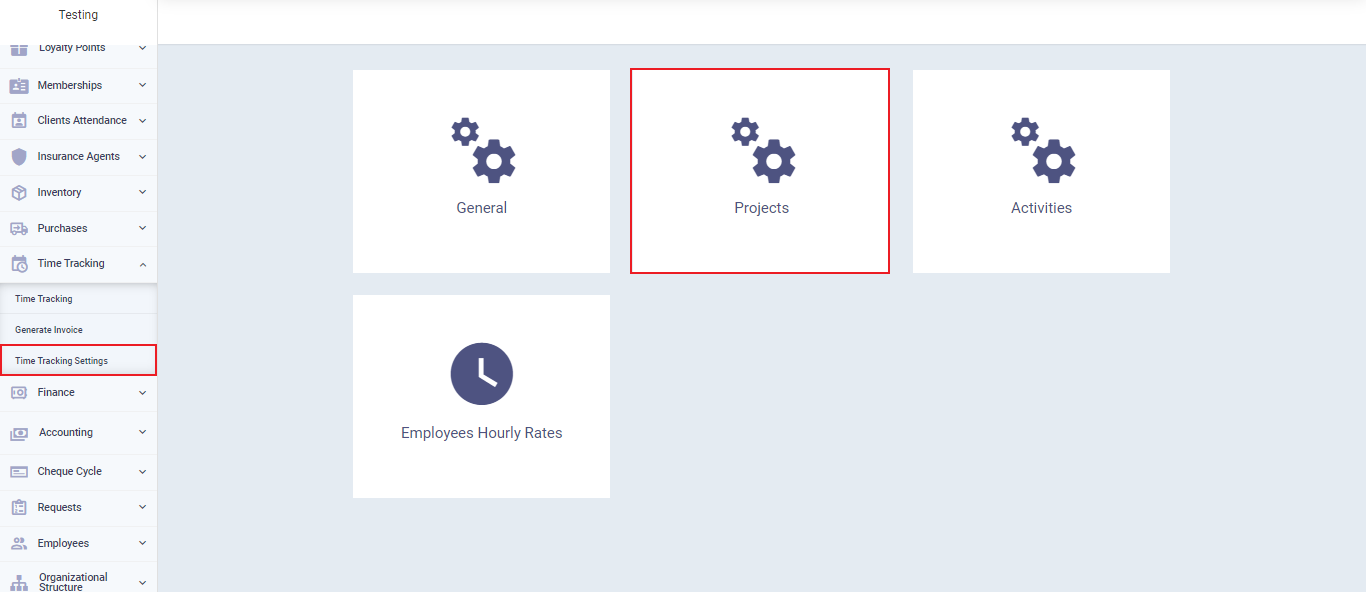
Click on “Time Tracking Settings” from the dropdown menu under “Time Tracking” then choose “Projects”
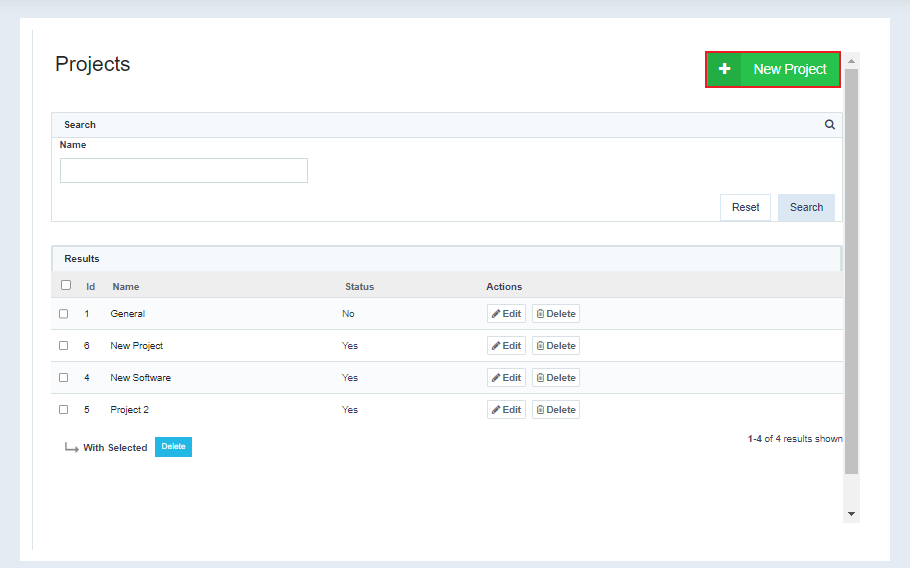
Click on “New Project“
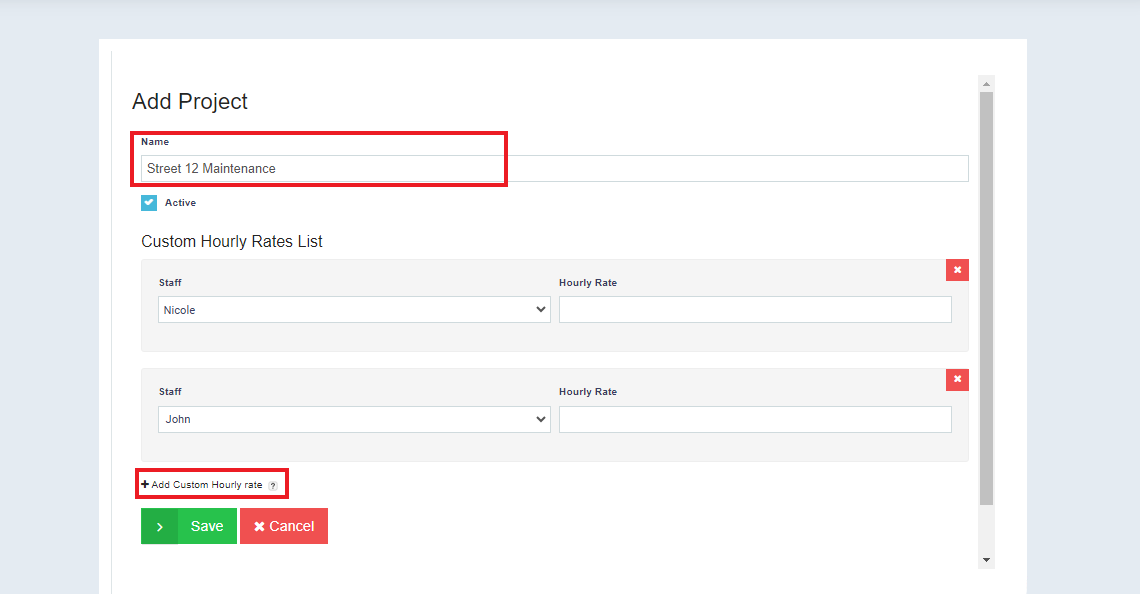
- Enter the project name.
- Activate “Active” if you want to use this project in time tracking records.
- Enter each employee working on this project and specify their hourly rate.
- Press the “Save” button.
Time Tracking Records
- Enter the project name and the activity you want to track.
- Input the employee’s work duration on this project in the “Time” field, let it be 5 if their work period on this project for the day is 5 hours.
- Write down the desired notes.
- Select the employee to track their time from the dropdown menu.
- Then, press the “Add” button.
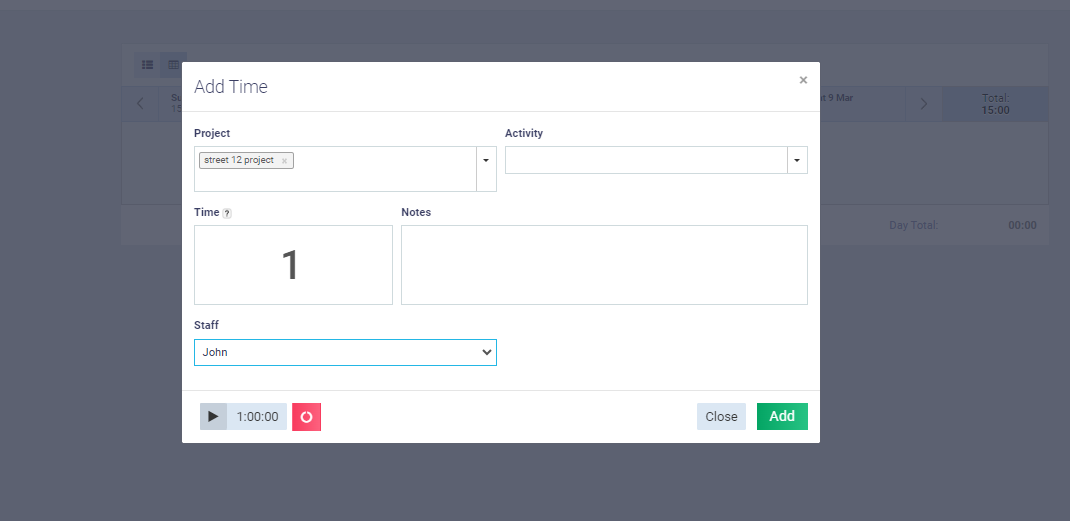
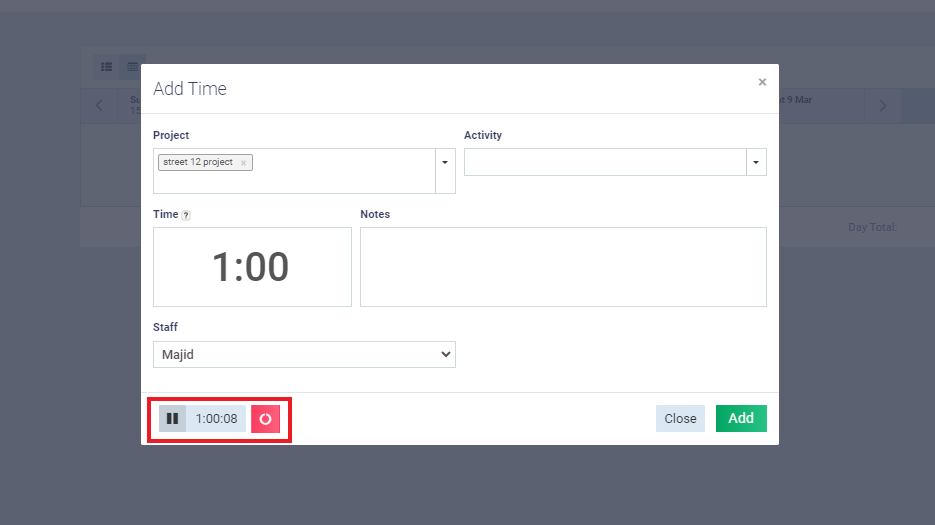
The employee’s work duration can be automatically calculated by activating the time calculator by pressing the ▶️ button when the employee starts working on the project and stopping it when finished.
Time Tracking Invoices
You can create time-tracking invoices for a project, activity, employee, or a specific period by creating the invoice directly or through the pages of a time-tracking report.
Create an Invoice from Time Tracking Records Directly
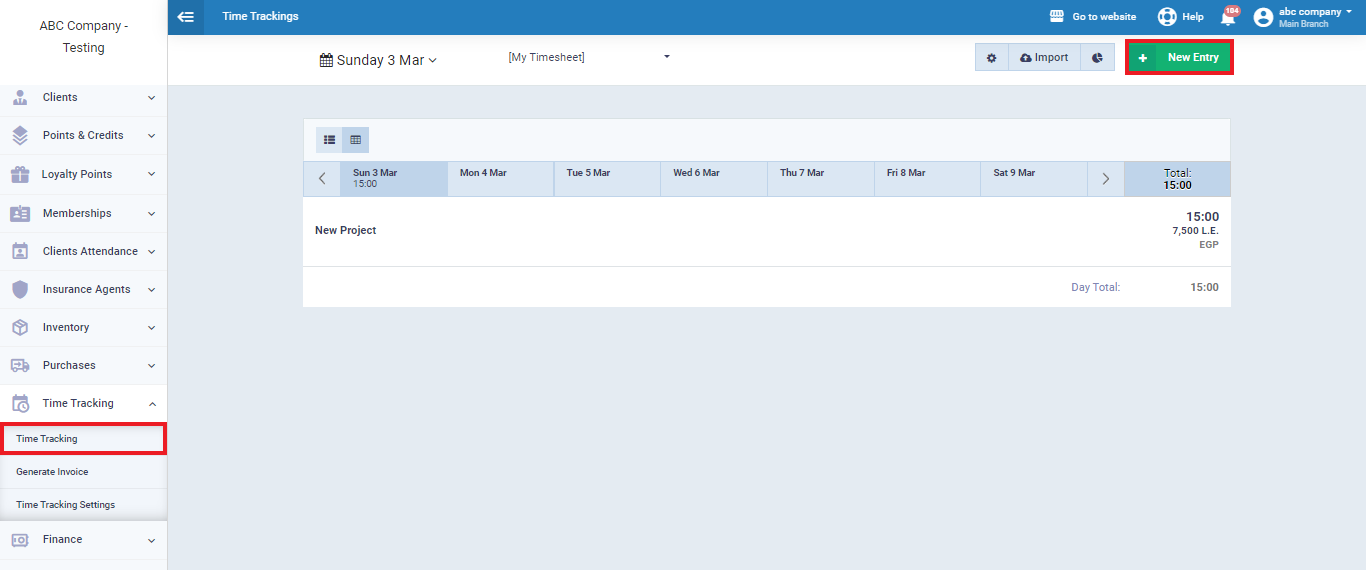
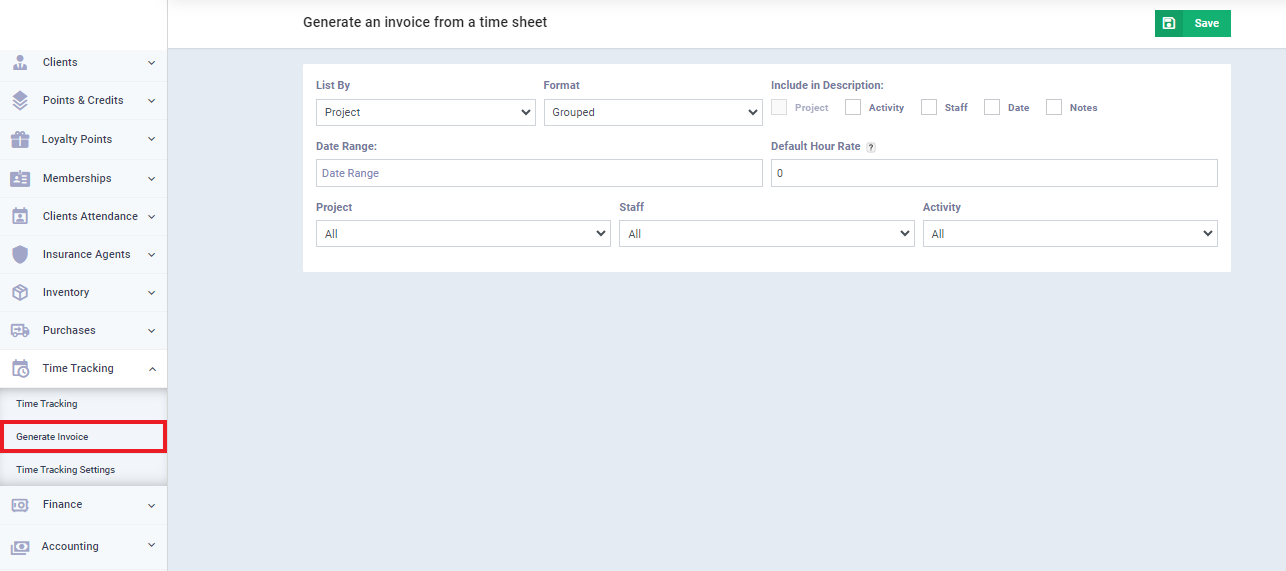
From the main menu click on “Time Tracking“
then choose “Generate Invoice“
Set the filtering data for the items to be included in the invoice as follows:
- List by
Select from the dropdown menu the way you want the data to be displayed in the invoice, such as:
- Project
- Activity
- Staff
- Date
Select from the dropdown menu the invoice format, either grouped or detailed as required.
- Grouped Format:
An invoice is created for one item, and the total number of hours is calculated for all time records that track the same type of display selected from the previous field. (Example: Total number of hours for the same project or the same activity, etc.)
- Detailed Format:
A detailed invoice is created, with each item being one of the time records that track the same type of display selected from the previous field. (Example: Details for each time record related to the same project, or details for each time record related to the same activity, etc.)
- Include in Description:
Click the checkbox next to each option you want to include in the invoice description.
- Date Range:
Select the period for which you want to create an invoice from the following options:
- Last Week
Create an invoice for projects worked on in the last week from the current date.
- Last Month:
Create an invoice for projects worked on in the last month from the current date.
- Month to Date:
Create an invoice for projects worked on from the beginning of the current month until the date of invoice creation.
- Last Year:
Create an invoice for projects worked on in the last year from the current date.
- Year to Date:
Create an invoice for projects worked on from the beginning of the current year until the date of invoice creation.
- Date Range:
Select a start and end date from the calendar for a specific period to create an invoice for projects worked on during that specified period.
- Specific Date:
Select a specific date from the calendar to create an invoice for projects worked on on that date.
- All Dates Before:
Select a specific day from the calendar to create an invoice for all projects worked on in the period preceding that day.
- All Dates After:
Select a specific day from the calendar to create an invoice for all projects worked on in the period following that day.
- Default Hour Rate:
Enter a default hourly rate to be included in the invoice data for services included in it.
- Project
Select the project to be included in the invoice from the dropdown menu.
- Employee:
Select the employee whose projects will be included in the invoice from the dropdown menu.
- Activity
Select the activity to be included in the invoice from the dropdown menu.
- Click on “Save” button
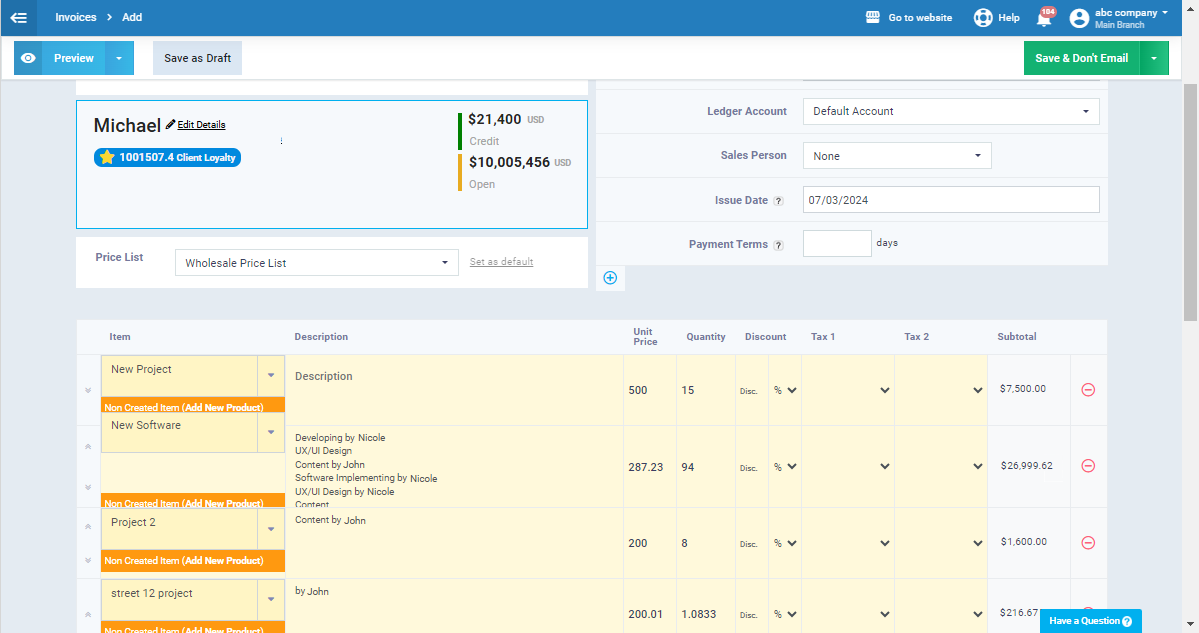
- The system will open a window to create a new invoice, including the data you specified in the previous step.
- Complete the remaining invoice details as required.
Creating a Time Tracking Invoice from Reports
From the main menu click on “Time Tracking” from the dropdown menu of “Time Tracking“
Click on the “◷” symbol next to the “Import” button.
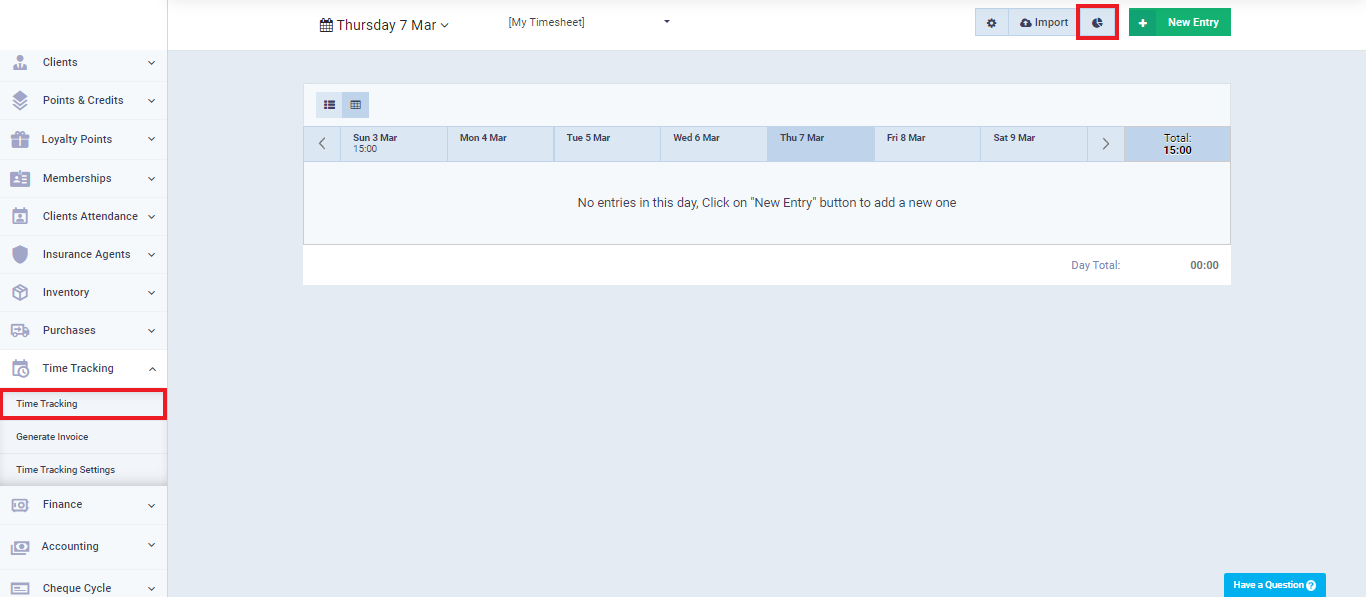
- The system will display reports divided by (employee, project, status) or time duration (daily, weekly, monthly, yearly).
- Click on the report for which you want to create an invoice.
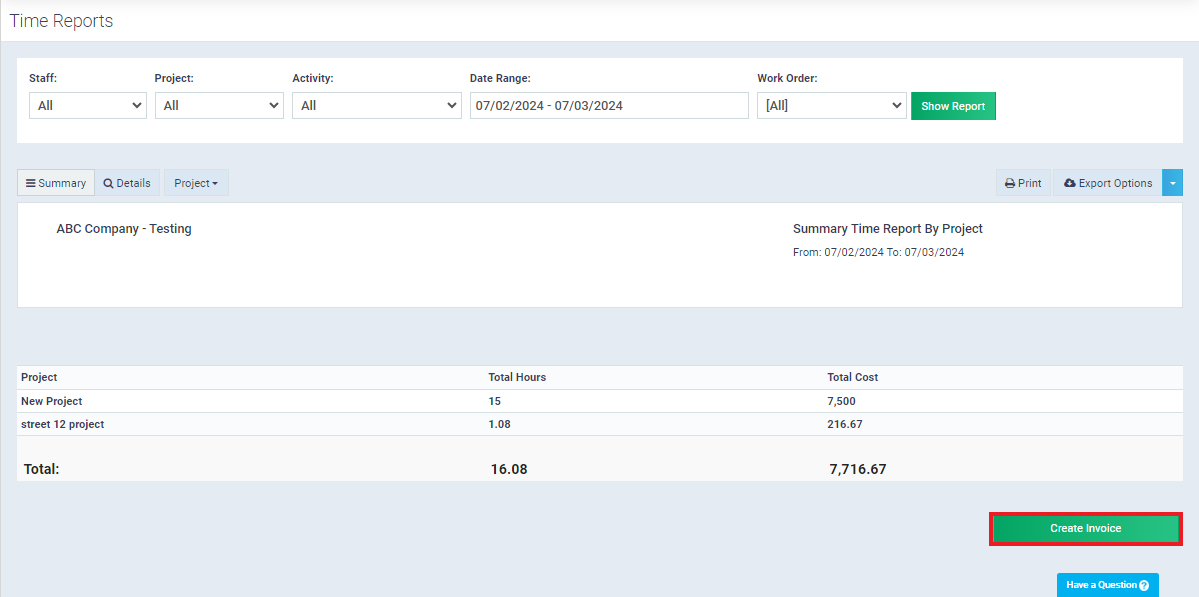
- Scroll down the report and press the “Create Invoice” button.
Follow the same steps for creating an invoice from the time tracking records as explained in this guide, then click on save to complete the invoice details.
