
How to Add and Customize an Order in Restaurant POS
The POS screen allows you to add products to an order and customize each line item individually in terms of quantity, unit, price, and notes, to suit any order regardless of its details. In this article, we explain the steps to build and customize an order in detail.
Steps to Add and Customize an Order in Restaurant POS
Step 1: Search for and Add a Product
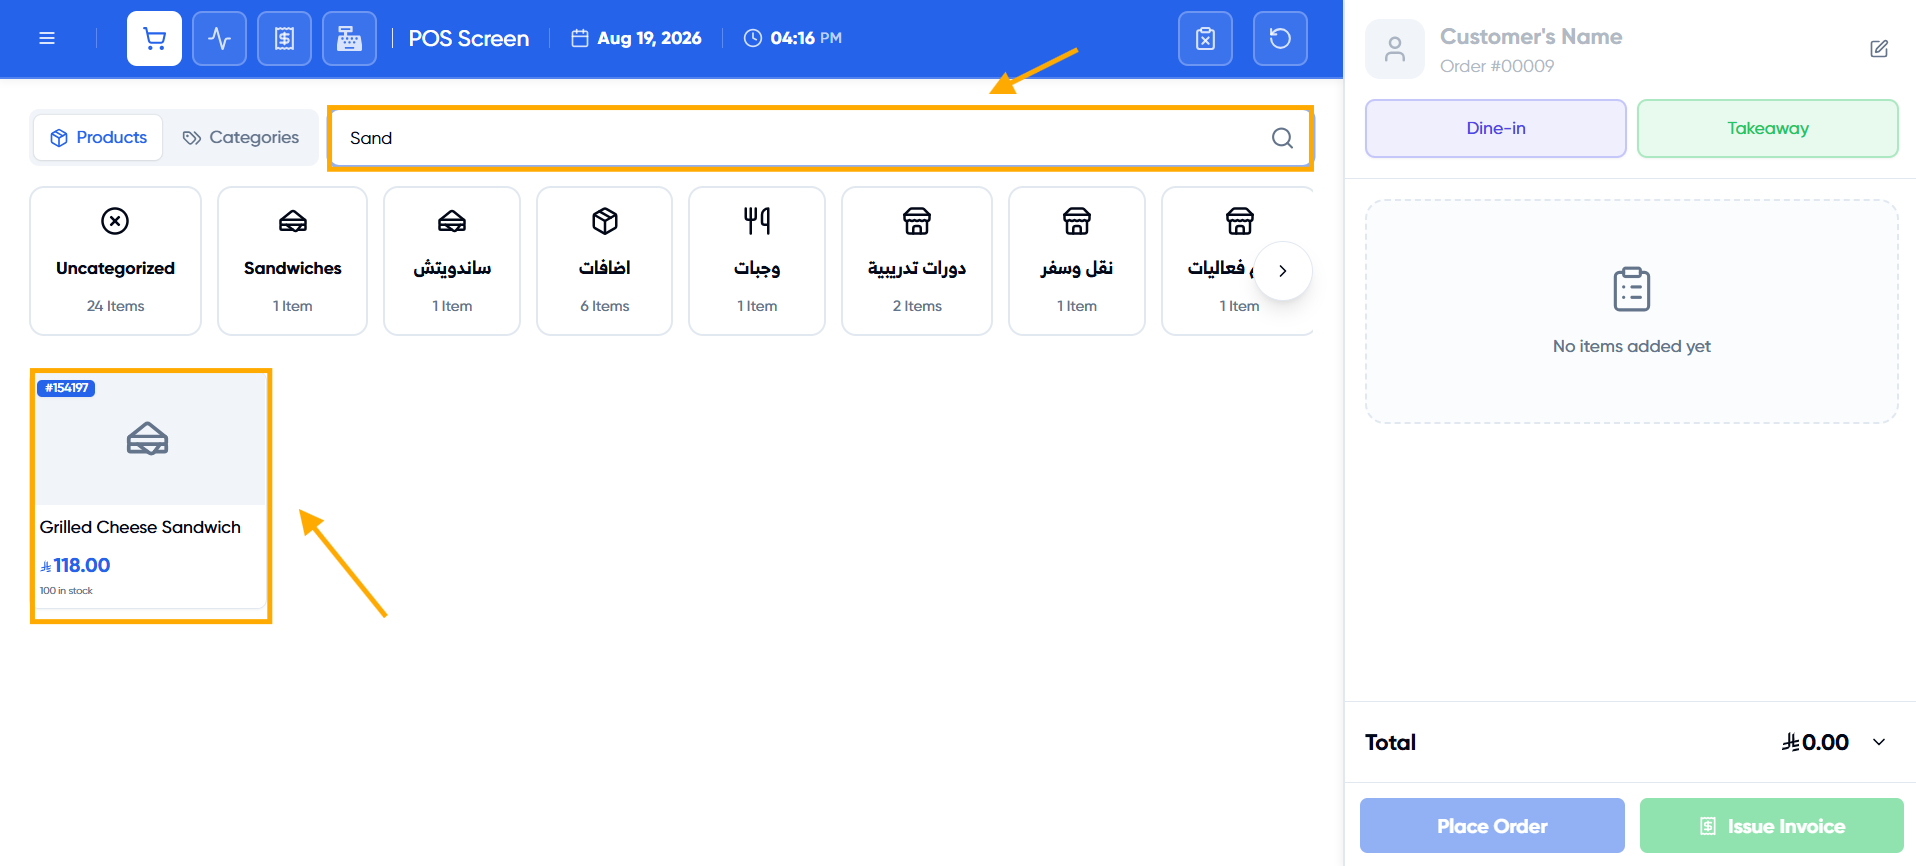
From the “Products” tab, search for the product by name or code, or navigate through “Categories” to display products in a specific category. Click the product to add it to the order.
Step 2: Adjust the Quantity
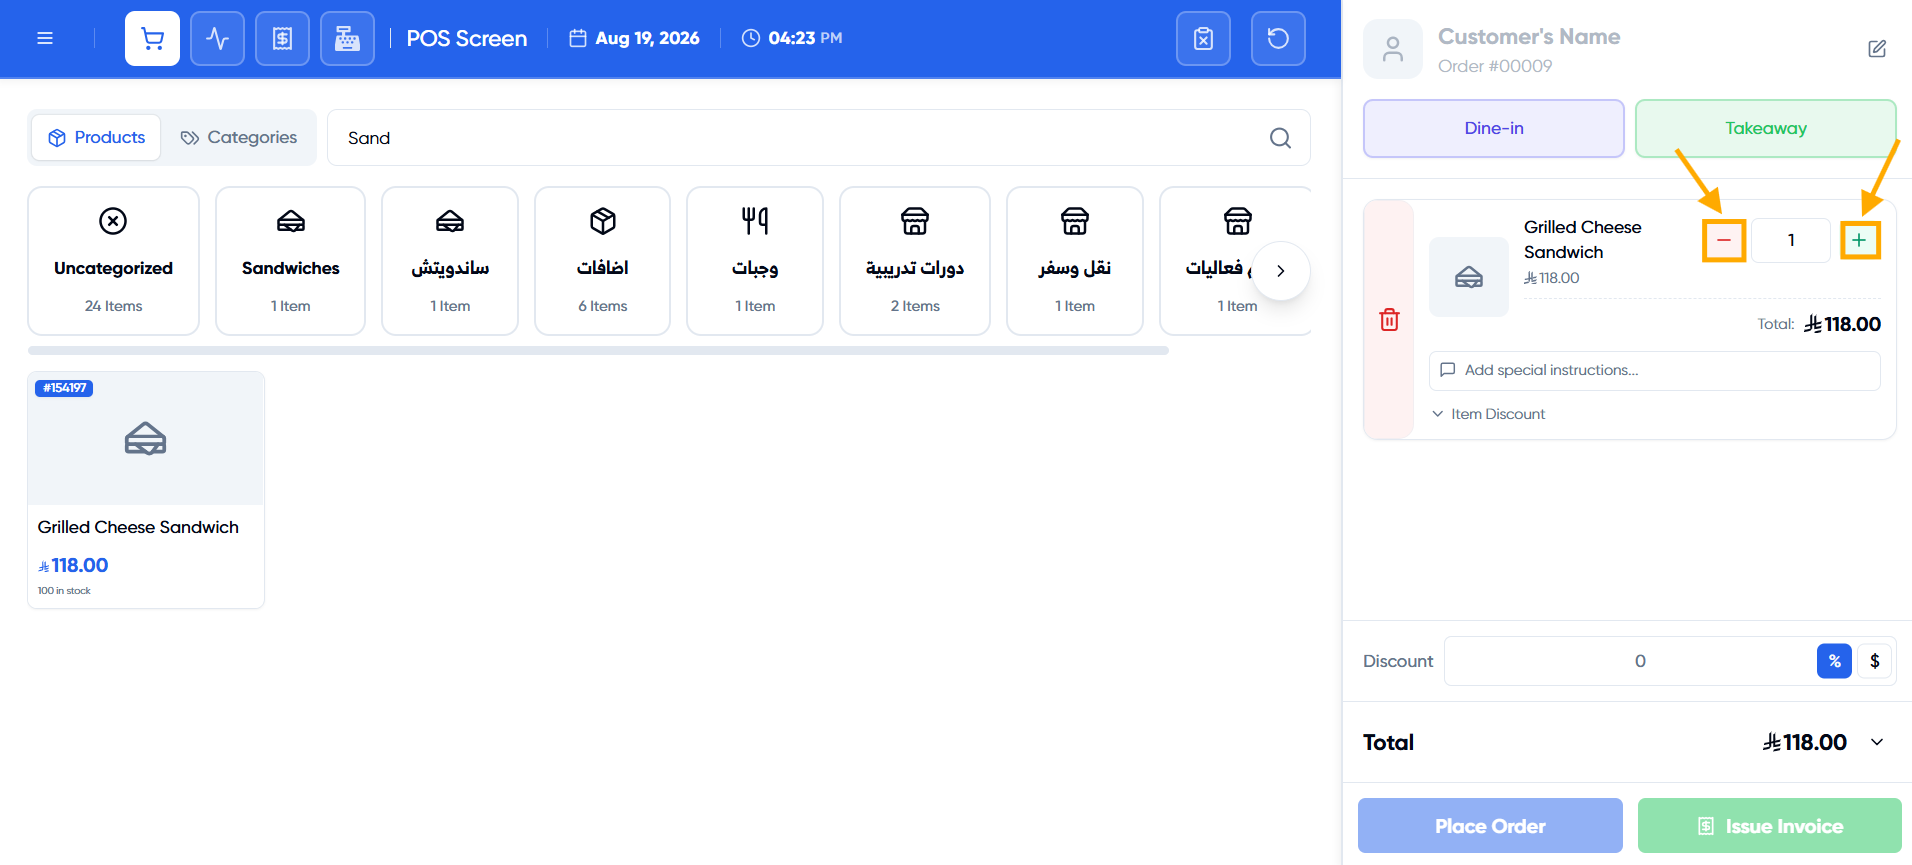
Use the “+” and “-” buttons next to the line item to adjust the quantity, or enter a number directly in the quantity field — including fractions for products sold by weight.
Step 3: Edit the Price or Sale Unit
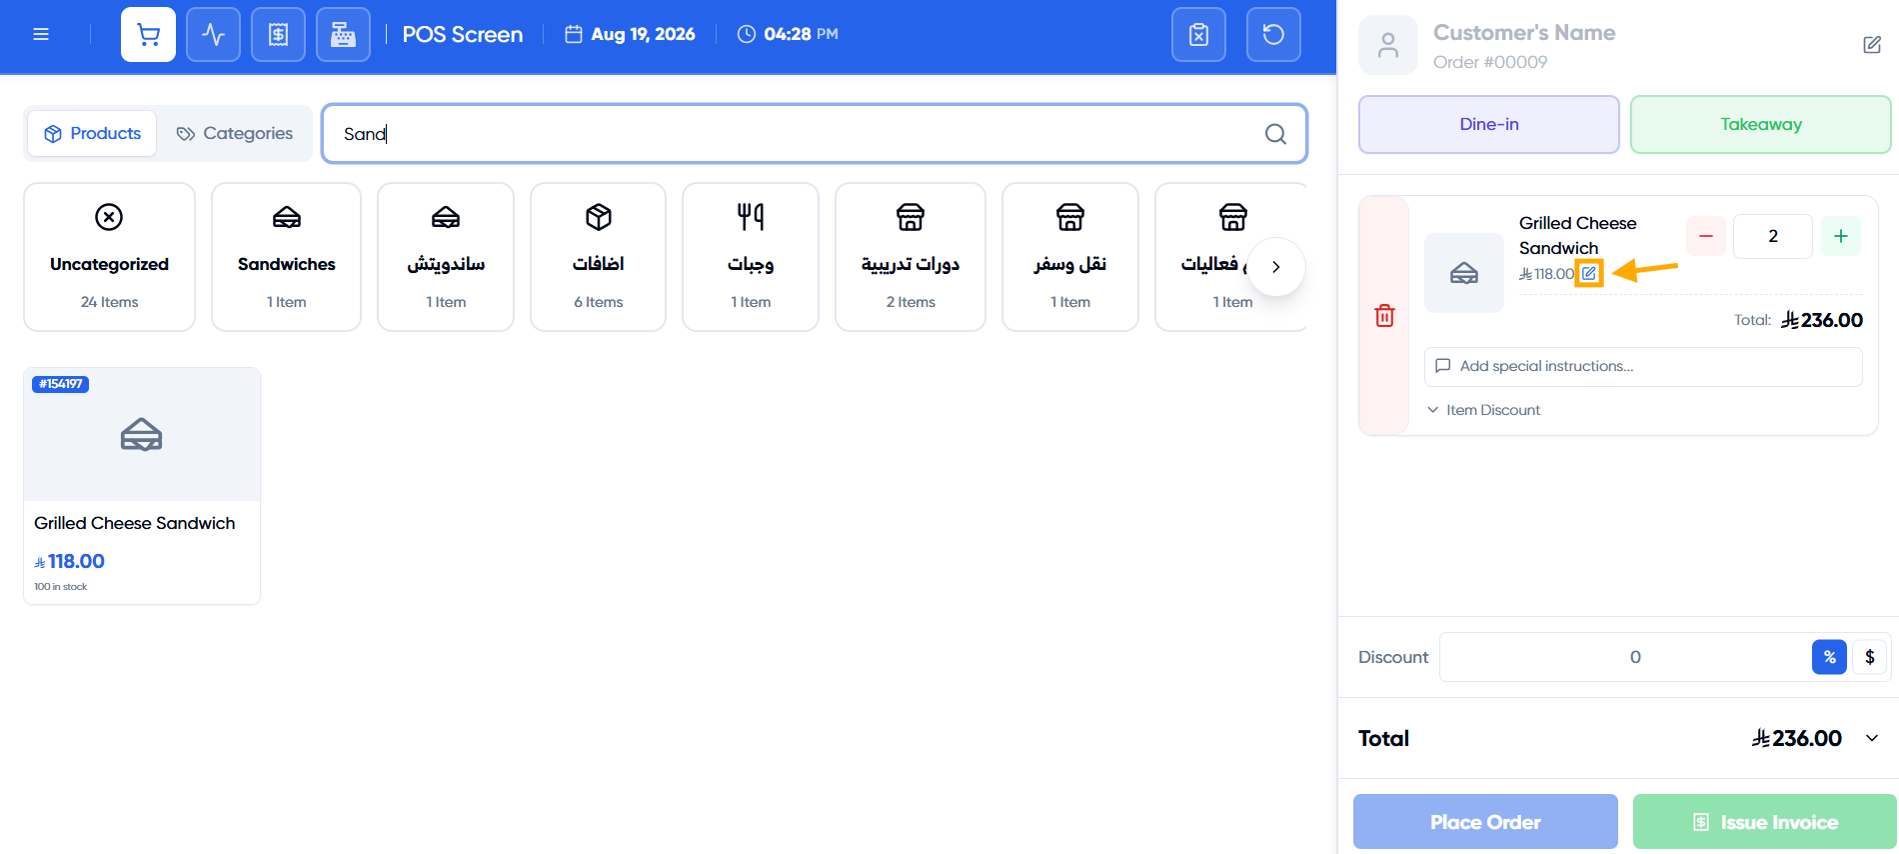
Click the “Edit Price” icon next to the item’s price to change it for this order only, or change the sale unit (such as a carton instead of a piece) — the price updates automatically based on the selected unit, with the option to edit it manually afterward.
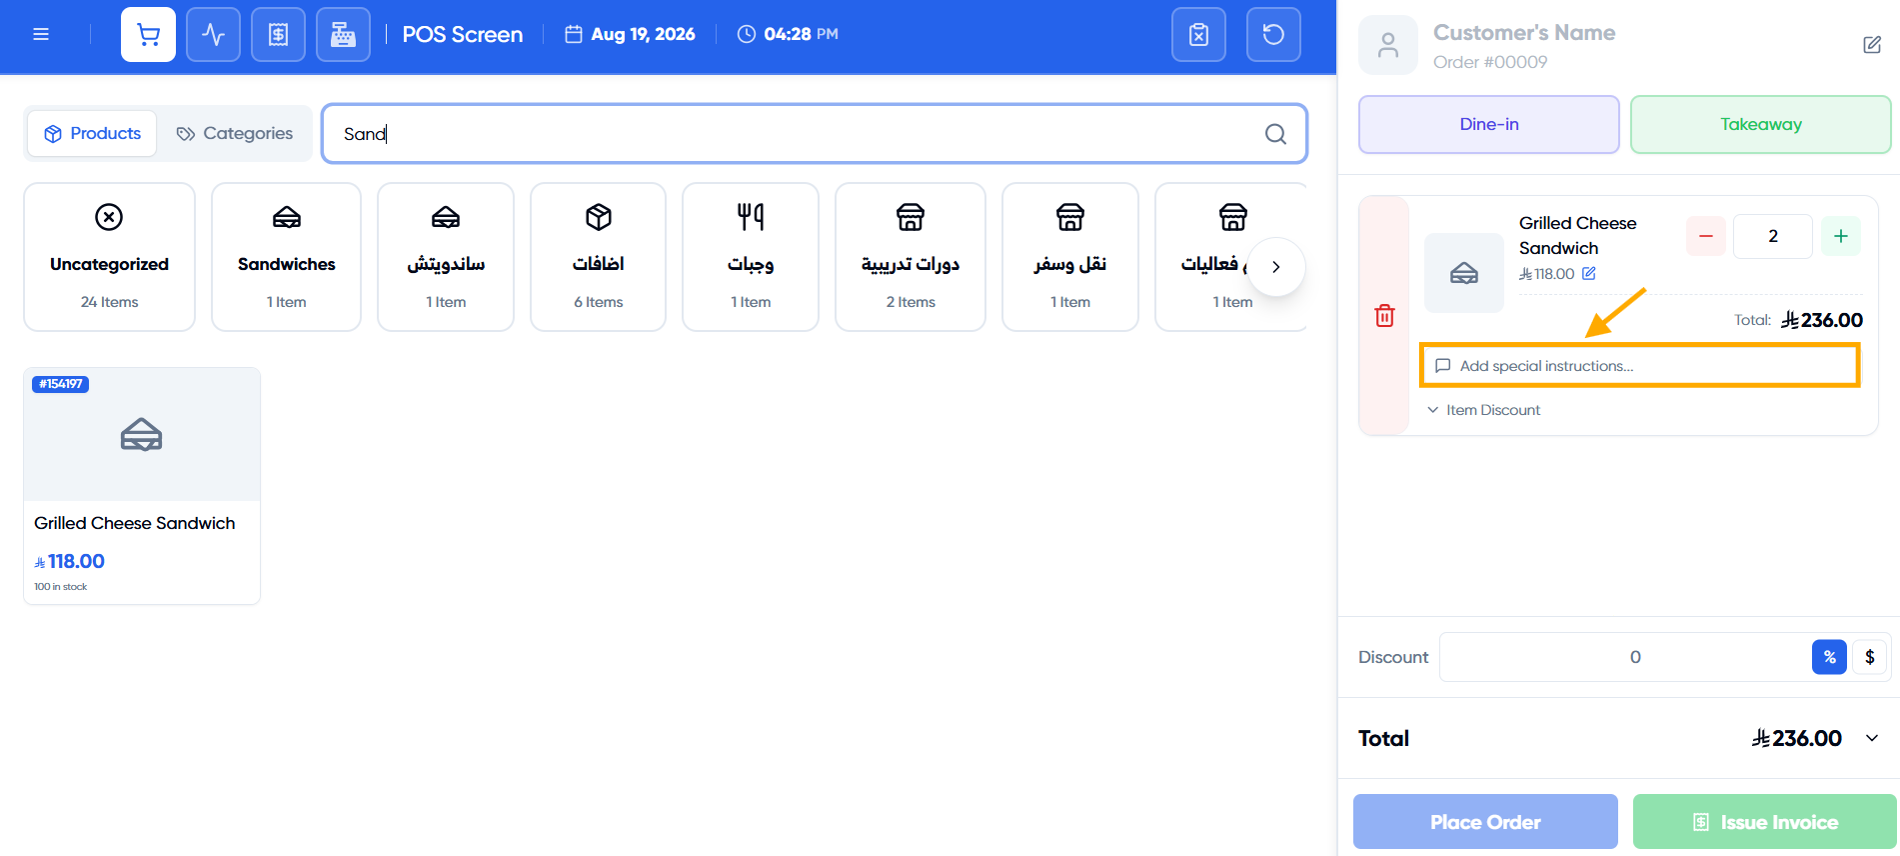
Step 4: Add a Note to the Item
Use the “Add special instructions…” field below each item to record a note (allergy, preparation method, or any other instructions for the kitchen).
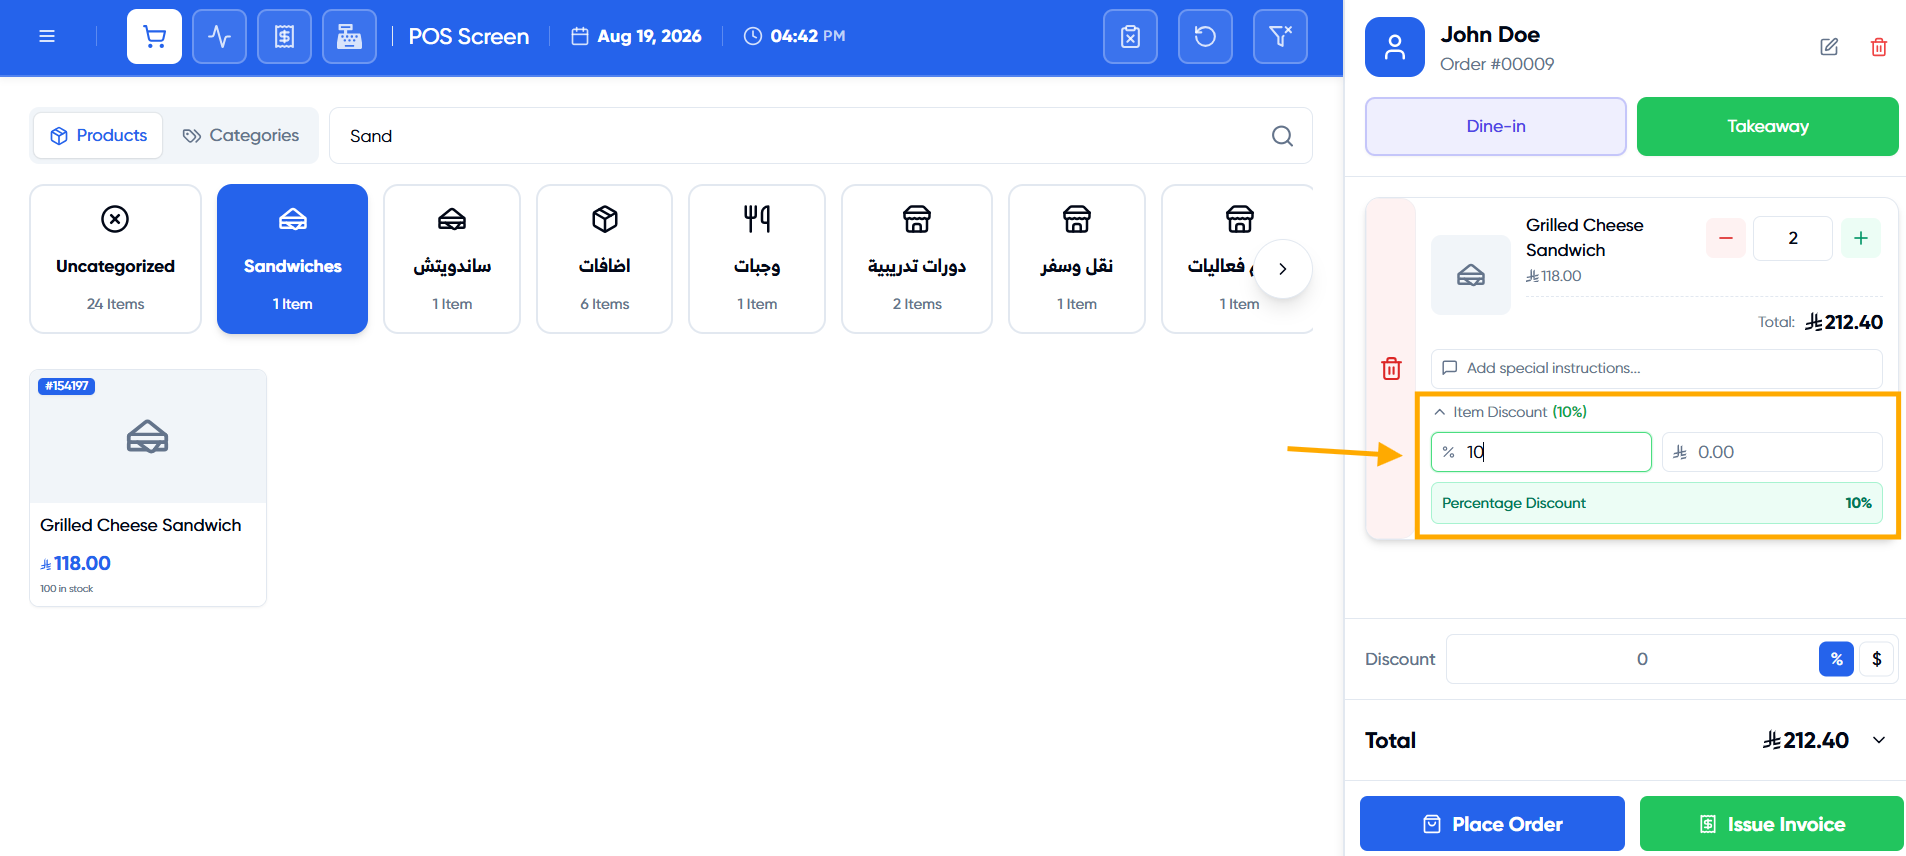
Step 5: Apply a Discount to a Specific Item (Optional)
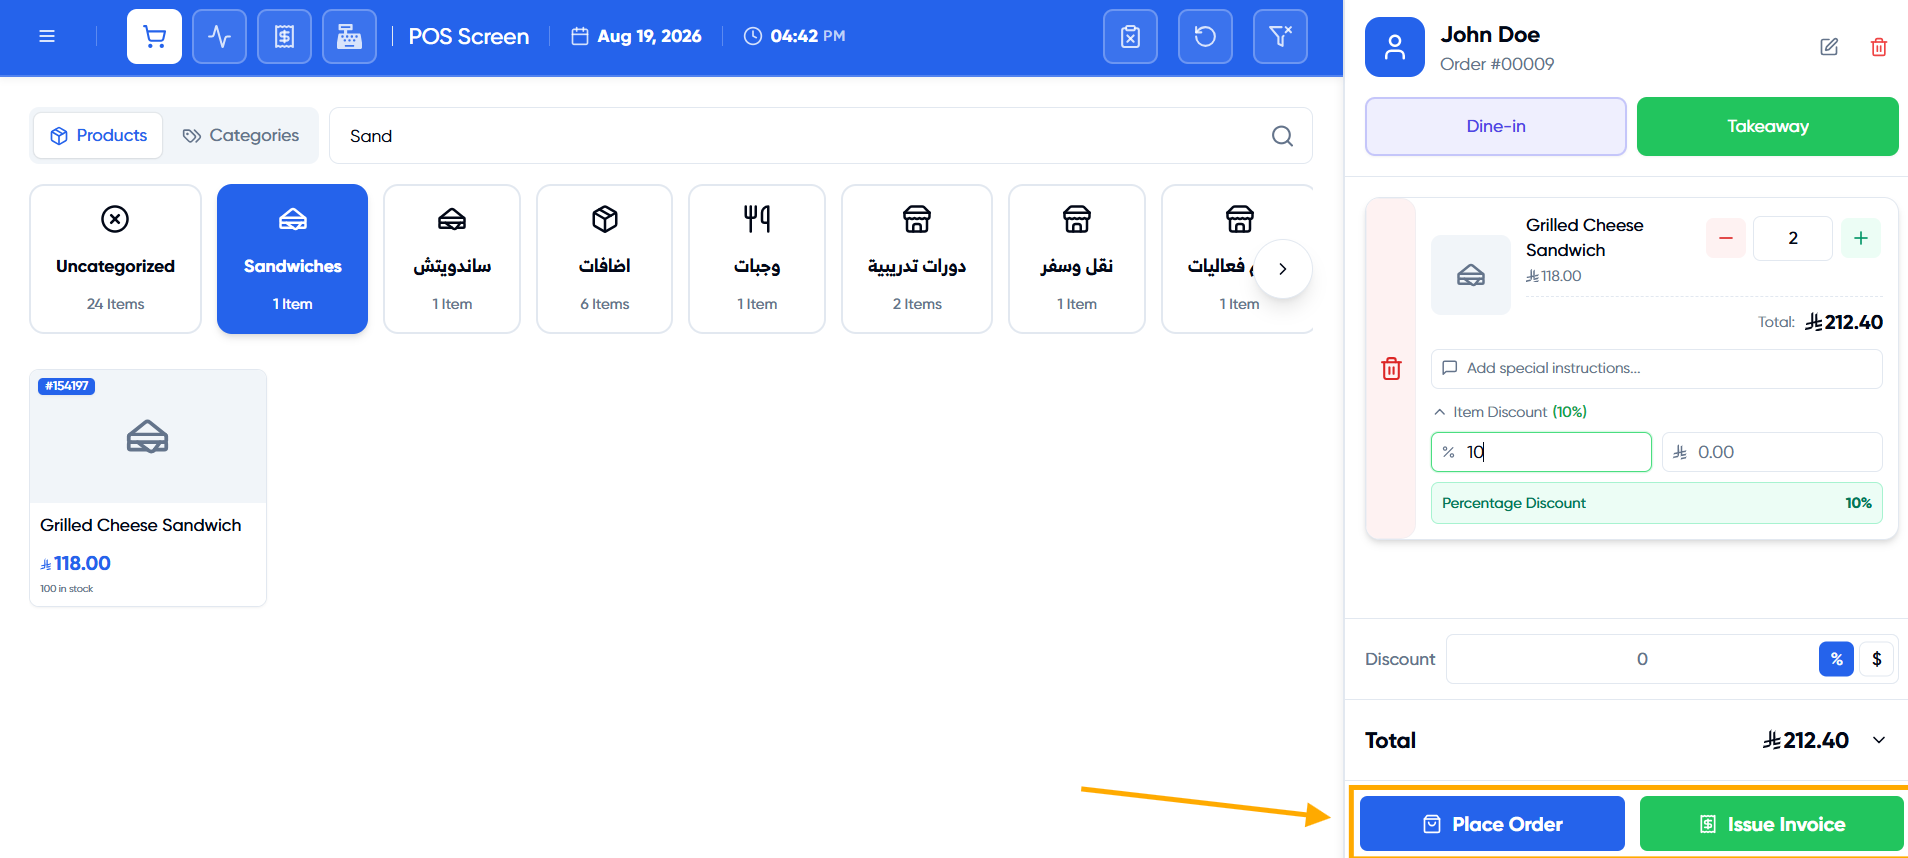
Click “Item Discount” below the item to add a discount specific to this item only, separate from the discount applied to the full order.
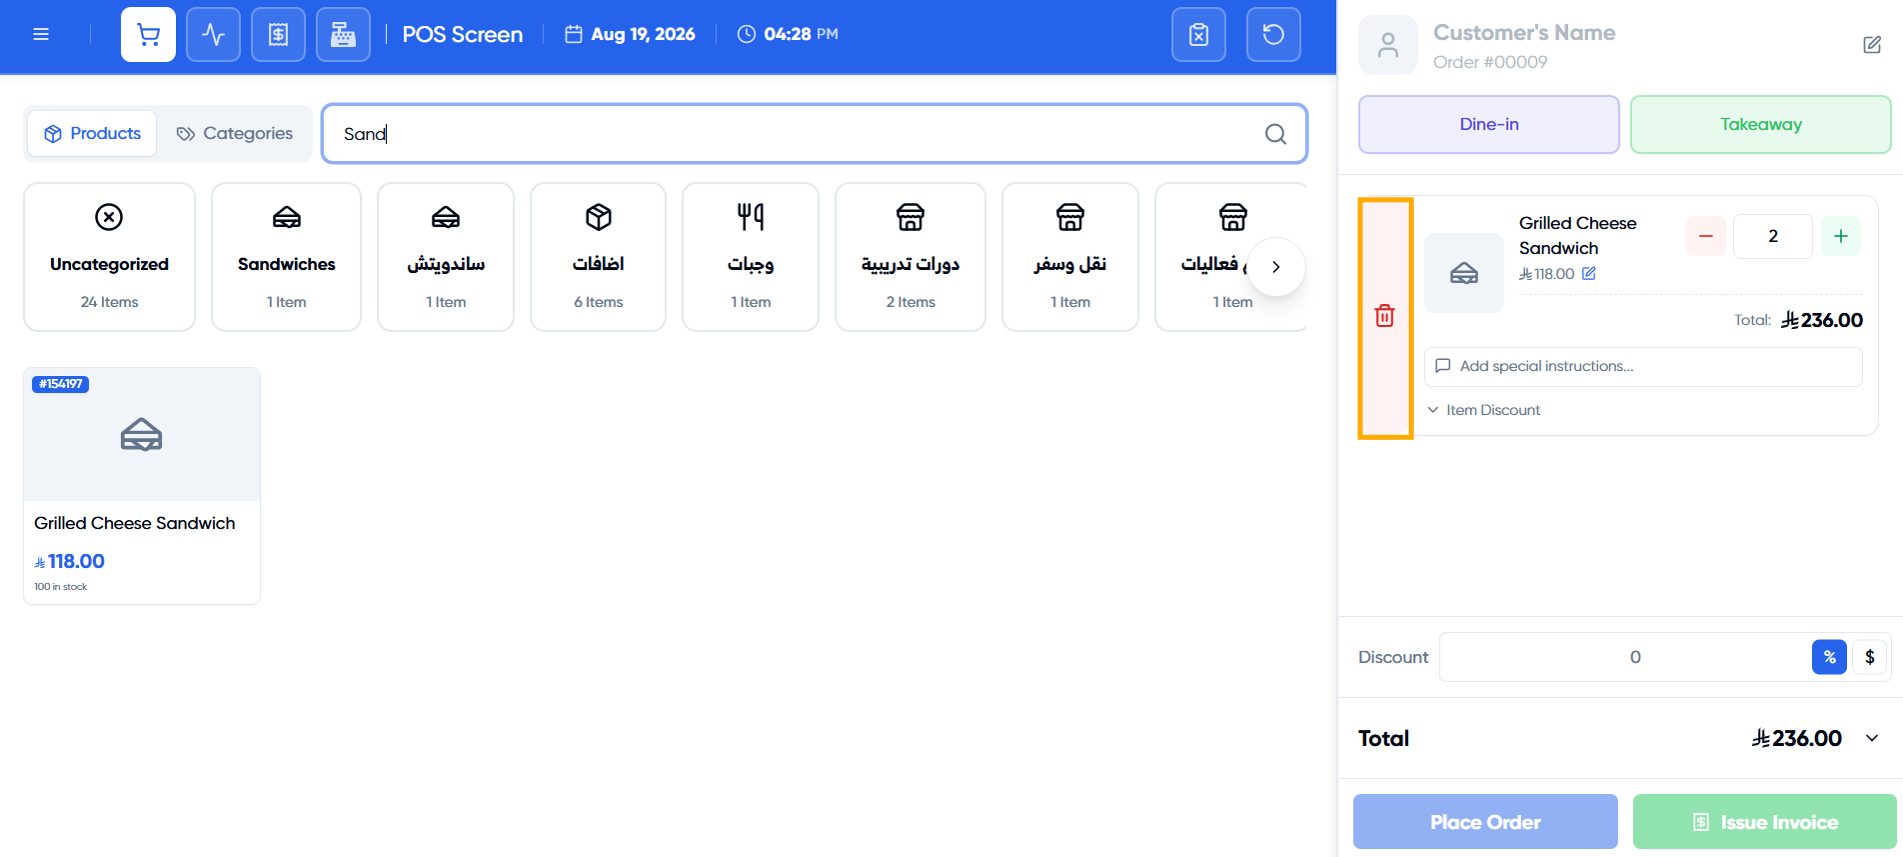
Step 6: Remove an Item from the Order
Click the “Remove” icon (trash can) on the left of the item to delete it from the order.
Step 7: Confirm the Order and Issue the Invoice
Click the “Place Order” button to add the order, or “Issue Invoice” to issue the invoice directly without going through the add-and-track-order step.