
How to Create a Contract and Link It to an Approved Construction Quotation
The System does not require a contract to be created from within a project. You can create an independent contract directly from the Contracts list and link it to an approved Construction Quotation so that the contract automatically inherits its Bill of Quantities, duration, and dates. This article explains how to do so.
Steps to Create a Contract and Link It to an Approved Construction Quotation
Step 1: Open the Contracts List
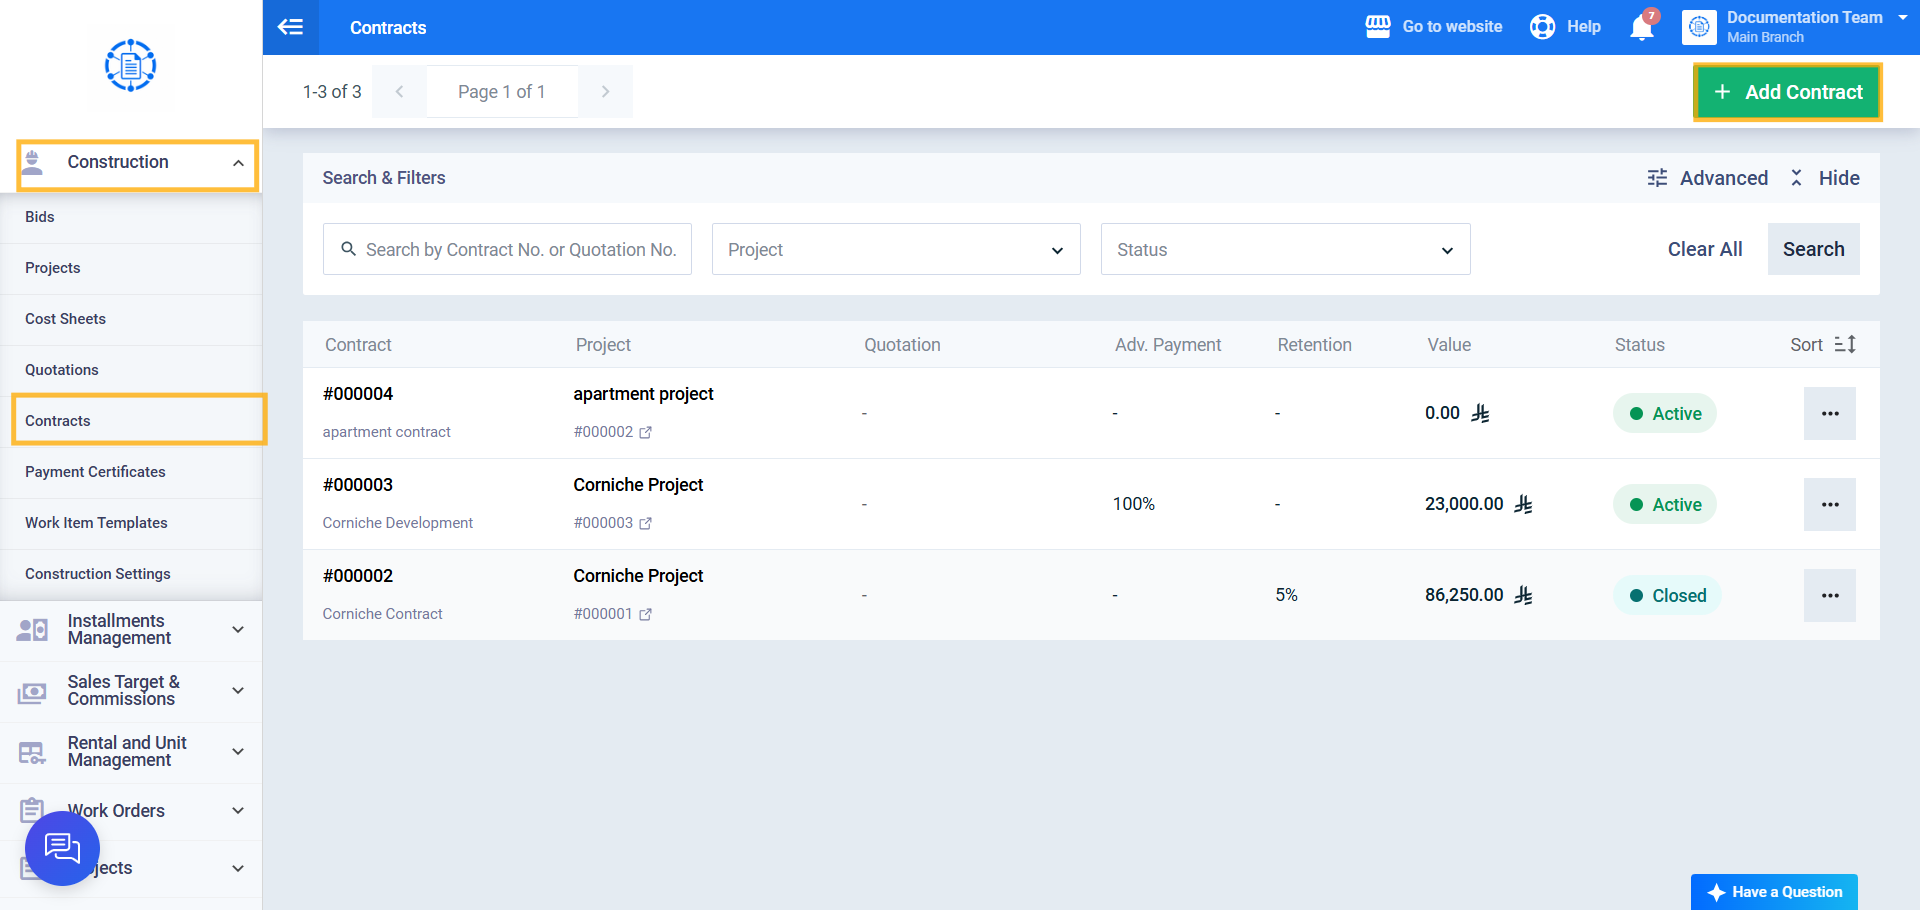
From the main menu, click Construction, then Contracts, and click Add Contract.
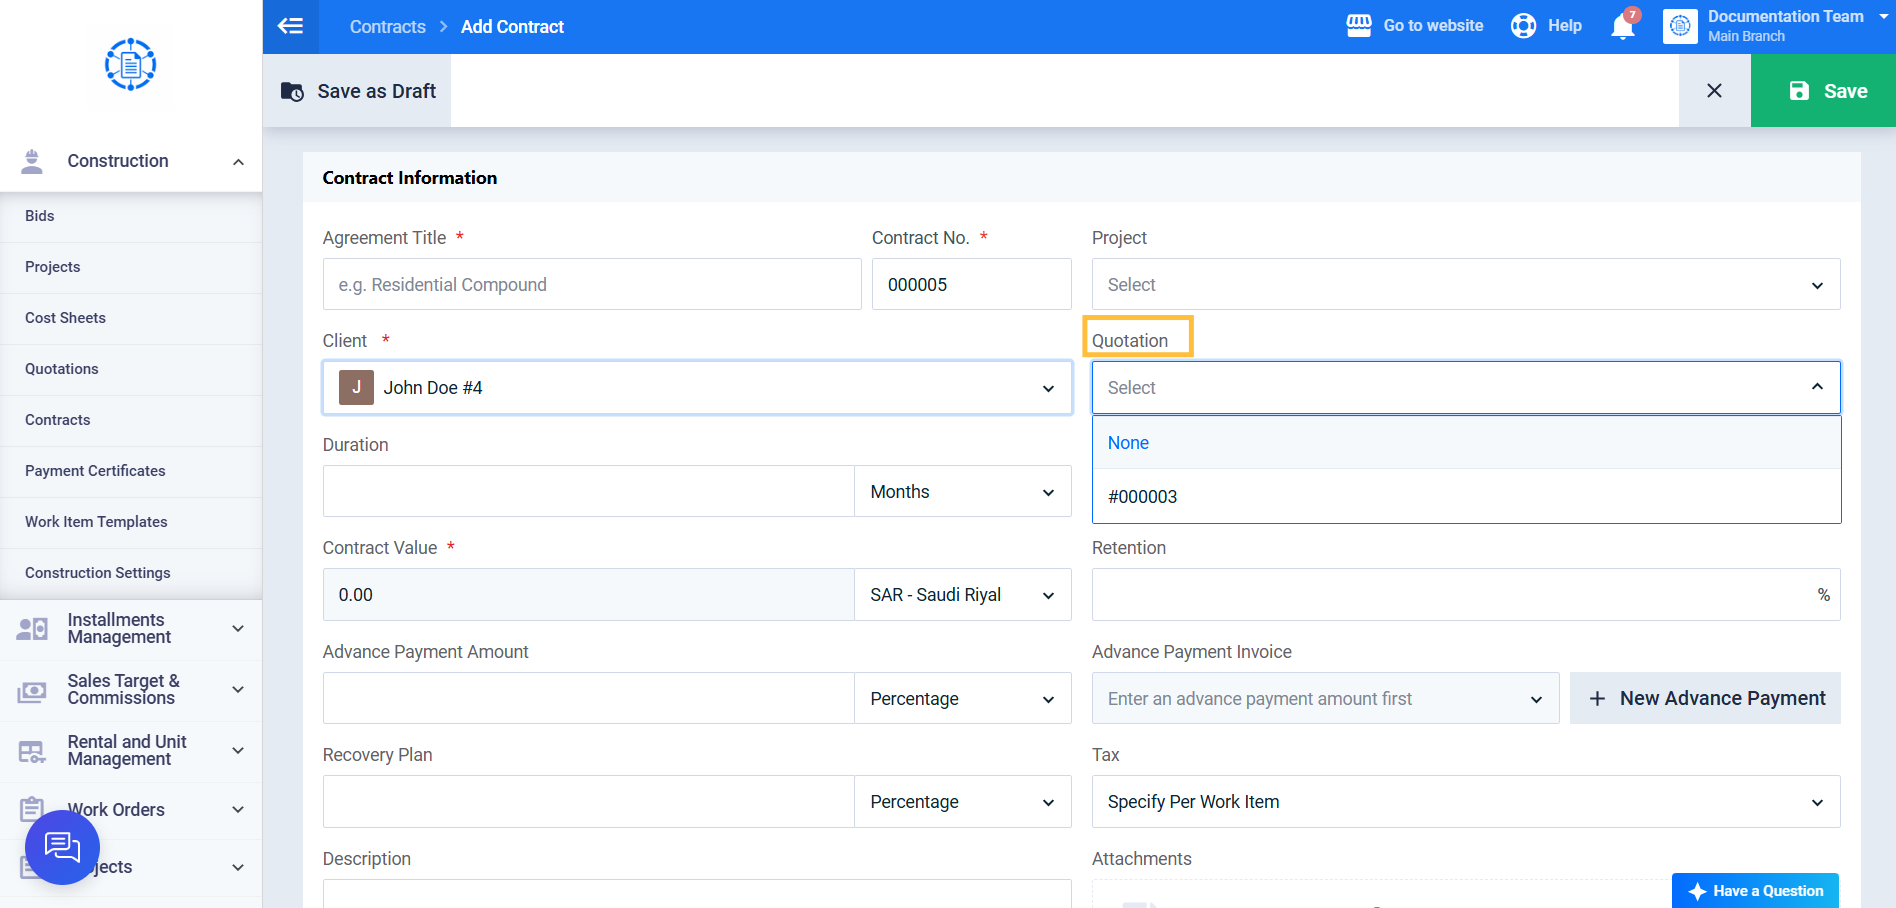
From the Quotation field, select the required Construction Quotation. The list displays only Approved Construction Quotations that are not linked to a bid or project, in addition to Construction Quotations linked to New projects that do not yet have a contract.
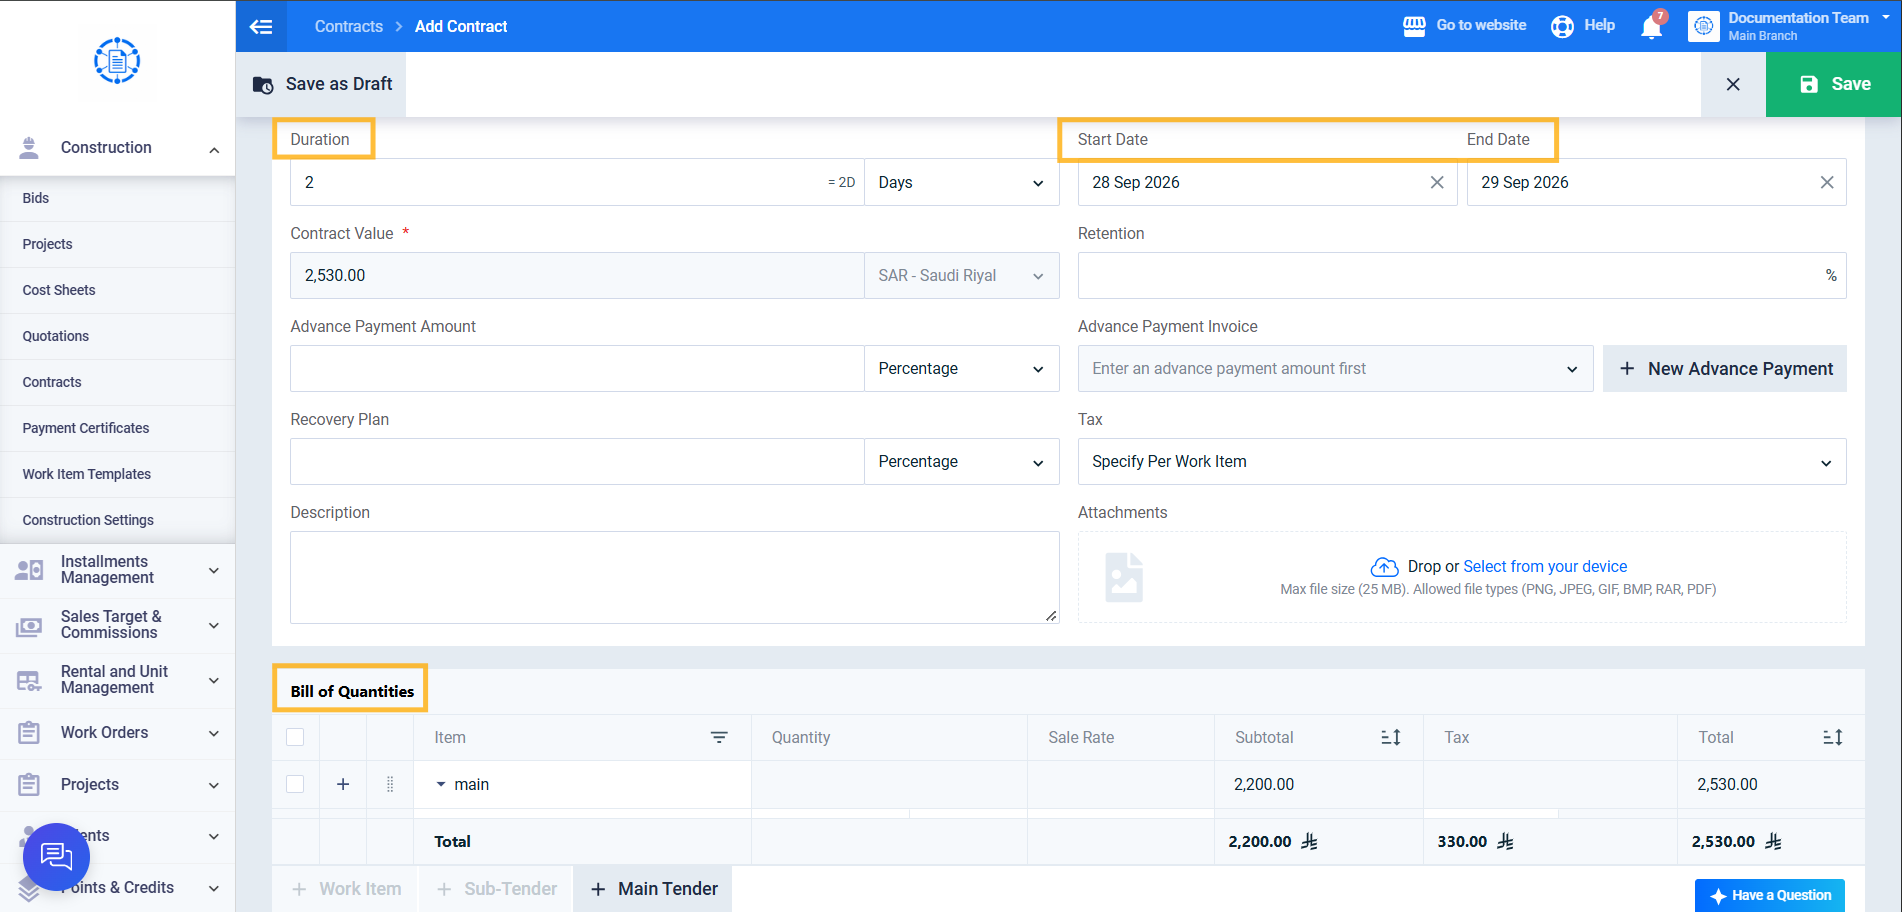
When you select a Construction Quotation, the contract Bill of Quantity, duration, start date, and end date are automatically populated from the Construction Quotation data.
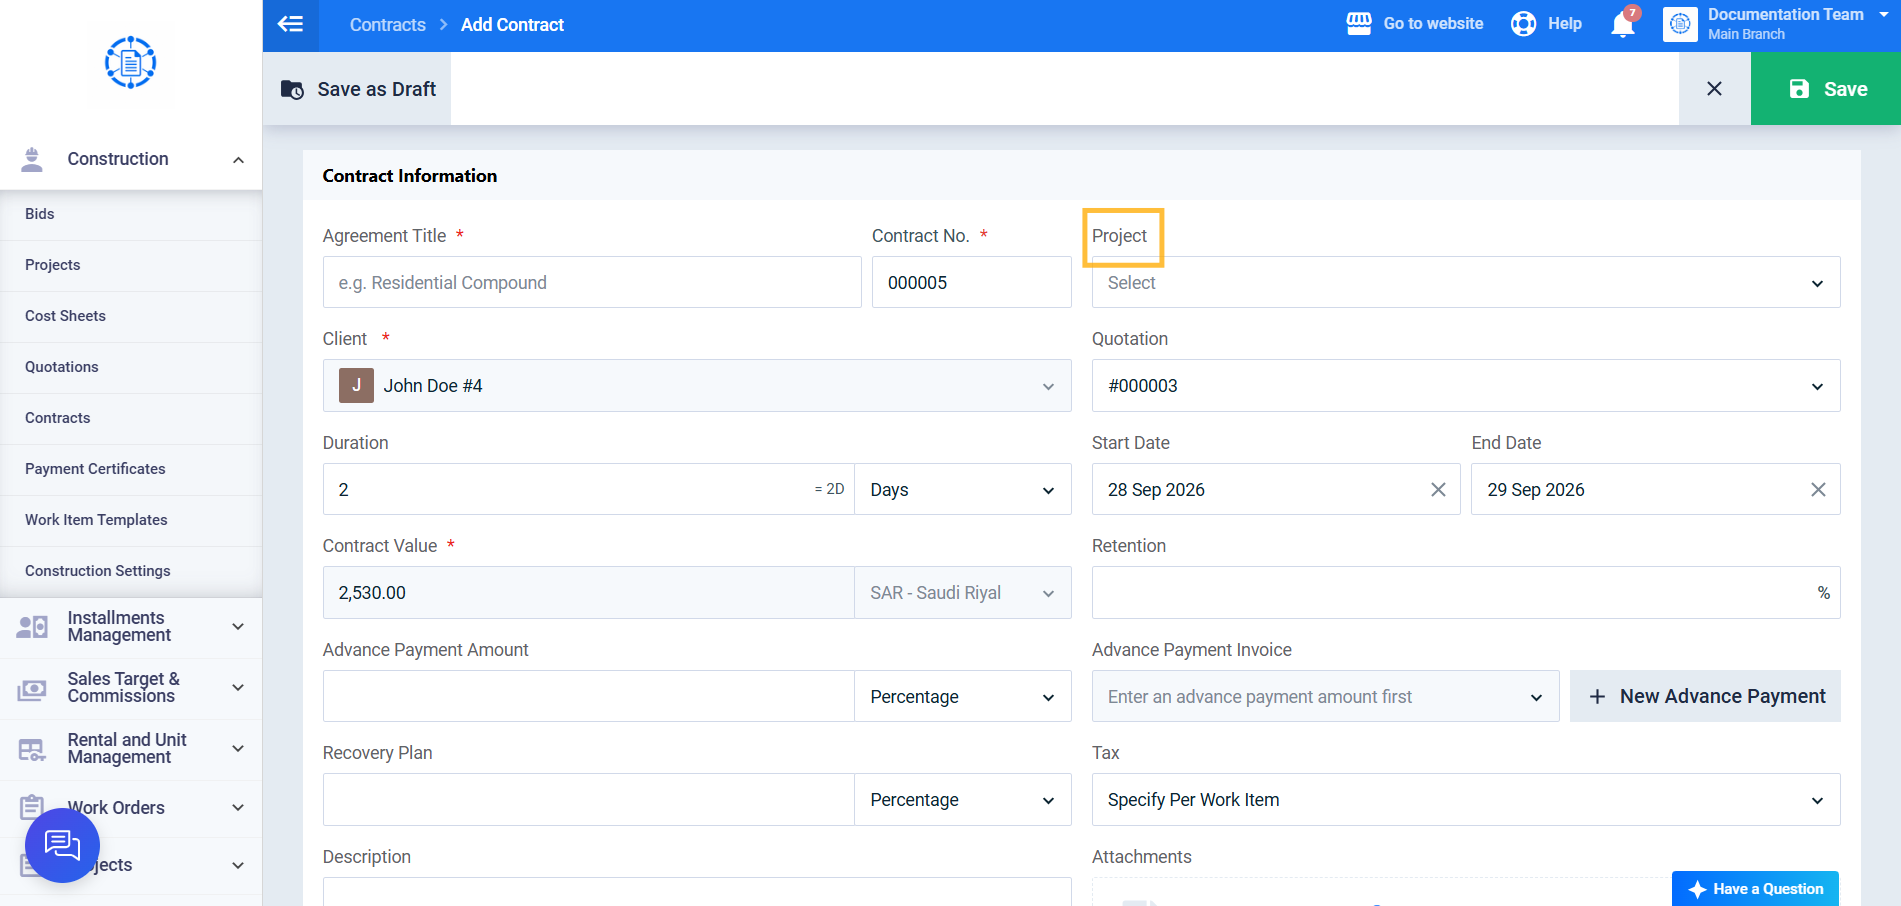
Step 3: Select the Project (Optional)
If you want to link the contract to an existing project, select it from the Project field. The list displays only New projects that do not yet have a contract. If you select the project first, the Construction Quotation list is automatically limited to quotations associated with that project.
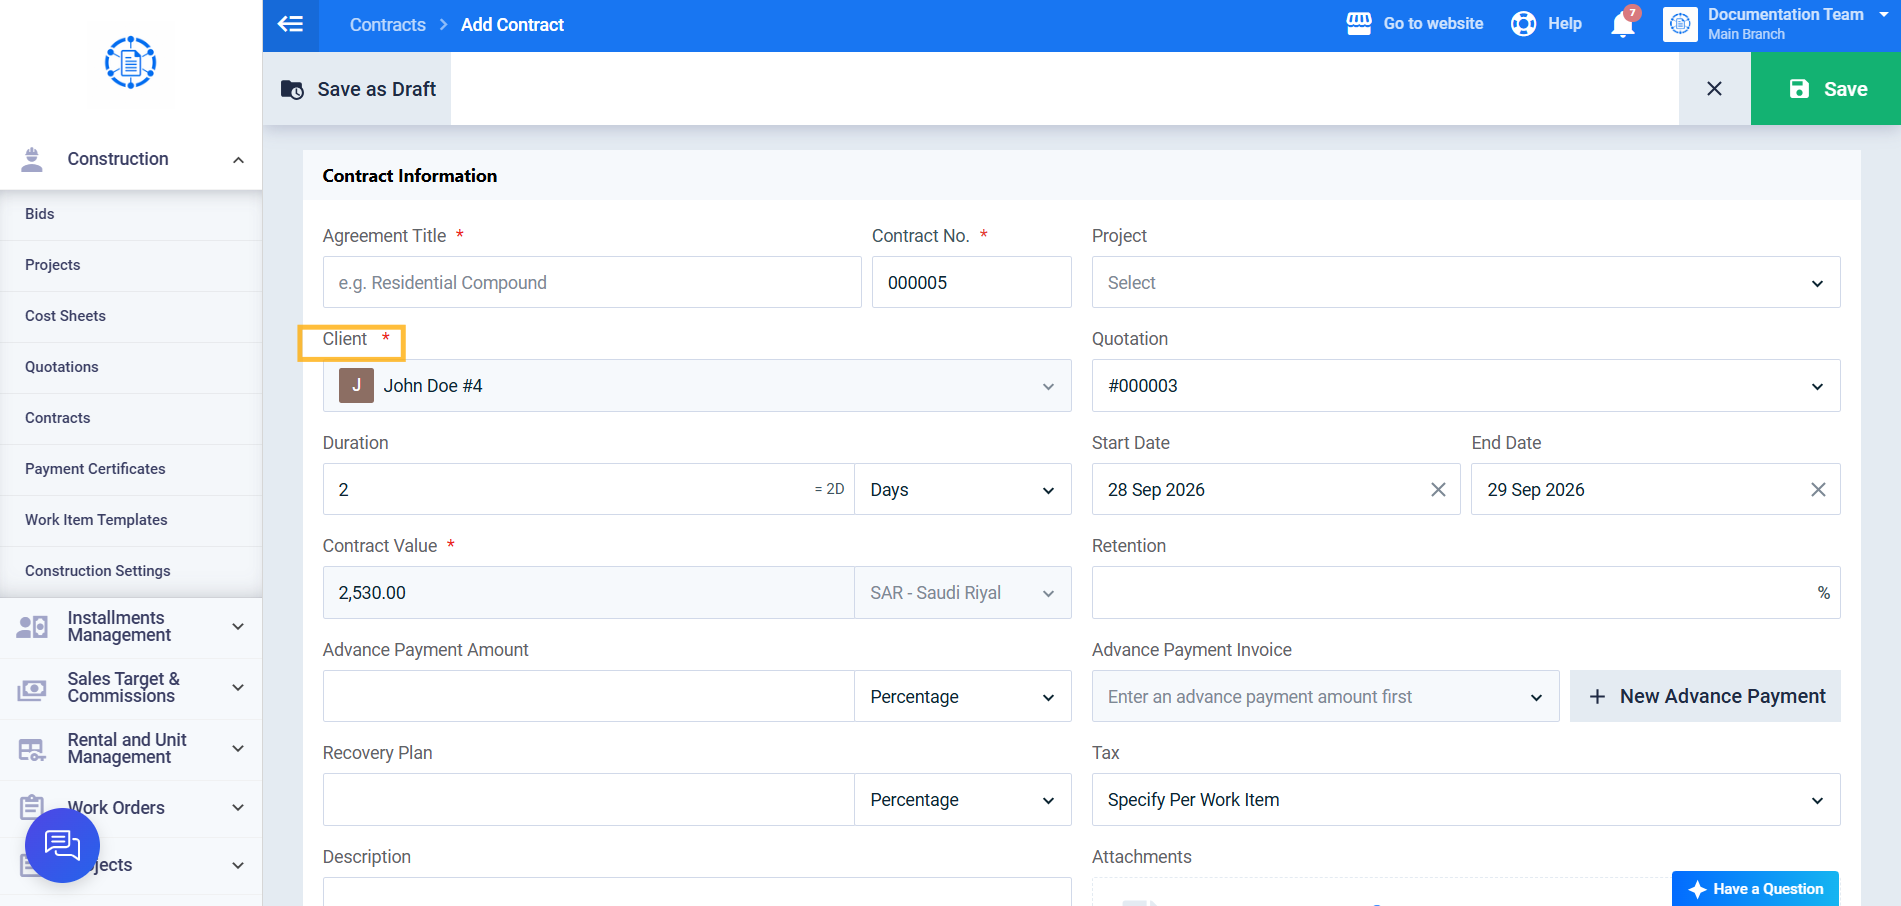
Step 4: Check the Client Field
The Client field is mandatory. If you have already selected a project or Construction Quotation, this field is automatically populated with the client associated with that record and appears disabled. If you select the client first, the Project and Quotation lists are automatically limited to records associated with the same client.
Step 5: Review the Automatically Populated Bill of Quantities and Complete the Remaining Contract Details
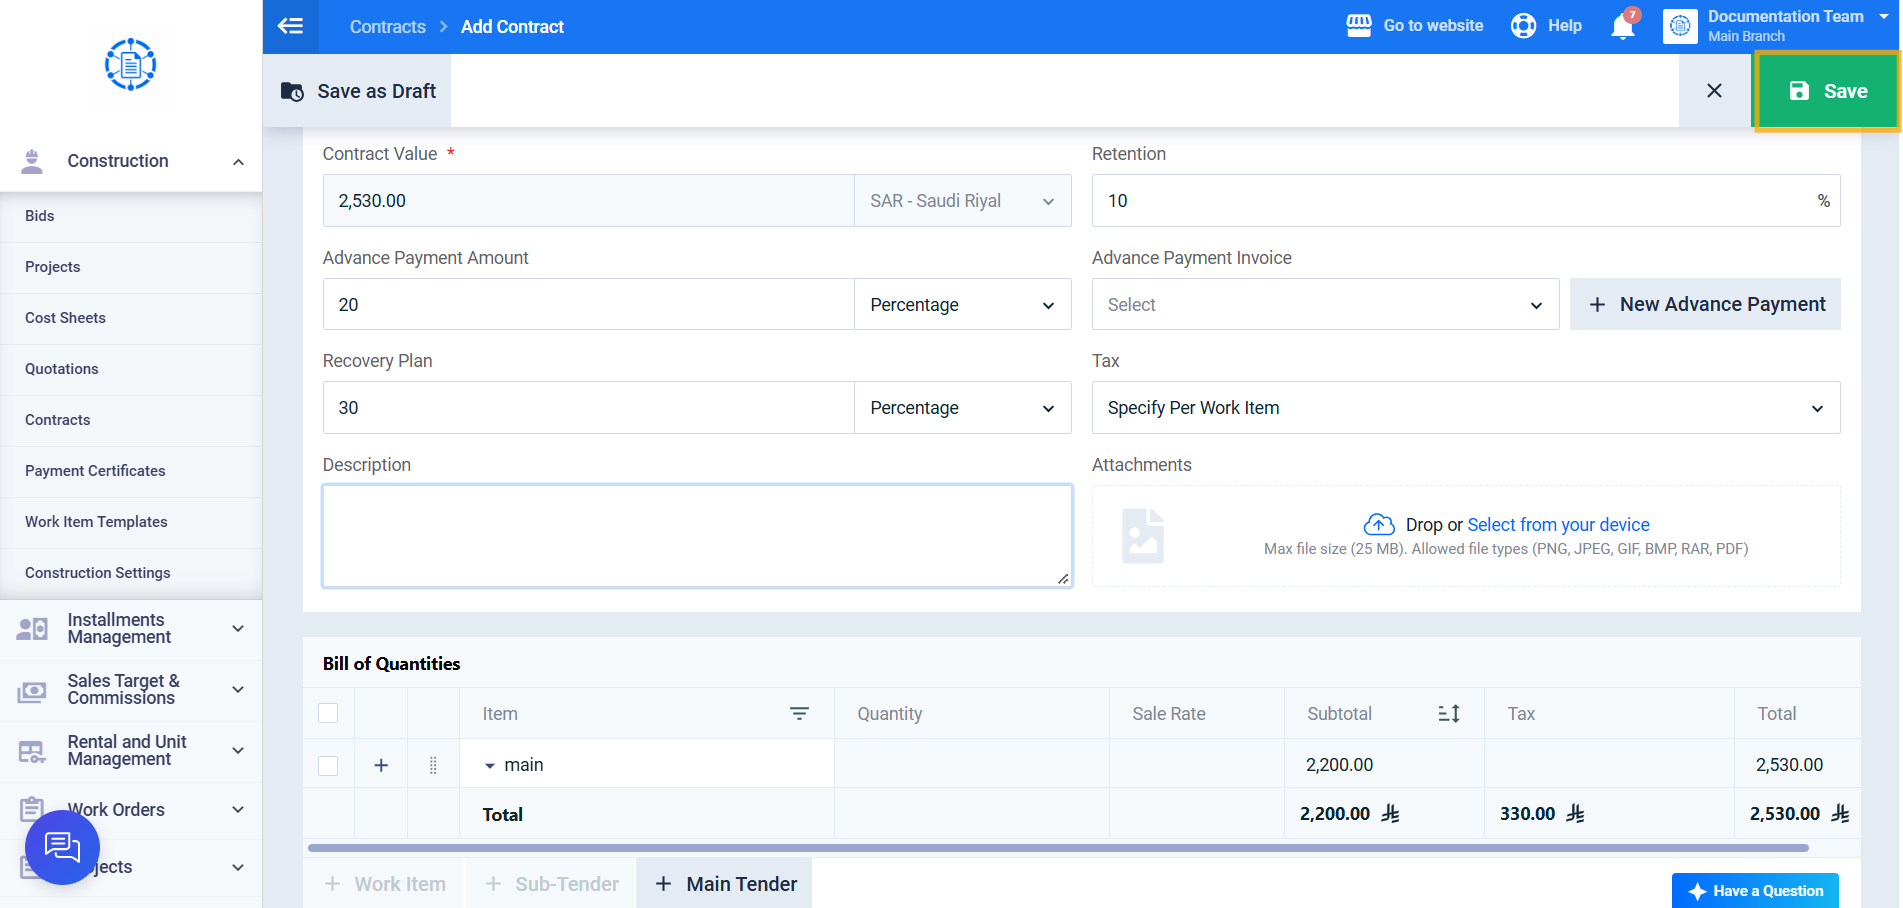
Review the contract item tree populated from the Construction Quotation, and enter the remaining contract details as needed, including the advance payment amount, retention deduction, recovery plan, advance payment invoice, taxes, description, and attachments.
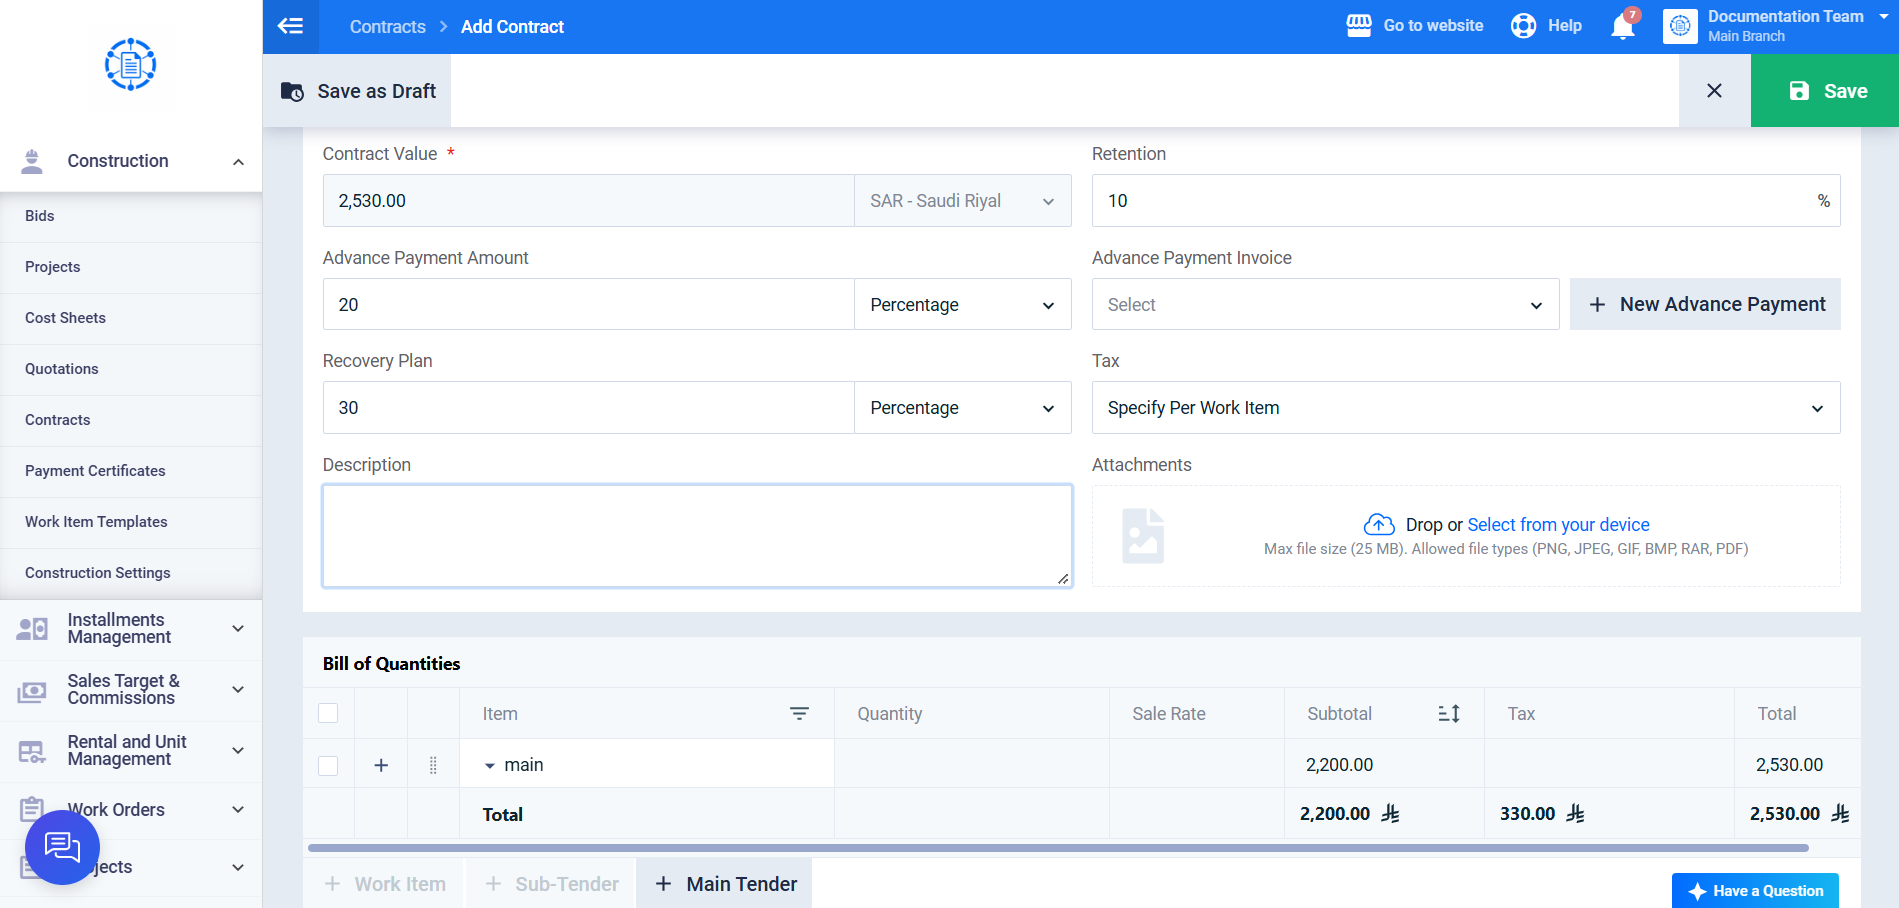
Step 6: Save the Contract
Click Save to issue the contract directly with the Issued status, or Save as Draft to save it as a draft and complete it later.