
Guide to Setting Up a Cost Sheet and Pricing Work Items
The system allows you to create a cost sheet directly without necessarily linking it to a bid or project, to enter data quickly, in addition to updating the unit cost for work items added to the sheet with a single click. In this article, we explain the steps to set up the cost sheet, and how to price its work items.
Steps to Setting Up a Cost Sheet and Pricing Work Items
First: Accessing the Add Cost Sheet Screen
Step 1: Open the Cost Sheet Creation Screen
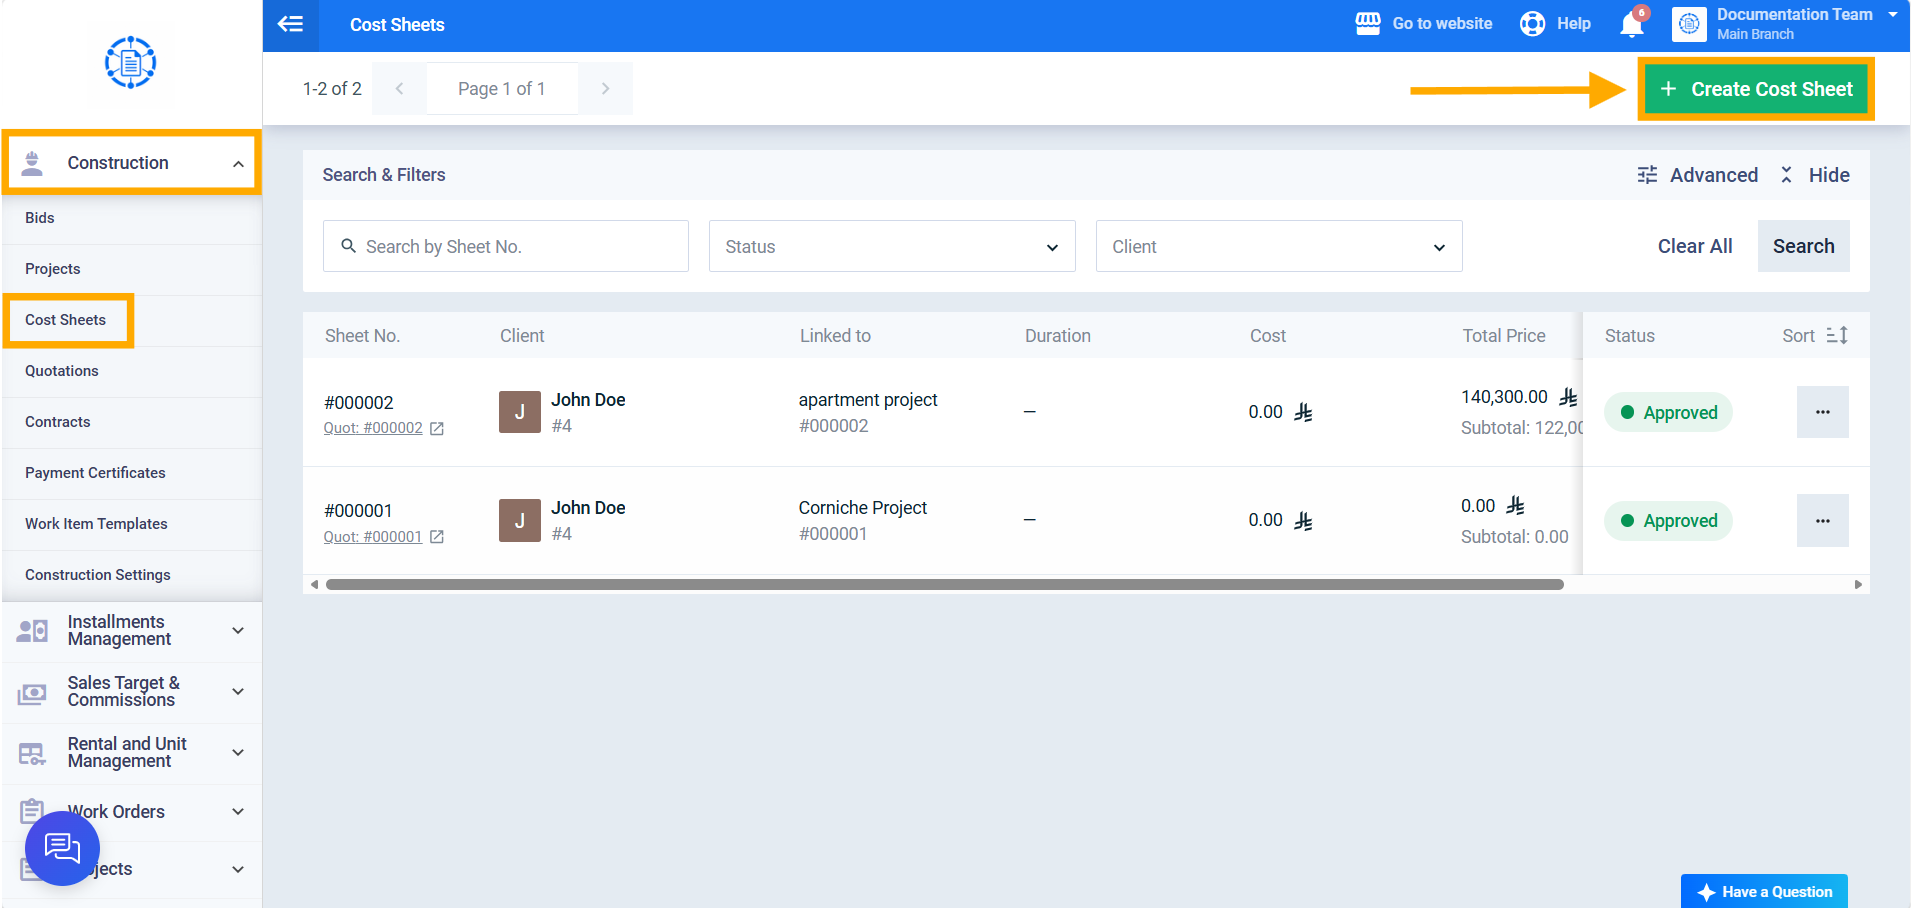
From the sidebar menu, click on “Construction,” then go to “Cost Sheets,” and click the “Create Cost Sheet” button.
Second: Linking the Cost Sheet and Basic Data
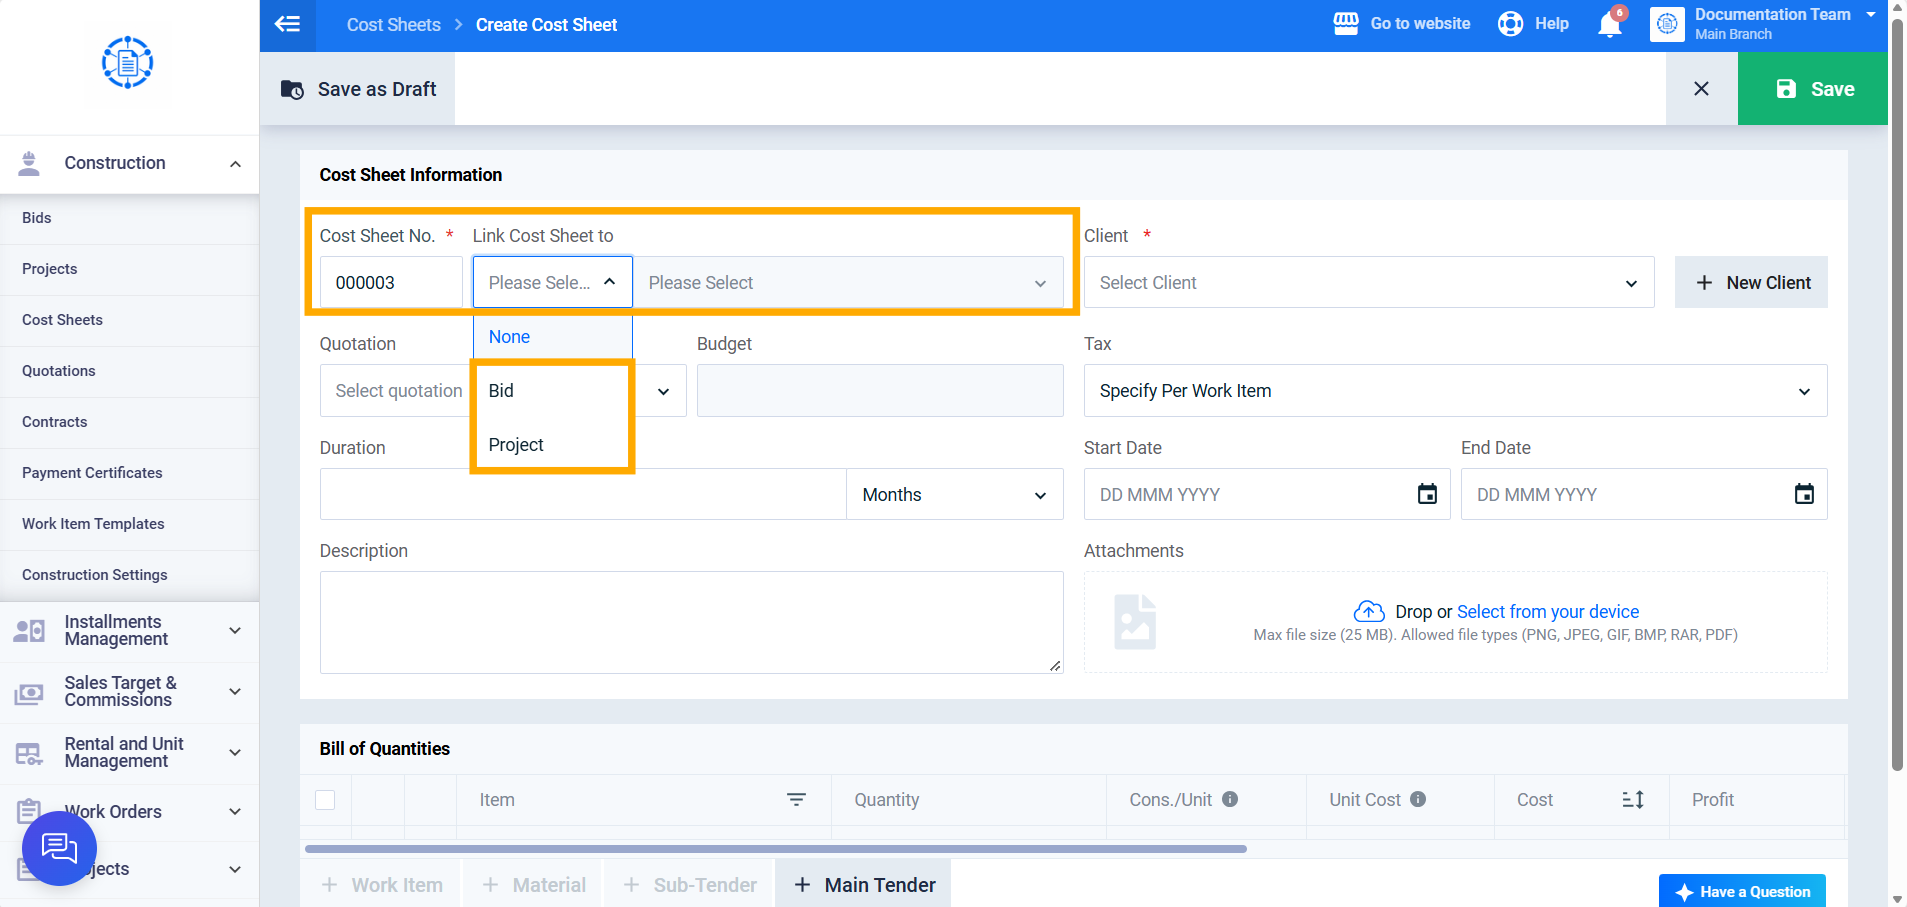
Step 2: Linking the Cost Sheet (Optional)
From the “Link Cost Sheet To” fields, first select the entity type (bid or project), then select the entity itself. Bids that have already been converted to a project don’t appear in the list, nor do projects with “Closed” or “Canceled” status. If the branches app is enabled, only records from the same branch appear.
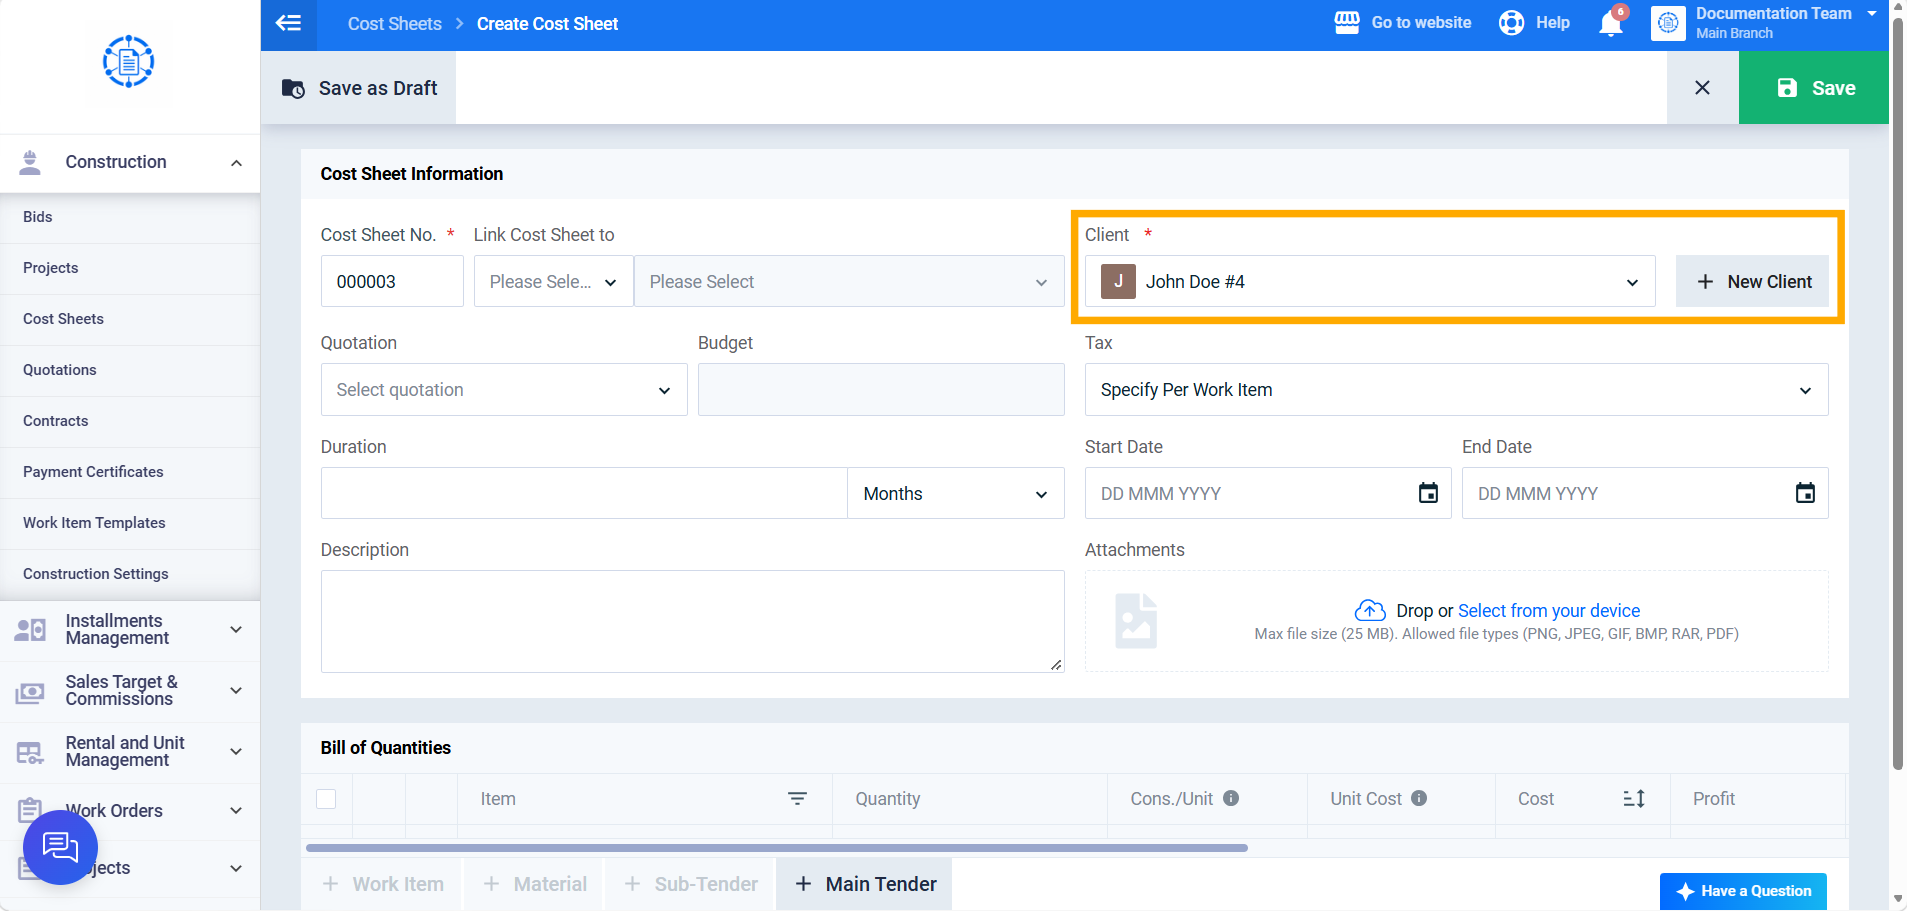
Step 3: Selecting the Client
Select the client (required) from the list of “Active” clients defined in the system, or click the “New Client” button next to the list to add a client directly without leaving the screen.
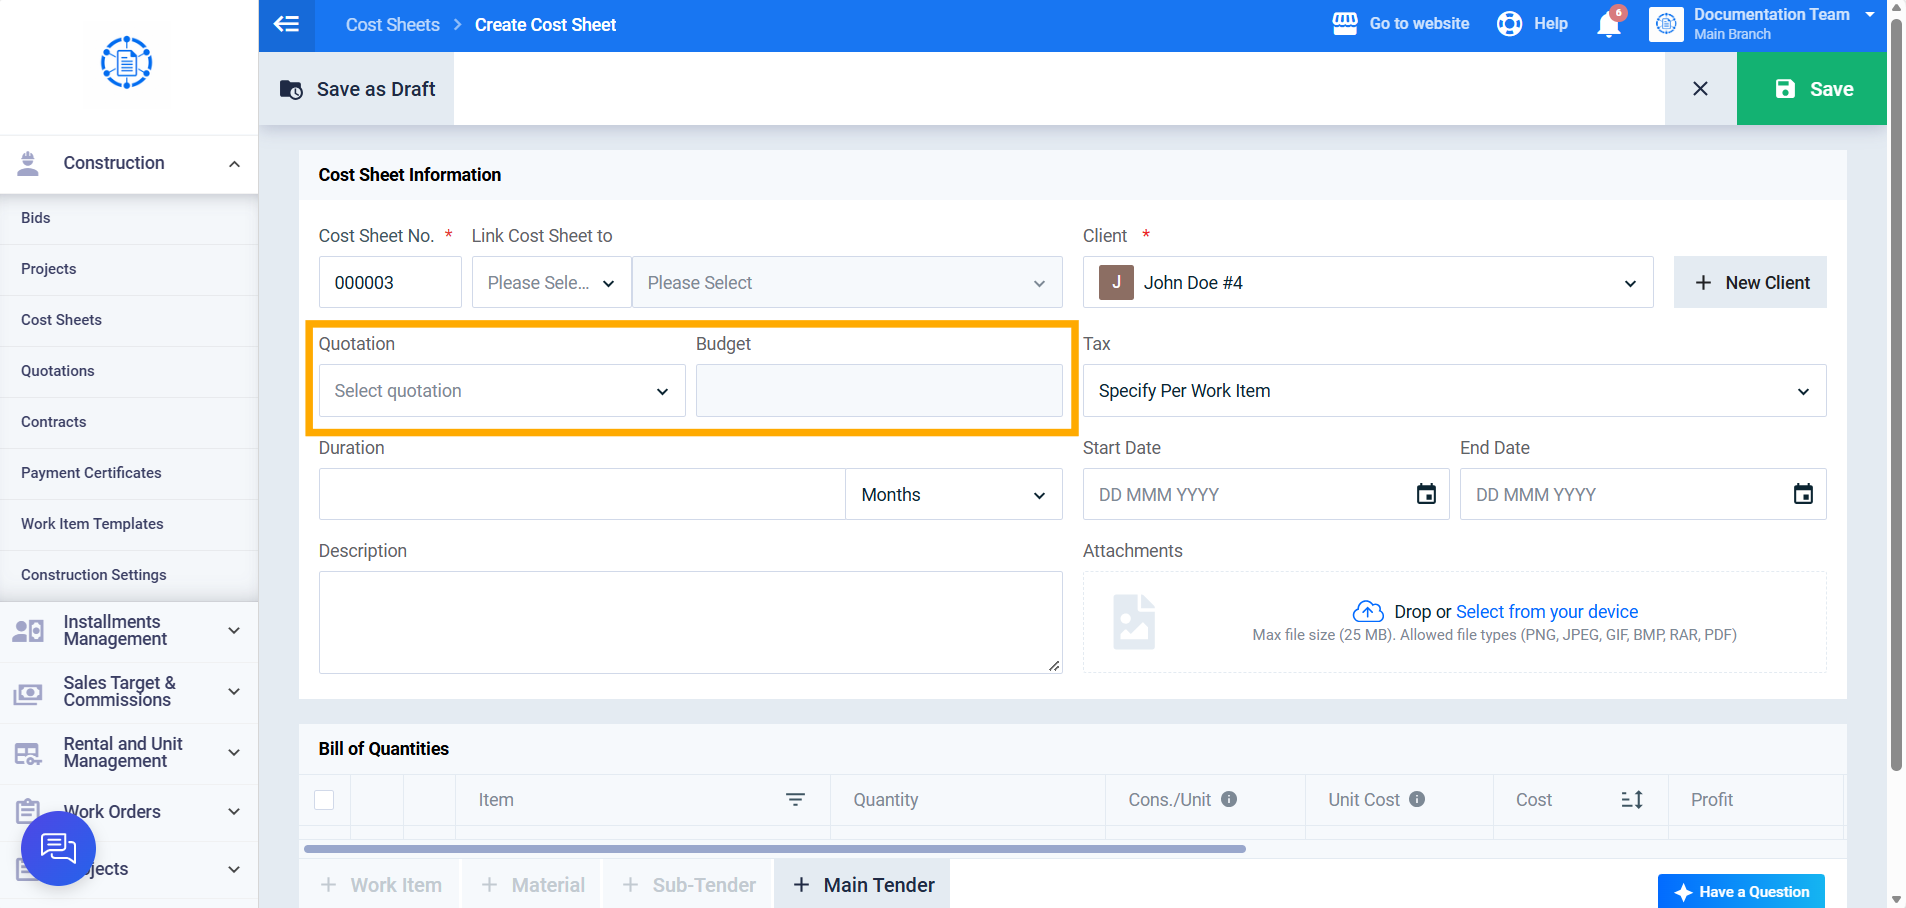
Step 4: Reviewing the Budget and Selecting a Quotation
The “Budget” field is read-only, defaulting to zero if you selected a bid, or to the budget specified on the project if you selected a project. You can also select a “Quotation” (optional) from the list, which displays only construction quotations not linked to any other cost sheet.
Step 5: Adding the First Main Item
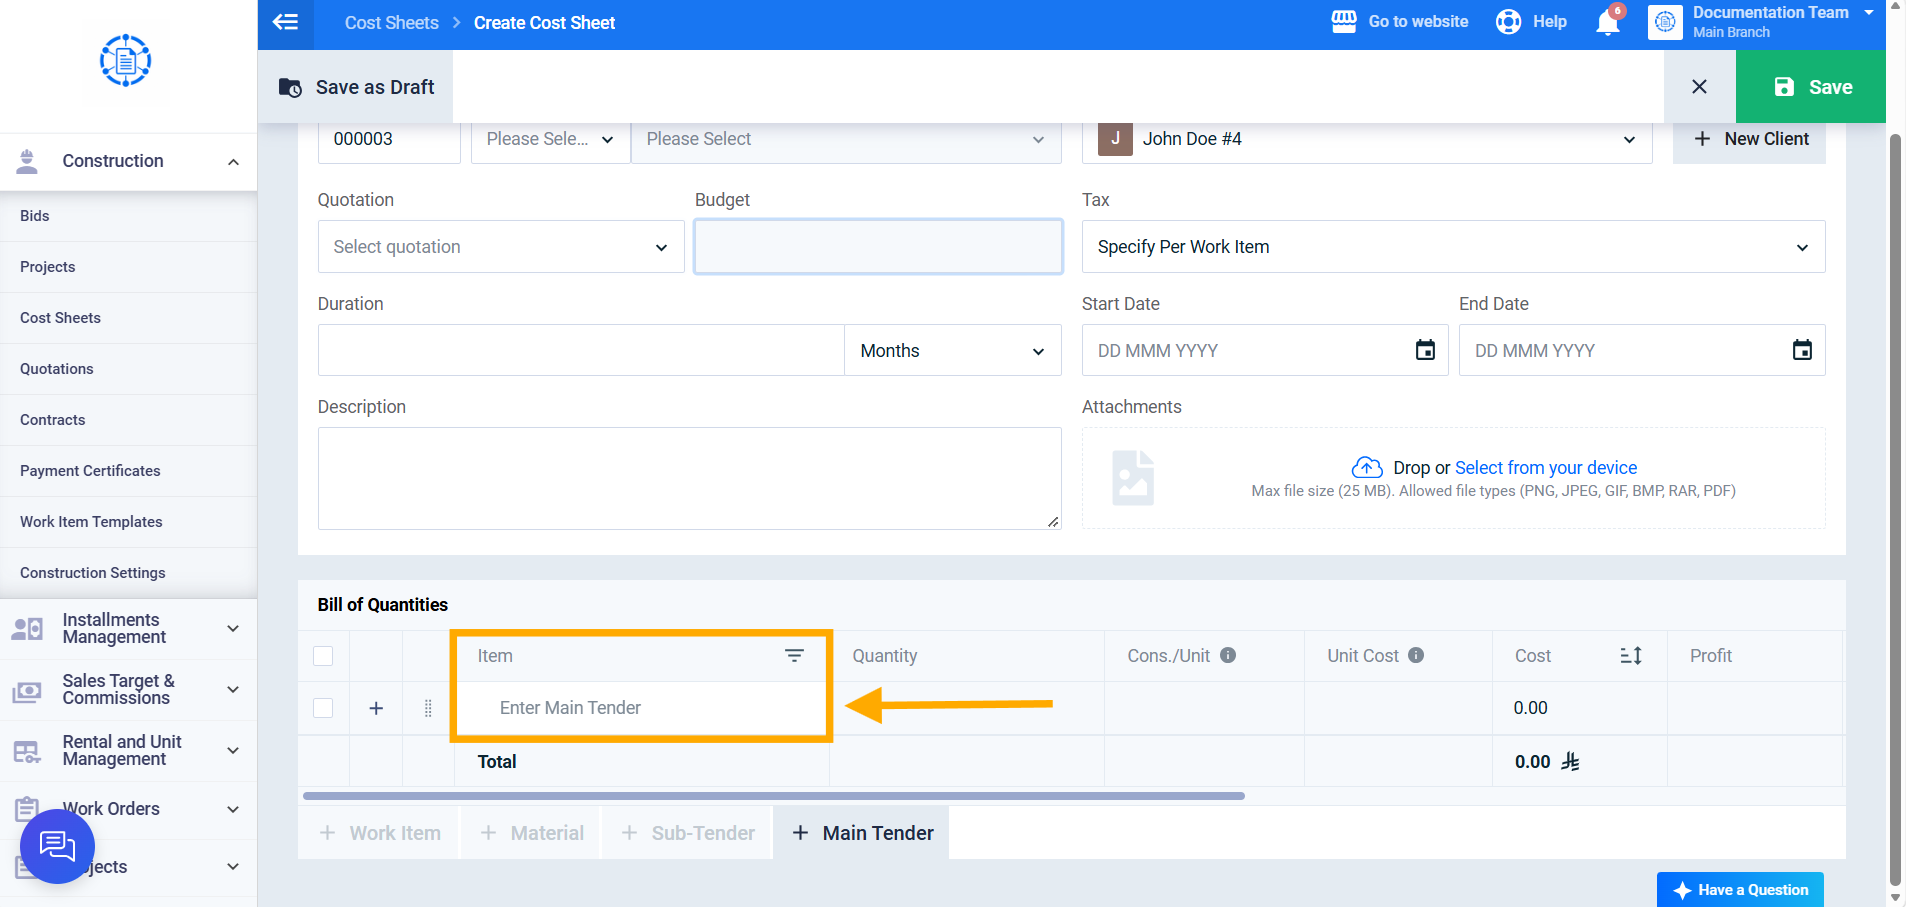
In the “Bill of Quantities” section, click “Enter Main Tender” to add the first main item to the table.
Step 6: Adding the Rest of the Table’s Elements
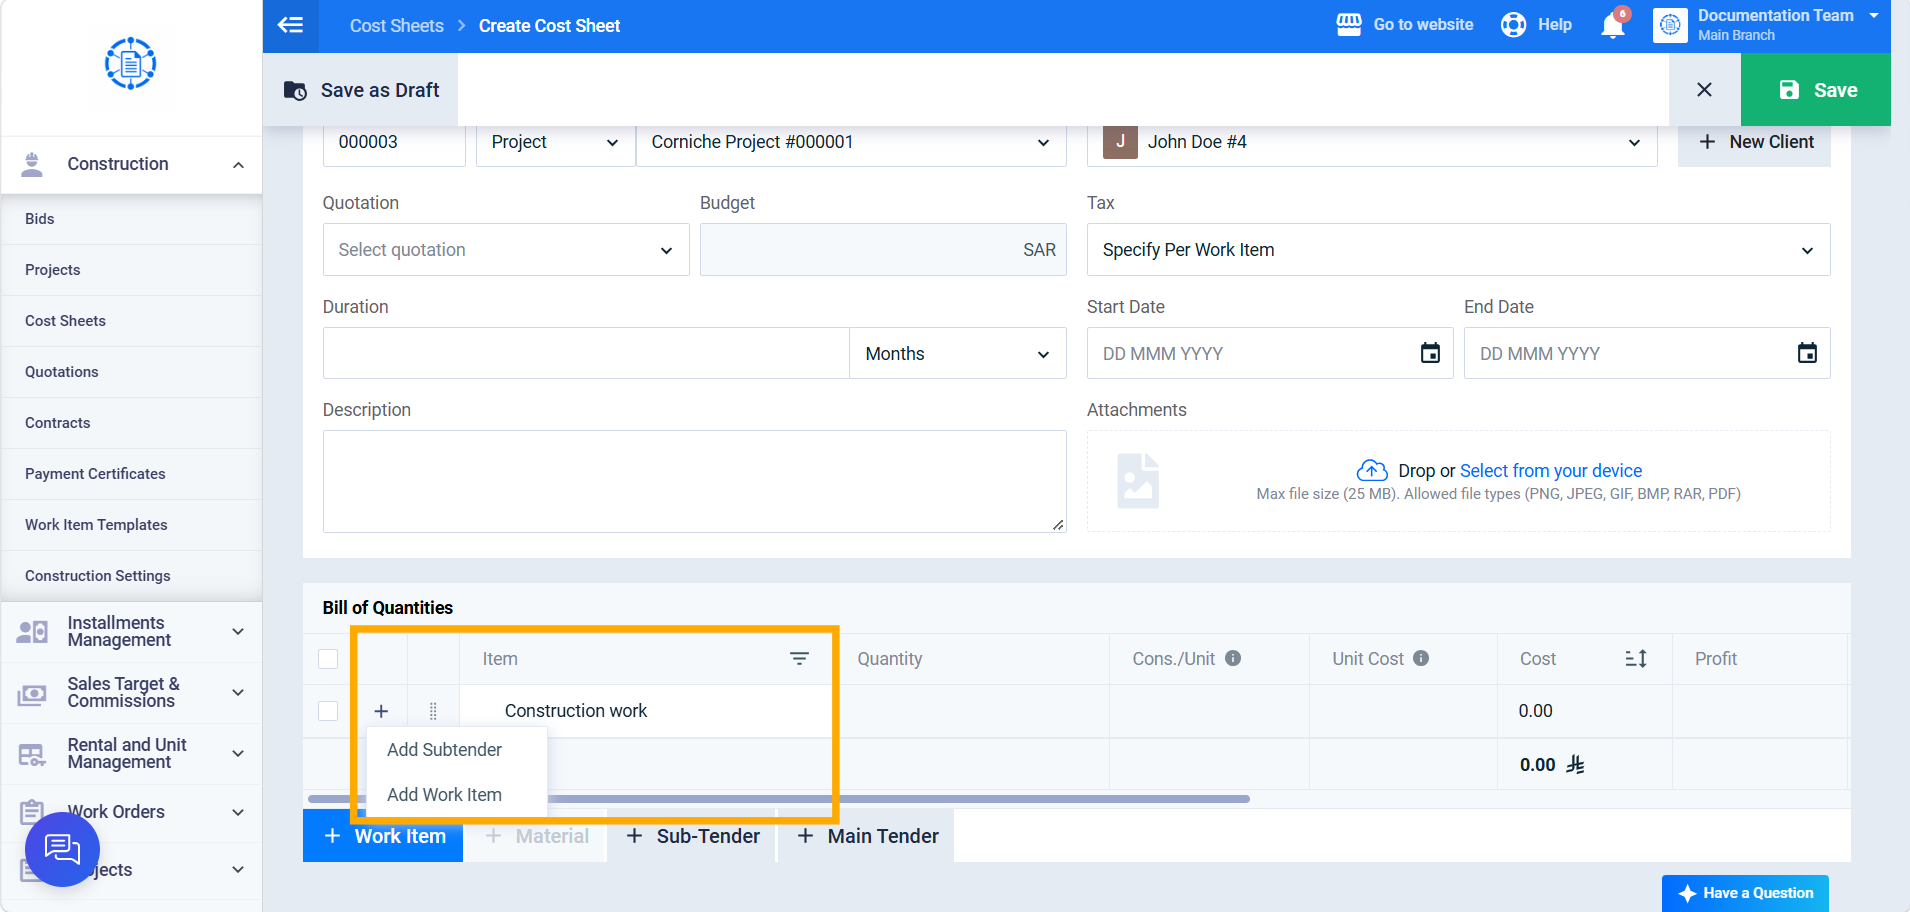
Use the buttons shown below the table to add additional elements as needed: “+ Main Tender,” “+ Sub-tender,” “+ Work Item,” or “+ Material/Labor.”
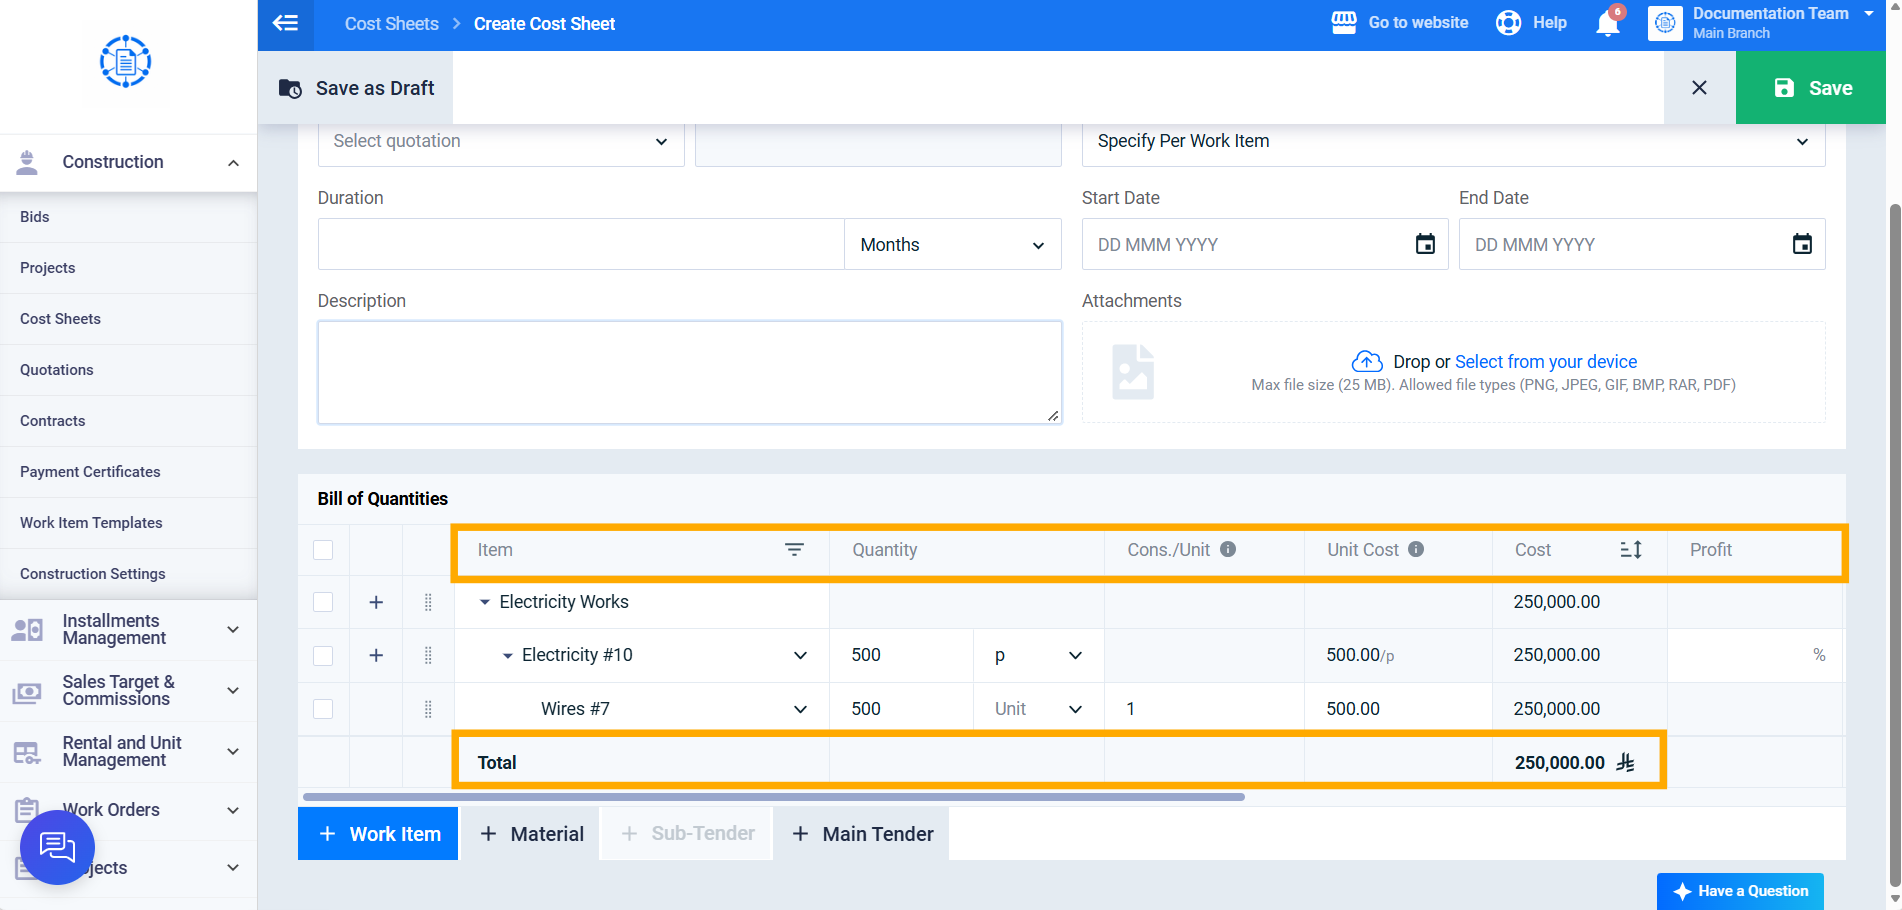
The Bill of Quantities displays the following columns: Item, Quantity, Consumption/Unit, Unit Cost, Cost, Profit Percentage, Sale Rate, and Total, with a “Grand Total” row below the table that updates automatically.
Fourth: Saving the Cost Sheet
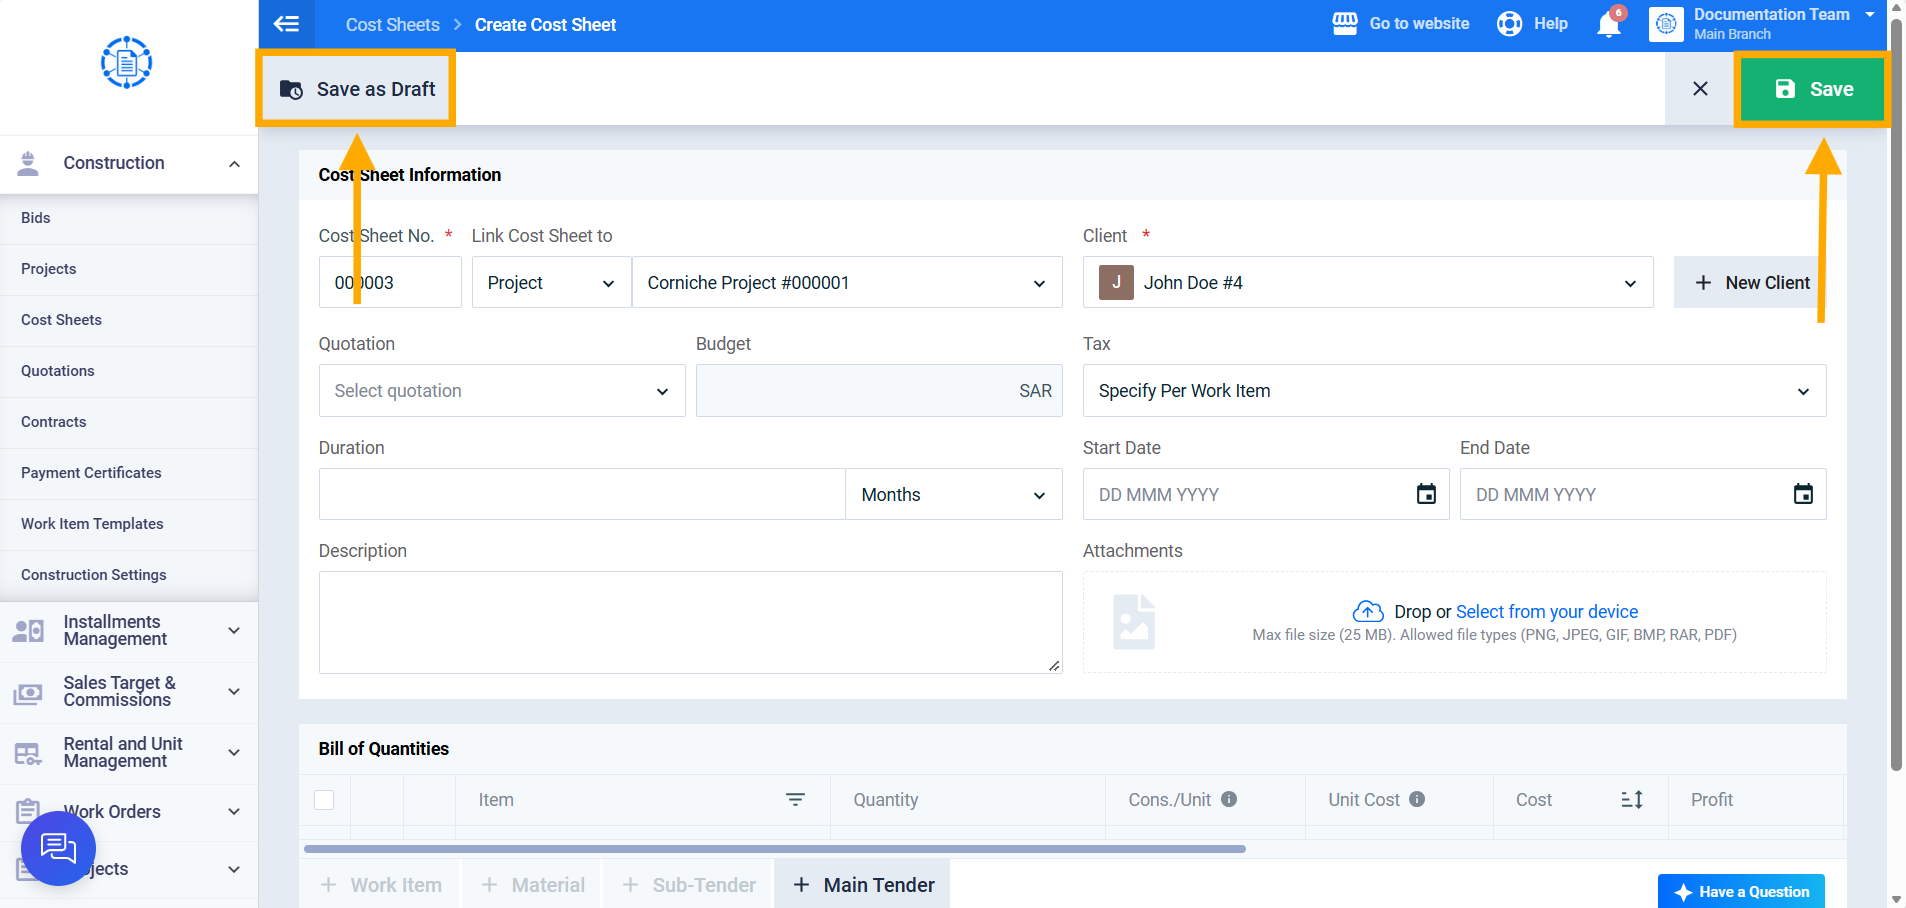
Step 7: Saving
Click “Save” to save the cost sheet with “Issued” status, or “Save as Draft” to save it with “Draft” status (in which case it receives a temporary number in the format “ID-Draft”).