


Managing Dynamic printing
The Dynamic Printing allows you to link multiple printers to the same Point of Sale (POS), enabling the same invoice to be printed simultaneously on several devices, such as the cashier printer, kitchen printer, and warehouse printer.
This feature is ideal for businesses that require automatic distribution of invoice copies across multiple departments, ensuring fast order execution and accurate coordination between sections.
This guide provides step-by-step instructions for setting up and managing the Dynamic Printing, so you can perform synchronized invoice printing directly from POS screens or within invoices effortlessly
Activating the Dynamic Printing
From the main menu, go to Settings, then select App Manager.
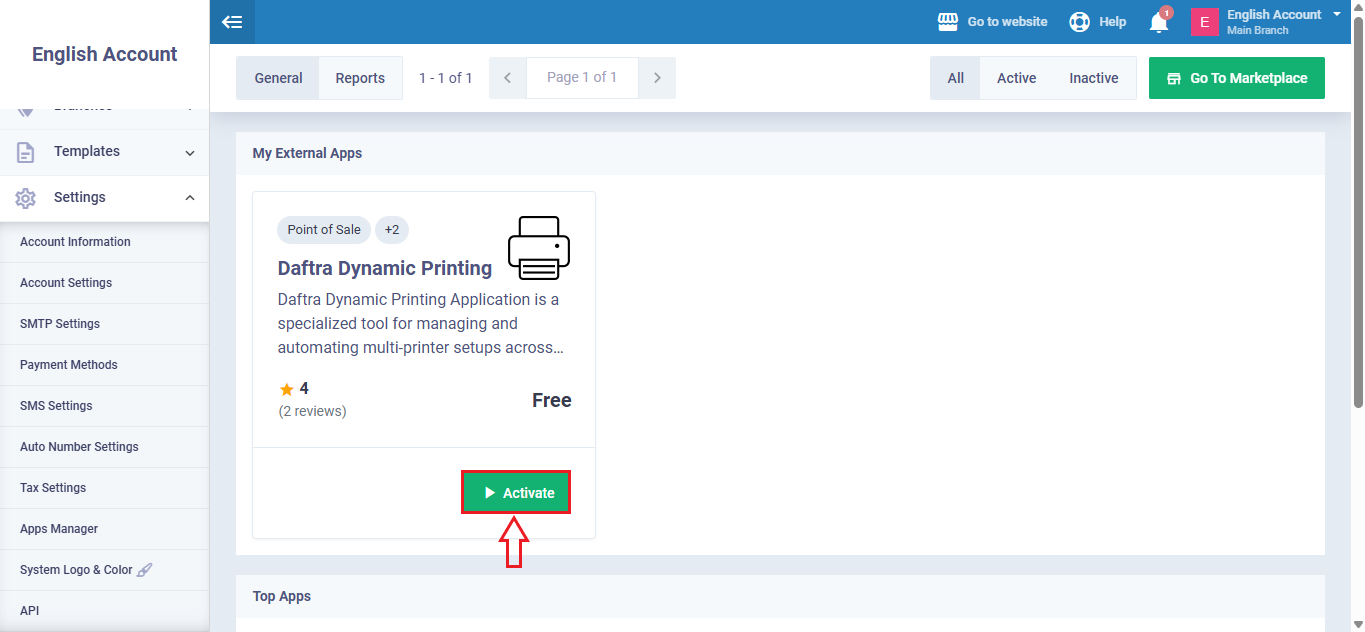
After that, click on Manage External Apps.
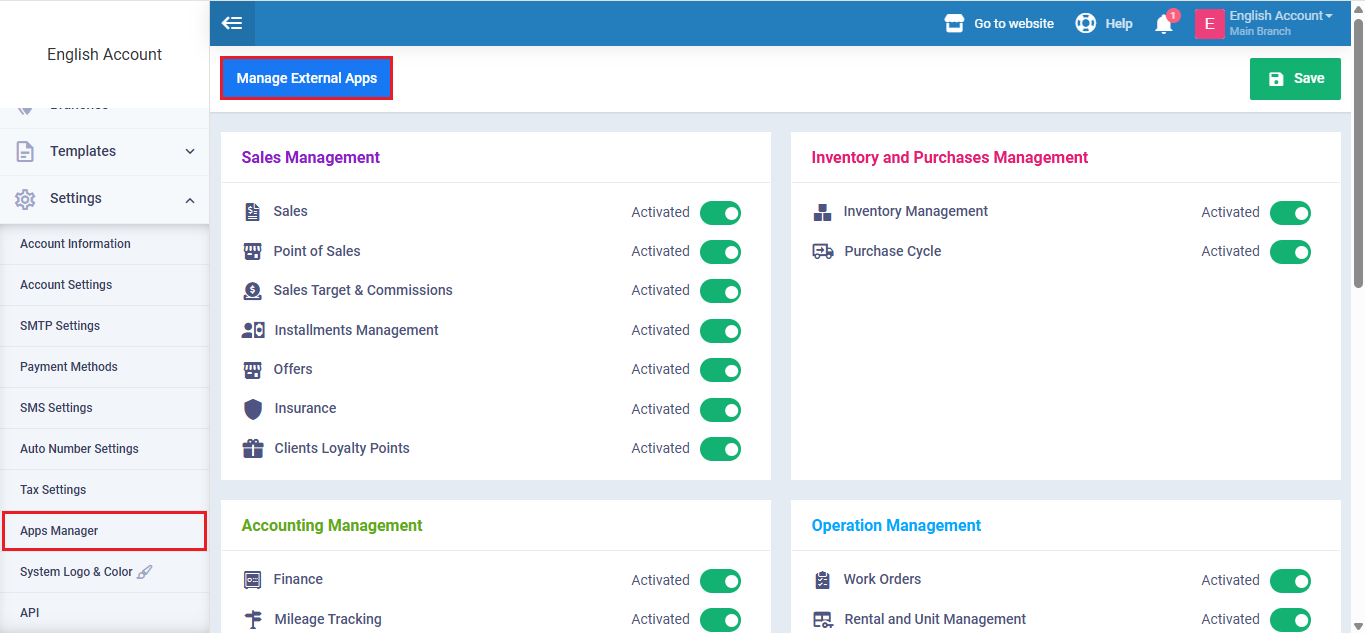
From the list, select the Multiple Printing, then click Activate the application inside the system.
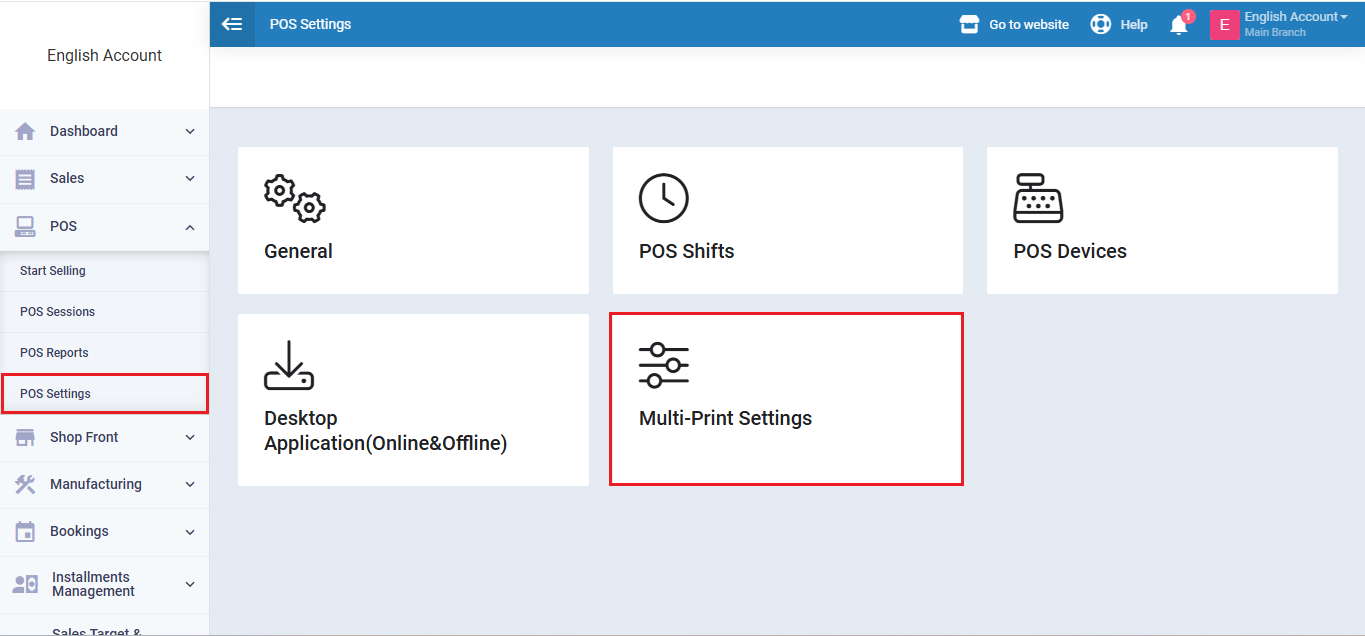
After installing the app, go to the Point of Sale section, then choose POS Settings.
Inside the settings, click on the “Multi-Print Settings” screen.
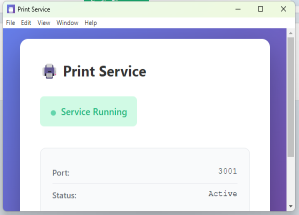
Click on the Download button to download the printer connector tool.
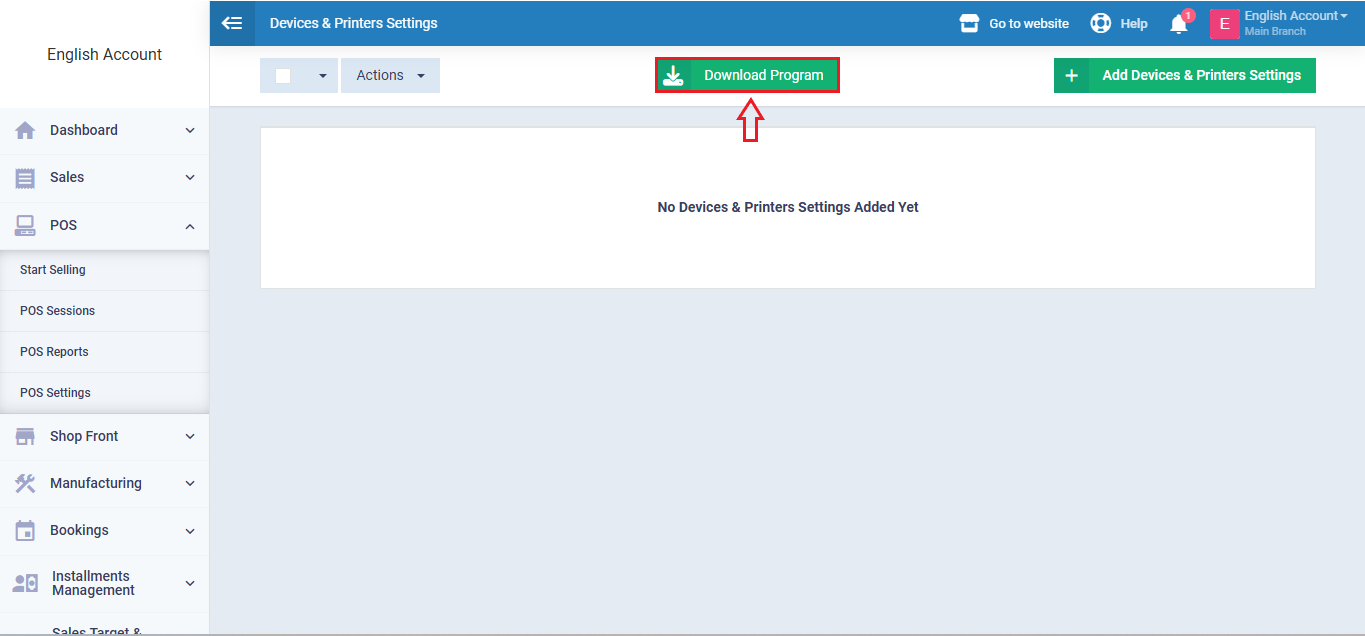
Open the program and click Allow to enable it to run, and the app will then be successfully activated.
Adding Device and Printer Settings
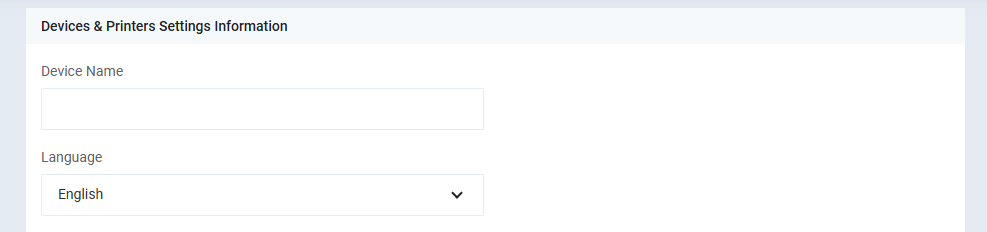
After activating the program, click on “Add Device and Printer Settings.”
A form will appear with several fields to fill in, including:
- Device Name: Enter the name of the device being used.
- Language: Select the language used for printing.
Below these fields, you’ll find the Categories and Printers section, which includes the following settings:
- All Categories: Enable this option if you want to print all categories on the receipt.
- Categories: Select only the categories you want to appear on the receipt.
- Printer: Select the printer linked to the current device.
- Print Test: You can test the printer before starting to ensure it works properly.
- Show Client Name: To include the client’s name on the receipt.
- Show Client Phone: To display the client’s contact information.
- Show Client Address: To display the client’s address.
- Show Item Name: To show the product or item name under the selected category.
- Show Description: Enable this option to show the item description on the receipt.
- Show Quantity: Enable this option to display the quantity for each product.
- Invoice Notes: To display additional details related to the invoice.
- Show Additional Fields: Enable this option to show additional fields at the top of the receipt.
- Show Custom Fields: Enable this option to print custom fields at the bottom of the receipt.
- Show Order Source: Enable this option to display the order source on the receipt.
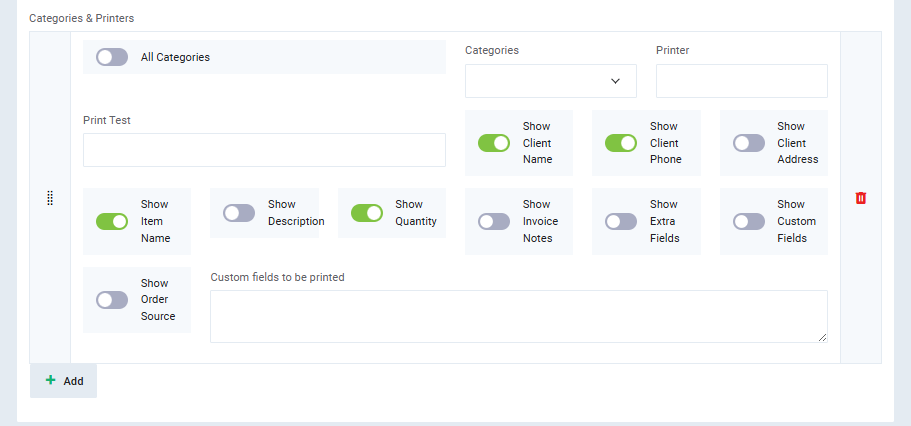
You can print more than one receipt with different data as desired by clicking on the “Add” button and repeating the same steps while applying the required changes.
Printing Receipts from POS
After completing printer setup, you can start selling from the Point of Sale screen through the main menu.
A message will appear prompting you to choose the printing device. Select the device to start the sale.
Next, select the categories you want to print on the receipt, along with other data you previously enabled (such as the order source) from within the device settings. This will generate the dynamic (multiple) receipts as configured.
Printing Receipts from Within an Invoice
From the Sales section, go to Invoice Management, then select the invoice for which you want to print multiple receipts.
A message like the one shown below will appear; click on the option you want.
Click on the “Dynamic Print” button to execute printing using the settings you previously defined.