


Edit Client Information from the Invoice Creation Page
Many times, we need to edit client details like “Client Name,” and we want to issue invoices with the updated client name. To make these changes easily, you can do it from the invoice creation page instead of going to the client page and then returning to the invoice page.
Note: Changing the client’s name will not affect previously issued invoices, but it will affect any new invoices issued after the modification.
Steps to Edit Client Information on the Invoice Creation Page
- Click on “Sales” from the main menu.
- Click on “Create Invoice.”
- Enter the invoice details as required. For more details, refer to the “ Invoice Data and Additional Custom Fields” guide.
- Client: select the client for whom the invoice is being issued from the list of registered clients.
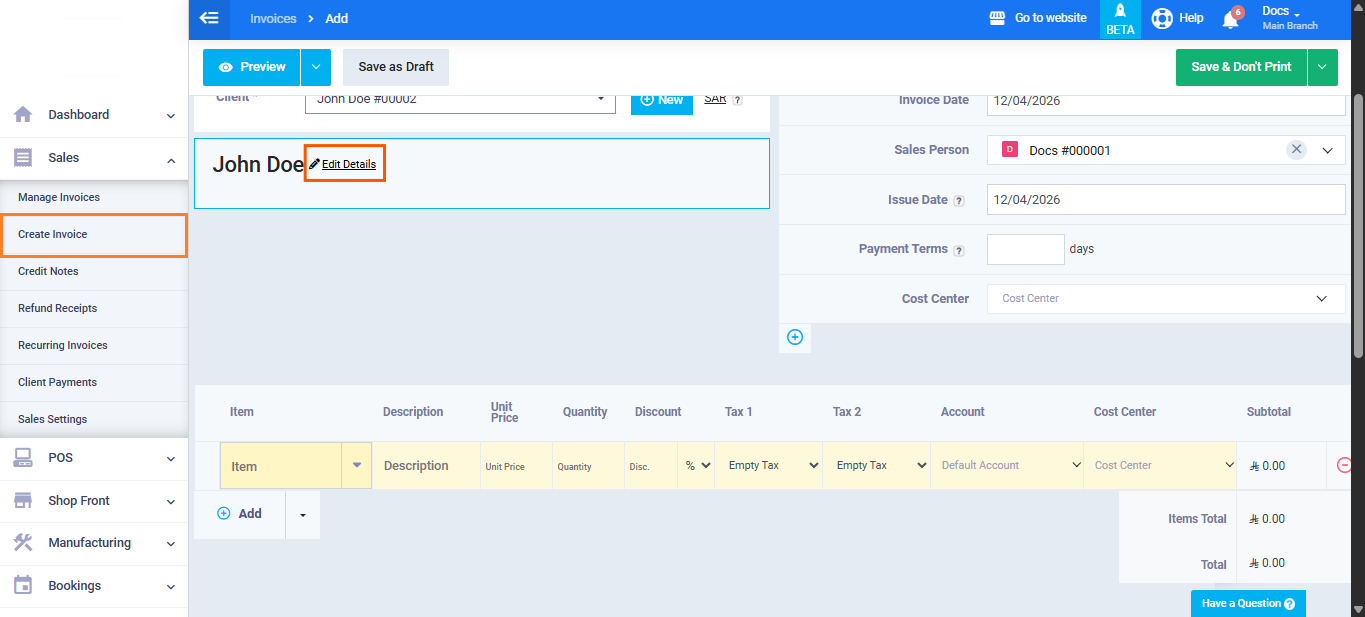
- After selecting the client, click on “Edit Details” next to the client’s name.
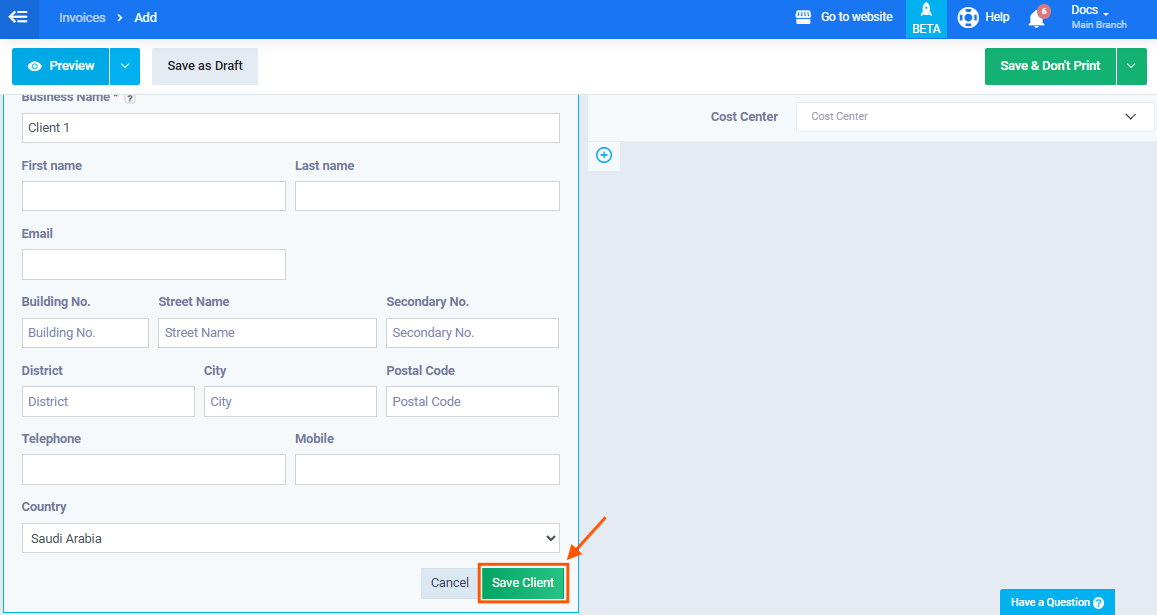
- Modify the necessary information, for example, the “Business Name.”
- After editing the information, click on “Save Client” located at the bottom of the client’s details.
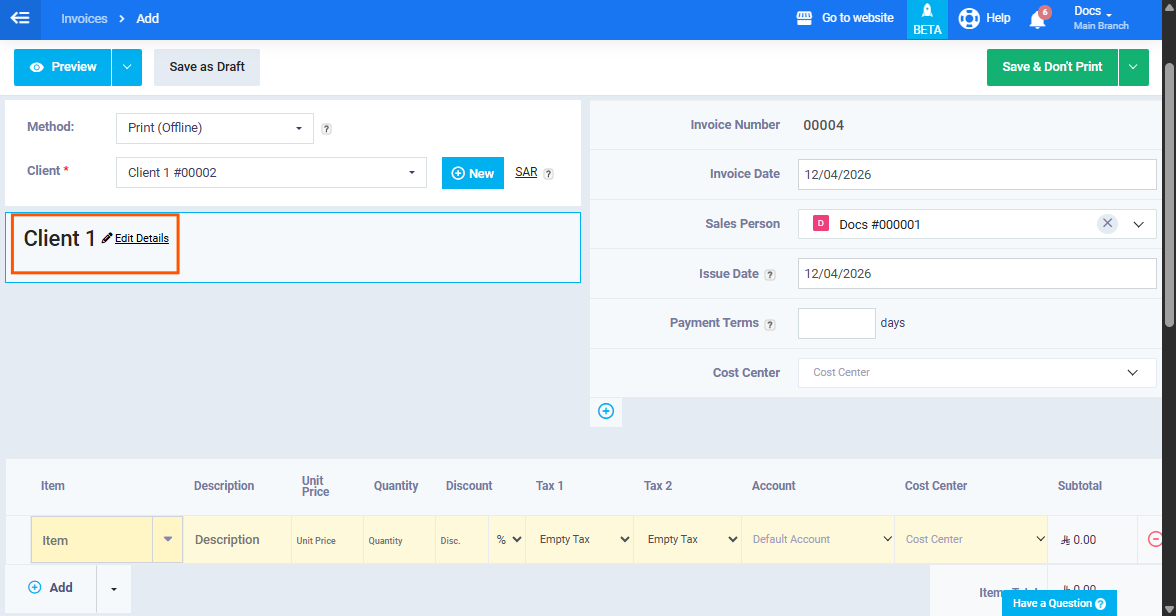
- After saving, the client will appear with the updated name, and you can proceed to save the invoice with the new changes.
- Complete the invoice details. For more information, refer to the “Create a Sales Invoice” guide.
Example:
- After selecting the client “John Doe,” click on “Edit Details” to change the client’s name.
The client’s business name h1as been changed from “John Doe” to “Client 1 .”

Click on “Save Client” after modifying the information.
After saving, the “client name” will appear with the new name as shown in the following image.
Errors to Avoid When Adding Client Data in Invoice Design
Sometimes, we may need to add a new design for sales invoices or modify client data within the invoice template. To avoid errors, you should always use variables for client data and avoid adding the client’s name directly within the template.
Steps to correctly add client data/client name:
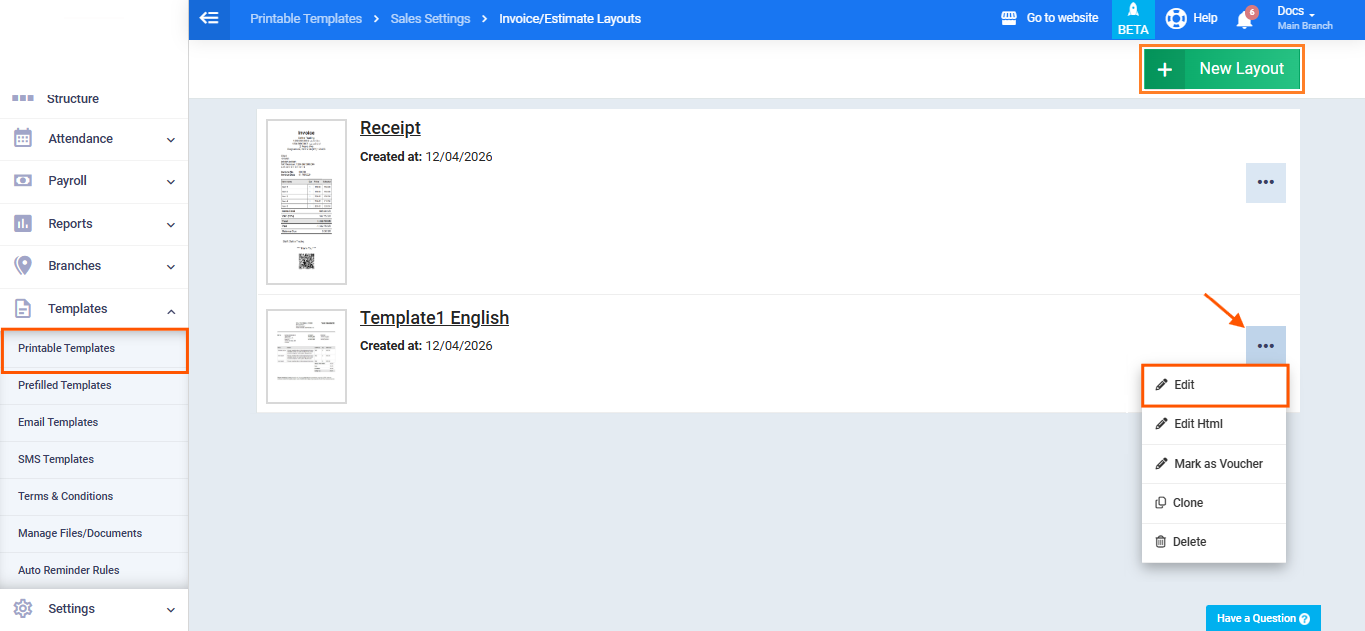
- Click on “Templates” from the main menu.
- Click on “Print Templates.”
- Click on the “Invoice & Estimate Layout” card.
- Click on the “New Layout” button.
- If you already have a design, click on the three dots “…” next to the design, then click “Edit.”
- Select one of the supported initial designs provided by the software for editing.
- Make the required changes in the “Client Data” section, where you can edit the following:
-
-
- Client Business: Use the variable “{%client_business_name%}” to add the client’s business name dynamically with each new invoice.
- Client Tax ID: Use the variable “{%client_bn2%}” to add the client’s tax ID dynamically with each new invoice.
- Client Mobile: Use the variable “{%client_mobile%}” to add the client’s mobile number dynamically with each new invoice.
- Client Email: Use the variable “{%client_email%}” to add the client’s email address dynamically with each new invoice.
-
8. Use the “Complete Variable Guide” page to obtain the required information to add to the invoice template.
9. Click on the “Save” button.
Example:
- Click on “Edit” to modify an existing design or “New Layout” to create a new one.
- Click on “Client Info” to edit the information that needs to be added to the design.
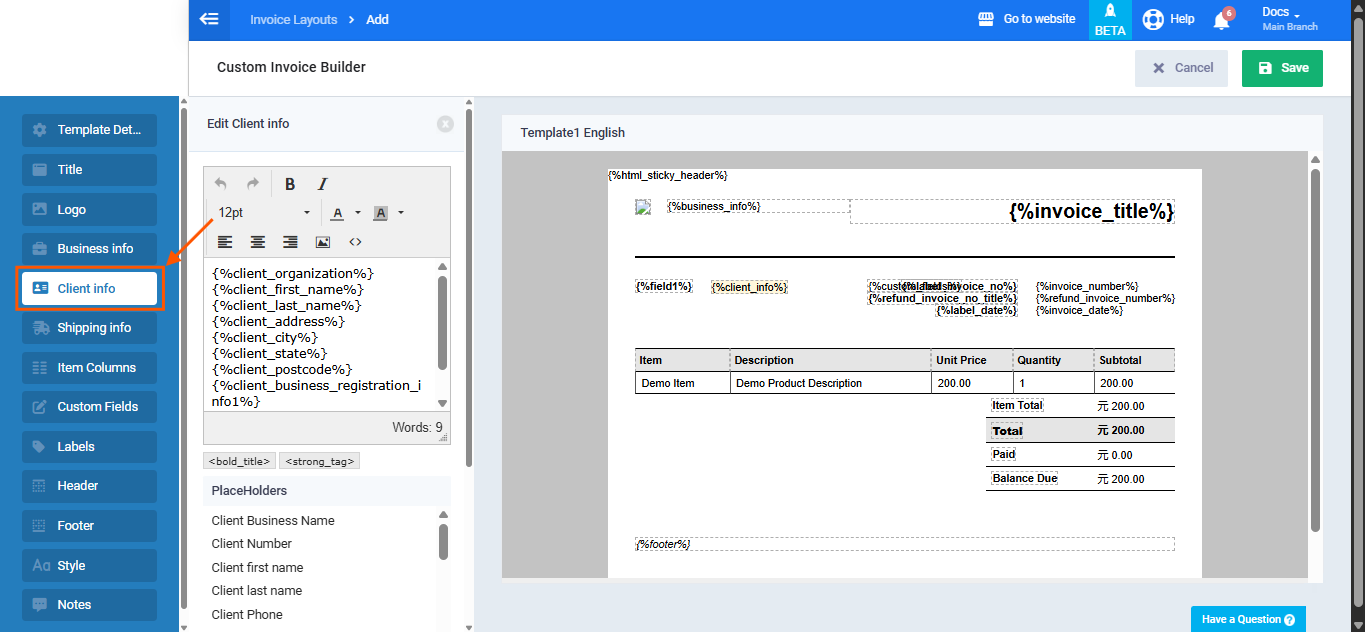
- Add the required variables in the box for client data by clicking on the desired variable among the replacement words.
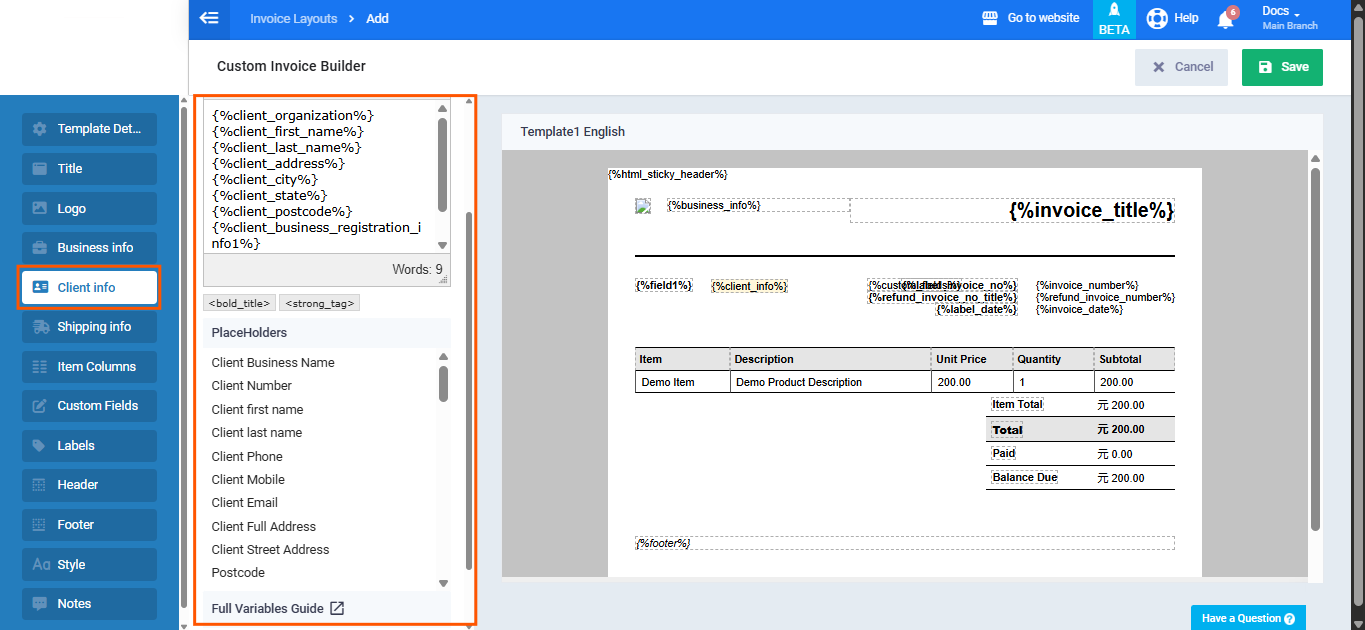
You can use the “Full Variables Guide” page located below the replacement words to get all the variables.