


Invoice Payment Methods
Diversifying payment methods and offering multiple choices tailored to each client’s preferences is essential for attracting and retaining a wider client base. Daftra provides you with various payment methods and makes it easy to add more options. This way, you can avoid obstacles related to the available payment methods in a specific country or with a particular client. Let’s explore the different payment methods and how to handle them.
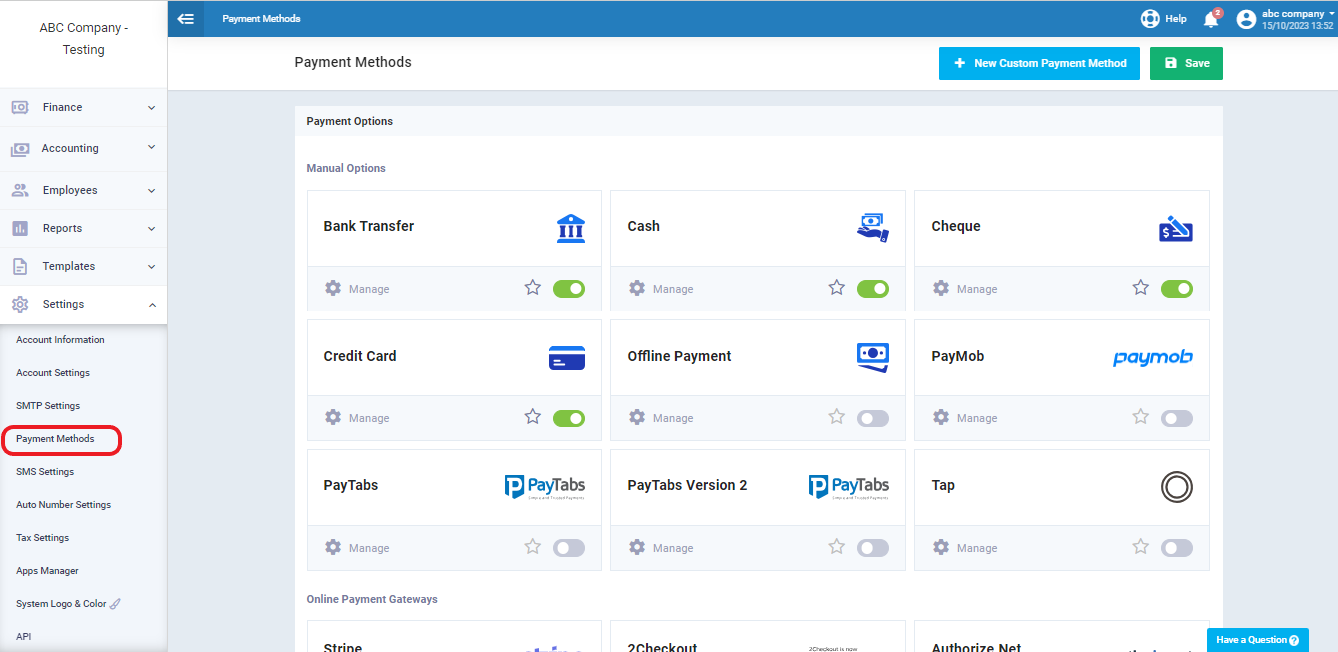
Activate the Payment Methods you Want to Use
From the “Settings” in the main menu, click on “Payment Methods” to find a list of various payment methods that can be activated by simply clicking on “Active.” You can also deactivate them by using the “Inactive” button.
Additionally, you can make a payment method the default one for all transactions by setting it as “Default.”
To control the details of a payment method, click on the “+” symbol.
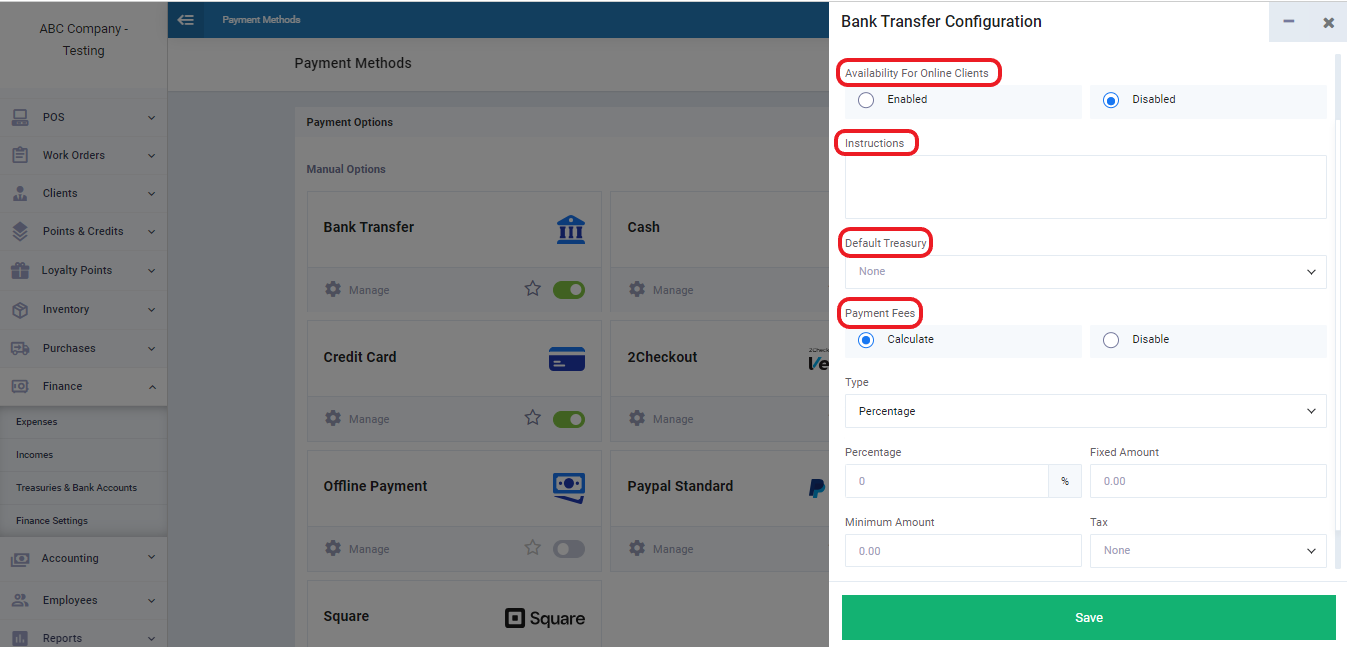
When reviewing a specific payment method, you can configure some properties, which include:
- Controlling the ability of a client to use the payment method online by activating or deactivating the “Not Enabled for Online Client” feature. If you don’t activate online payments for clients, your employees will only use this payment method, and clients won’t be able to make online payments through it.
- Instructions: This field is optional and can be used to provide instructions or notes related to the payment method.
- Default Treasury: You can choose the treasury that should be automatically linked to this payment method.
- Payment Fees: This section pertains to the fees associated with the payment method and any associated taxes.
Note: The “Default Treasury” requires you to have more than one treasury in your “Treasuries & Bank Accounts” in the “Finance” dropdown menu in the main menu.
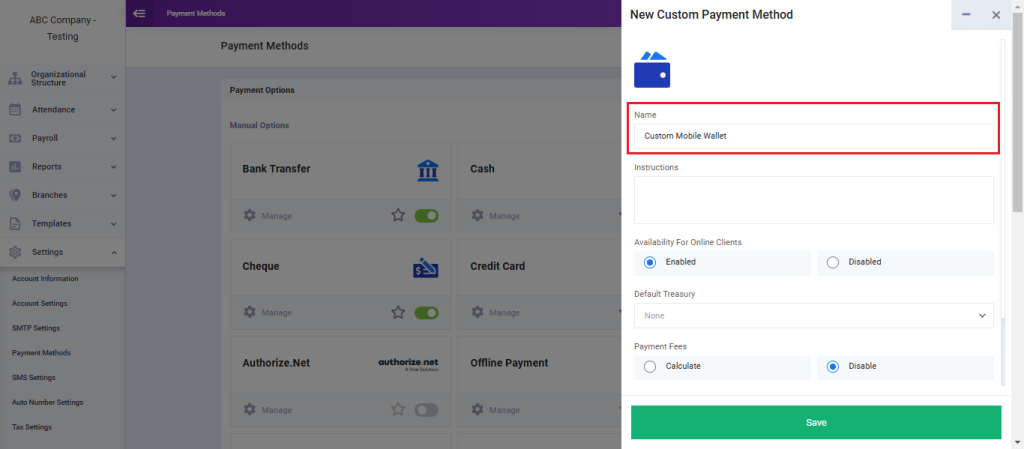
Add a Custom Payment Method
If you don’t find the payment method you’re looking for among the available options, you can easily customize a new one by clicking on “New Custom Payment Method.”
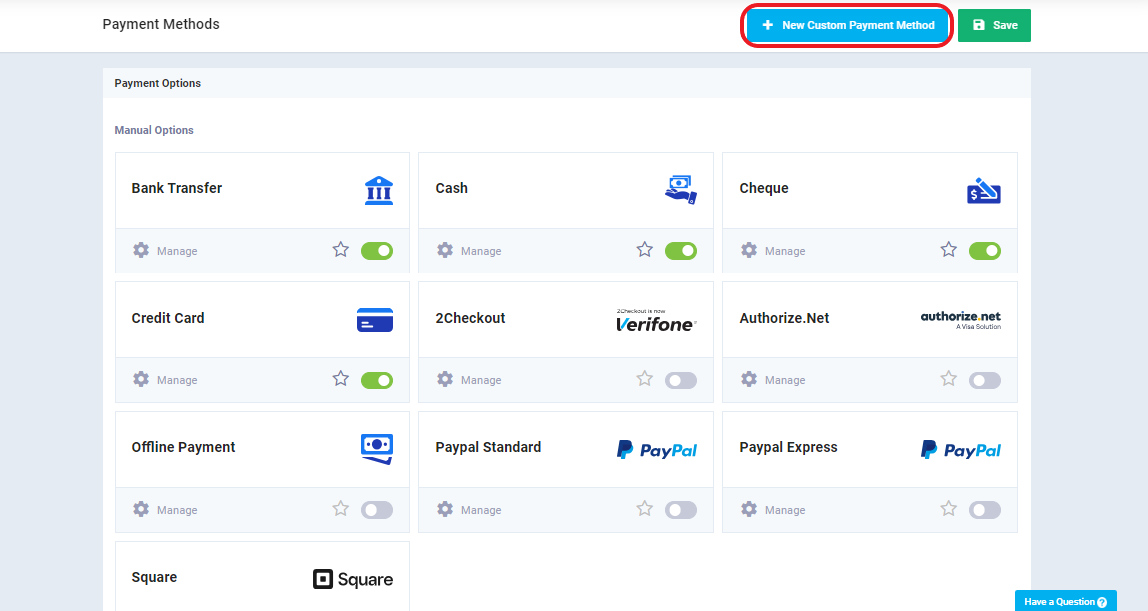
Enter the payment method’s name and configure its properties that are not different from the properties of the payment methods in the system, then click “Save.”
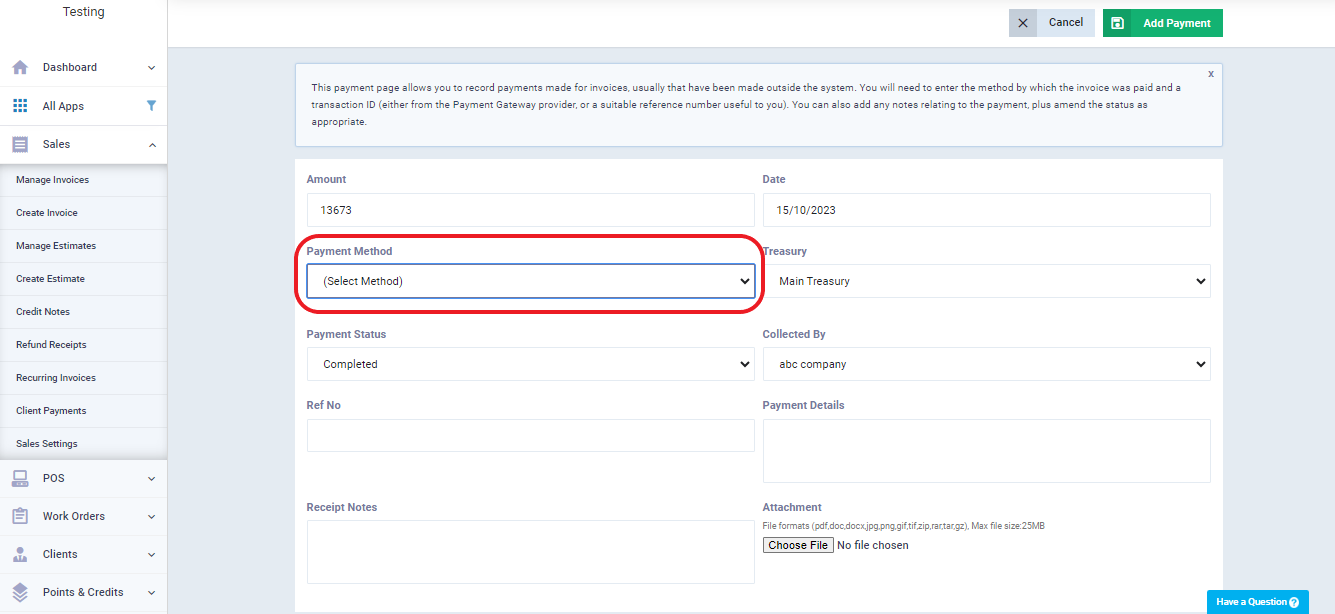
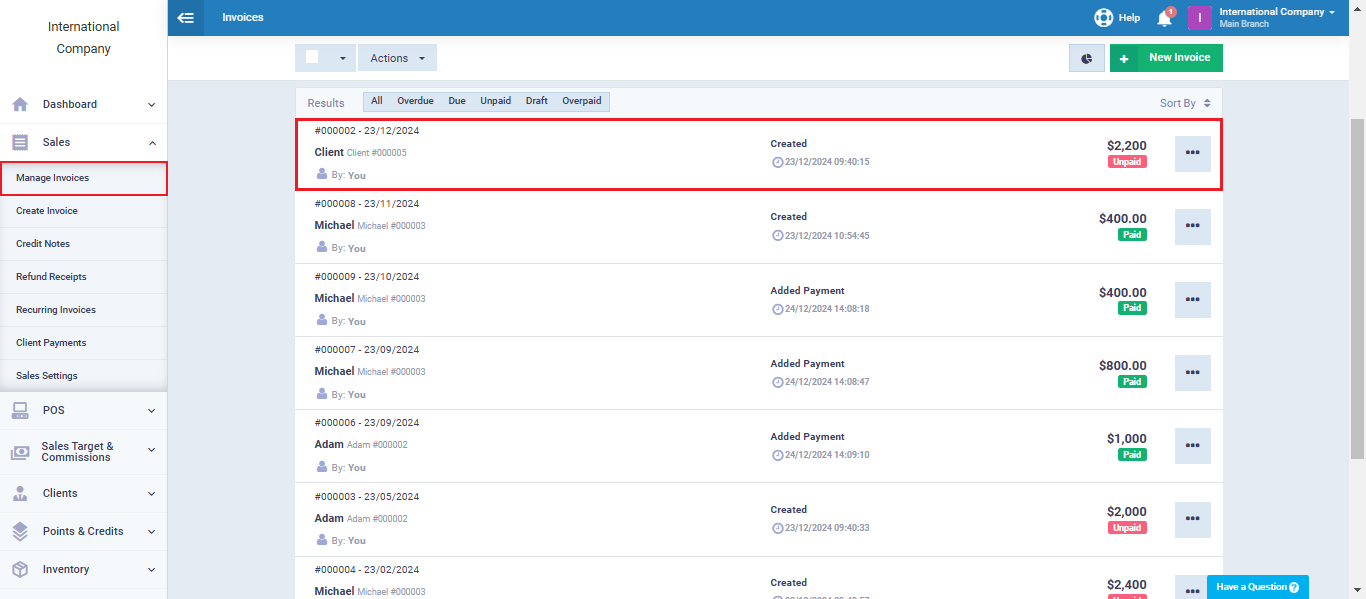
After activating the payment method, you can use it to pay client invoices, whether created directly or old unpaid invoices. Go to the “Manage Invoices” dropdown under “Sales” in the main menu, and select any unpaid invoice.
After clicking on the invoice, click the “Add Payment” button.
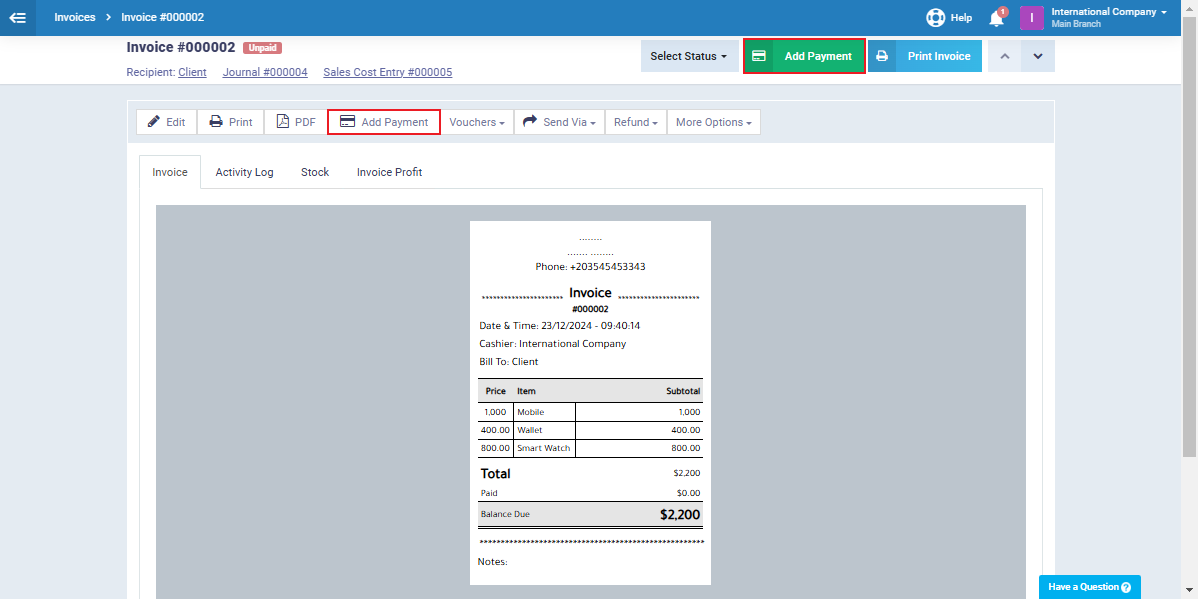
Select a payment method from the activated payment methods in your system, then complete the payment details.
Please note that the payment method with the activation priority is the one you chose as the default payment method, as we explained earlier.