Back

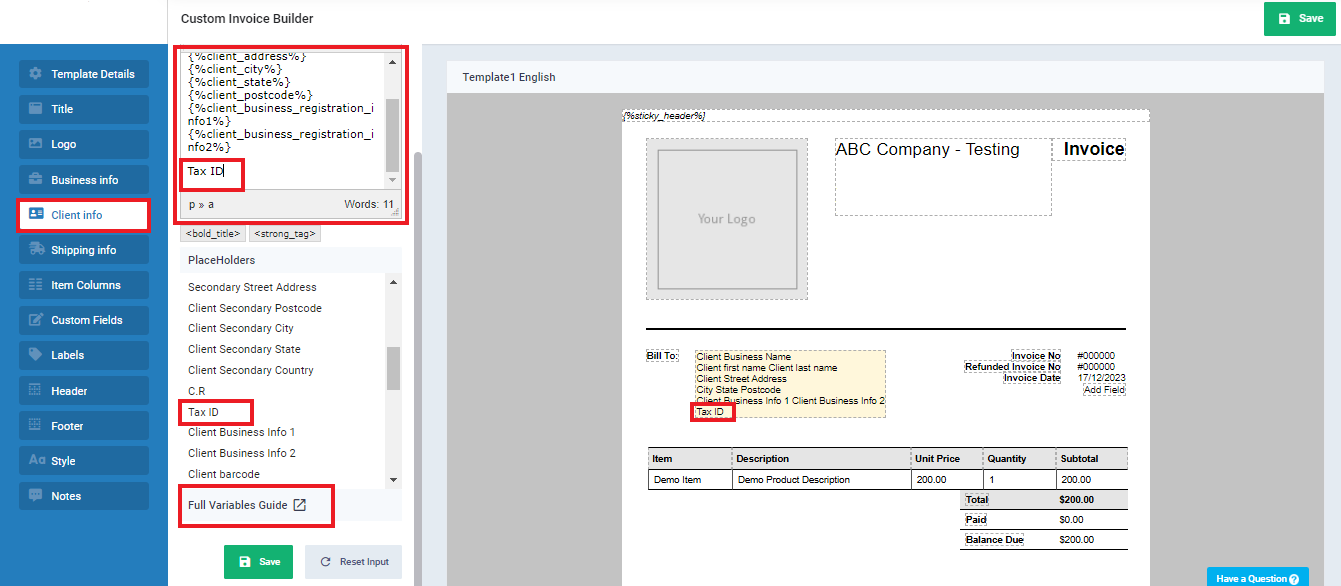
Displaying the Tax Number for the Supplier/Client in the Invoice Layout

In addition to the default invoice layout, Daftra provides several other layouts that you can use as they are or customize by adding or removing some fields or changing the design. In this article, we will discuss how to control the display of the creation time and print time in the print layout for sales and purchase invoices.

How to display the tax number for the supplier/client in the invoice layout
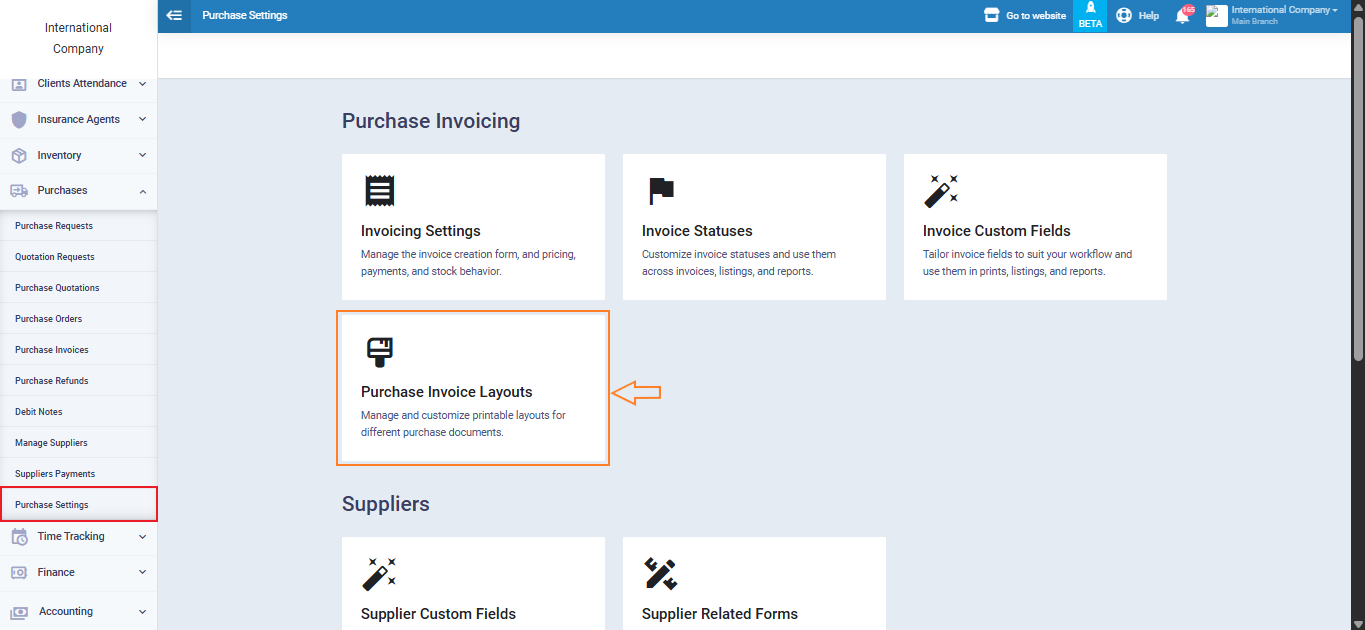
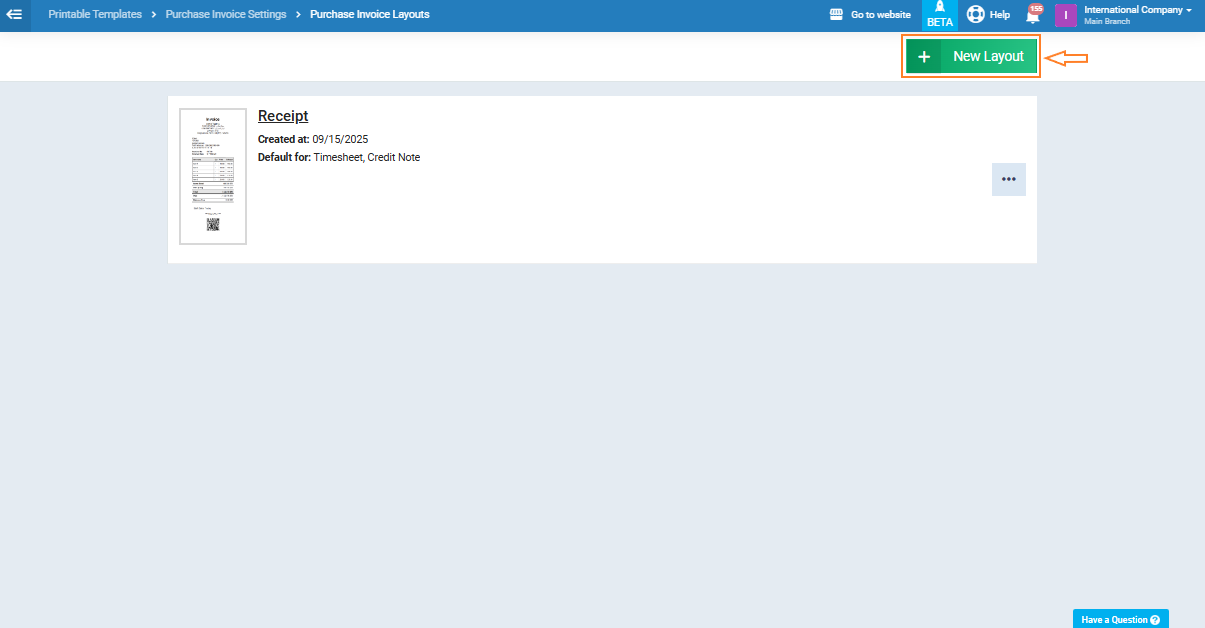
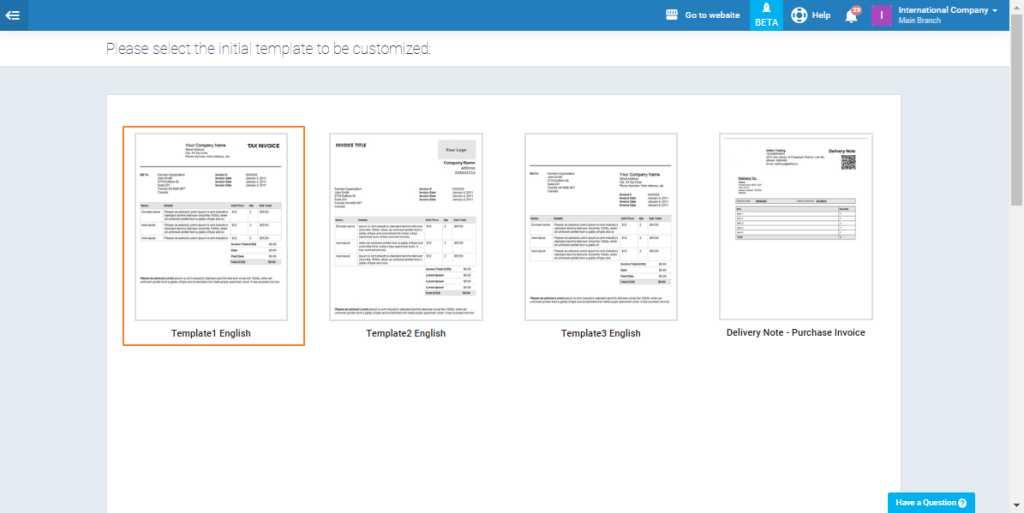
To go to the invoice layouts for editing layouts, click on “Sales Settings” in the drop-down menu under “Sales” in the main menu to go to sales invoice layouts. Alternatively, click on “Purchase Invoice Settings” in the drop-down menu under “Purchases” in the main menu to go to purchase invoice templates. Then click on “Purchase Layouts.


You will see the layouts that you have already edited, and you can click on one of them or choose a different layout by clicking on the “New Layout” button.


Choose a Layout

Choose the location where you want to display the tax number from the sidebar menu or by clicking on this section in the invoice itself. Place the arrow pointer where you want to display the field for the tax number. You will find the words “Tax ID” in the replaced text; click on it to display the tax number in this layout for the invoice.

You can add the fields you want and control how these fields are displayed, or change the field name. You can learn more about this in detail from the following guides: Adding a custom field to the invoice – Changing the name of the field in the invoice layout – Controlling the display of items and prices in invoices – Assigning a different design for each document in the purchasing/sales cycle – Changing the name of a field in invoice layouts.