







Creating an Income Receipt Design
Steps to Create an Income Receipt Template Design
The system lets you add or edit income receipt templates, and change the data that appears in the template, whether related to the business, the client/supplier, or otherwise. This includes setting logos, stamps, and the template content.
- Click “Templates” from the main menu.
- Click “Printable Templates”.
- Click the “Incomes” card.
- Click the “Add Template” button.
- Set the name of the new template in the “Template Name” field.
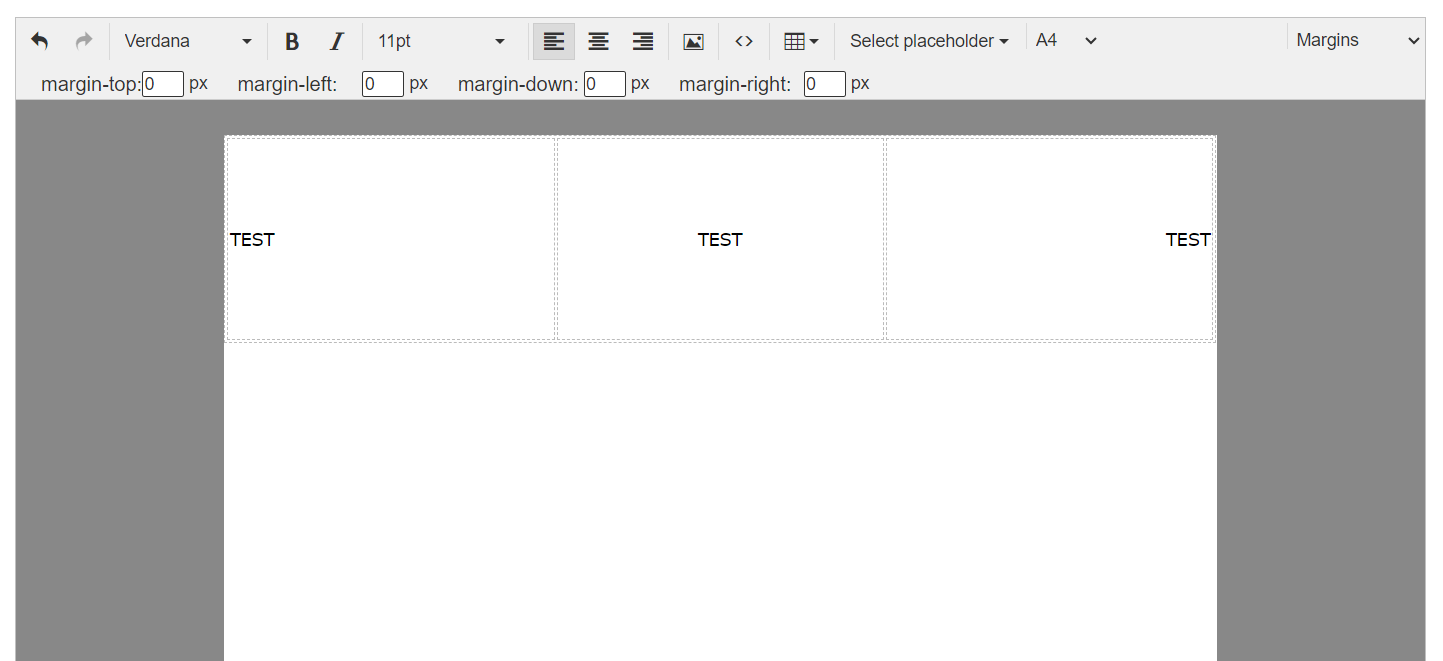
- Add the required data in the template content section, and you can control the data formatting as follows:

- ↶: Through this field you can undo the last change added and return to the change before it.
- ↷: Through this field you can return to the last addition/edit after it was removed.
- Times New Roman: Through this field you can select the font type used to display the template data.
- B: This button lets you display words in a font heavier than the normal font.
- I: This button lets you display letters in italic.
- 12PT: Through this field you can select the font size used to display the template data.
- Text Align: Through the three available options you can set the data direction: far right, far left, or the middle of the page.
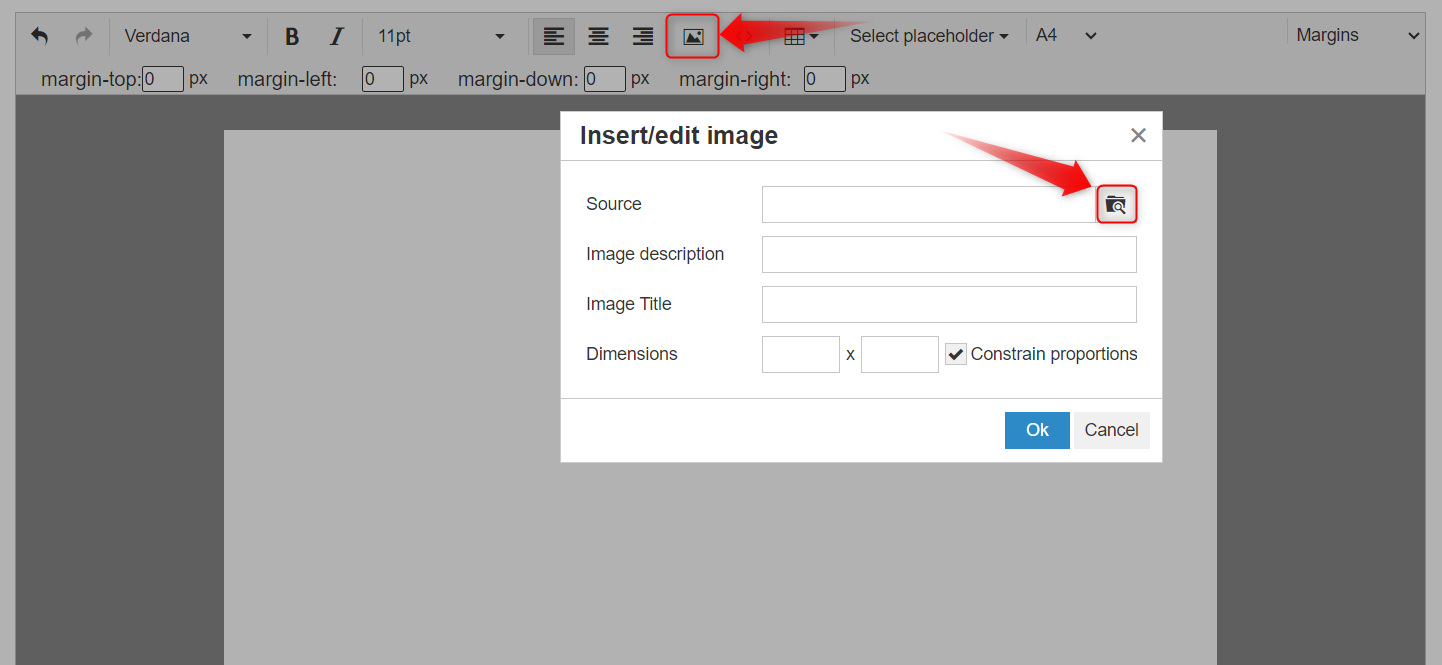
?: Through this field you can add an image to the design data
.
<>: Through this field you can add custom code to the design data.

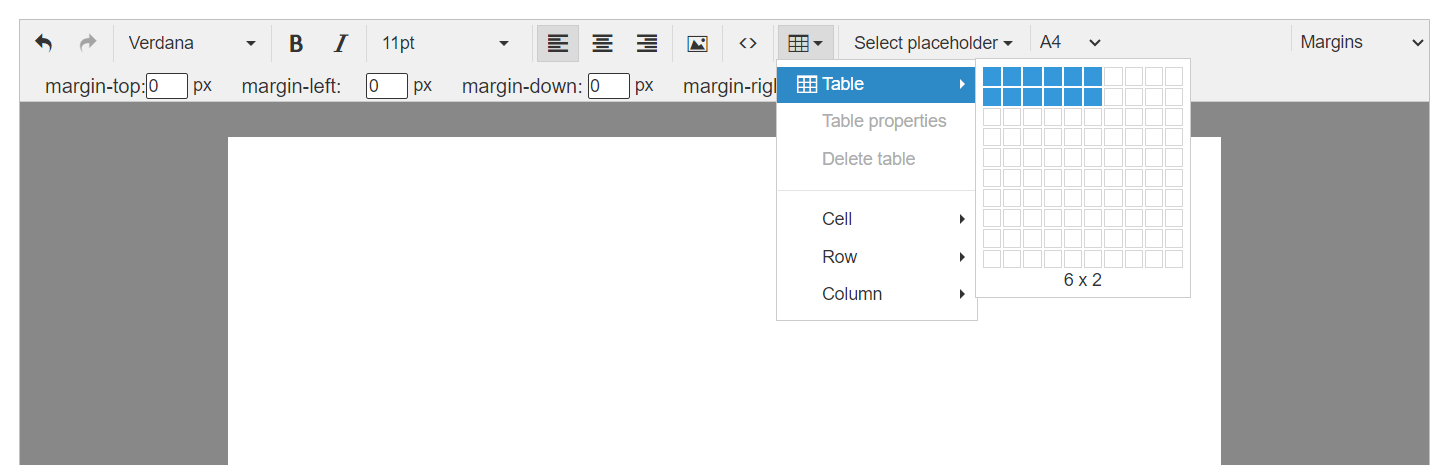
? : Through this field you can add a custom table to the design data, which lets you set the number of columns and rows to add.
Select Placeholder: Through this field you can select the placeholders for the data you want to add to the design.
Example: if you want to add the income receipt amount, click this field then select the placeholder for “Expense Amount”.

A4: Through this field you can set the size of the design to add to the account.
-
- If you select “Other” you must set the paper size for both height x width then click “Set”.
- More Settings: When you click this field, a new option appears, “Margins”, which lets you set and add margins to the design.
FAQs
- How do I set a specific print template as the default for income receipts?
From Templates → Printable Templates, click the “Incomes” card, then click “Set as default” next to the required template. It becomes the default template for income receipts, and the default is removed from the previous template automatically. To remove it, click “Remove default”.
- Can income receipts have more than one default template?
No; there is only one default template for each document type, and when you set a new template as default, the default is removed from the previous template.
- I want minor changes to a ready template; should I start from a blank template?
No need; clone one of the ready designs in the “Incomes” card and edit the copy, then save it with a new name.
- How do I add the receipt amount, date, or treasury to the template?
From the “Select Placeholder” list in the formatting tools, select the required placeholder (such as the receipt amount, its date, the treasury, or the amount in words); it is added to the template content and changes automatically according to each receipt’s data.
- How do I add the business logo or stamp to the template?
Use the add image button in the formatting tools, upload the logo or stamp image, then place it where you want inside the template content.
- How do I print the receipt on paper other than A4?
From the paper size field, select the required size, or select “Other” and set the height and width, then click “Set”. To add margins, click “More Settings” then “Margins”.
- I edited the template and the change didn’t appear when printing?
Make sure you clicked “Save”, and that you print the receipt with the same template you edited, or make it the default template for income receipts by clicking “Set as default”.