


Creating a Product Label Template (Barcode)
The system allows you to create and customize product label templates, including modifying the displayed data related to the business, clients, supplier, and more.
You can also customize logos, stamps, and template content.
Steps to create a Barcode Label Template
- Click on “Templates” from the main menu.
- Click on “Printable Templates“.
- Click on the “Product Label” card.
- Click on the “Add Template” button.
- Specify the name of the new template in the “Template Name” field.
- Add the required data in the template content section and control the data formatting as follows:
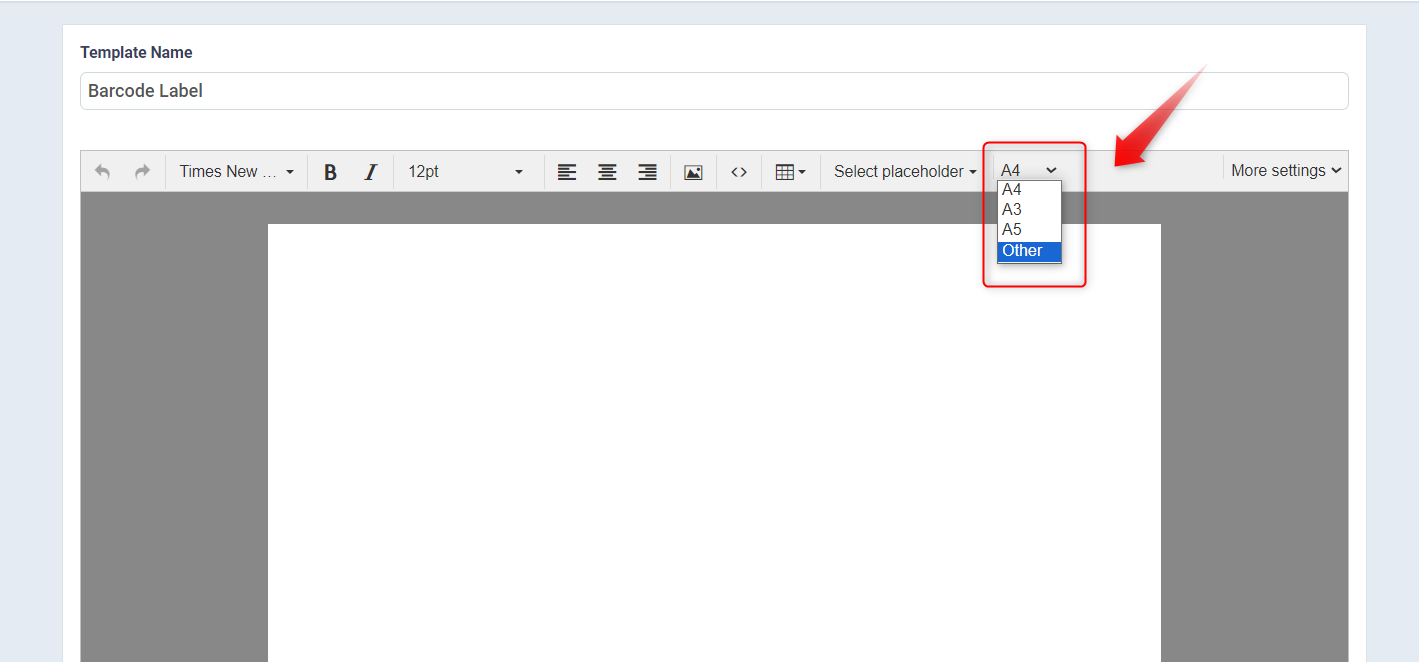
First: Select the size of the barcode label by clicking on the option “A4” then choosing “Other”
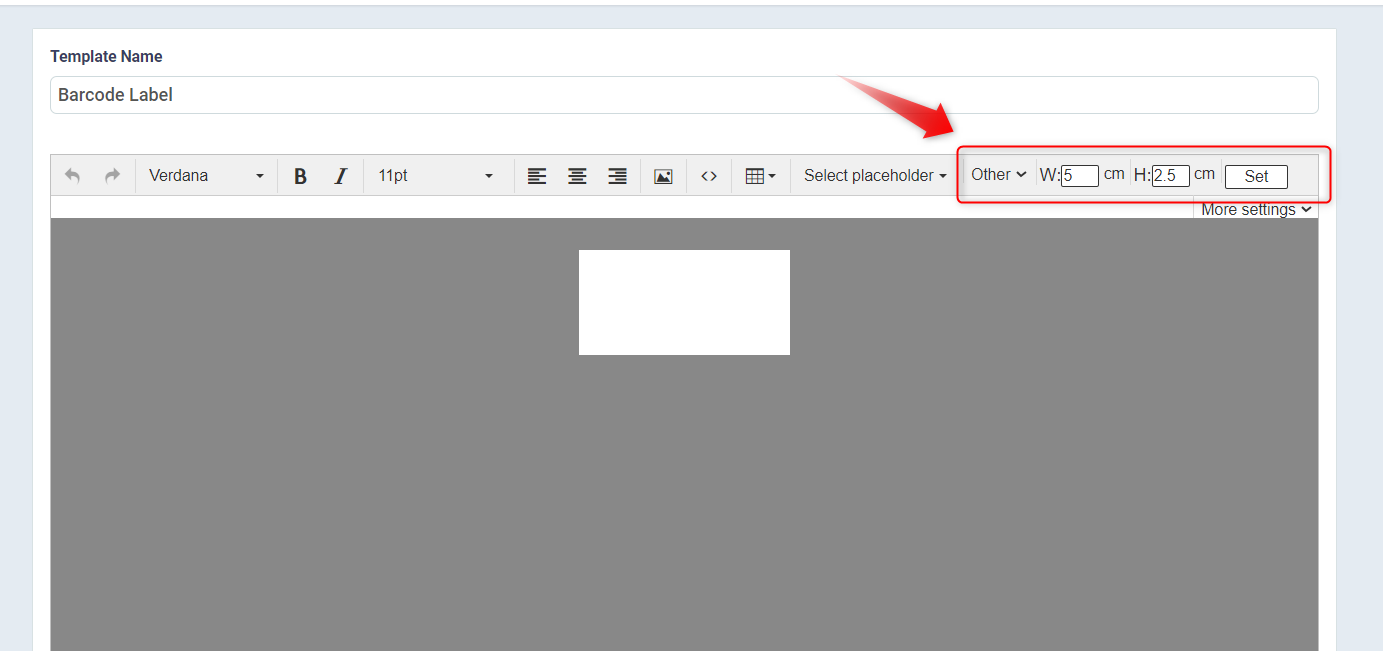
Second: Setting the Label Dimensions
Enter the required label width and height of the sticker.
Then click “Set“.
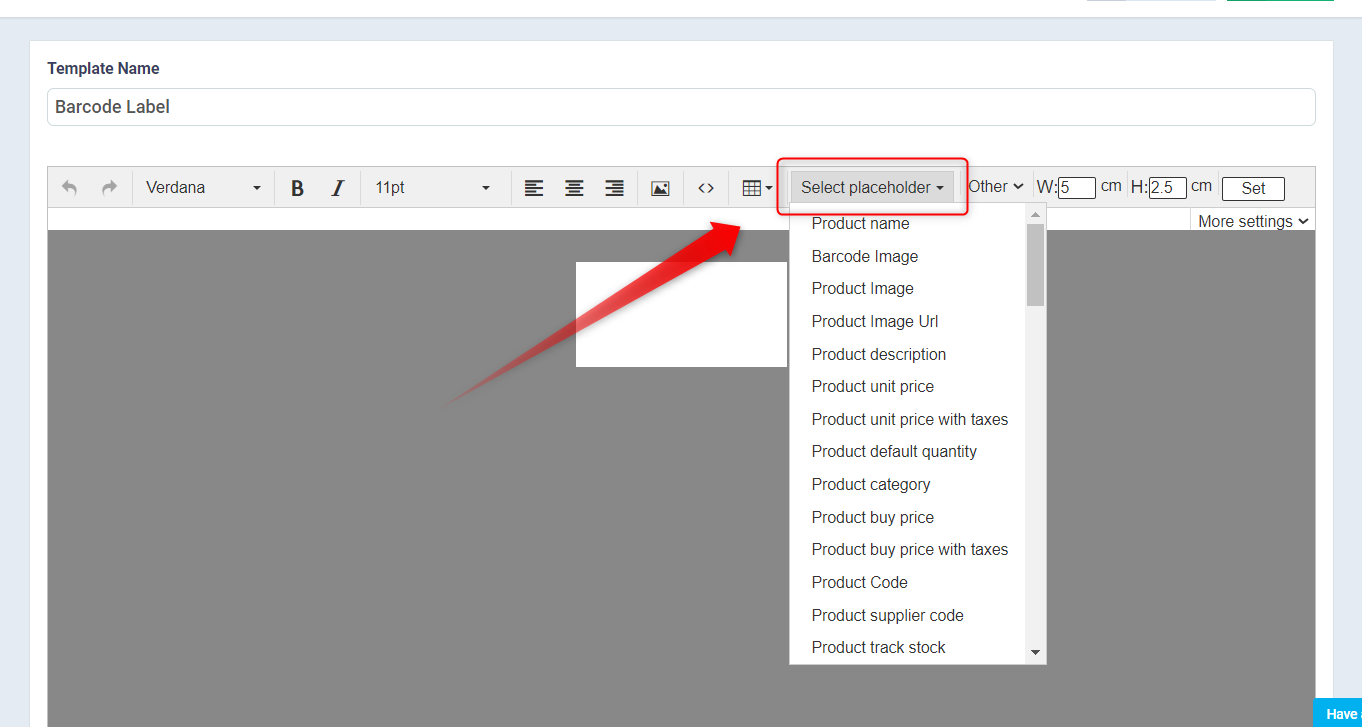
Third: Determine the data variables to be displayed on the barcode label, such as “Product Name“, “Barcode Image“, and “Product Barcode”.
- Select Placeholder: Use the “Select Placeholder” field to add variables to the template, such as: Product Name, Barcode Image, Barcode Number
- Discounted Price: Displays the product price after applying the discount.The discounted price is displayed based on the discount configured in the product profile.
Fourth: Formatting
Note: Configure formatting options before adding data variables so the formatting is applied correctly to the inserted variables.
- Font Type: Use the Times New Roman field to select the font type used in the template.
- B: This button allows you to display words in a bolder font than the regular font size.
- I: This button allows you to display characters in italic font.
- 12PT: Through this field, you can specify the font size to use in displaying the template data.
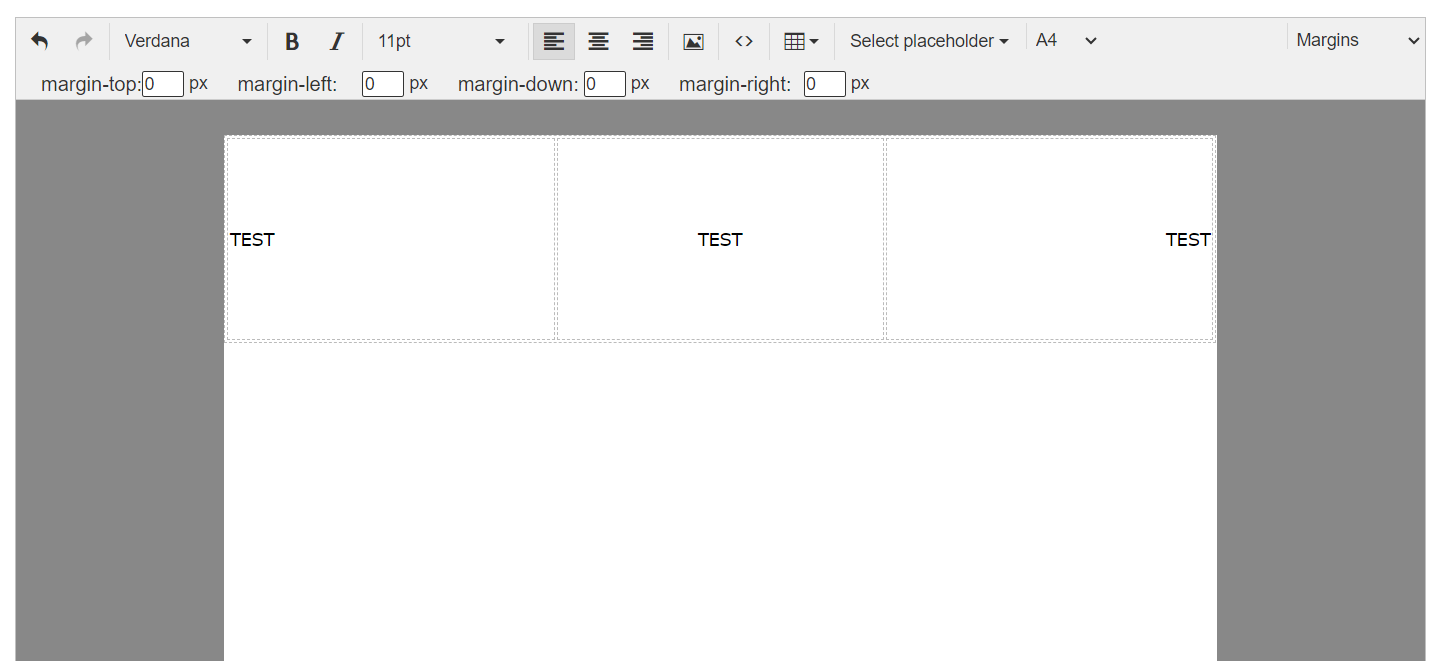
- Text Align: With the three options available, you can determine the data direction, whether to the far right, far left, or center of the page.
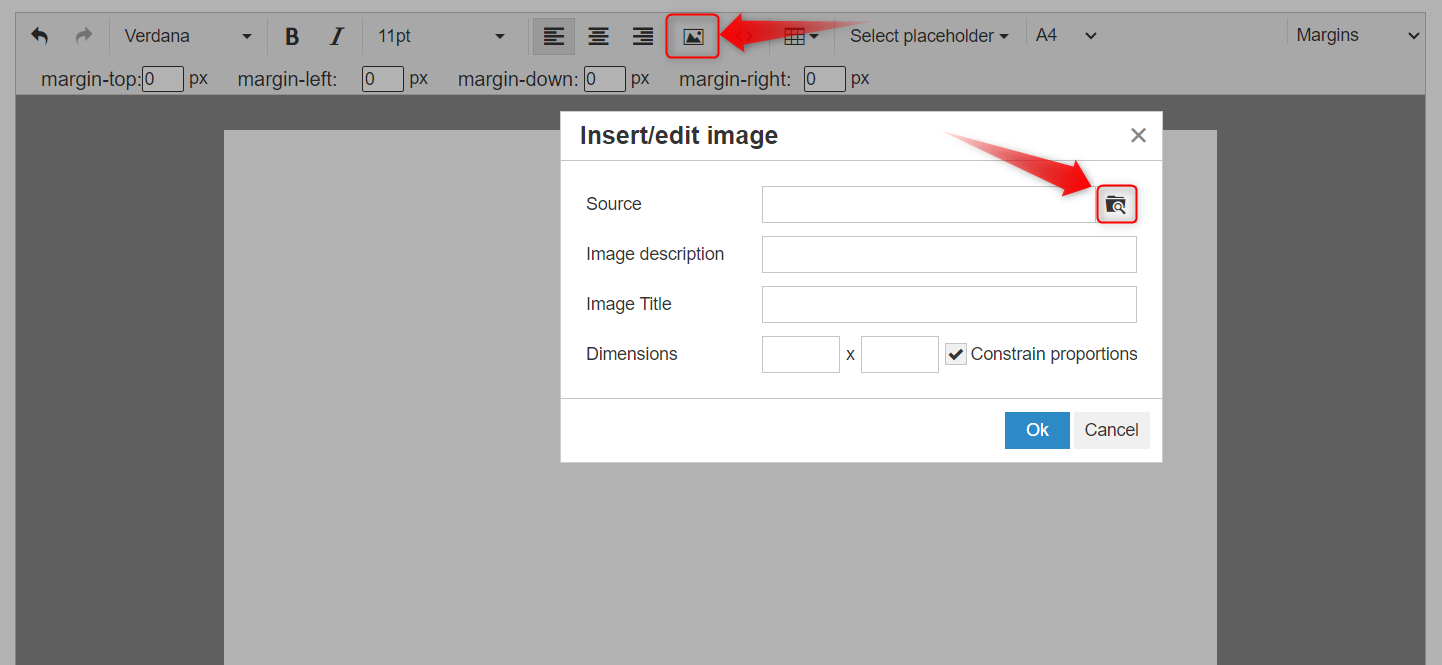
- Adding an Image: Use the Image option to add an image to the template design.
- Adding Custom Code: Use the <> option to add custom code to the template.

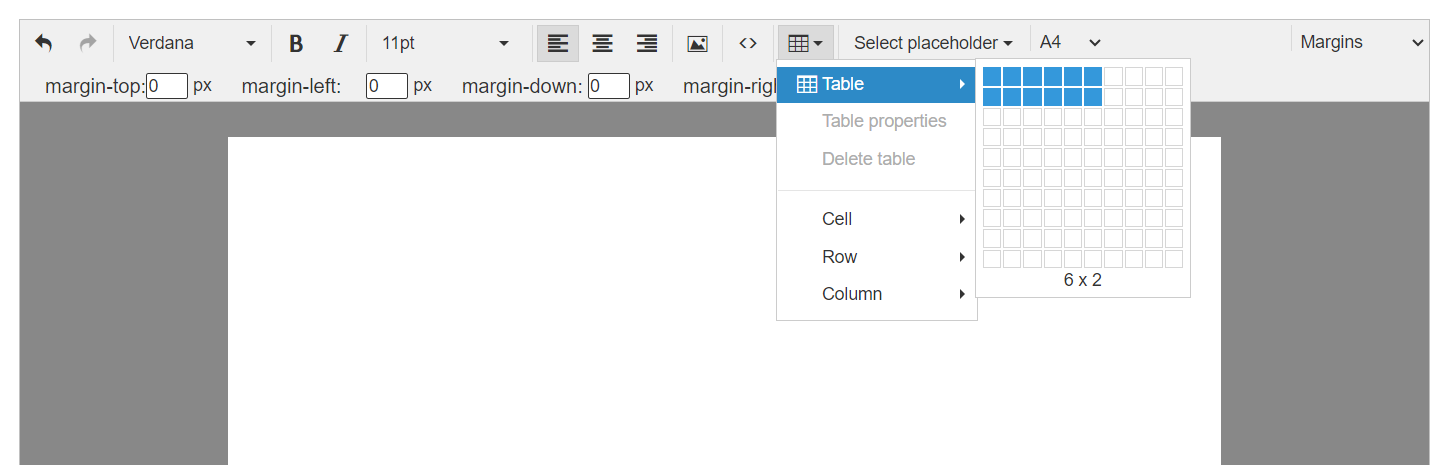
- Adding a Custom Table: Use the table option to add a custom table to the template design and define the required number of rows and columns.
- More Settings: Clicking on this field presents a new option “Margins“, which allows you to define and add margins to the design.