Changing the Name of a Field in Layouts and Other Invoices
As checks are one of the most important means of financial payment and collection in the enterprise, it was necessary to establish an application specifically for the checks cycle in the system. This application incorporates a set of features ensuring accurate financial management of expenses, receipts, disbursement, and receipt operations.
The Checks Cycle Guide in the system provides a comprehensive explanation of how to use the Checks Cycle application, highlighting the following points:
- Activating the Checks Cycle application in the account.
- Registering and managing checkbooks.
- Managing paid checks.
- Managing received checks.
- Tracking checks.
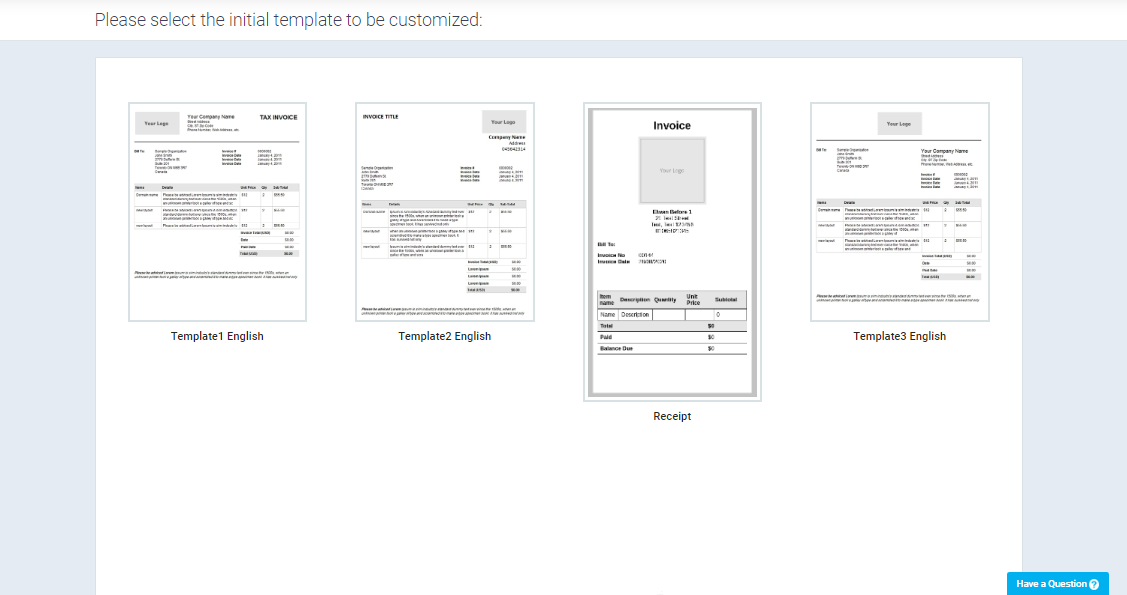
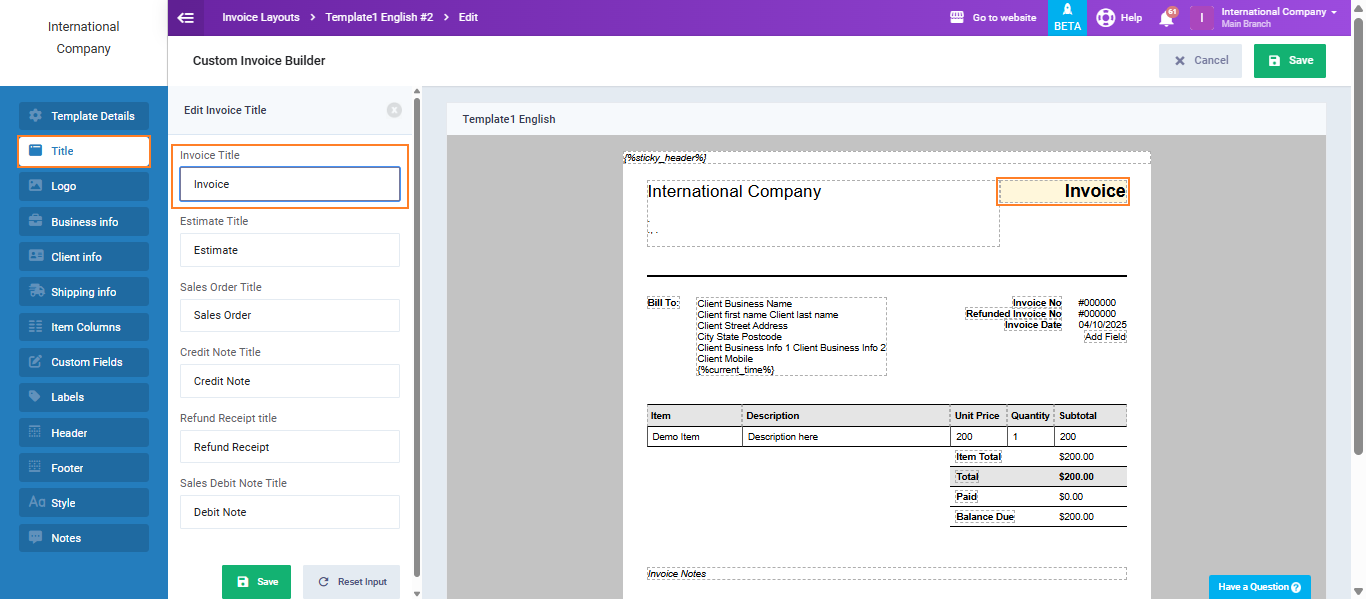
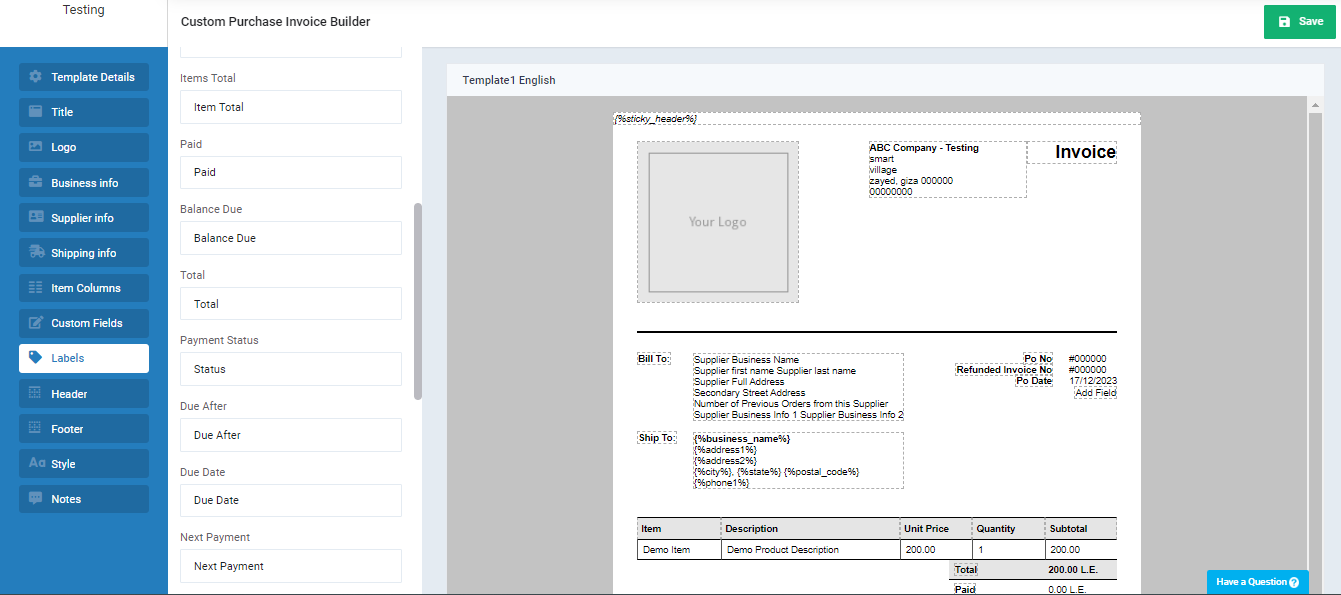
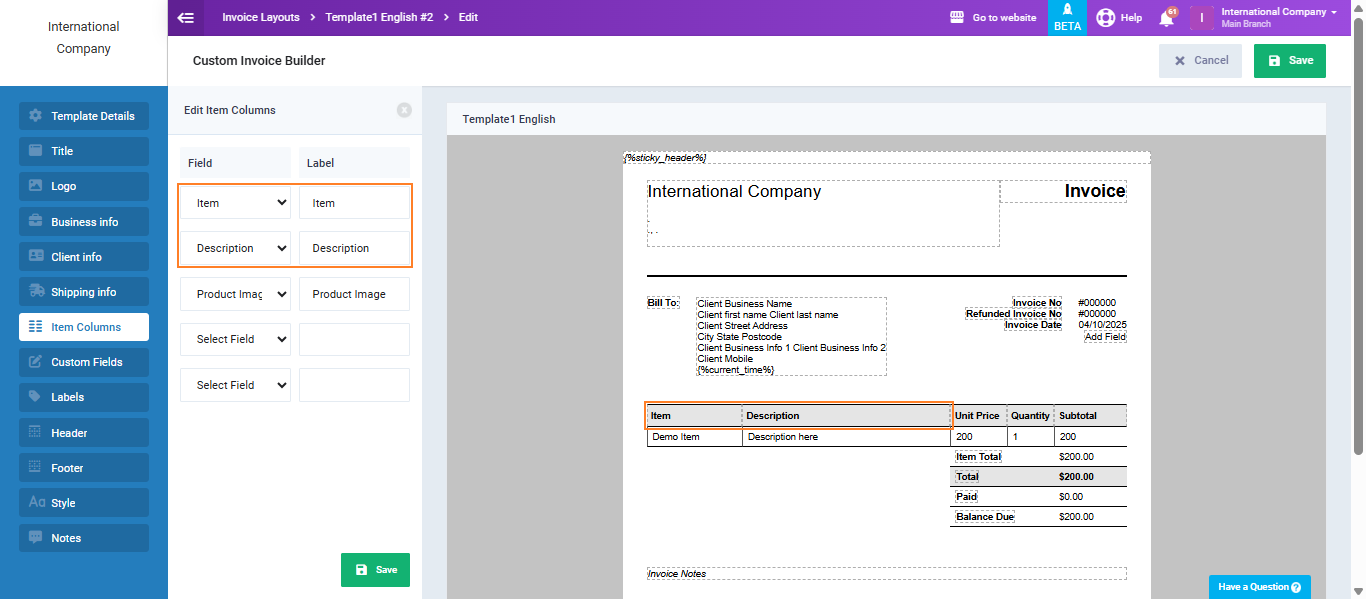
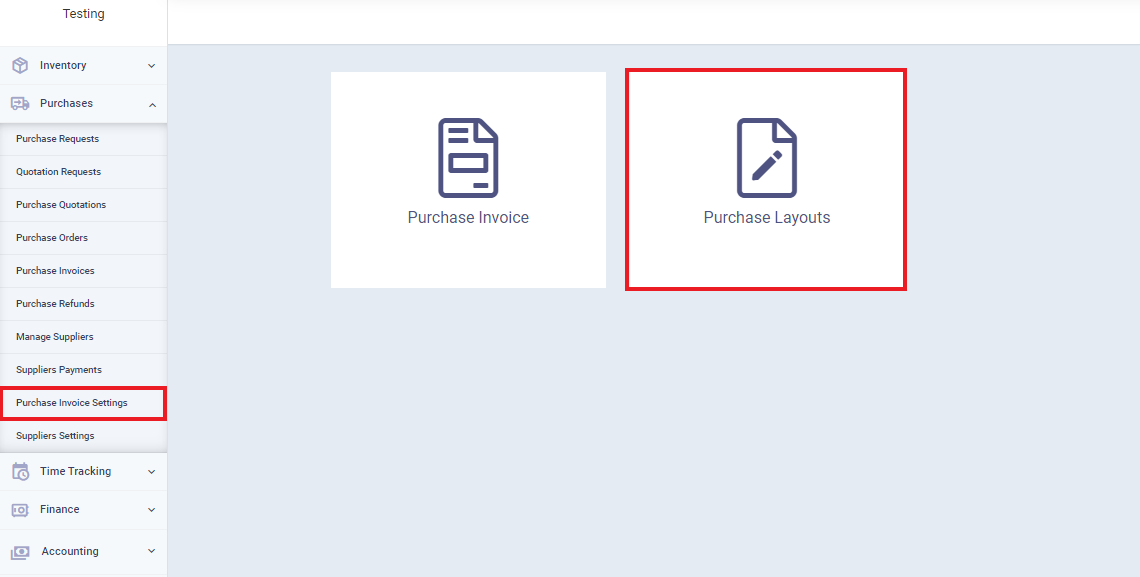
How to Change the Name of a Field in Layouts
If you want to install a field to appear automatically in every purchase invoice or document that uses the layout to which you added the field, follow these steps.
Click on “New Layout”
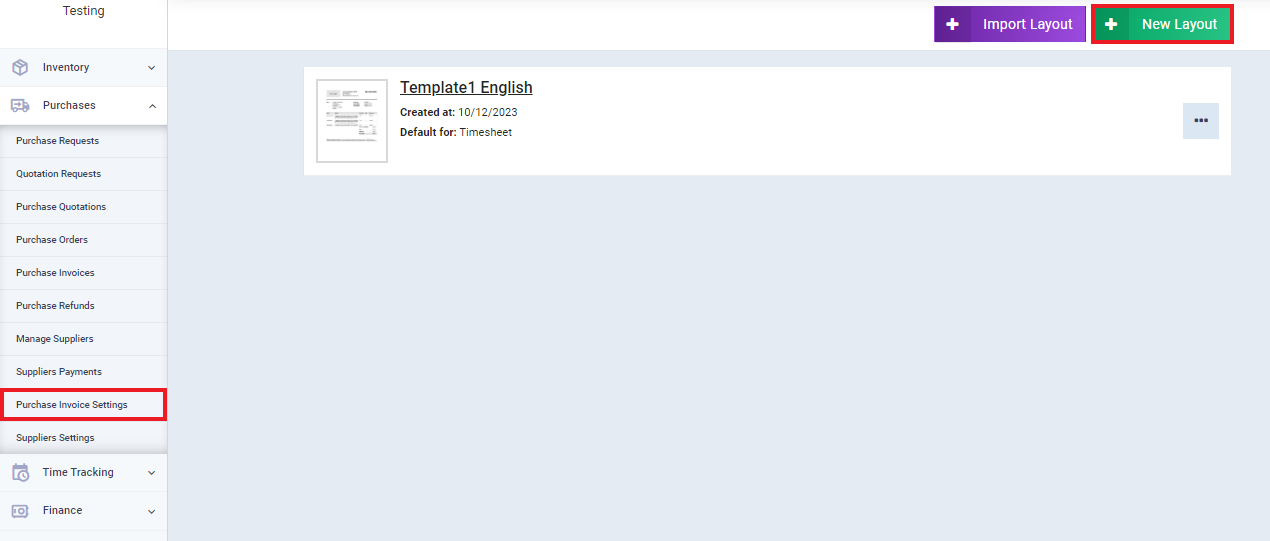
Click on the layout that you want to add a custom field to it.