


Creating a Client Card Template
Steps to create a Client ID Card Template
- Click on “Templates” from the main menu.
- Click on “Printable Templates“.
- Click on the “Clients” card.
- Click on the “Add Template” button.
- Specify the name of the new template in the “Template Name” field.
- Add the required data in the template content section and control the data formatting as follows:
First: Formatting
Note: Set the formats first before adding the data variables so that they are affected by the added formats.
- Times New Roman: With this field, you can specify the font type to use in displaying the template data.
- B: This button allows you to display words in a bolder font than the regular font size.
- I: This button allows you to display characters in italic font.
- 12PT: Through this field, you can specify the font size to use in displaying the template data.
- Text Align: With the three options available, you can determine the data direction, whether to the far right, far left, or center of the page.
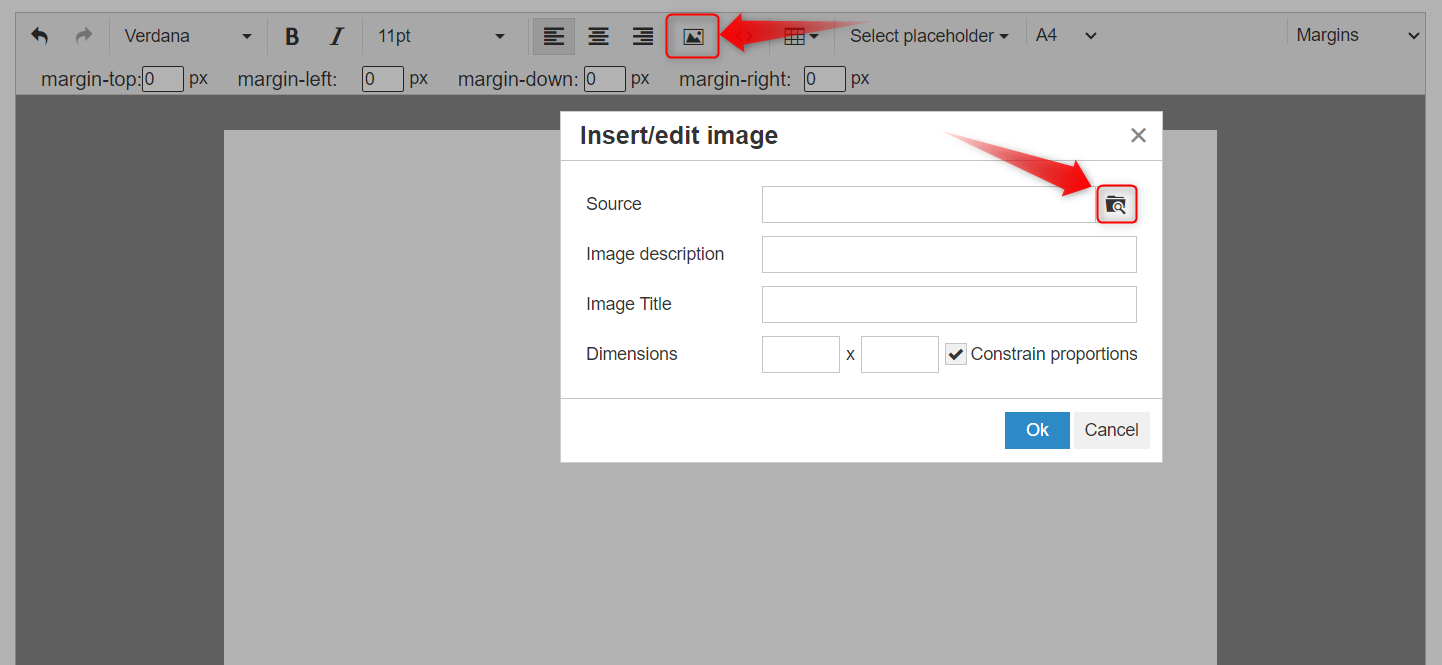
- ?: Through this field, you can add an image to the design data.
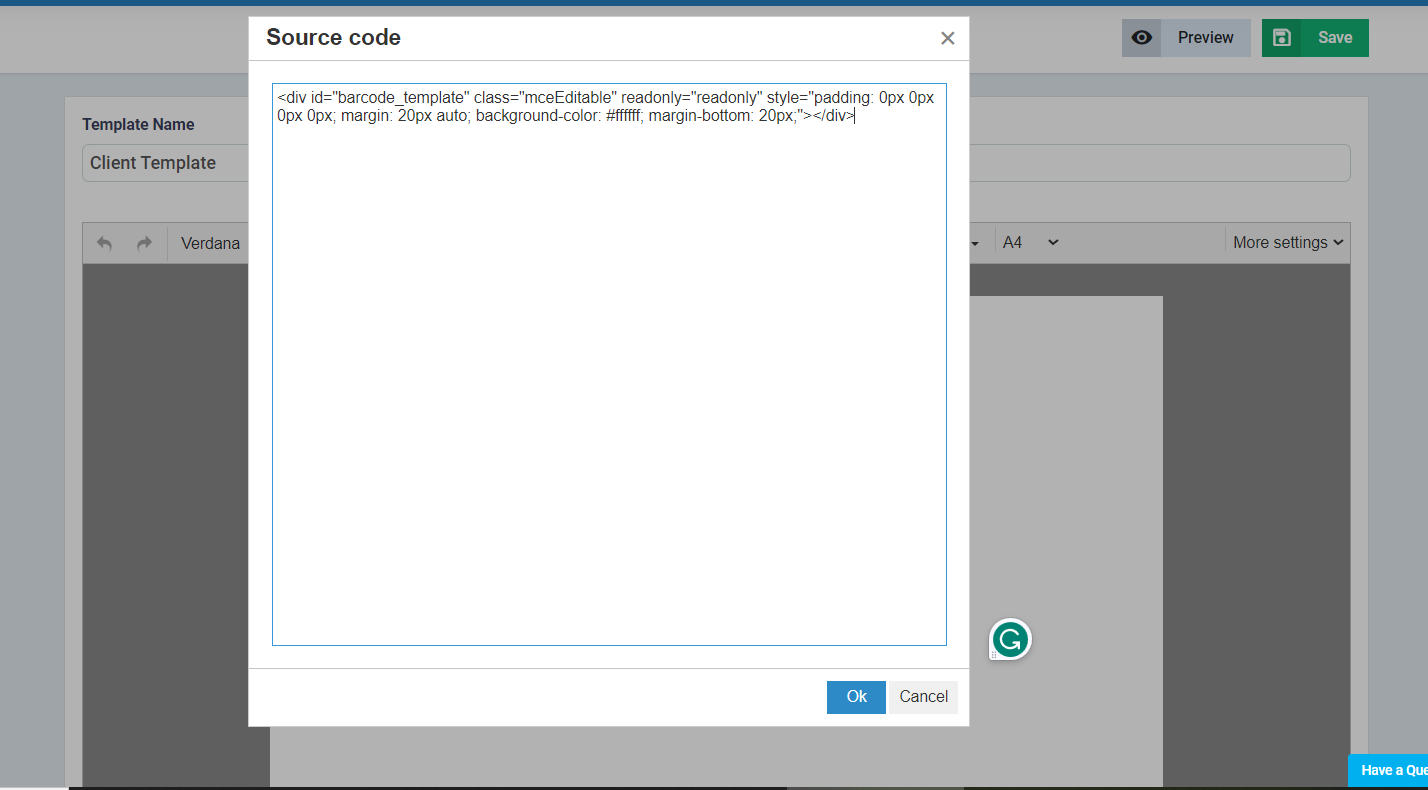
- <>: Through this field, you can add custom code to the design data.
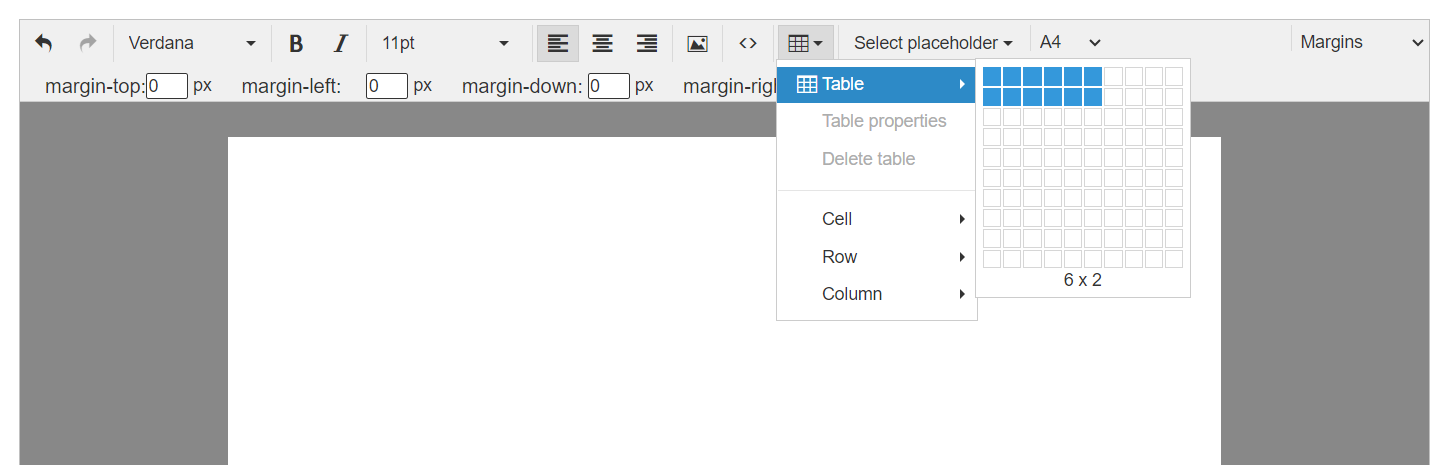
- ? : Through this field, you can add a custom table to the design data, which allows you to specify the number of columns and rows to add.
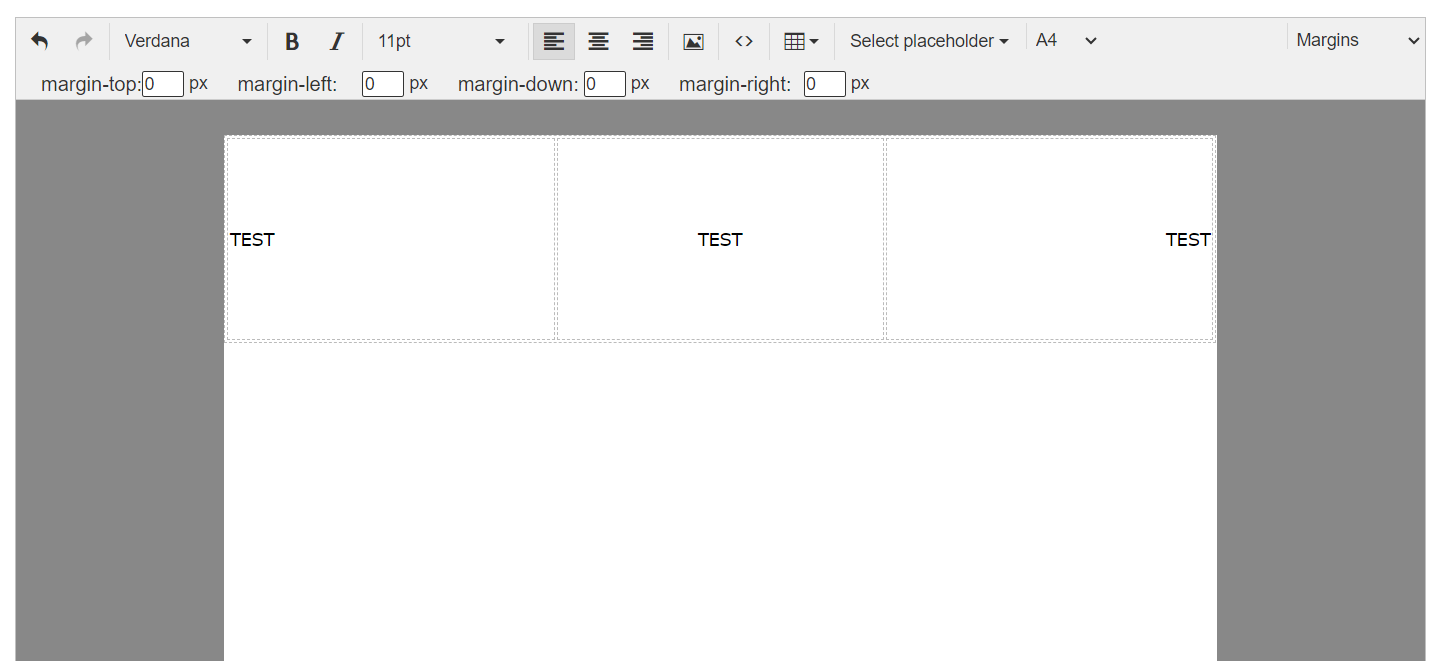
- More Settings: Clicking on this field presents a new option “Margins“, which allows you to define and add margins to the design.
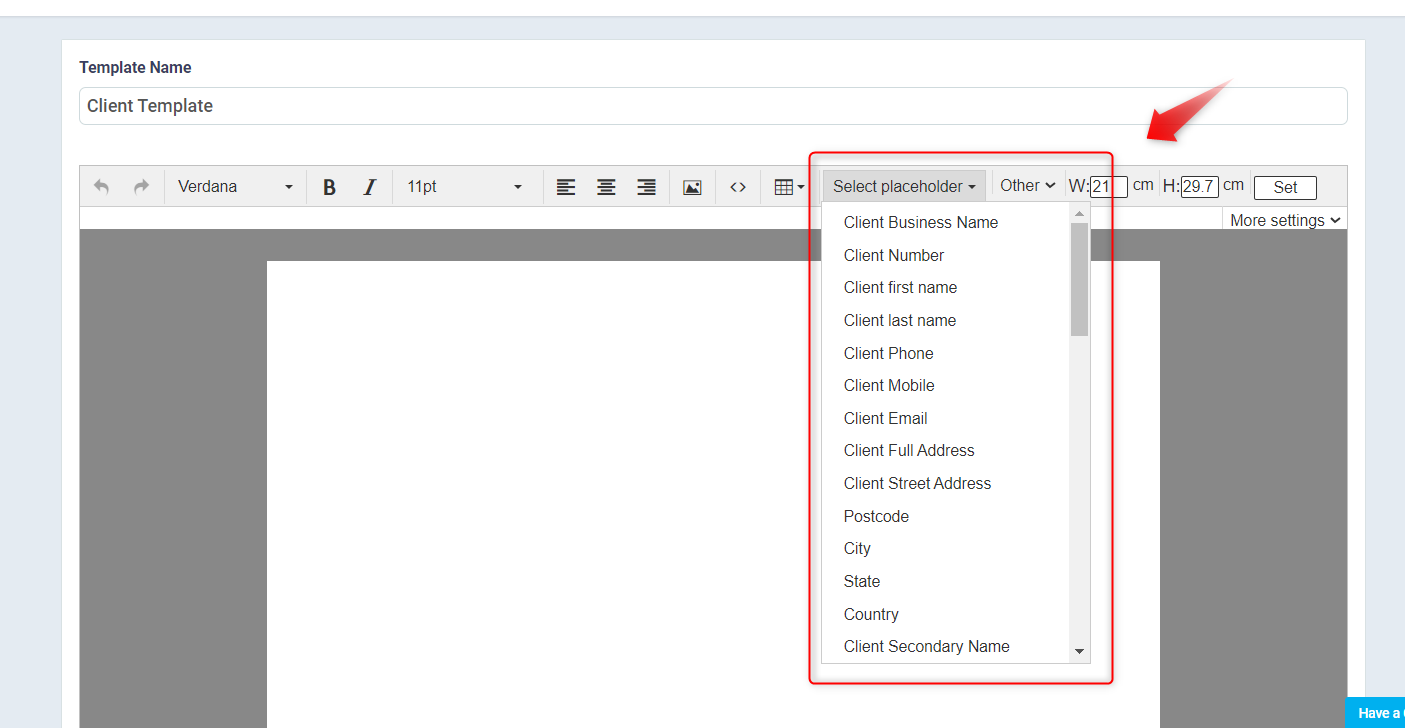
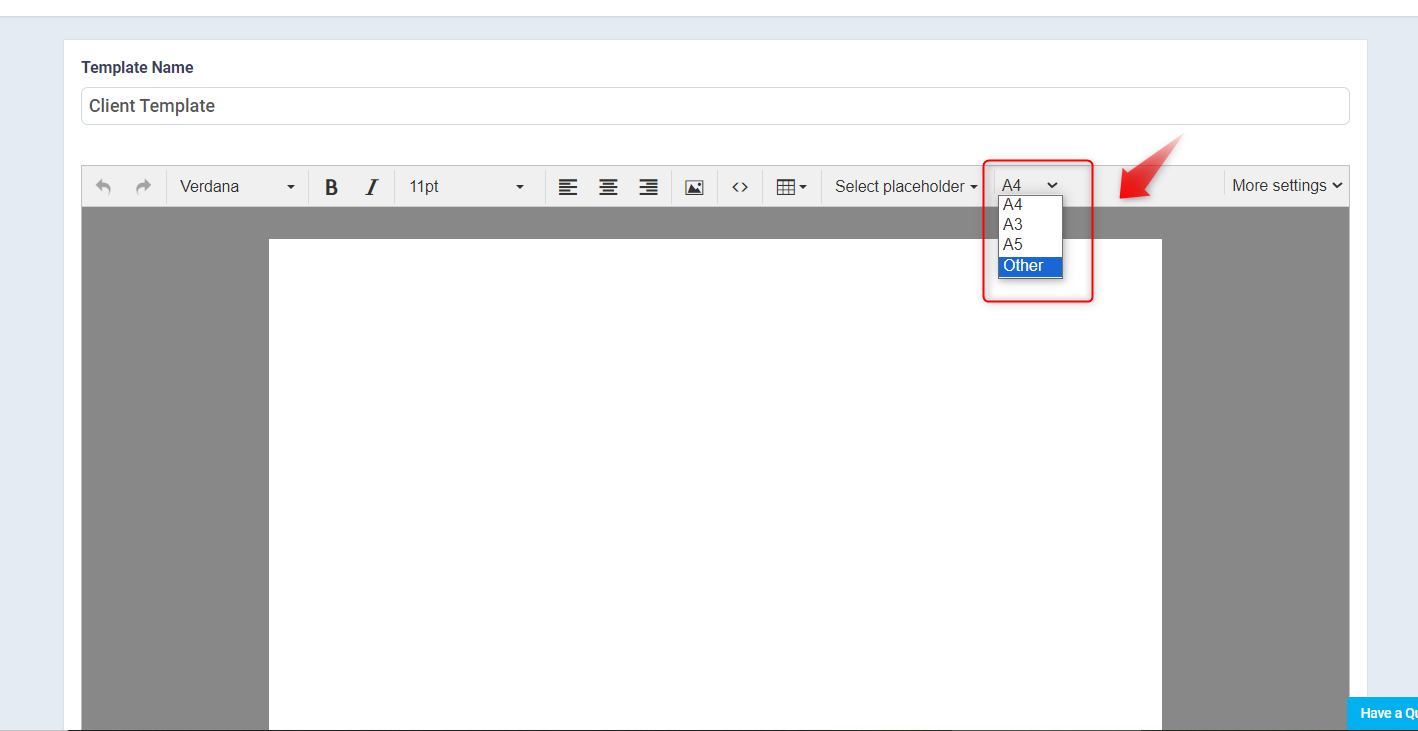
Second: Select the size of the barcode sticker by clicking on “A4” then choosing “Other”
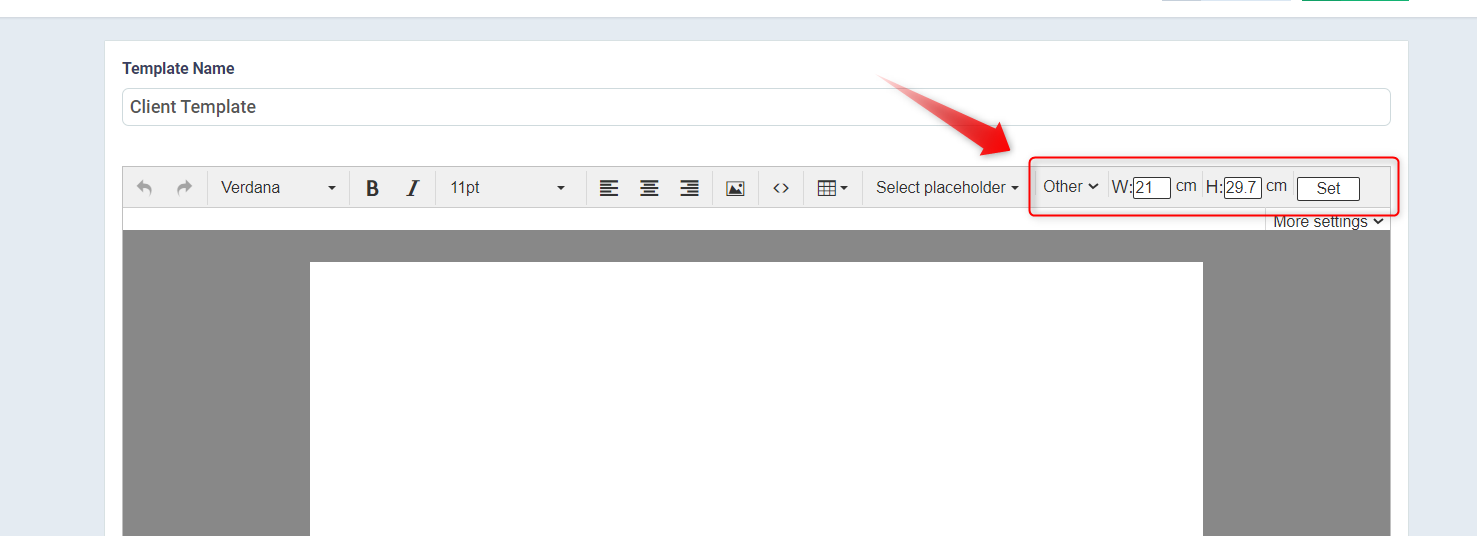
Third: Set the length and width of the sticker size and click on “Set”
Fourth: Through the “Select Placeholders” field, you can add the variables you want to appear on the client’s ID card sticker, such as “Client’ first name” and “Client Business Name“.