Guide to Preparing an Employee Assets Import File and Updating Existing Records
This feature allows you to import Employee Assets in bulk using a ready-made Excel template, whether to create new assets or update existing ones, while applying all Employee Asset and Accounting Asset business rules. In this article, we explain the steps to prepare and import the file in detail.
Steps to Preparing an Employee Assets Import File and Updating Existing Records
Step 1: Access the Import Screen
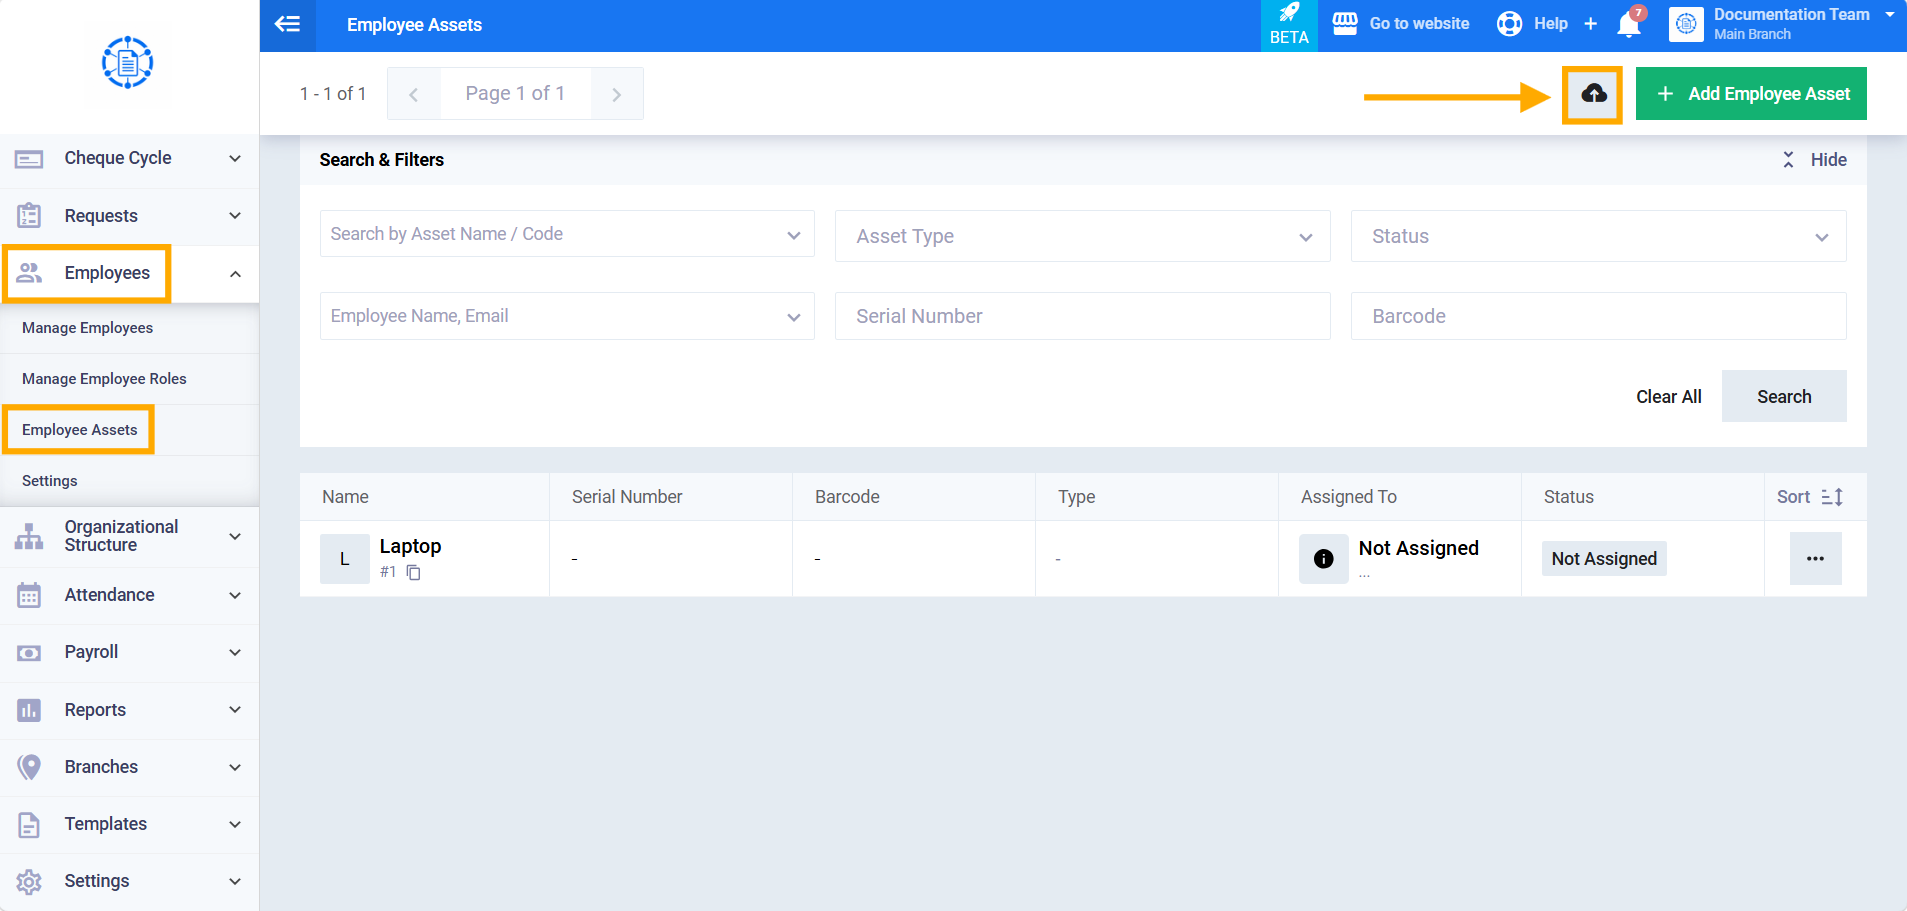
Go to “Employees,” then “Employee Assets,” and click the “Import Assets” button at the top of the Employee Assets list screen.
Step 2: Download the Sample Template
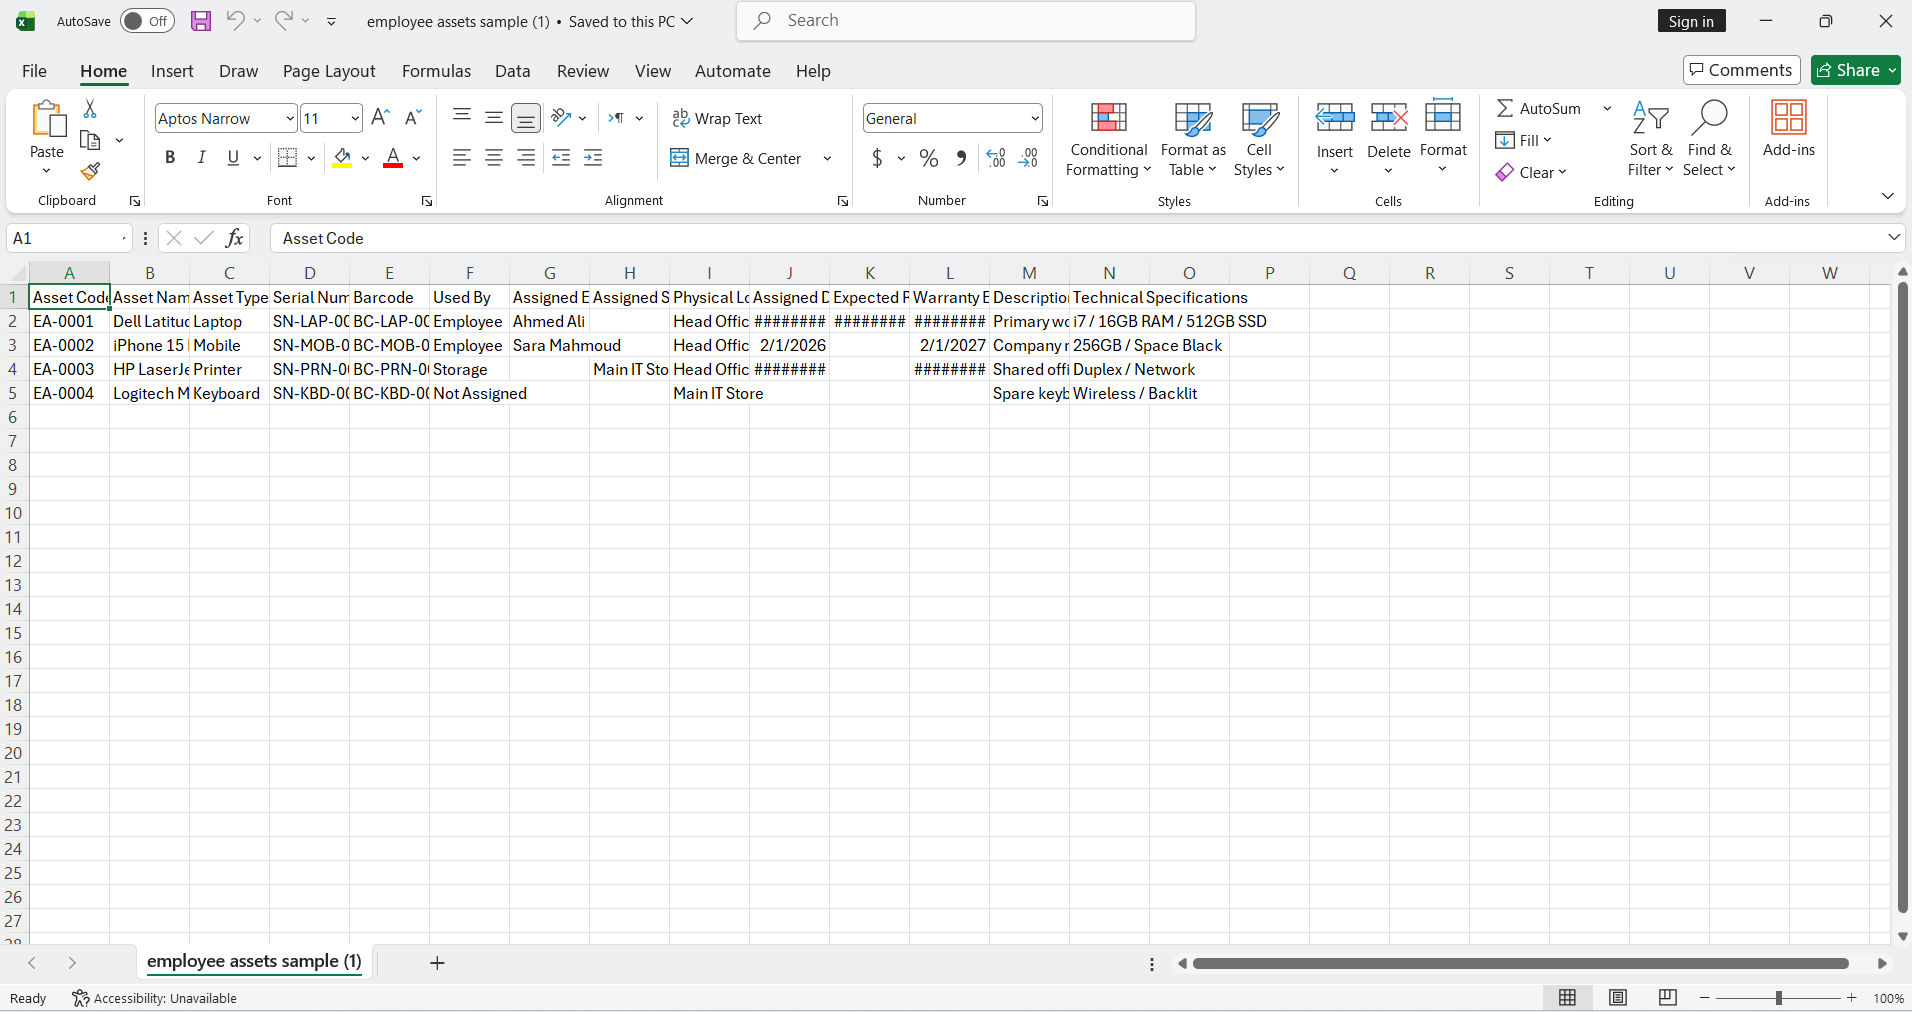
On the import screen, click the “Download Sample” button to download a ready-made Excel template that includes the following columns:
- Asset Code
- Asset Name
- Asset Type
- Serial Number
- Barcode
- Used By
- Assigned Employee
- Assigned Storage
- Physical Location
- Assigned Date
- Expected Return Date
- Warranty Expiry Date
- Description
- Technical Specifications
Step 3: Fill In and Upload the File
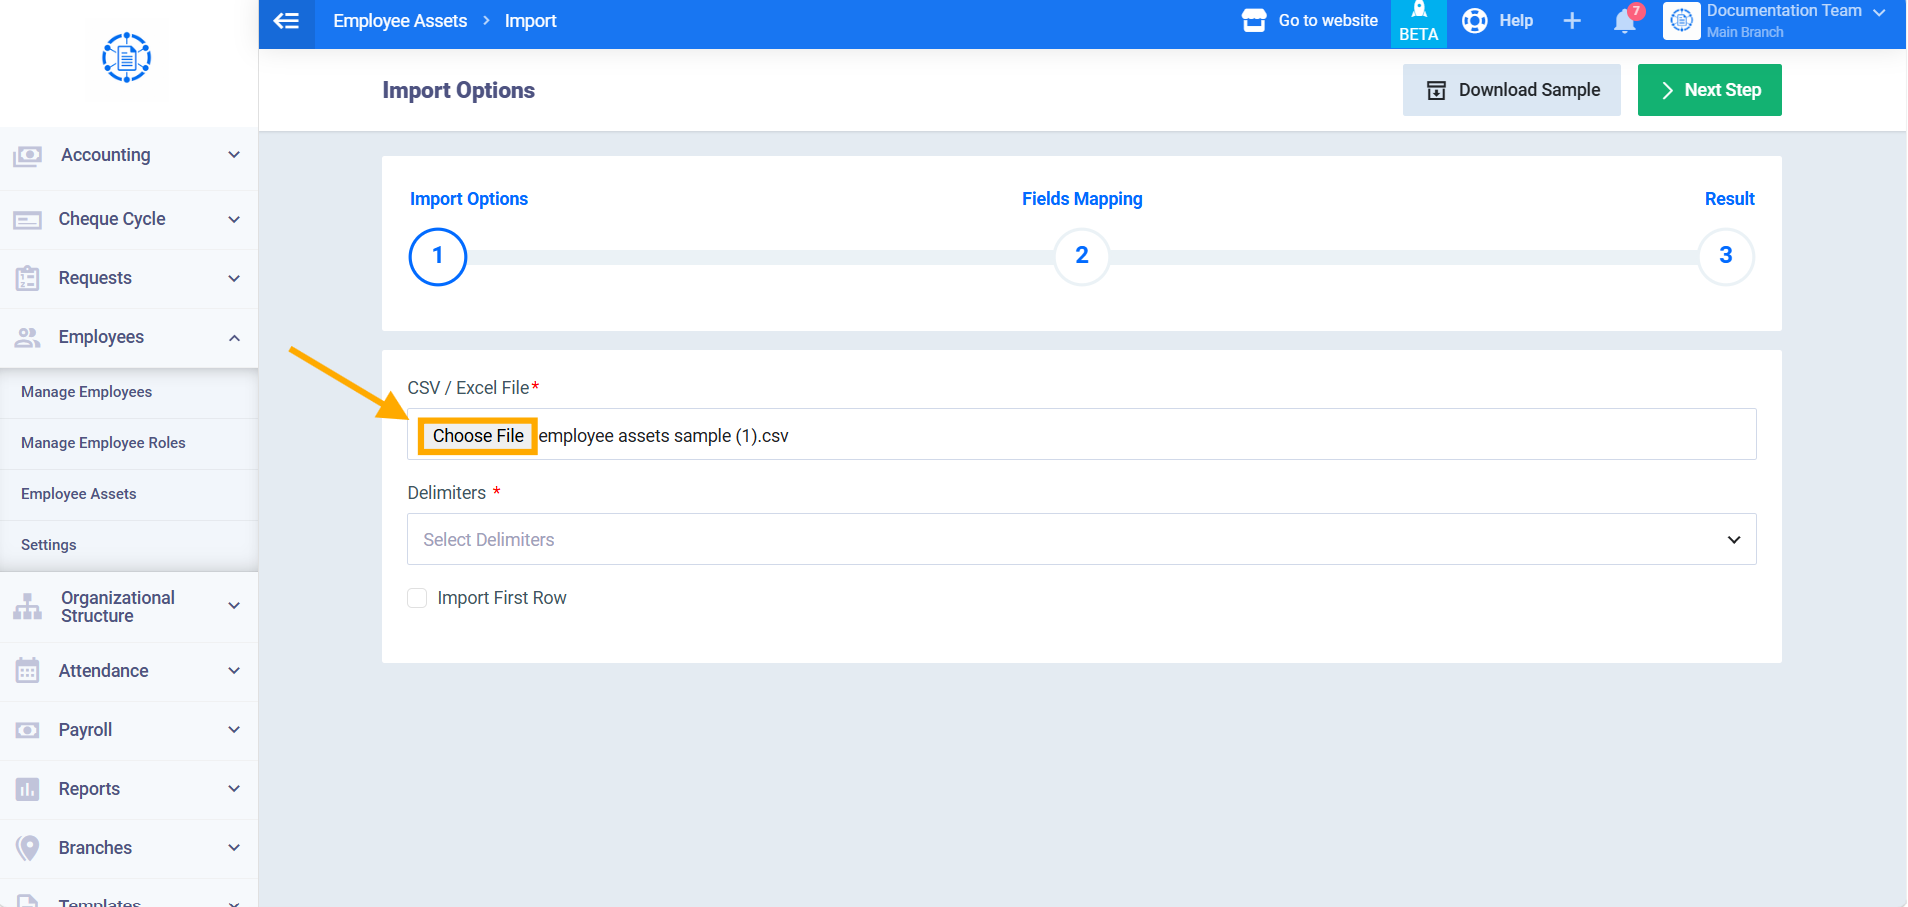
Fill in the template with the asset data you want to import, then click “Choose File” to select the file from your device.
Step 4: Set the File Options
Select the “Delimiter” type used in the file: Comma Separated (,), Semicolon Separated (;), or Tab Delimited.
If the first row in the file contains actual data (not just column headers), enable the “Import First Row” checkbox to include it in the import process.
Step 5: Move to Field Mapping
Click “Next Step” to move to the “Field Mapping” screen.
Step 6: Map System Fields to File Columns
The “Field Mapping” screen opens, displaying a table with two columns: “System Field” and “Corresponding File Column.” For each system field, select the corresponding column from your file using the dropdown menu.
Mandatory fields (marked with an asterisk) such as “Name,” “Used By,” and “Physical Location” must be mapped before continuing; the remaining fields are optional.
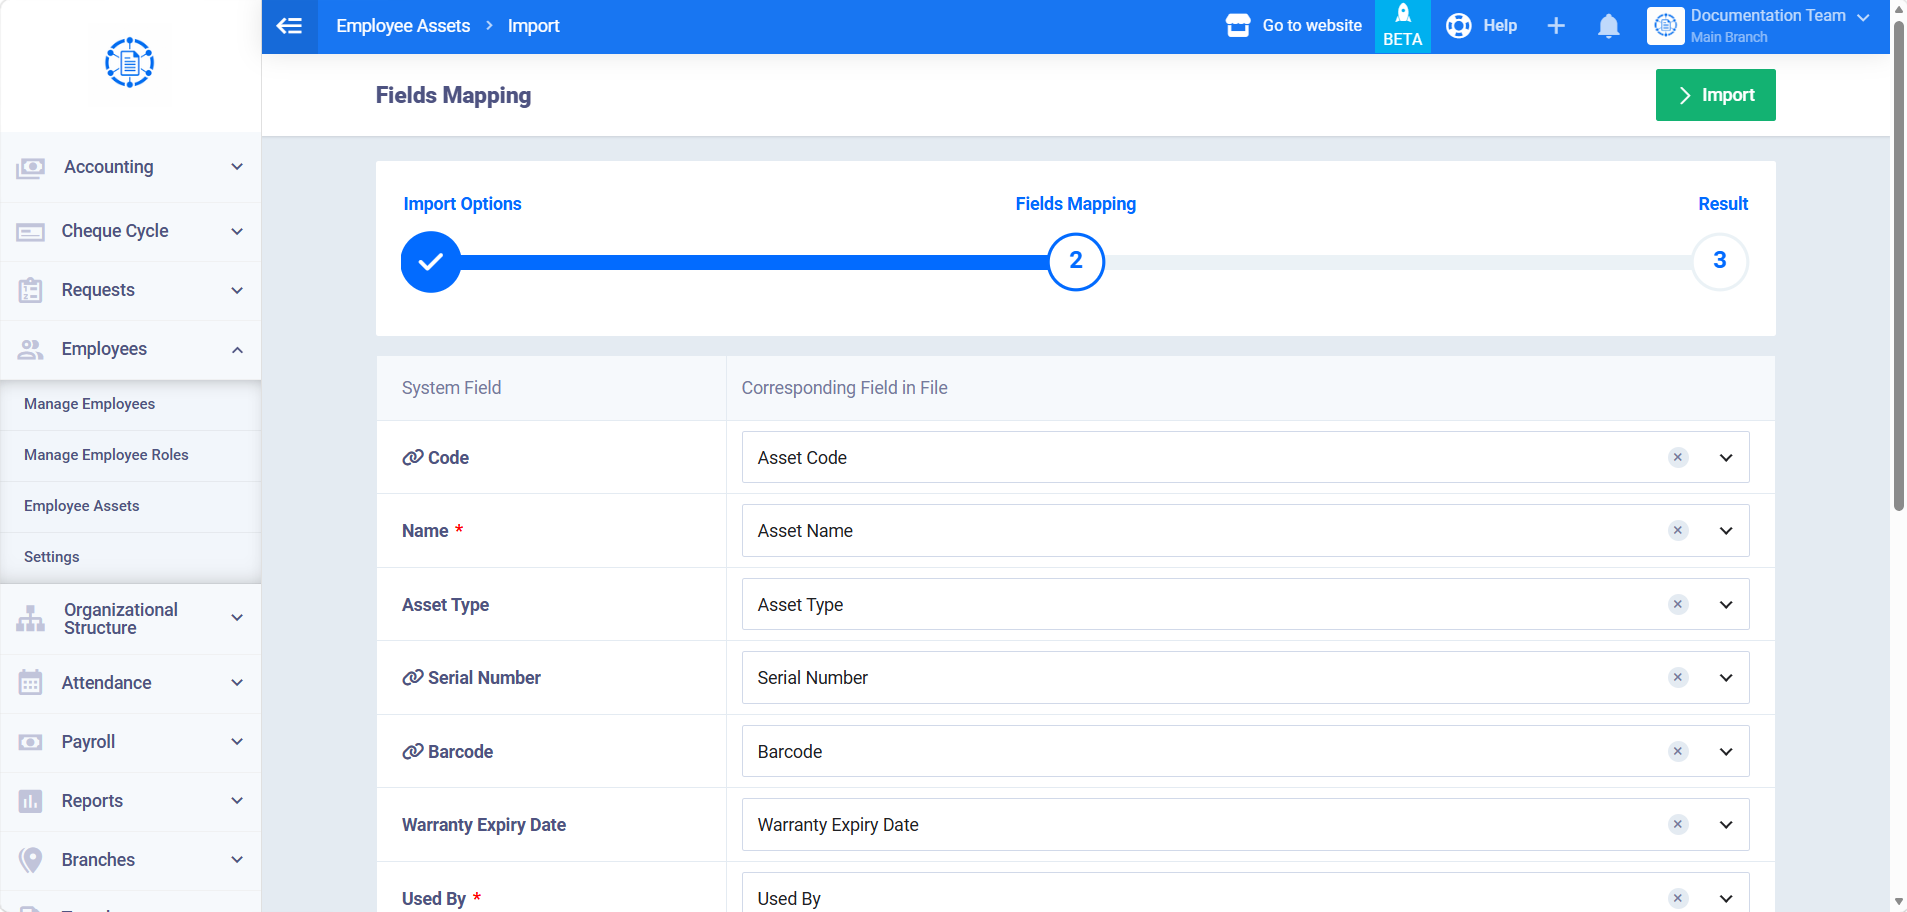
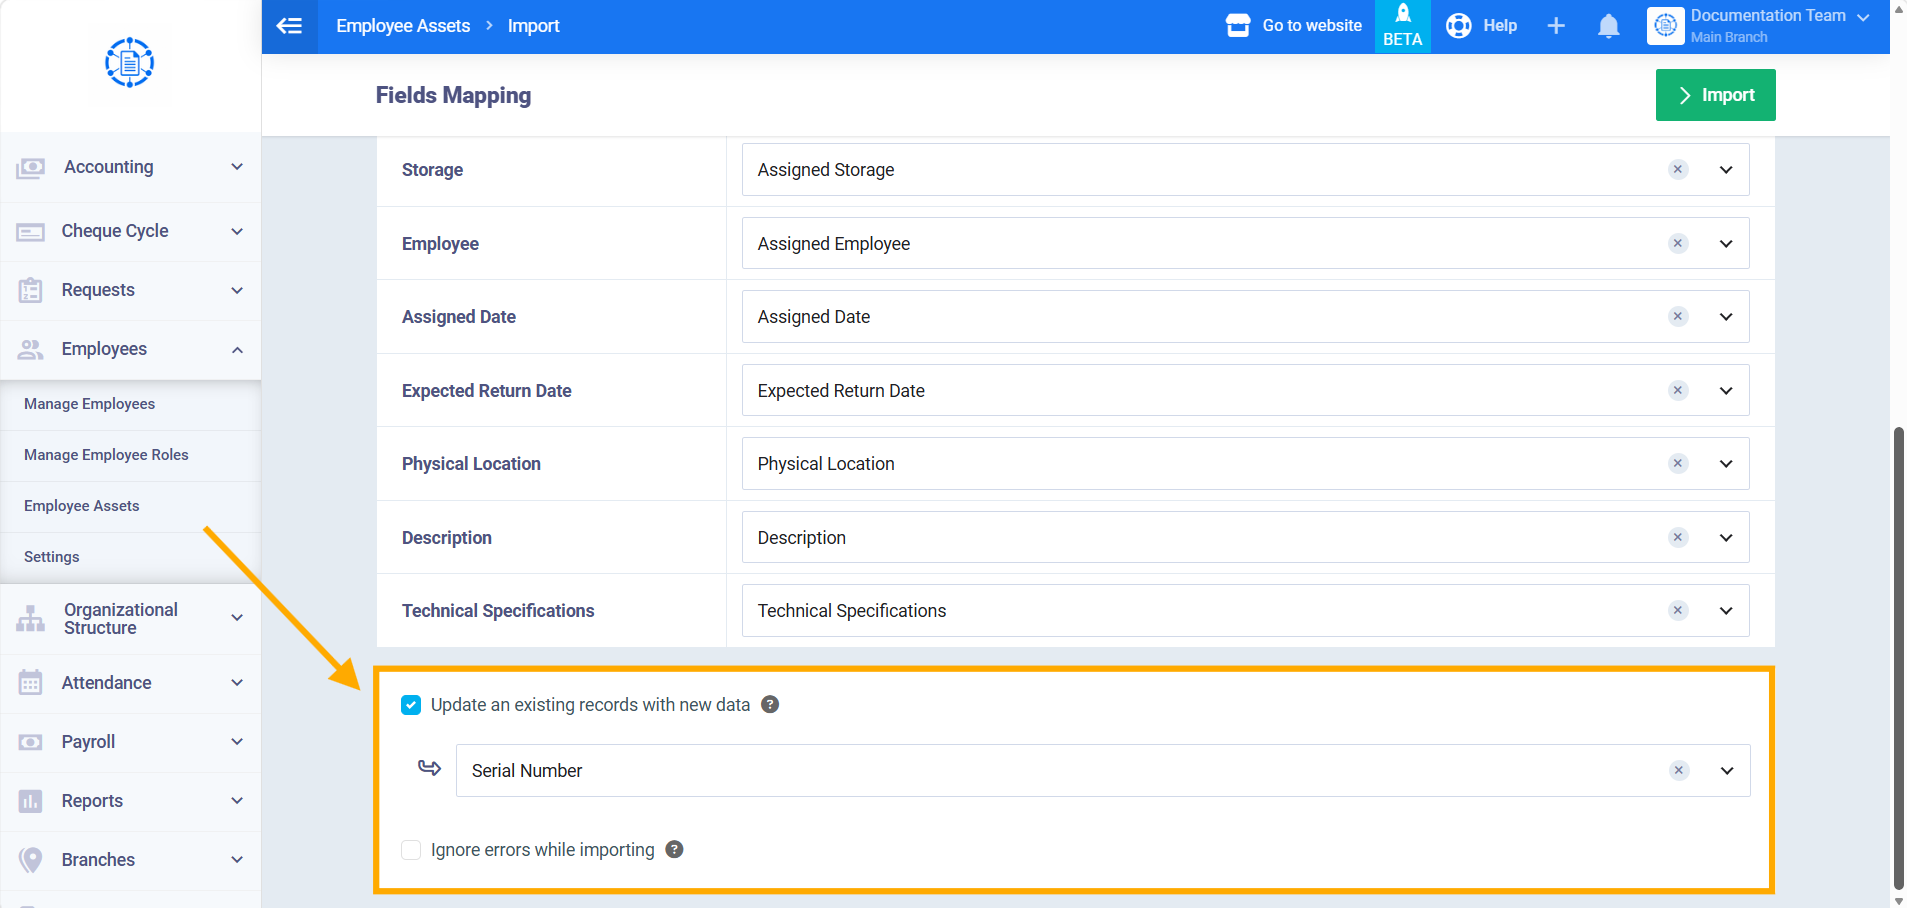
Below the table, two additional options are available:
- “Update existing records with new data”: when this option is enabled, the system matches the imported data against existing records and updates them with the new data. Rows that find no match are created as new records. Once enabled, an additional “Select Column” field appears, allowing you to specify the field used to identify existing records (Code, Serial Number, or Barcode).
- “Ignore errors while importing”: when this option is enabled, the system continues importing valid rows and ignores rows that contain errors. A summary of the skipped rows appears once the import is complete.
Step 7: Run the Import and Review the Result
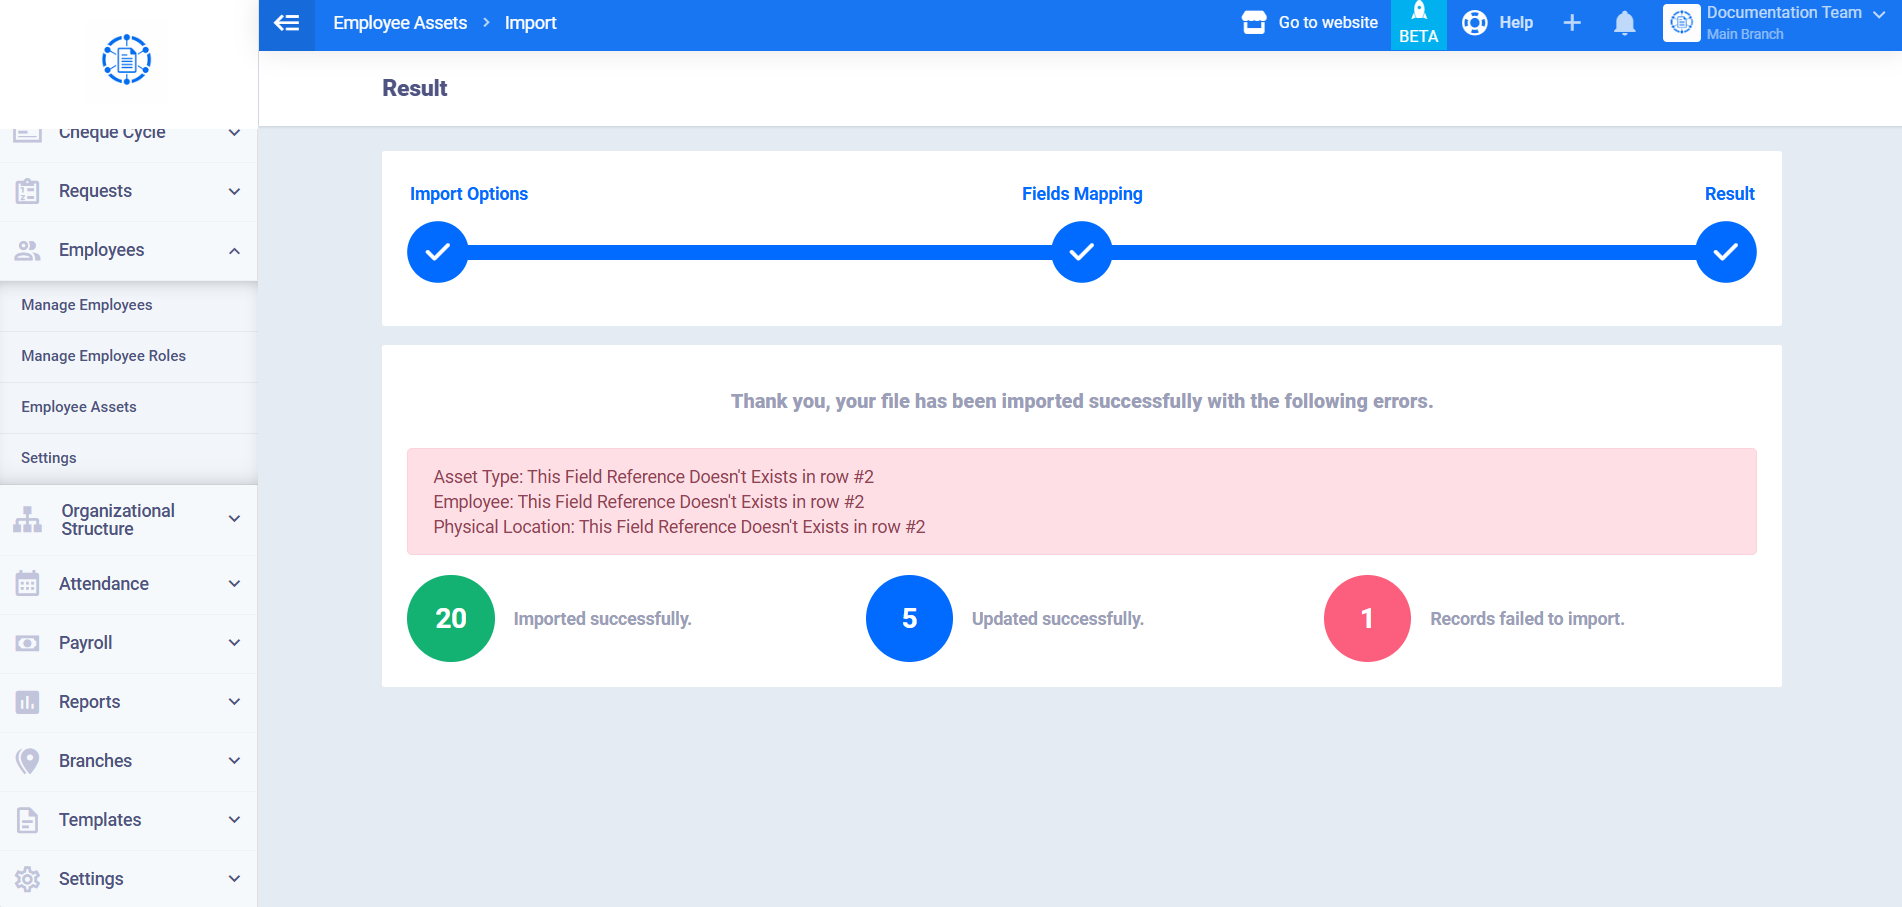
Once you’ve finished mapping the mandatory fields and setting the required options, click the “Import” button to start the import process. The “Result” screen appears, summarizing the operation:
- A general message confirming the import is complete (mentioning any errors, if present).
- Details of any errors that occurred, specifying the field and exact line for each error (e.g., “Asset Type: This Field Reference Doesn’t Exists in row #2).
- Three summary counters: the number of records successfully imported (new), the number of records successfully updated, and the number of records that failed to import.