


Leave Types and Permissions
There are various types of leaves such as sick leave, casual leave, bereavement leave, pilgrimage leave, and others. The system allows you to add all types of leaves and specify the number of days allowed for each type of leave, and whether the leave requires prior permission from the employee or not.
How to Add a New Leave Type
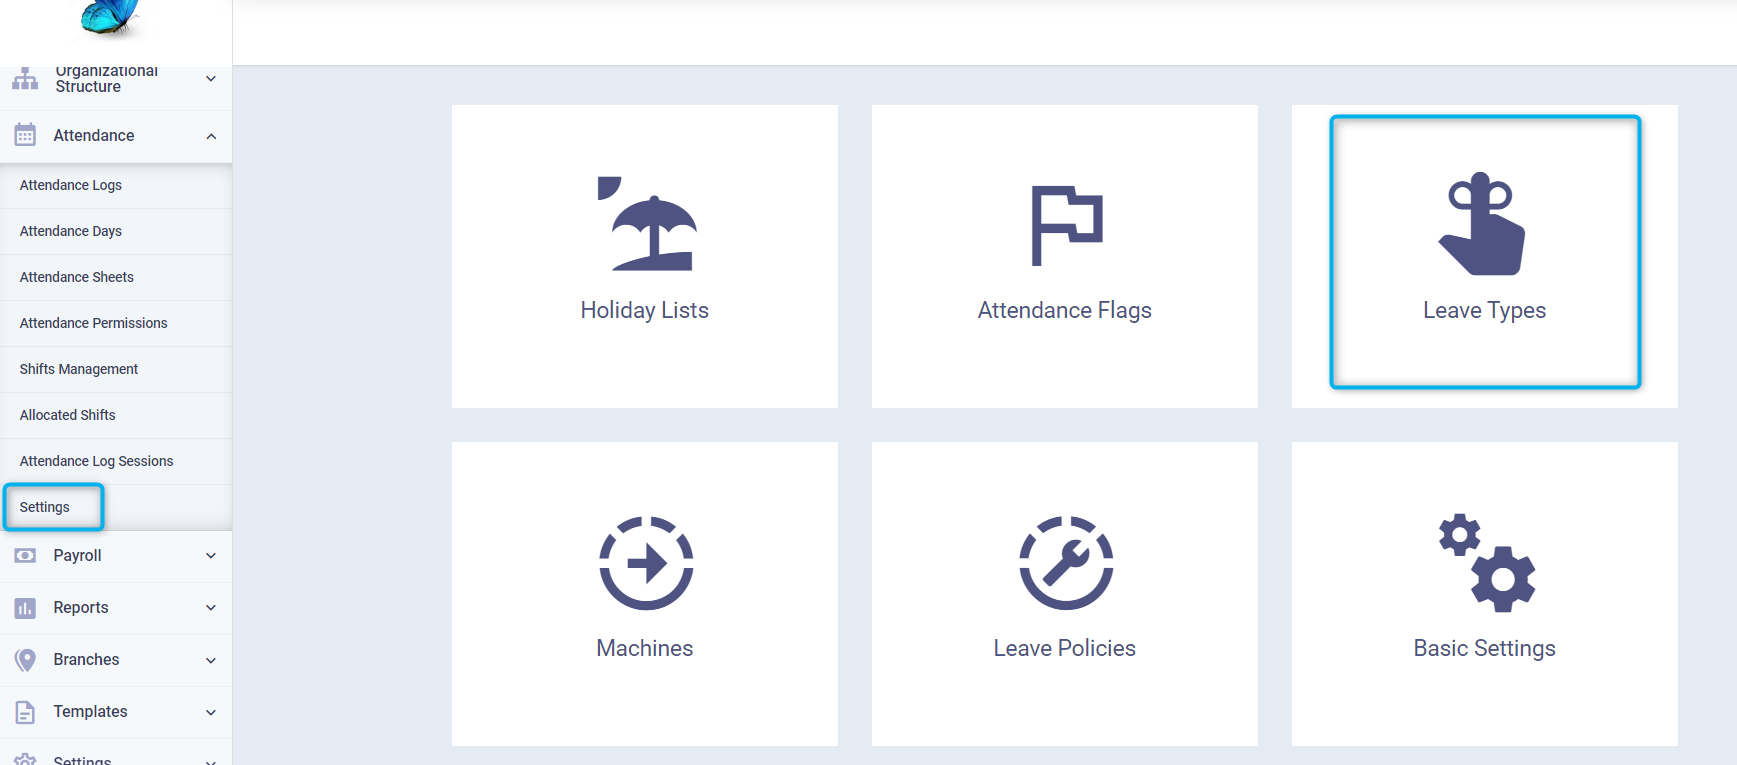
Click on “Settings” dropdown under “Attendance” in the main menu and then click on “Leave Types”
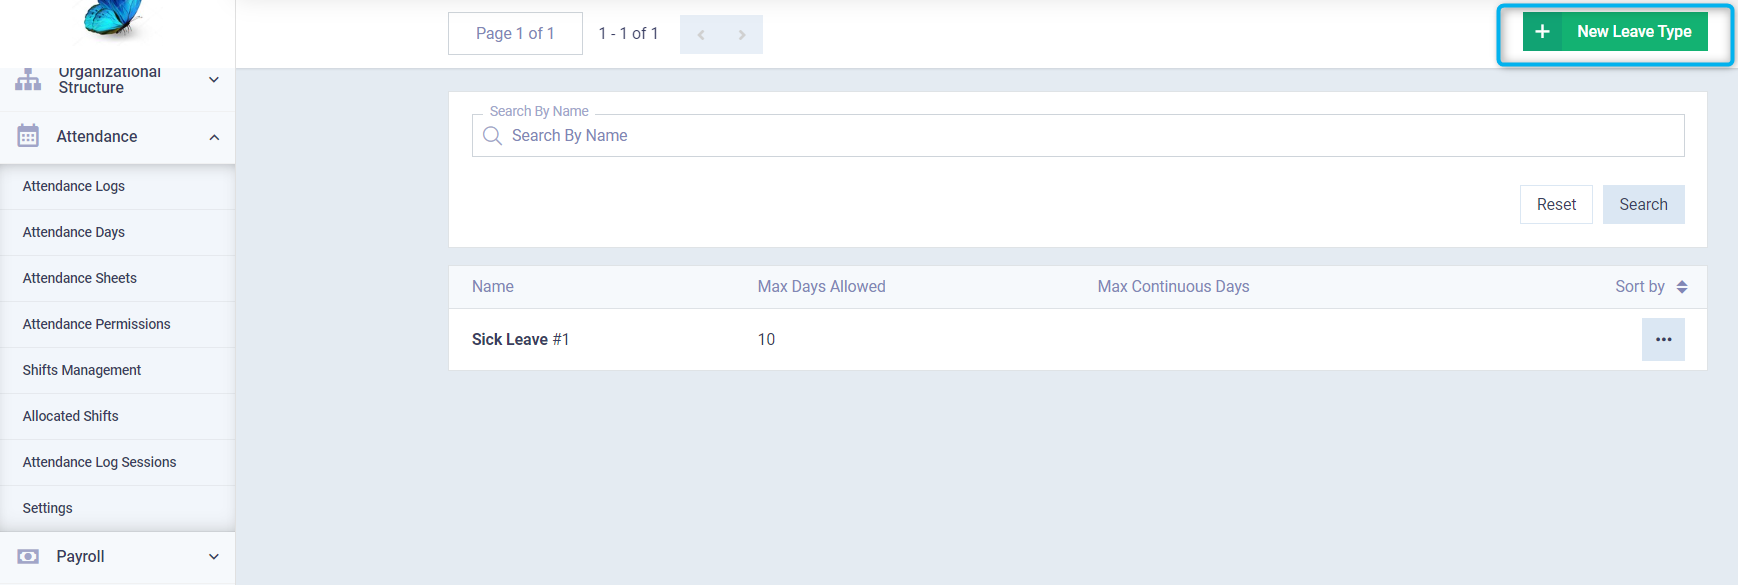
Click on “New Leave Type”.
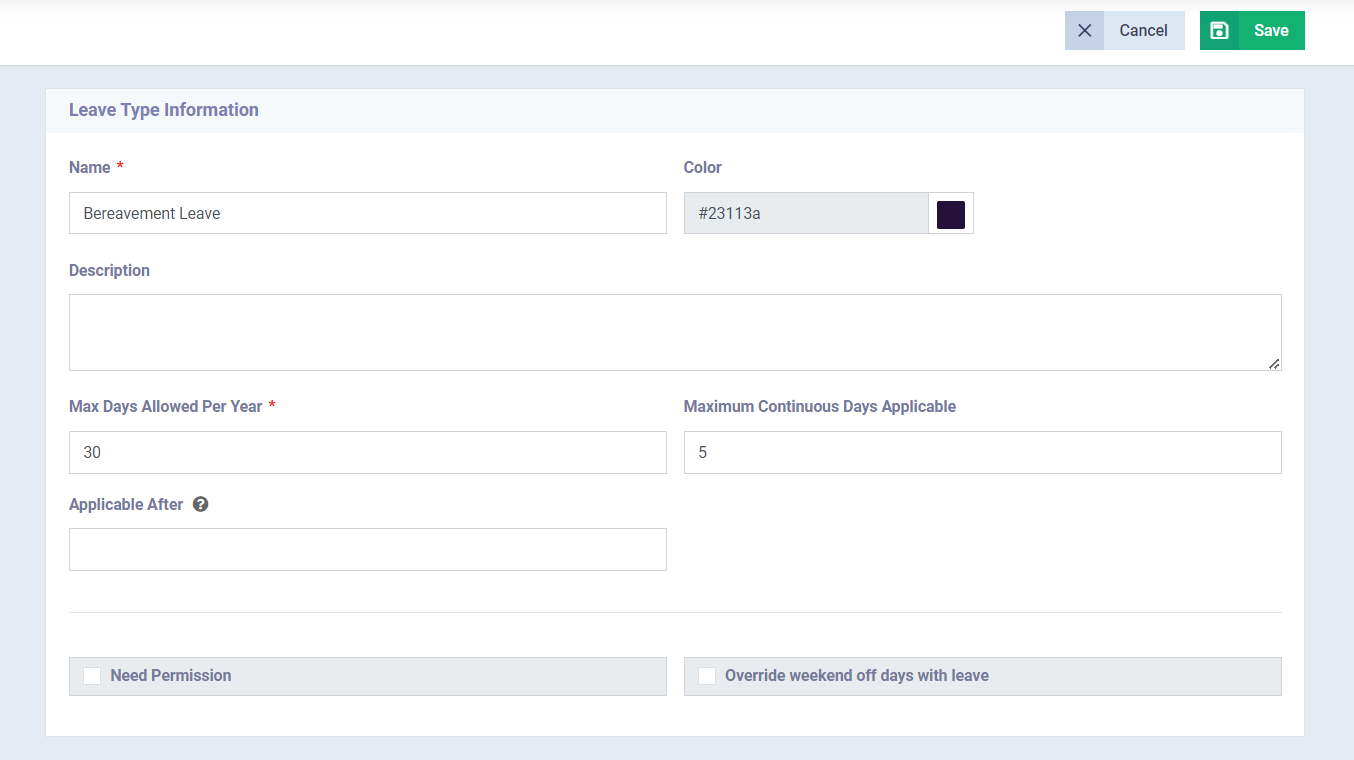
Enter the information of the leave type as follows:
- Name: Enter the name of the leave.
- Color: Choose a color for the leave type from the available colors to distinguish it from other types of leaves.
- Description: Enter a description for the leave type as required.
- Max Days Allowed Per Year : Specify the maximum number of days allowed for this type of leave per year,
- : Specify the maximum number of consecutive days an employee can take off with this type of leave.
- Applicable After: Specify the period – in days – after which this type of leave is applicable to the employee, counting from the joining date of the employee.
- Needs permission: Click this checkbox if permission is required to use this type of leave
Click on the “Save” button.
Adding Leave Permissions
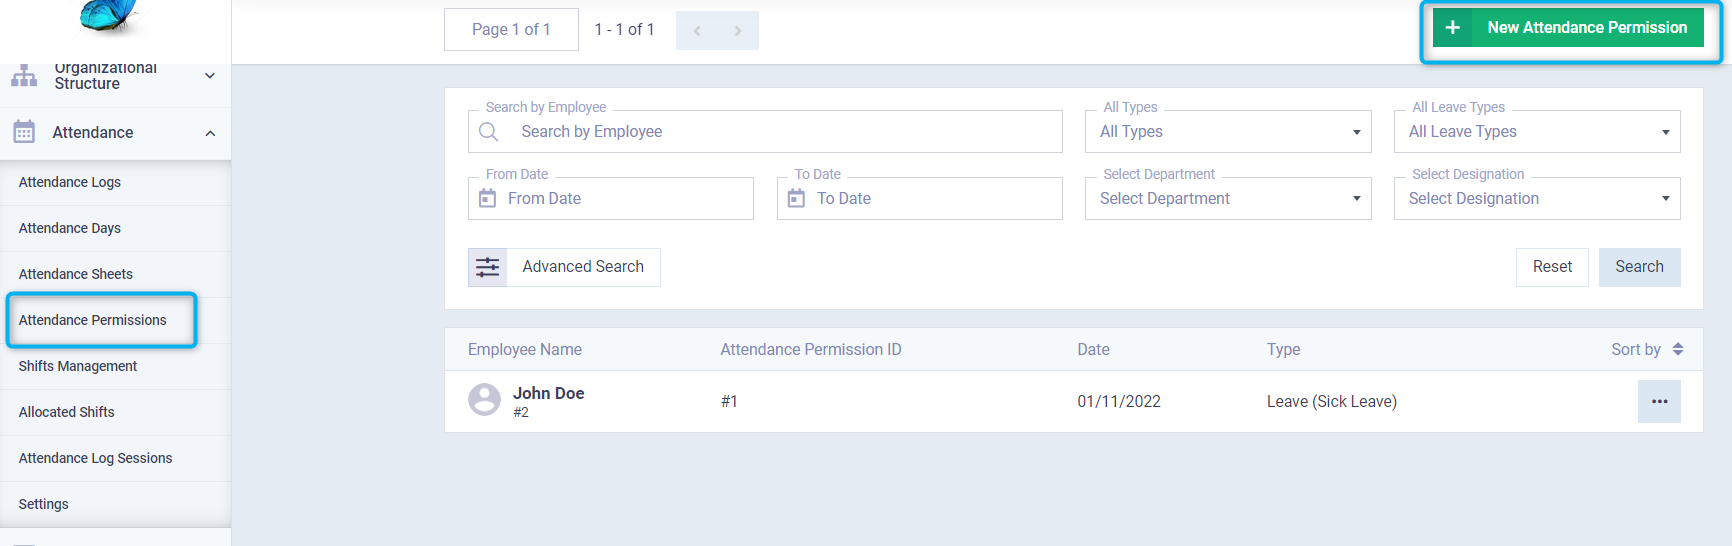
Some types of leaves require prior permission to be counted. To add leave permission for an employee, click on the “Attendance Permissions” dropdown under “Attendance” in the main menu and then click on “New Attendance Permission”.
Enter the attendance permission information as follows:
- Employee: Select the employee for whom the leave permission is to be created.
- Date: From the downward arrow within the date field, determine if the leave permission is for a “Range” or a “Single” day.
- Range: Select the start and end dates of the range from the calendar fields.
- Single: Select the date of the leave permission from the calendar.
- Type: Choose from the dropdown menu the type of leave permission, selecting between “Leave” or “Delay”
- If “Leave” is chosen, select “Leave Type” from the dropdown menu.
- If “Delay” is chosen, specify the “Late Time” in minutes.
- Note: Write any required notes related to the leave permission in the dialog box.
- Date of Application: Select the date of creating the leave permission from the calendar.
Click on the “Save” button.
