Adding the “Unit” as a Separate Column in Print Templates
If you use multiple measurement units for your products, you can now display them clearly in the print template as a separate column next to the quantity column.
This guide explains how to enable the “Unit” column in sales and purchase print templates.
Enabling the Unit Column in Print Templates
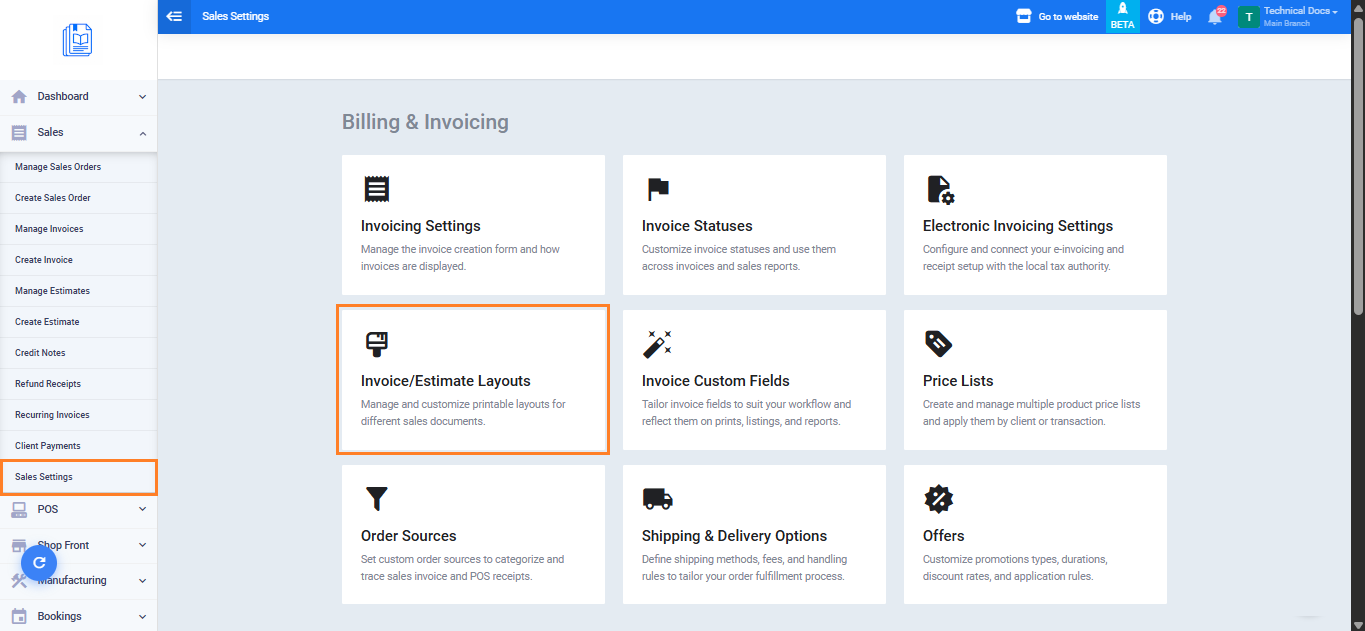
- From the main menu, go to “Sales” then select “Sales Settings“.
- Open the “Invoice / Estimates Layouts” tab.
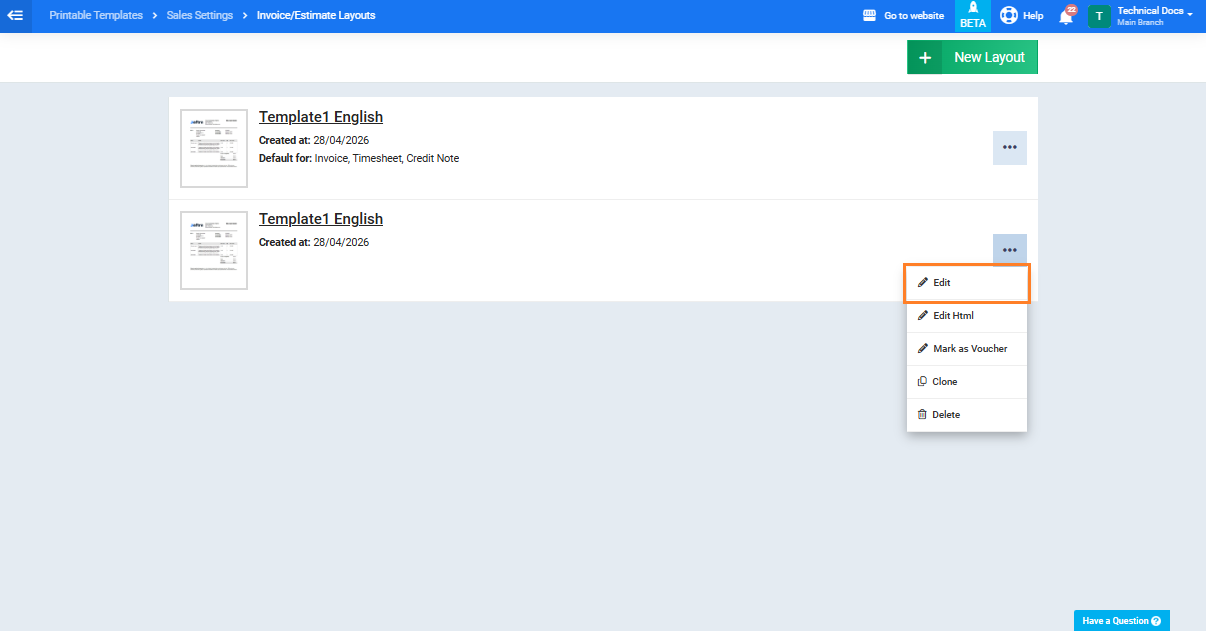
- Click the “Edit” icon for the template where you want to enable the unit column.
- Open the “Item Columns” tab.
- Enable the Show “Unit Column” option.
- (Optional) You can change the column name by editing the column “Unit Column Label” field. The default value is “Unit“.

- Click on the button “Save“.
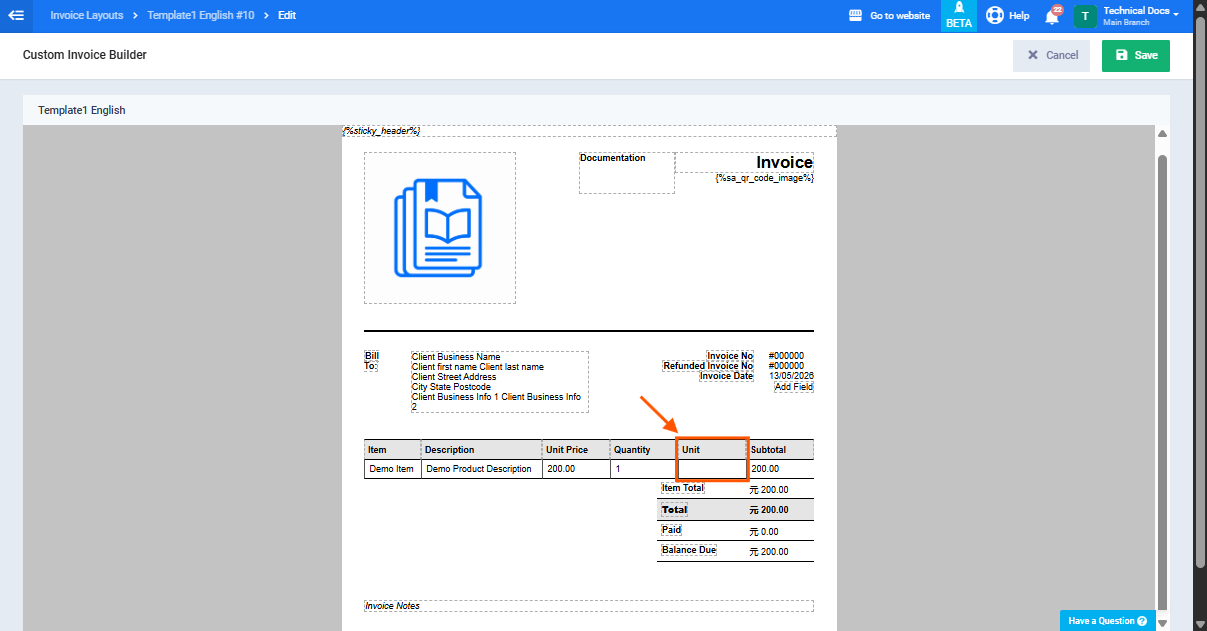
How the Unit Column Appears in the Printable Template?
After enabling the option, the unit column will appear directly after the quantity column in the printable template.
The measurement unit for each product will appear in its corresponding row.
Enabling the Unit Column in Purchase and Inventory Templates
The same steps apply to purchase and inventory printable templates.
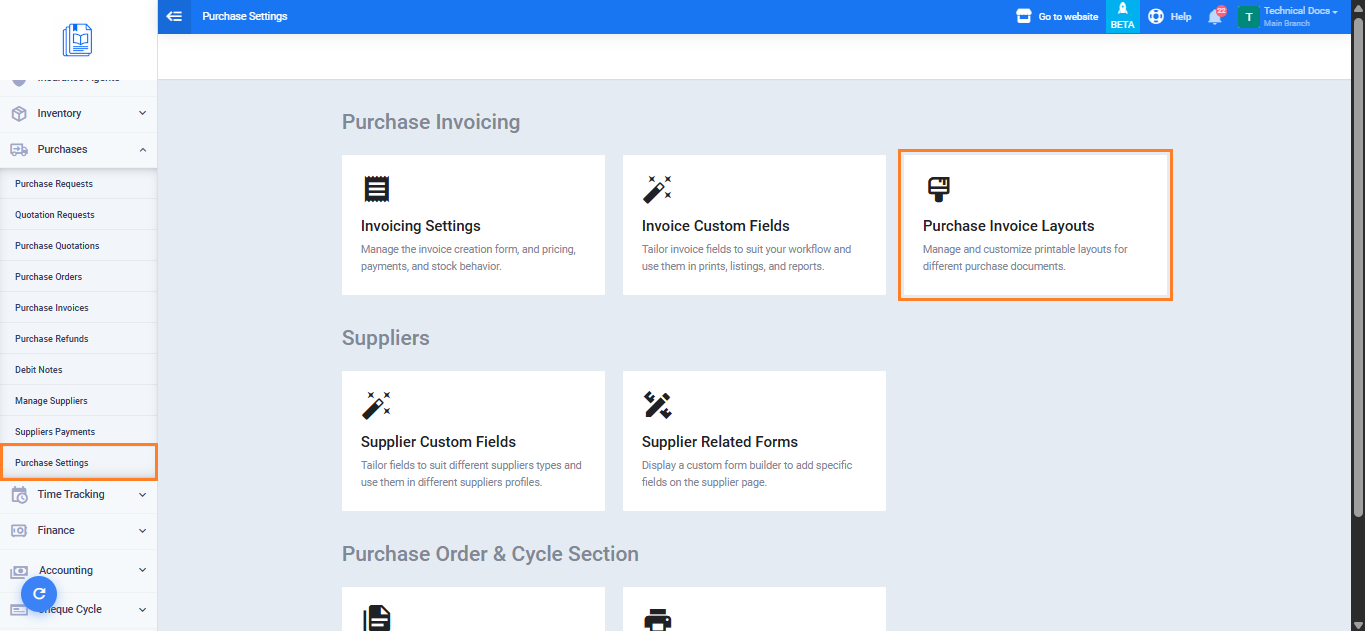
- For Purchase Templates: Go to “Purchases” then select “Purchase Settings“, open the “Purchase Invoice Layouts” tab.
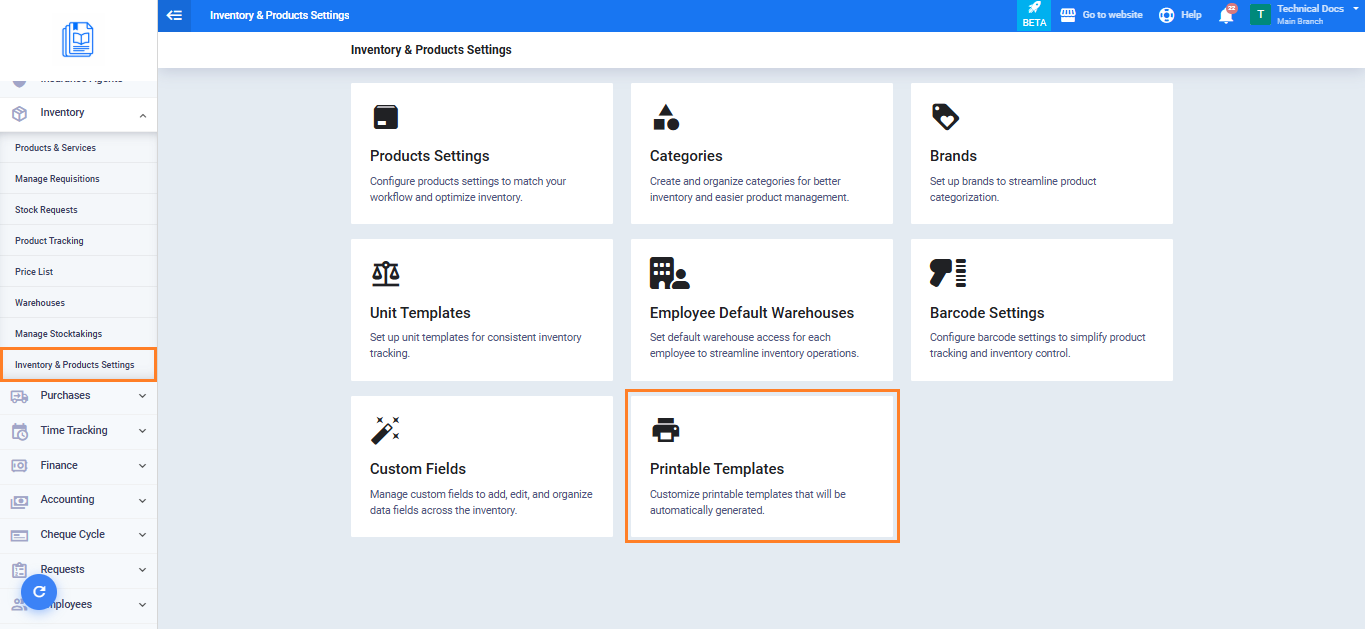
- For Inventory Templates: Go to “Inventory” then select “Inventory & Product Settings“, open the “Printable Templates” tab.
Then follow the same steps to enable the “Show Unit Column” option.