Creating a Sales Order
What is a Sales Order?
A sales order is a document created by a seller confirming a client’s purchase. It includes details like the products or services being bought, quantities, prices, client info, and delivery instructions. It serves as a formal record for processing the order and managing inventory, invoicing, and shipping.
Enable Sales Orders
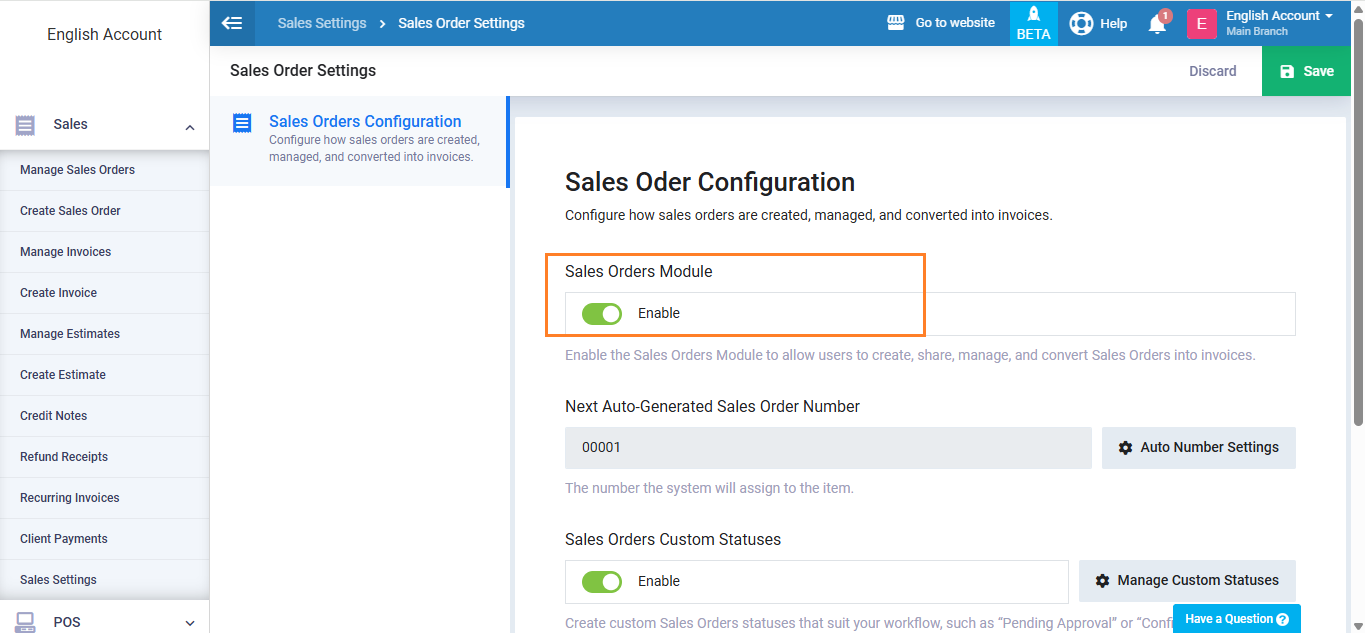
Before starting you need first to enable the sales order from the sales settings.
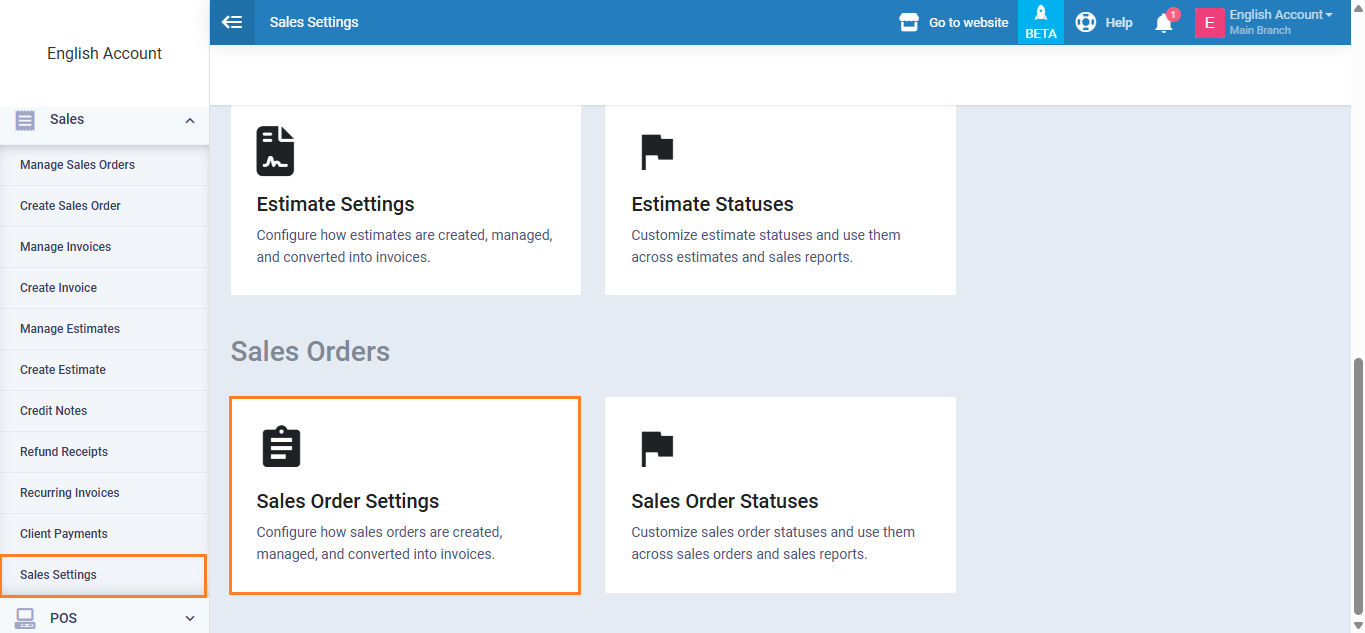
From the main menu click on “Sales Settings” in the drop down menu of “Sales“.
Choose the “Sales Order Settings” tab.
Enable “Sales Order Module“.
Creating a New Sales Order
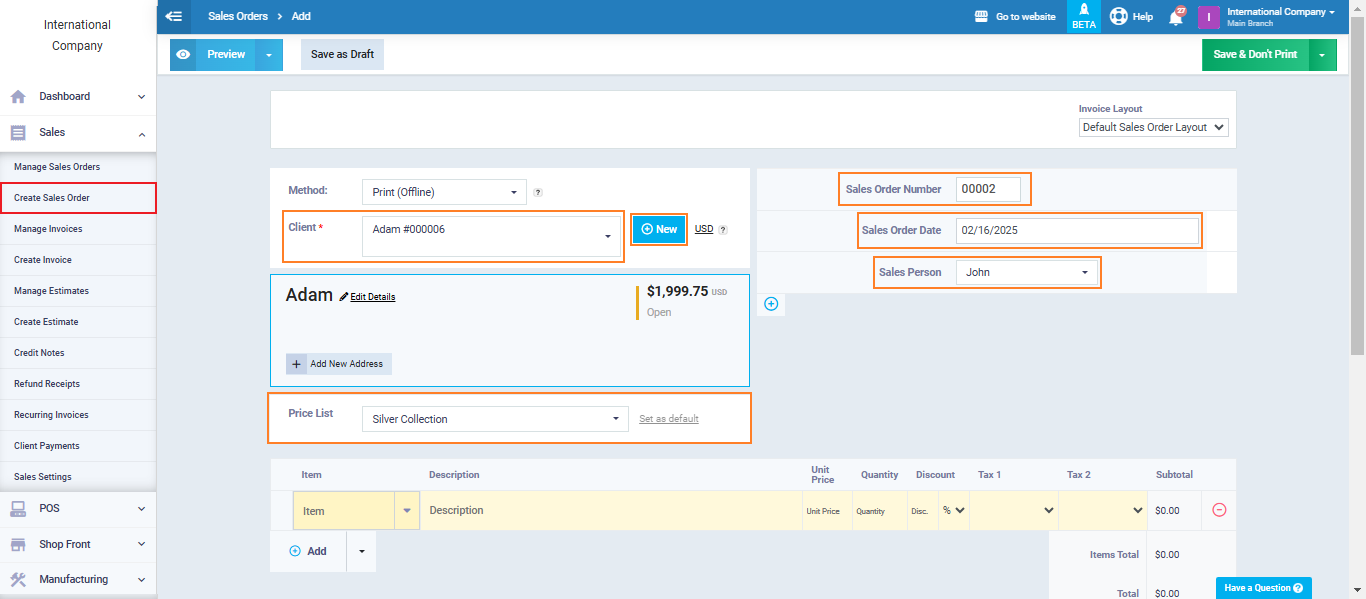
Click on ‘Sales‘ in the main menu, then select ‘Create Sales Order.’ A new sales order screen will appear, where you can fill in the following data:
- Sales Order Number: Each sales order automatically created with a unique serial number.
- Sales Order Date: You can then specify the sales order date, which is automatically set to the creation date, and also the issue date, which you can set on the same day or before or after it.
- Sales Person: The “Salesperson” field is used to assign sales orders to a specific salesperson, facilitating later tracking as well as performance evaluation of employees and the calculation of sales commissions.
- Client: Select a client from the database for the sales order, or add a new client by clicking “New” next to the field.
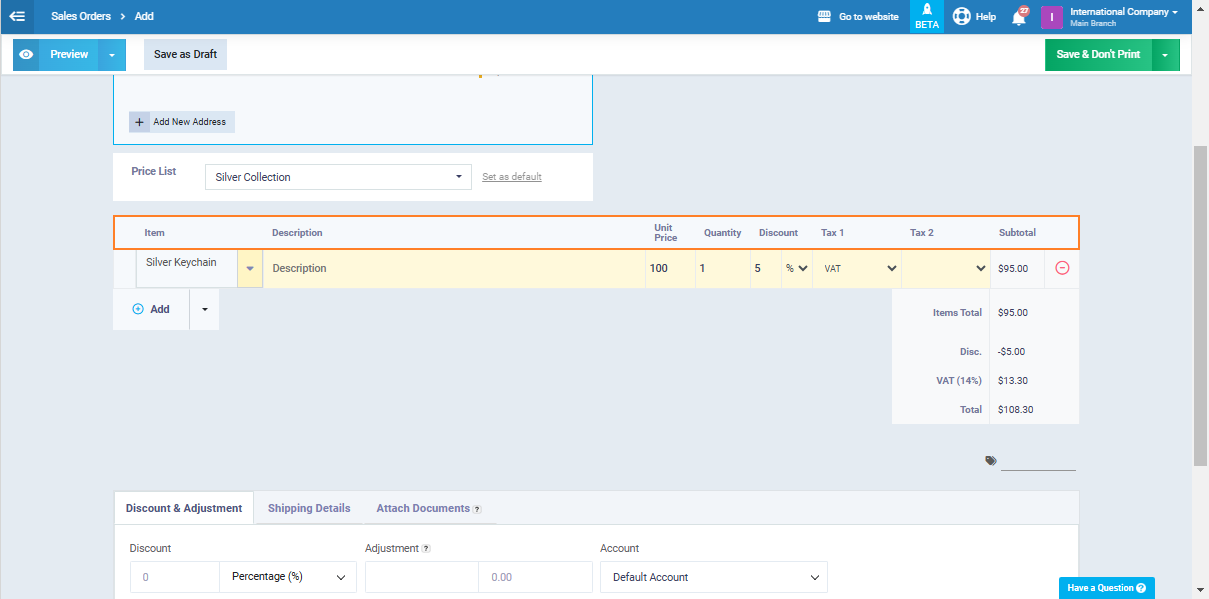
- Price List: Choose a price list for the sales order, where special product prices are applied instead of the standard inventory prices.
Completing the Sales Order Basic Information
Once you’ve completed the general information for the sales order, the next step is to enter the essential details, which include:
- Item: The product or service being sold.
- Description: A brief overview or details of the item.
- Unit Price: The cost of a single unit of the item.
- Quantity: The number of units being sold.
- Discount: Any reduction applied to the total price.
- Taxes: Applicable tax charges based on the sale.
Other sales order info includes:
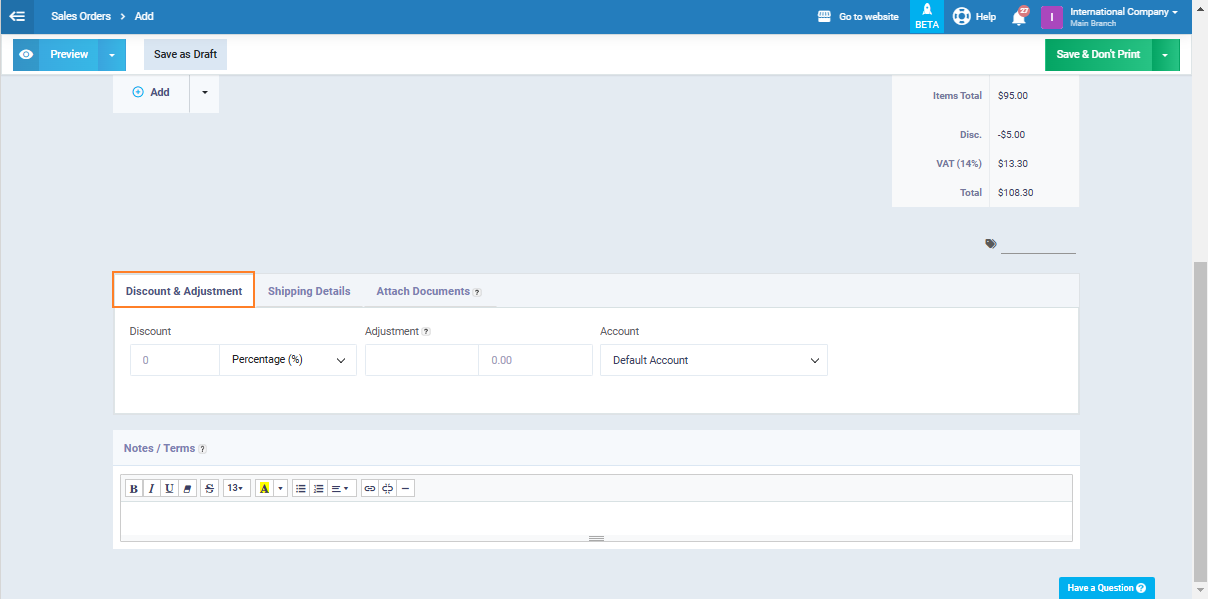
Discounts and Adjustments:
- Discounts: There are two ways to add discounts to a sales order. You can apply discounts at the item (product/service) level, which can be enabled when adding products to sales order next to the tax field. Alternatively, you can apply discounts to the total sales order amount, as shown in the image below. For percentage discounts, you can choose to apply them to either individual items or the entire order. You can also apply a fixed discount amount to an item.
- Adjustment: The actual amount on a sales order often contains fractions, and many accountants prefer to round these fractions and issue the sales order for the nearest appropriate whole number, like rounding in mathematics where, for example, 5.8 is rounded to the nearest whole number 6, and 5.4 is rounded to 5.
- Account: Select the account from the chart of accounts that you want to link the sales order to, or leave the default account as it is.
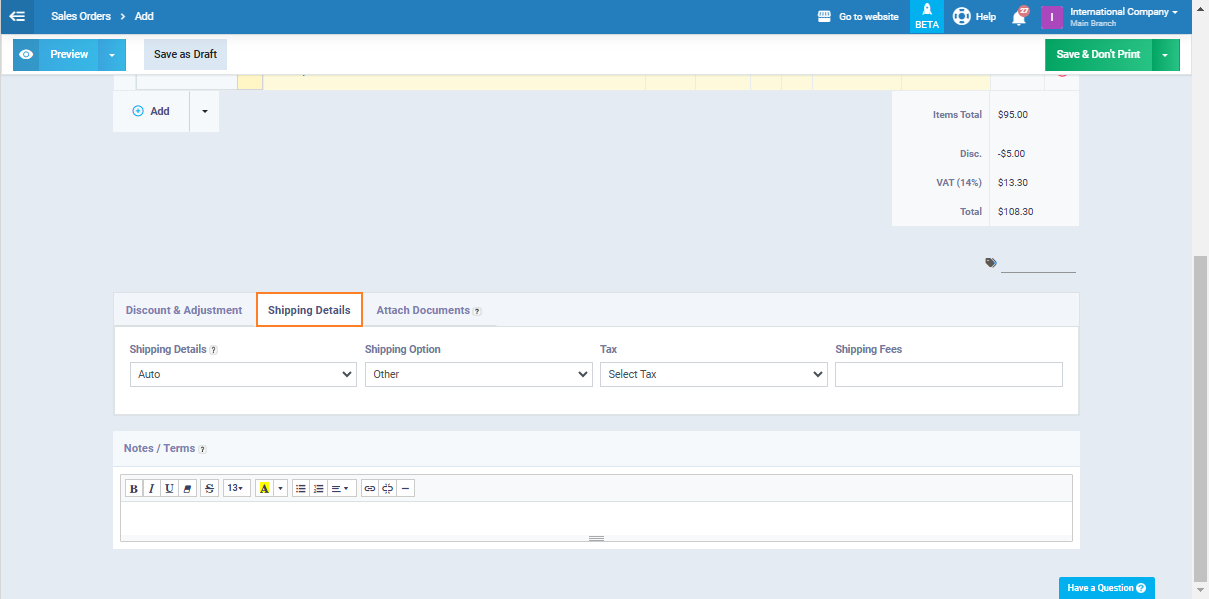
Shipping Details: This refers to the client’s shipping address, which may or may not appear on the sales order. The options are as follows:
- Auto: To display one of the addresses registered in the client’s profile on the sales order.
- Don’t Show: To hide the shipping address within the sales order.
- Show Client’s Primary Address: To display the client’s primary address as the shipping address on the sales order.
- Show Client’s Secondary Address: To display the client’s secondary address as the shipping address on the sales order.
- Shipping Option: Select the desired shipping option from the dropdown menu.
- Note: Shipping options must be set up first for this feature to appear in the shipping details section.
- Taxes: Applicable tax charges on the shipping fees.
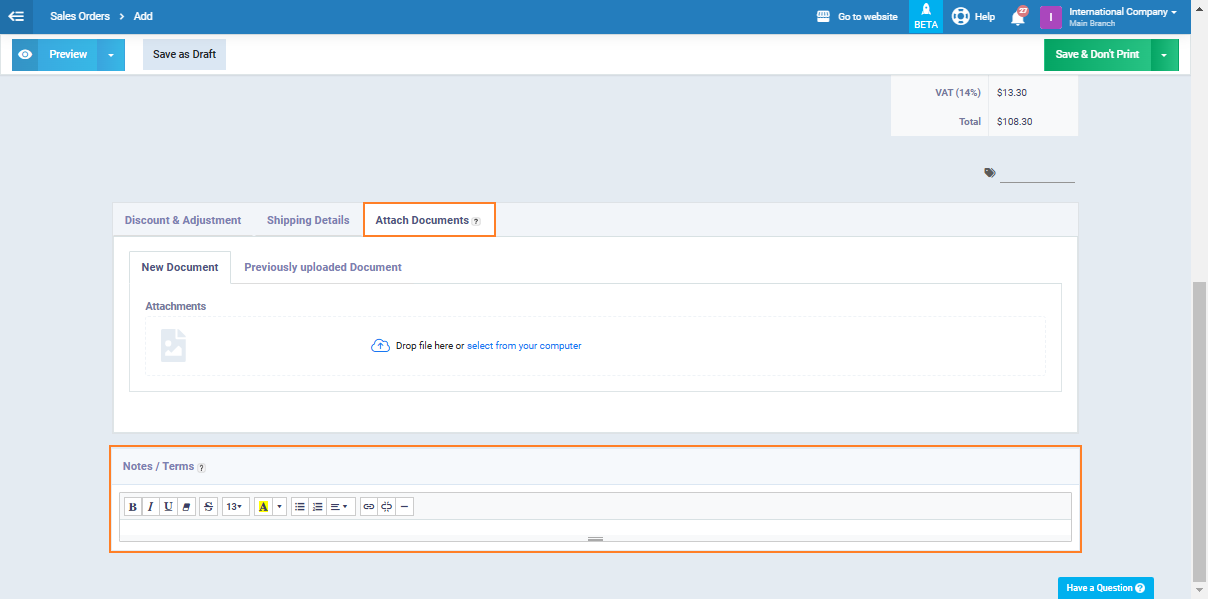
Attaching Documents:
- New Document: You can do this by choosing the document you want to attach from your computer.
- Previously Uploaded Document: Documents that you have previously uploaded are displayed for you to choose from without the need to search on your computer.
Notes / Terms: Add in the text box any required notes.
After completing all the required fields, click on the “Save” button.
Preview a Sales Order
You can preview a sales order before saving and issuing it in order to ensure all the details are correct, make any necessary adjustments, and verify that the terms and conditions are properly set before finalizing the order.
From the “Create Sales Order” screen, fill in the order required info, then click on the arrow beside the “Preview” button.
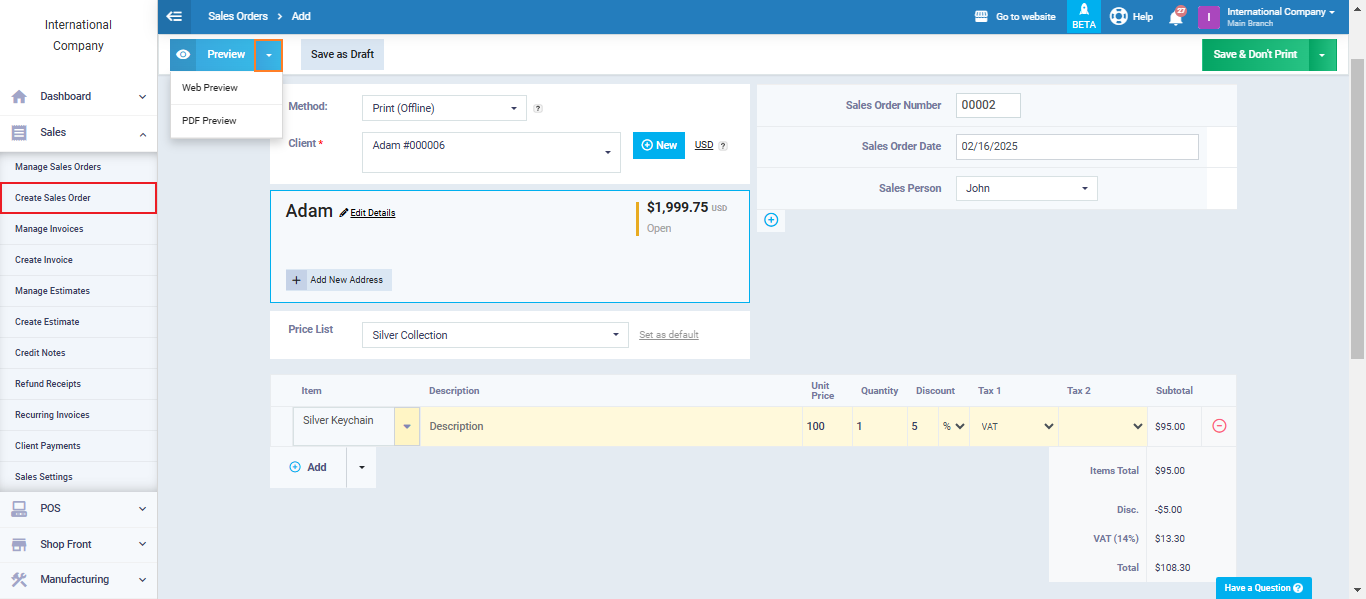
You can choose between two preview modes which are:
Web Preview
You can view the sales order as it will appear to the customer in a web-based format. If the order still need modifications click on the button “Edit” to go back to the “Create Sales Order” screen, and if you’re done with the edits click “Save“.
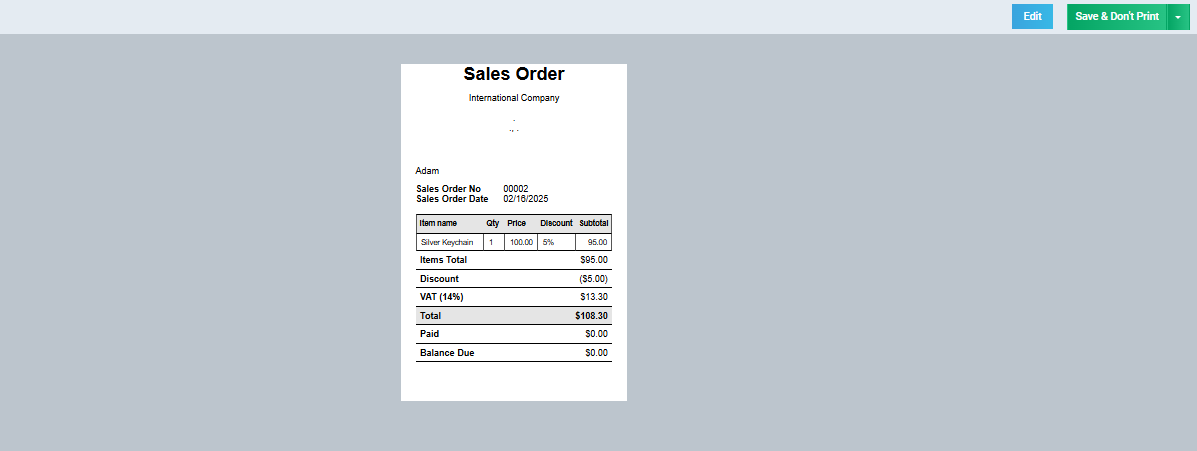
PDF Preview
You can generate a PDF version of the sales order for offline review or for printing. You can also choose to edit or save the order.

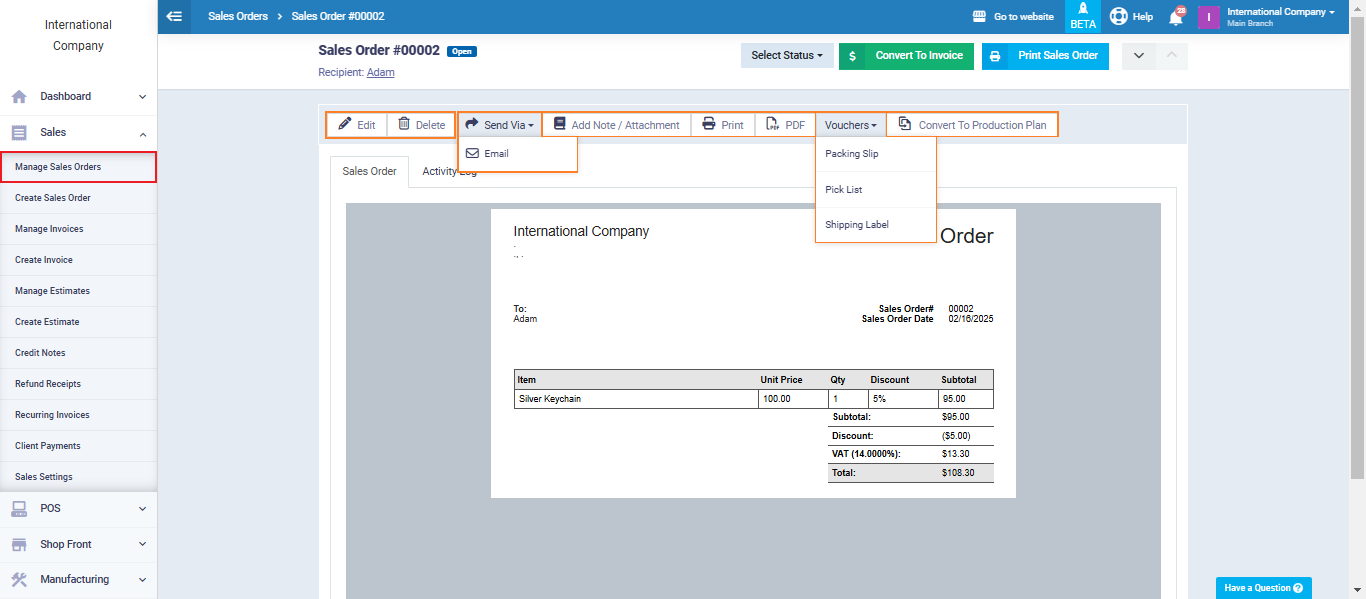
Actions on Sales Order
After issuing the sales order, there are several specific actions available to you to manage an order. You can access these actions by clicking on ‘Manage Sales Orders’ under ‘Sales’ in the main menu and selecting the sales order for which you want to take a specific action. These actions include:
- Editing: Modify the details of the sales order, such as product quantities, prices, or client information, before finalizing it.
- Delete: Remove the sales order from the system entirely.
- Send via Email: Email the sales order to the client or relevant parties.
- Add Note / Attachment: Attach internal or external notes, documents, or files.
- Print: Generate a hard copy of the sales order for manual processing.
- PDF: Convert the sales order into a PDF file format for digital storage or sharing.
- Vouchers: Generate printable templates of the sales order, which can be used for order confirmation.
- Convert to Production Plan: Transform the sales order into a production plan to trigger the manufacturing or fulfillment process for the products ordered.