
How to Use Price Lists
In this topic, we will learn together how to use price lists in the system, after explaining in a previous topic how to create a new price list and add products to it.
In this topic specifically, we will learn how to:
- Adjust the product price in multiple price lists.
- Mass update the base selling price.
- Specify the price list in the invoice.
- Assign the price list to clients.
Adjusting the Product Price in Multiple Price-lists
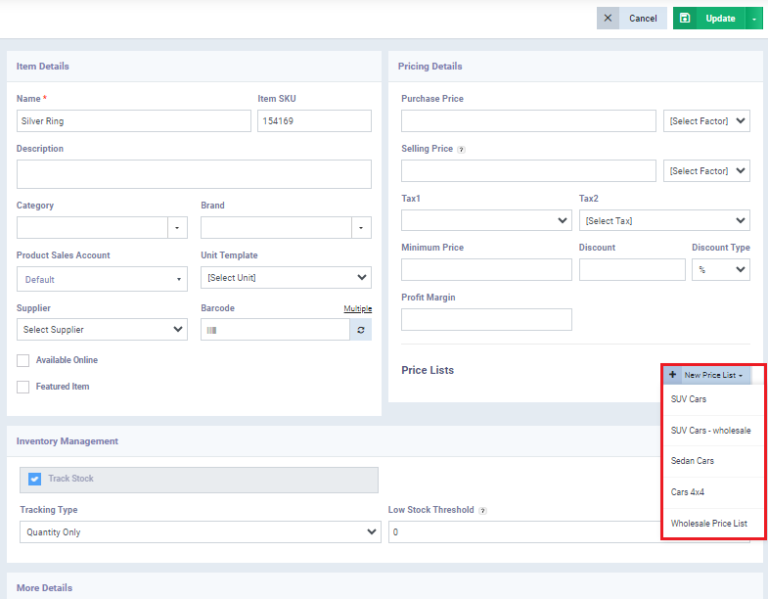
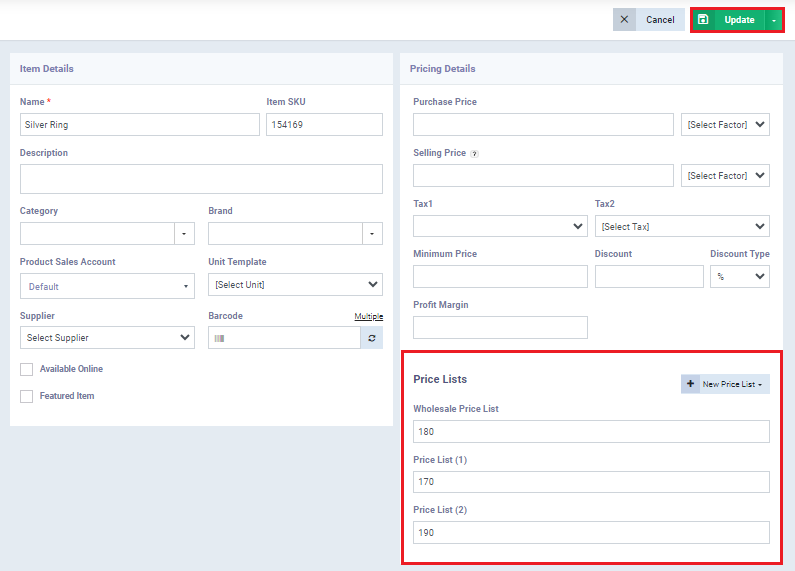
This feature allows us to adjust the price of a specific product in multiple price lists without the need to add this product to each list individually.
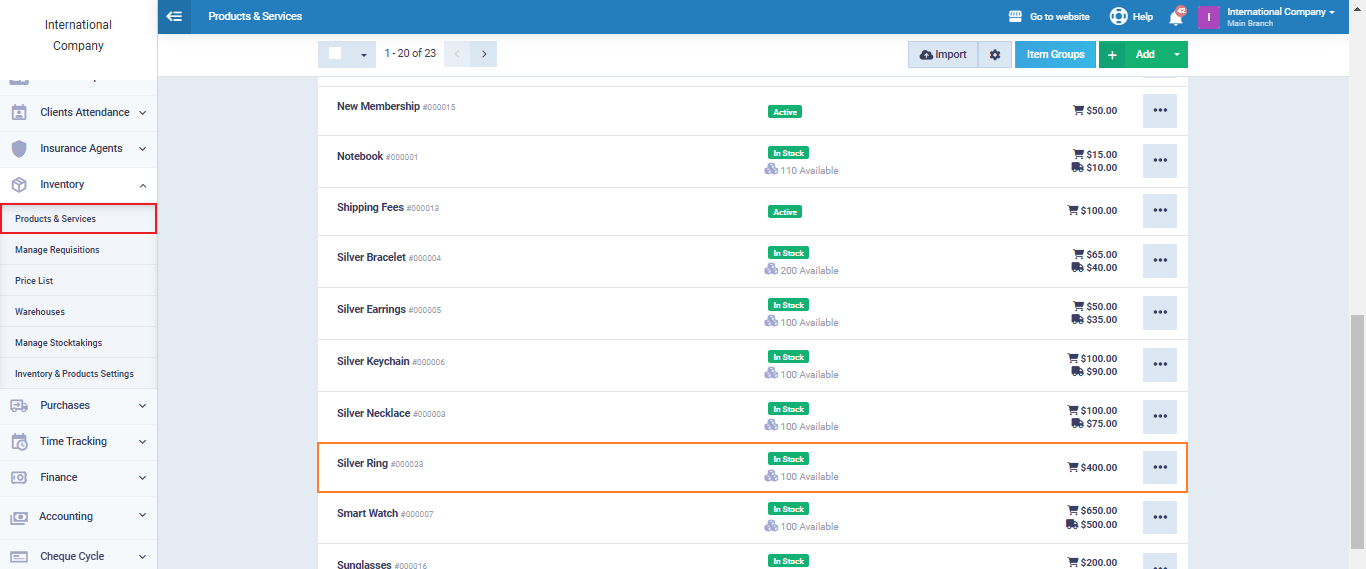
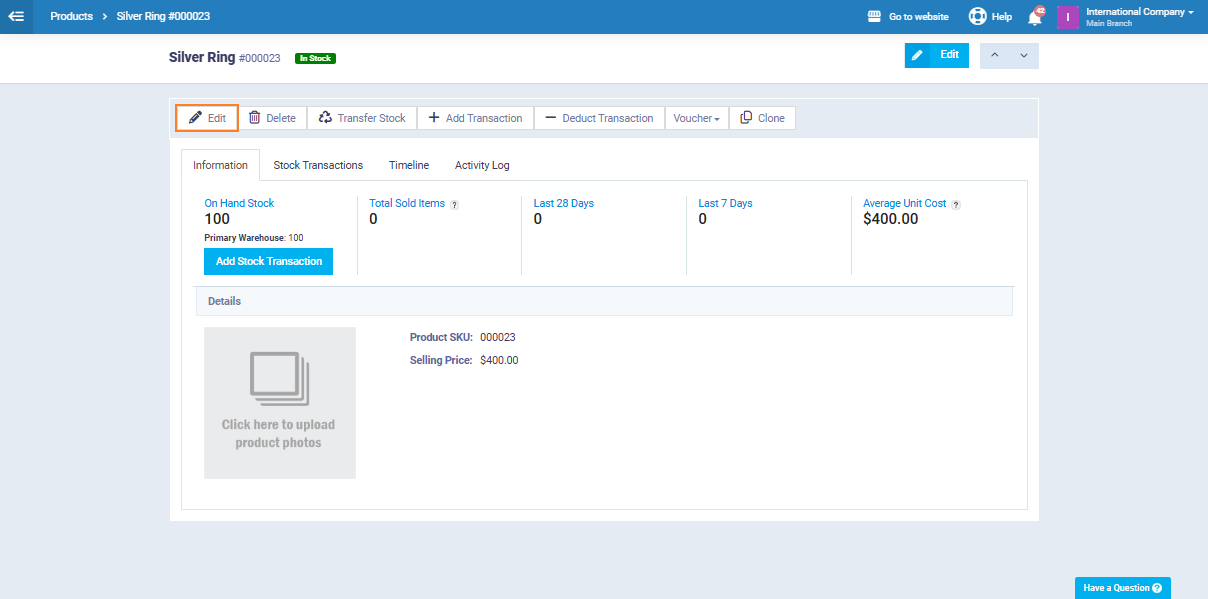
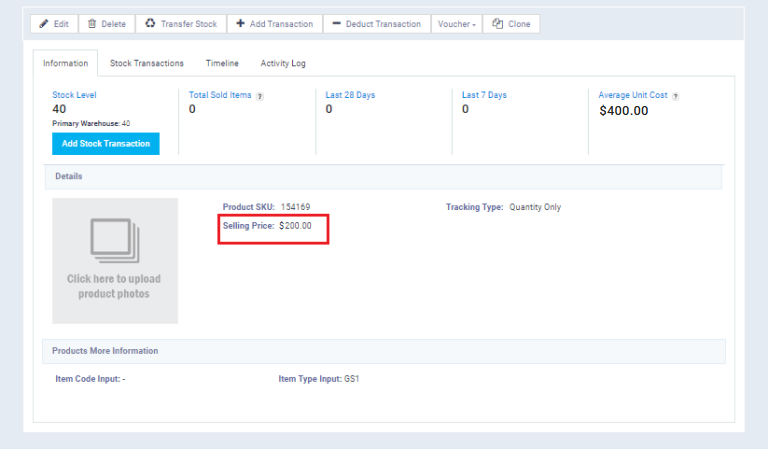
After selecting the “Silver Ring” product, its control panel will appear.
Now, we click on “Edit.”
Prices Bulk Update
At some point, you may need to update the base selling prices for your products or for a specific price list you have.
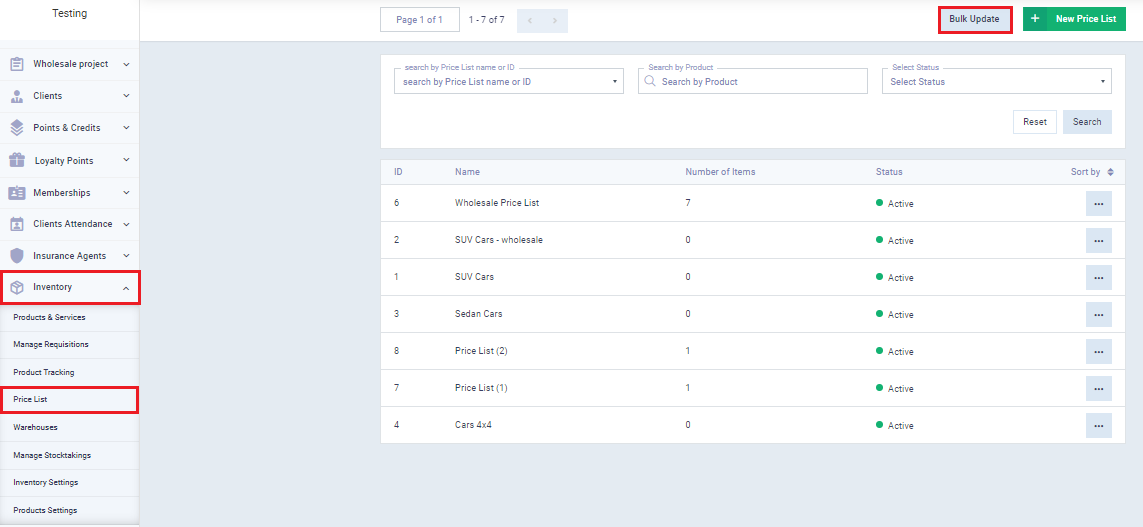
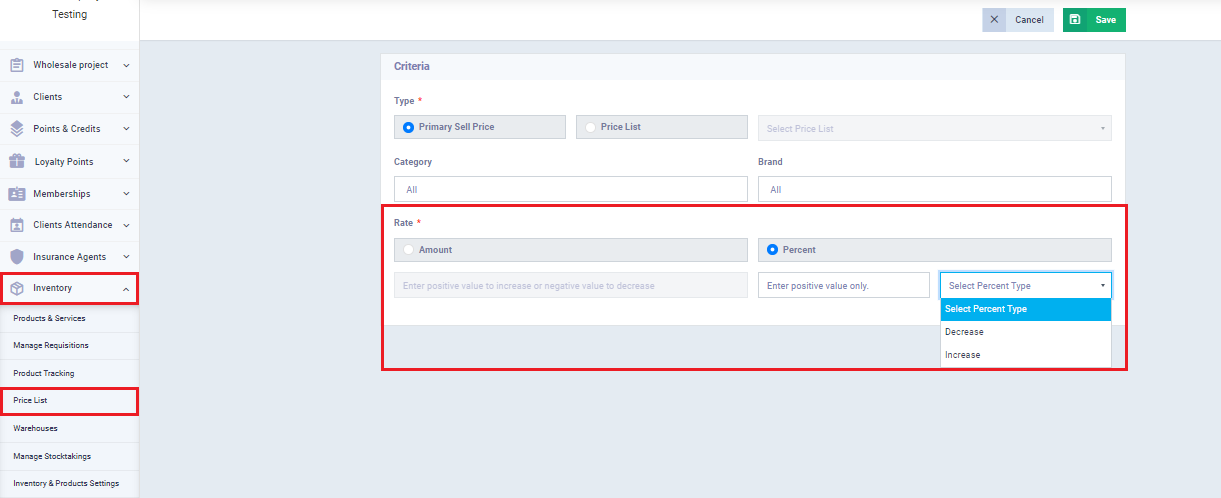
To do this, first, click on “Inventory” from the main menu, then click on “Price List,” and then press the “Bulk Update” button at the top of the page.
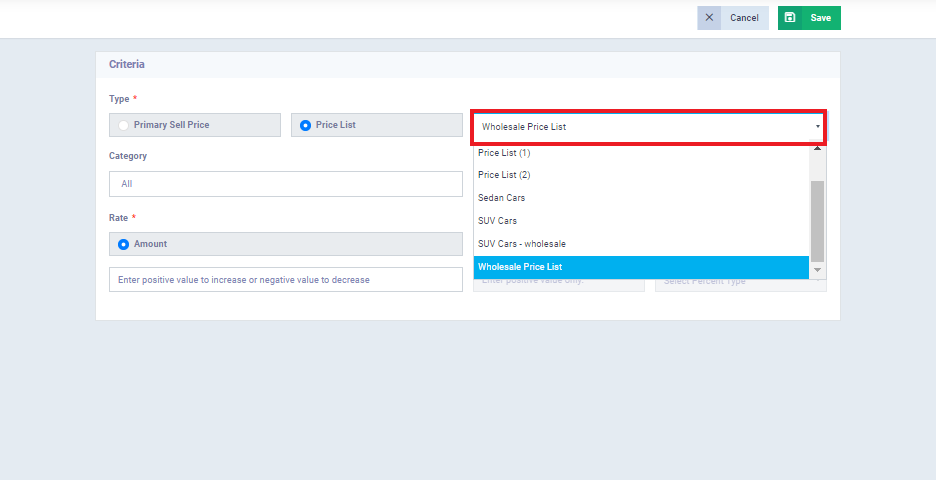
First: Price List Update
Through this feature, we can update a specific price list without changing the base selling price of the products on that list.
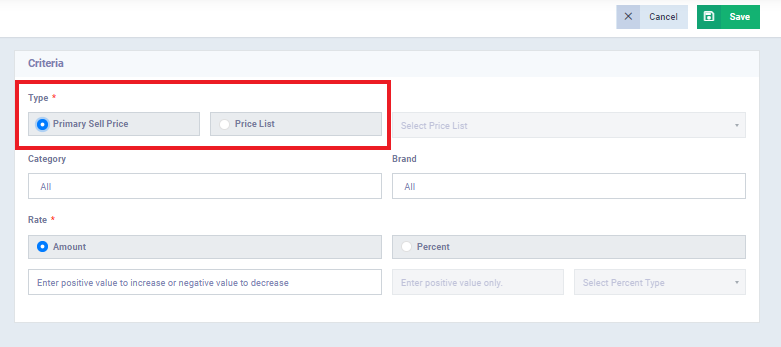
Then, we select the price update mechanism, either by amount or percentage. It should be noted that:
- When updating by amount, you only need to write the value if it is positive. If the value change is a reduction, you should put a (-) sign before writing the value.
- When updating by percentage, enter the value without any signs, then choose the type of change: decrease or increase, as shown in the image.”
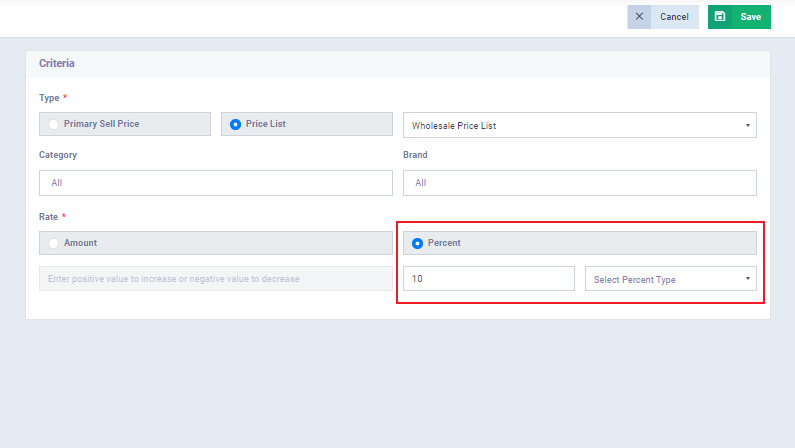
Now let’s apply it to the ‘Wholesale Price List‘ and increase the prices by 10%, as shown in the previous image. Then, press ‘Save‘ to confirm the increase.
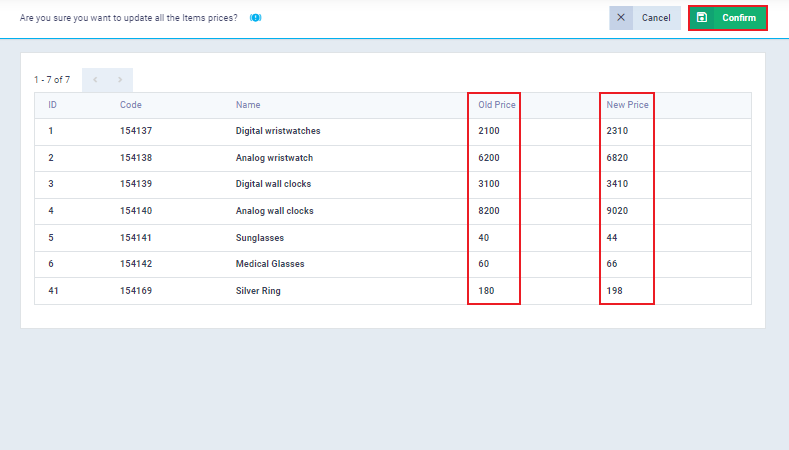
Click ‘Confirm‘ after reviewing the new prices. This way, we have successfully updated the price list.
Second: Updating the Primary Sell Price
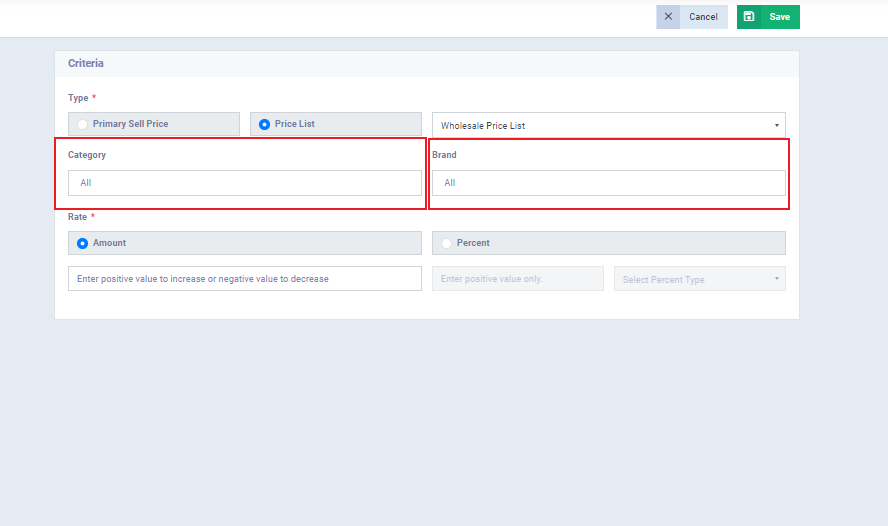
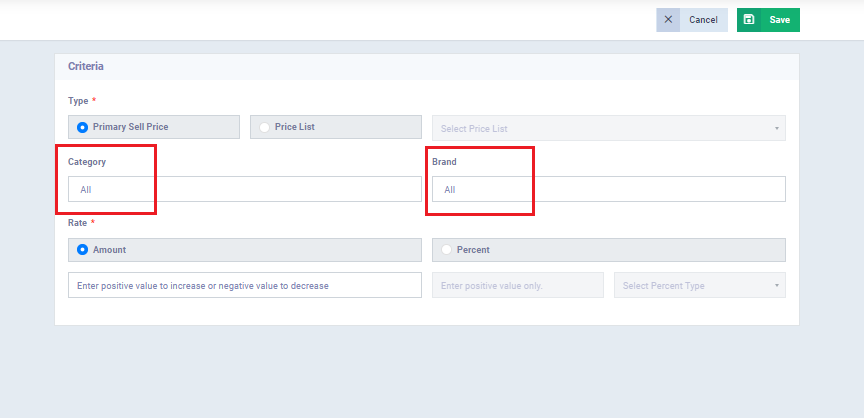
This feature allows us to update the primary sell price of products regardless of the price lists. To do this, we first need to select the products whose prices we want to update.
To execute this first step, the system allows us to select products either by category, brand, or both. We can choose more than one category and more than one brand.
After selecting the products to update, we proceed directly to selecting the price update mechanism. There is no difference between this and the price update mechanism in price lists. You must first select the price update mechanism, either by amount or percentage. It should be noted that:
- When updating by amount, you only need to write the value if it is positive. If the value change is a reduction, you should put a (-) sign before writing the value.
- When updating by percentage, enter the value without any signs, then choose the type of change: decrease or increase, as illustrated in the image.
Assigning a Price List to Clients
This feature allows you to link one of your clients to one of your price lists, directly from the client control panel without the need to access settings or the price list control panel.
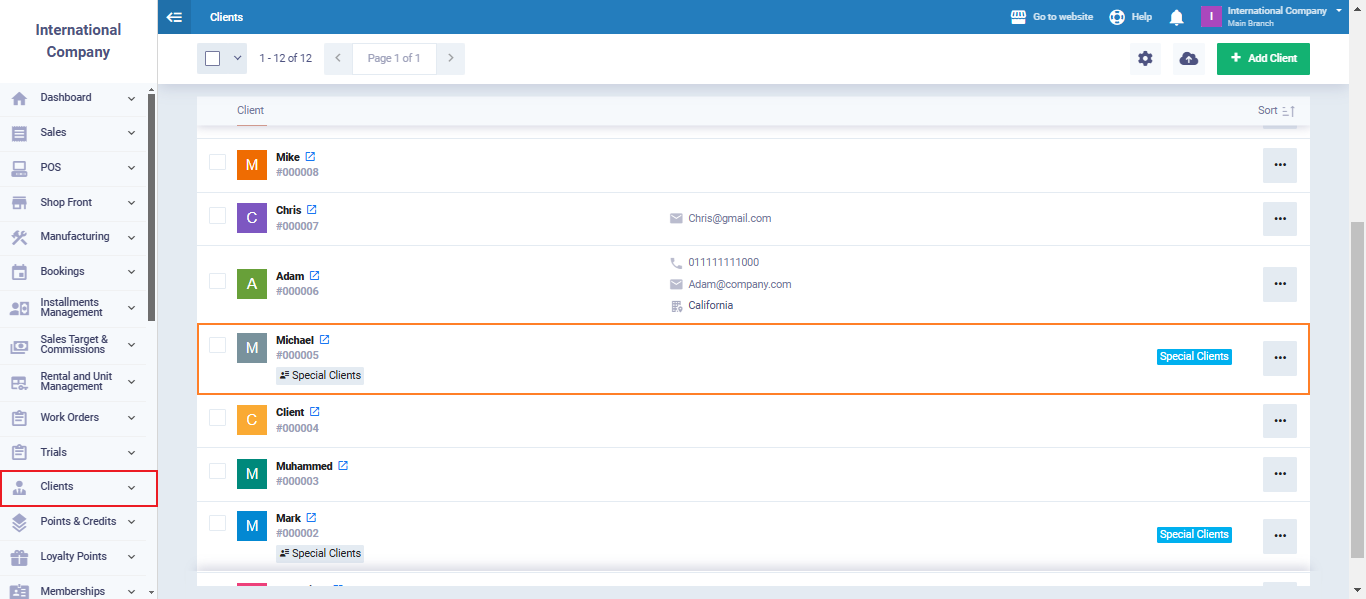
For example, if we have a client named ‘Michael‘ and we want to assign the ‘Wholesale Price List‘ to him so that he is treated with the prices specified in the ‘Wholesale Price List‘ when creating a sales invoice for him, rather than the base price of the product, we follow these steps:
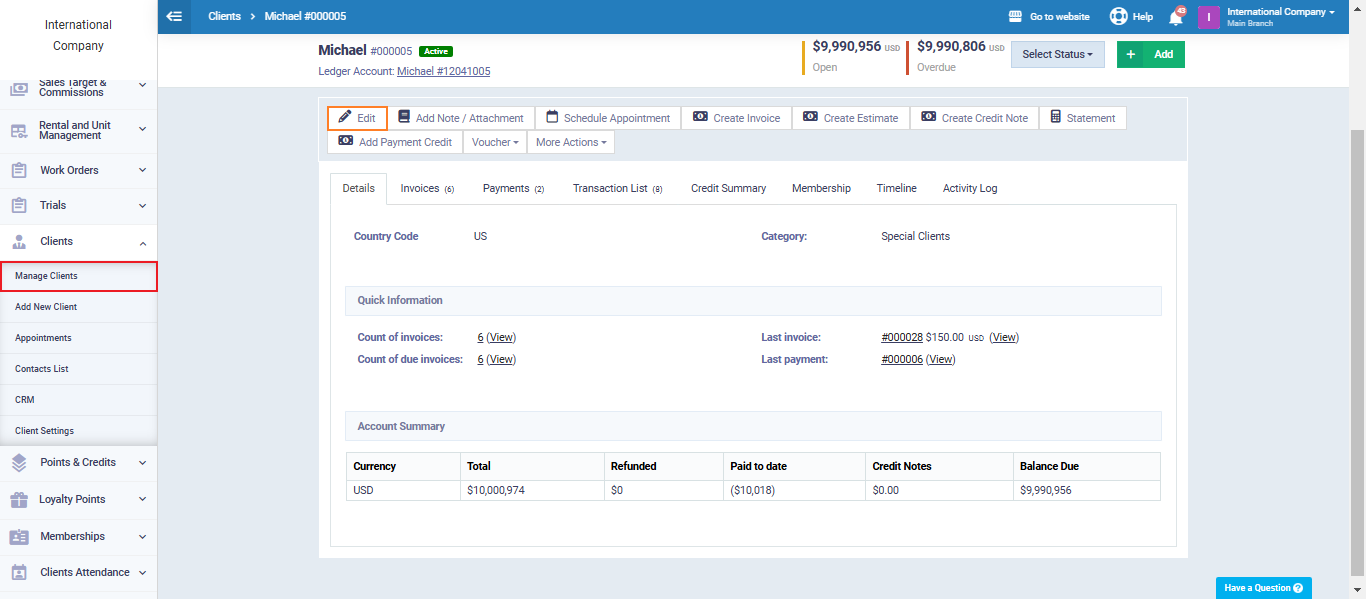
Then, click on the ‘Edit‘ button in the client profile.
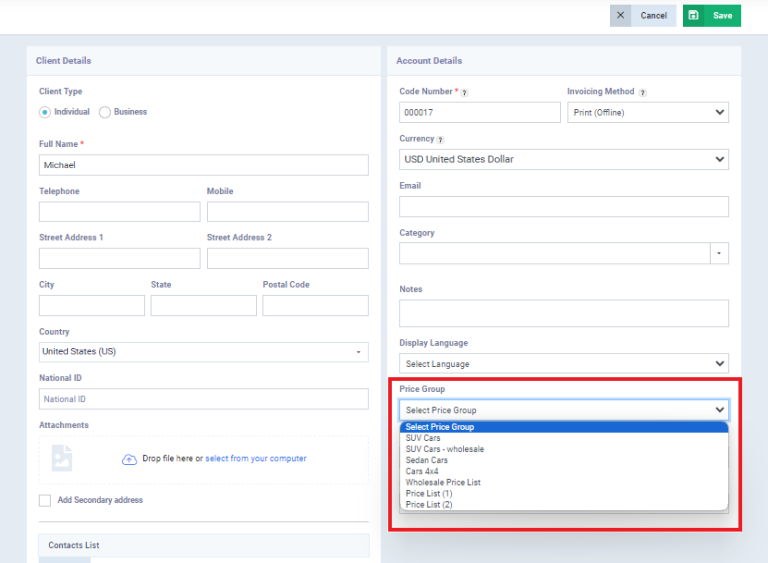
You will find at the bottom of the ‘Account Details‘ field the section for ‘Price Groups.’ Click on ‘Select Price Group.’
Now let’s make sure that client ‘Michael‘ will have prices assigned to him in sales invoices according to the ‘Wholesale Price List.’
And as we can see, once we select the client ‘Michael,’ the ‘Wholesale Price List‘ has been assigned as the default price list for him.

Selecting a Price List in the Invoice
This feature allows us to select a price list from the lists we have when creating a sales invoice, regardless of whether the client is linked to a price list or not.
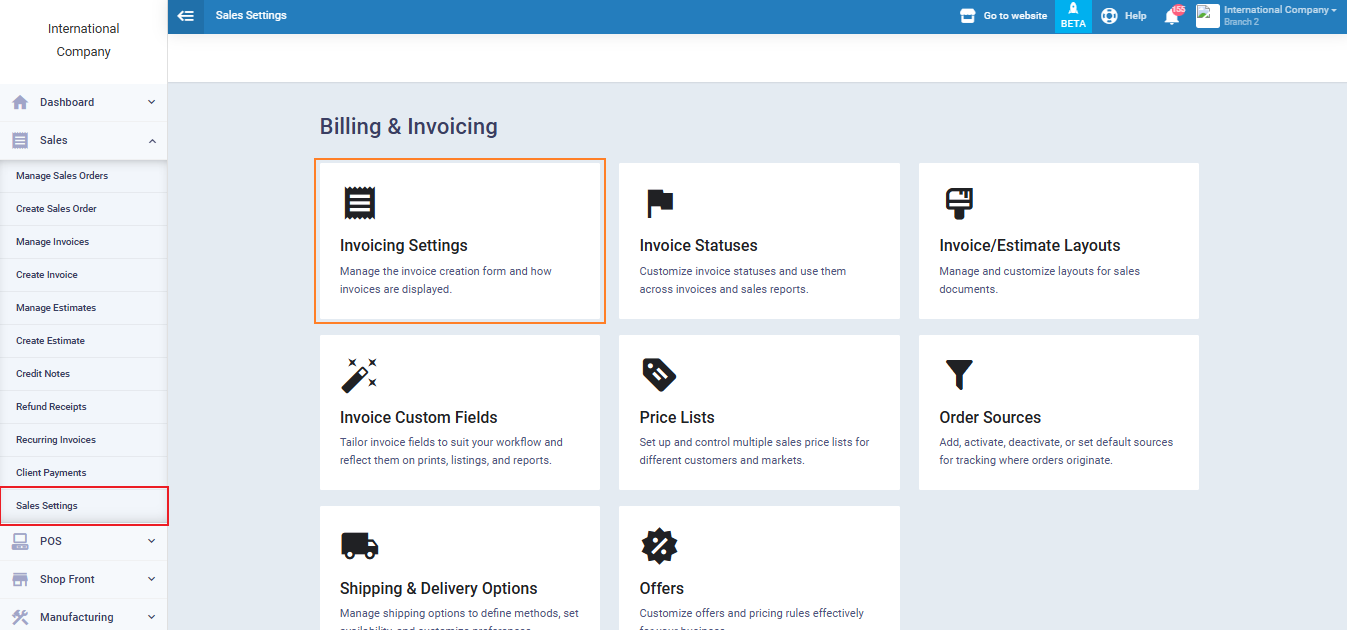
At the bottom of the panel, we activate ‘Change Price List When Creating Invoices.’ Then, press ‘Save.’
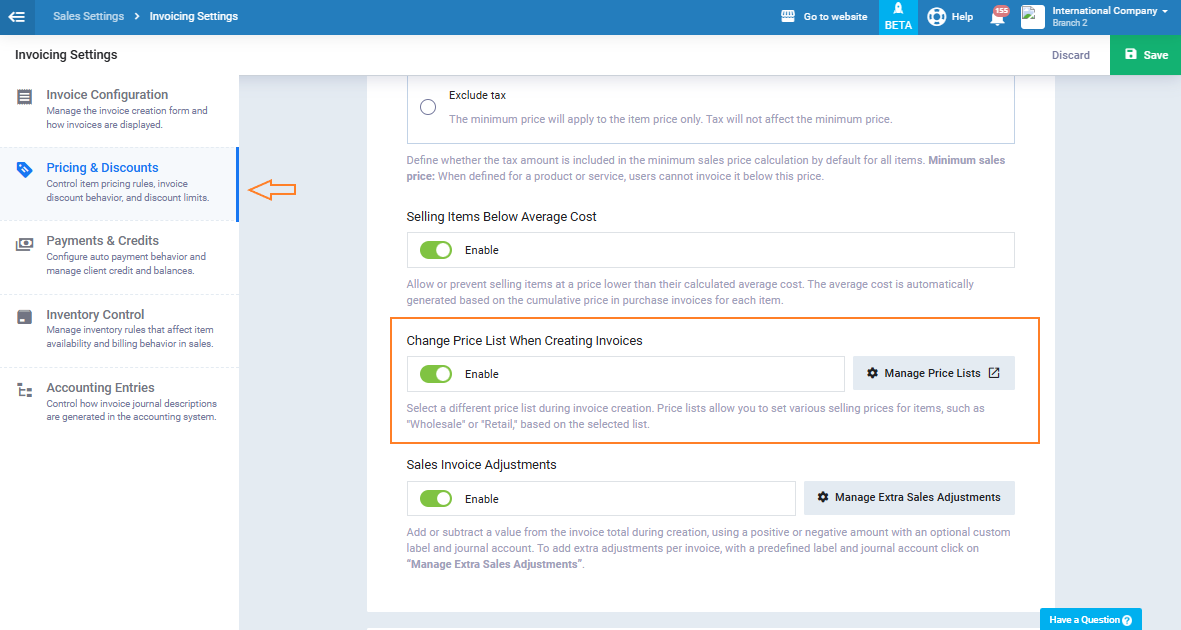
We now go back to creating a sales invoice.
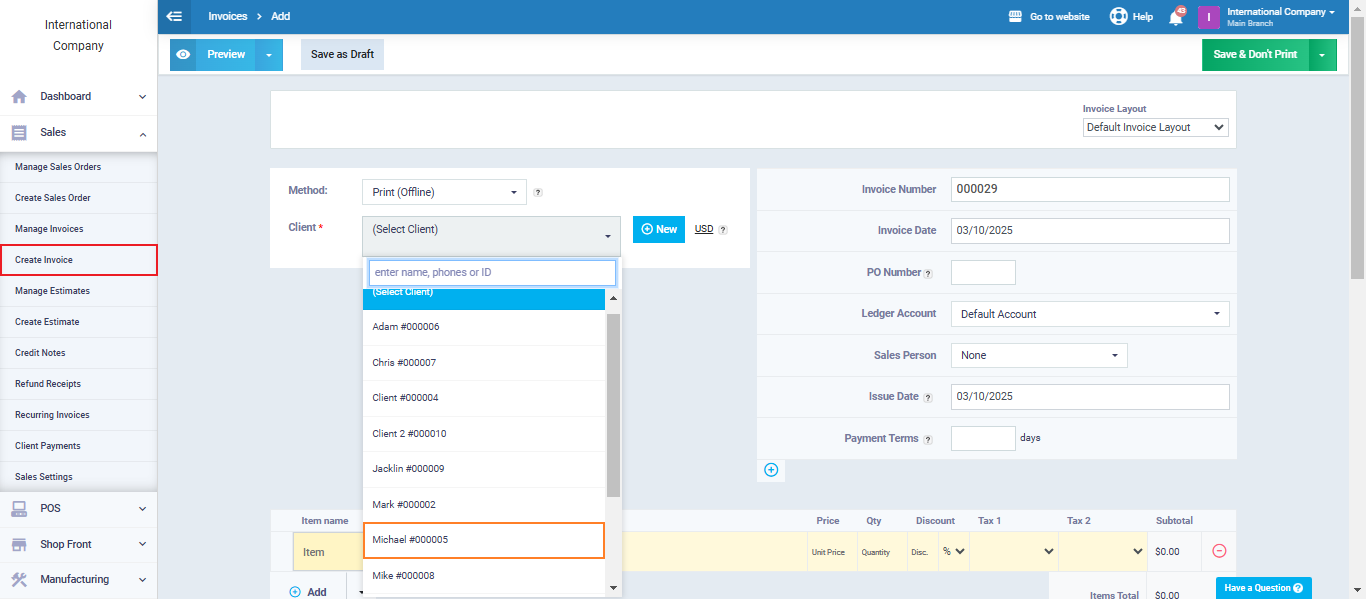
First, click on ‘Sales‘ from the main menu, then click on ‘Create Invoice.’
Now, we select the client.
Then we add invoice items, and the prices of the items will be calculated according to the selected price list, not the primary selling price. This concludes our explanation of how to use price lists, and together we have reviewed the key features that the software provides in price lists.”