Custom Fields for Products and Services
The product fields that are available by default in The system contain all the basic information that most businesses need, but there are special cases that require custom fields to add specific details to items. This article explains how to add a new field to products and services.
How to add a new Custom Filed in the Products Screen
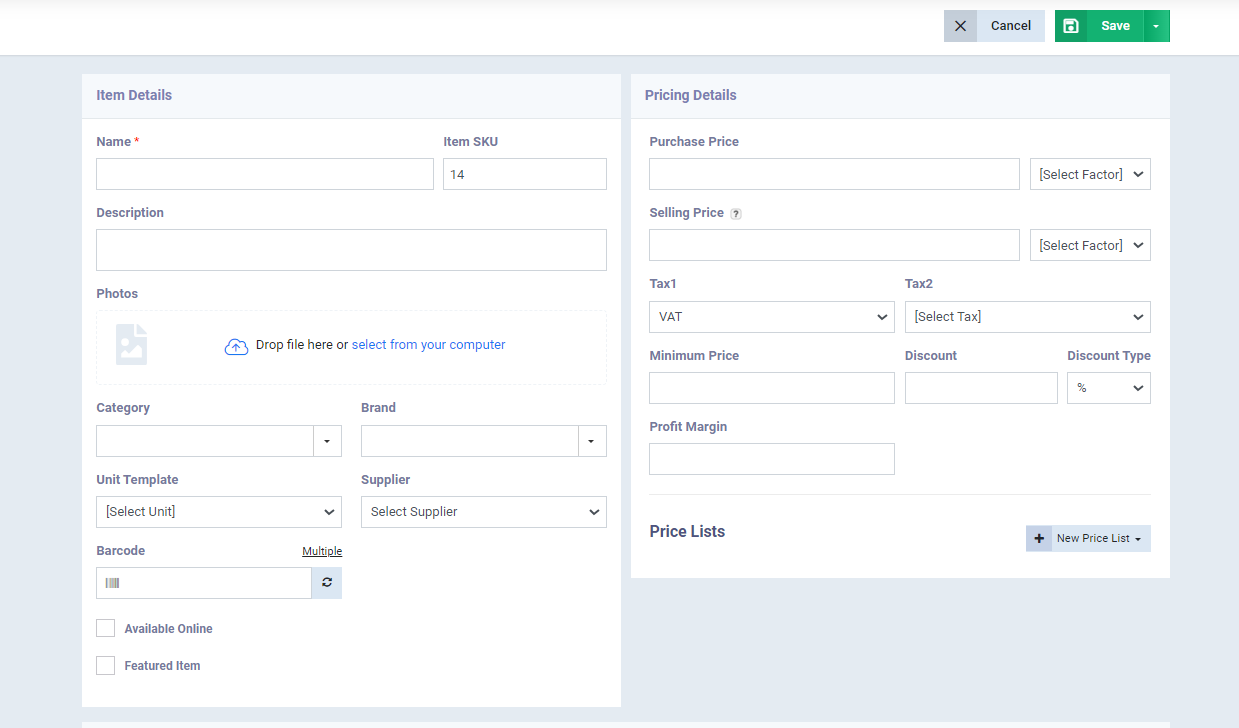
You now see a part of the default screen when adding a new product or service, which you can suffice with if you don’t need to create a new field.
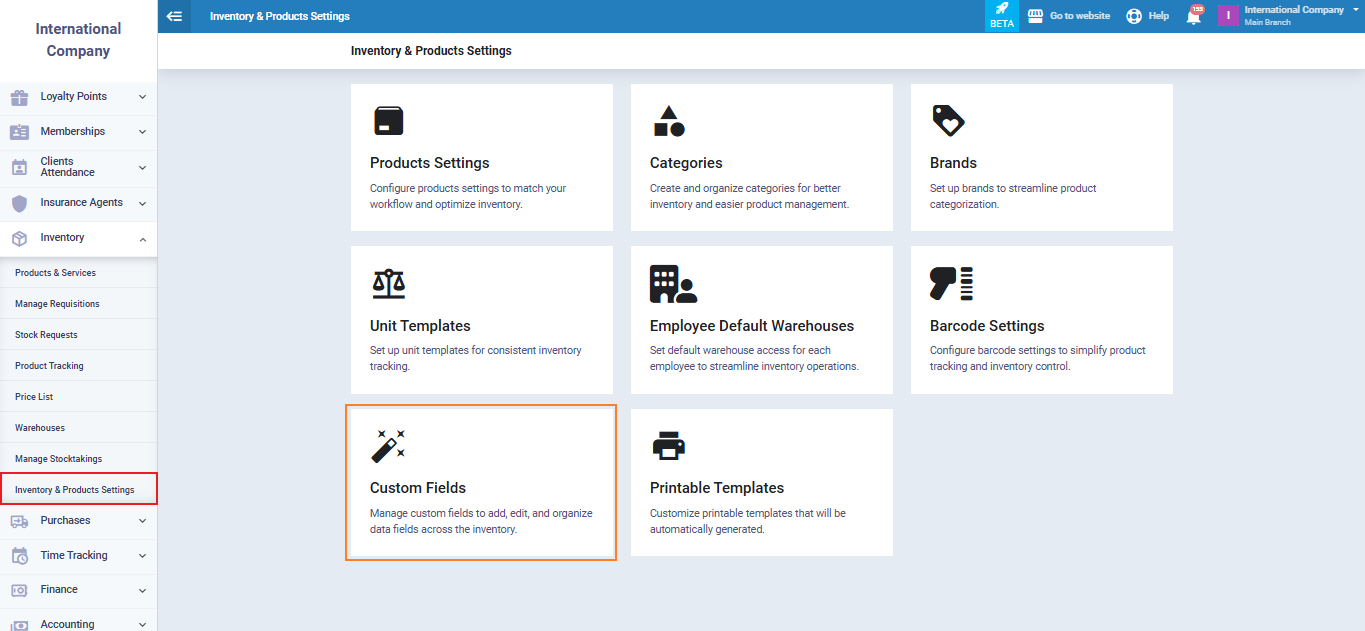
However, if you want to add a field to it, you can navigate to “Product Settings” dropdown under “Inventory” in the main menu. Then click on the “Custom Fields” card.
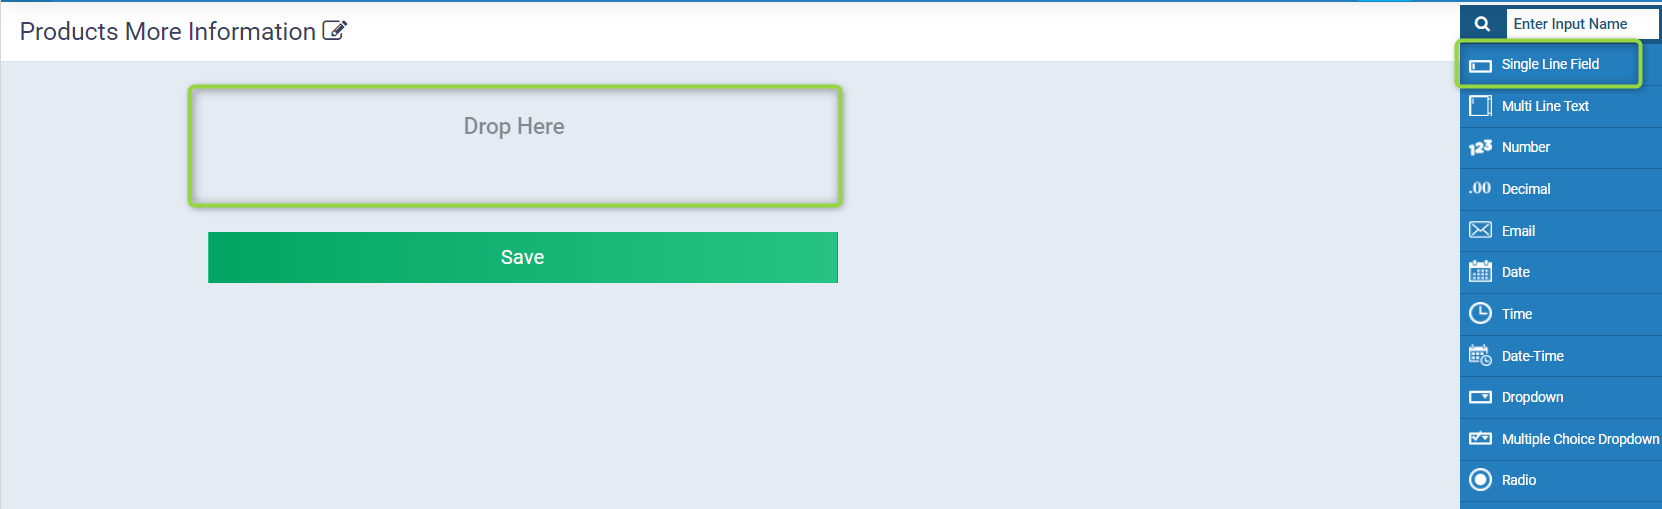
A list will appear with different types of custom fields. You can choose the type of field and write the suitable name for the use you want from this field.
For example:
The field could be a link or a text field for words and letters, a field that contains a number, or a dropdown list with several choices, among other possibilities. Nevertheless, you can use each type of field for many purposes, such as using the text field to write the client’s name, the employee’s name, or the product’s shipping address.
All you need to do is click on the field you want to attach to the product data and drop it at the phrase “Drop Here”, then adjust the field settings, and press “Save” to have it appear from then on when adding a new product.
Example of Applying the Feature of Custom Fields to the Item Data
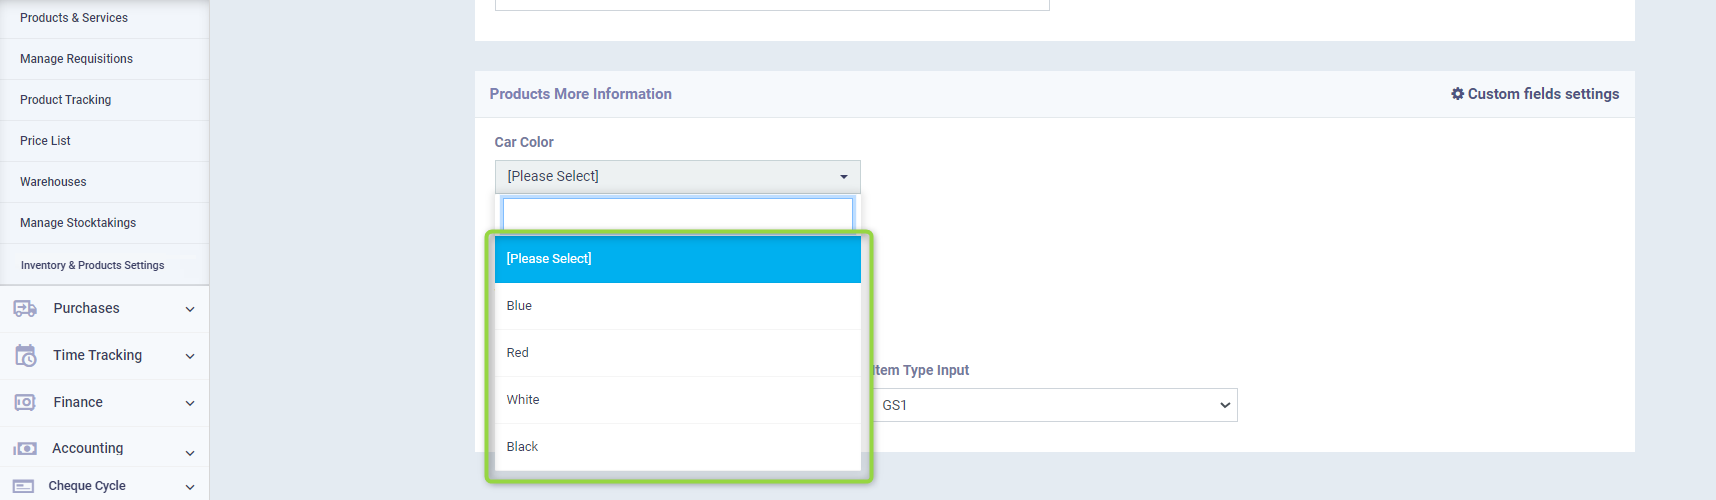
Let’s assume that your business is a car showroom and you want to specify the car color using a dropdown list with the available colors. How do you implement this through custom fields?
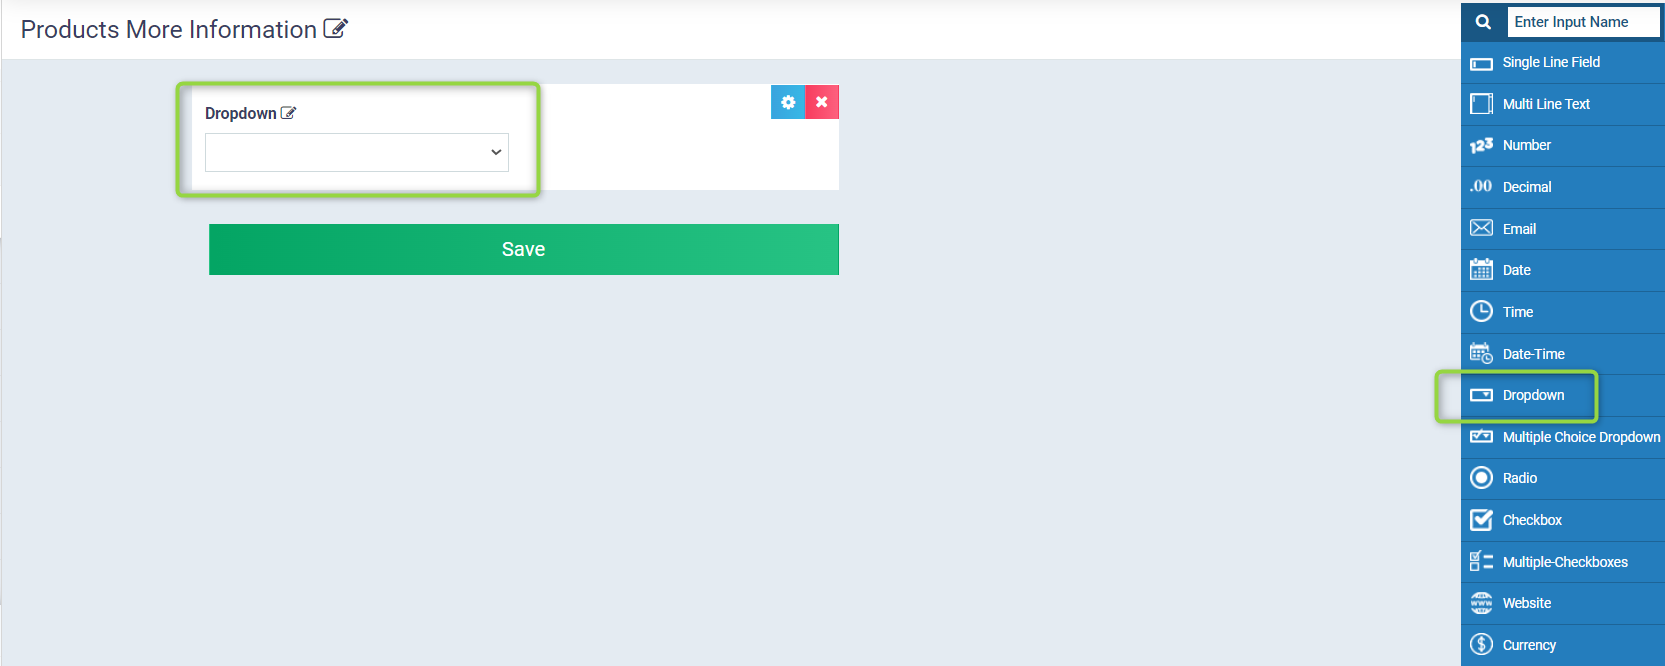
Drag the dropdown list element and drop it at “Drop Here” and get ready to adjust the field properties
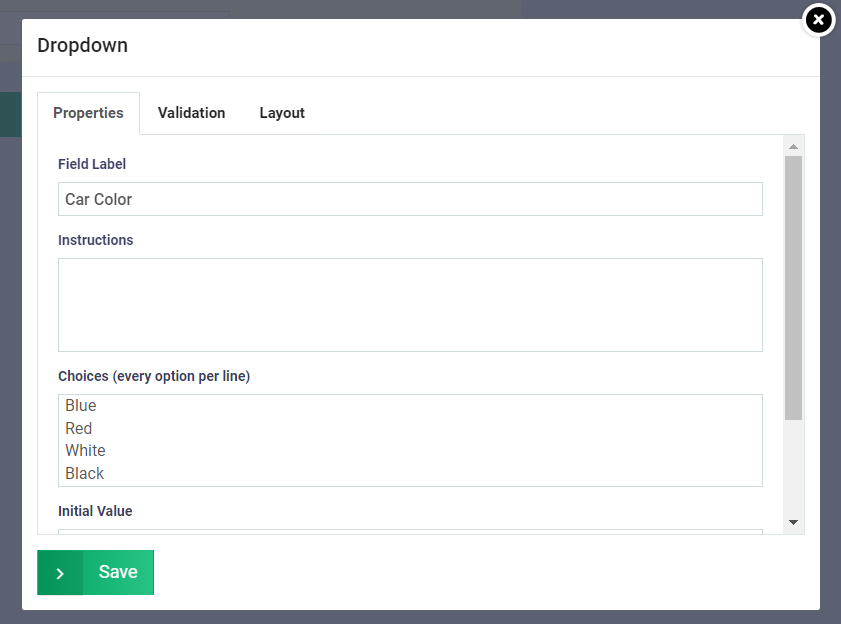
Properties:
Field Label: Car color.
Instructions: If you want to explain the nature of the field and keep this explanation for your reference or for those who have access to the custom fields to understand the nature of the field.
Choices: Add the options that will be available in the dropdown list (the car colors available at your dealership), with each color on a separate line.
Initial value: Leave it blank or choose any of the options you’ve entered.
Enable Quick Search ?: Activate this feature by choosing ‘Yes’ if you want to enable searching for a specific car color for easy display in the dropdown list.
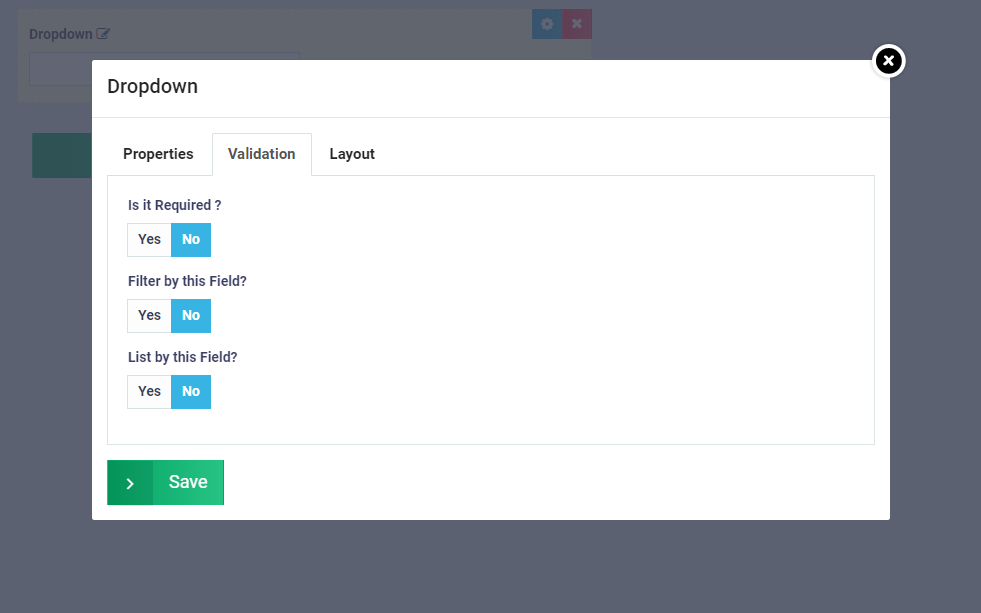
Validation:
This set relates to the properties of the field itself, not the values within it, as follows:
- Is it Required ?: Activate this if you want this field to be mandatory, so the product cannot be saved without it.
- Filter by this Field?: If you want to activate filtering using this field, which is one of the advanced search techniques to sort data.
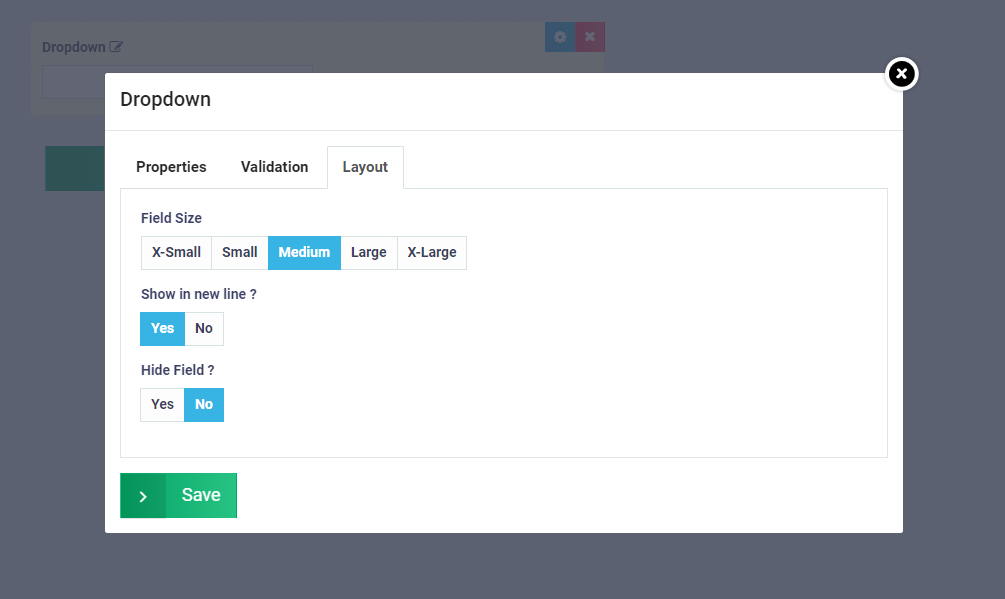
Layout:
This set relates to the formatting of the field, where you can control:
- The size of the field.
- Whether to show the field on a new line or on the same line alongside other fields.
- Control the display or hiding of the field on the invoice.
After adding all the properties press the “Save” button.
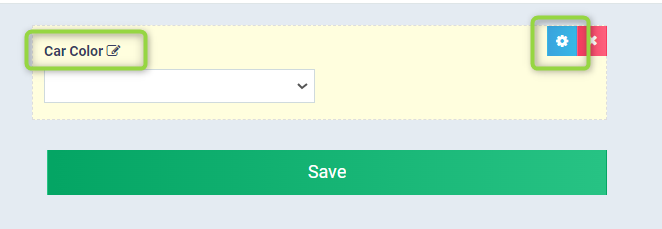
After saving the field, it appears on the custom fields screen, where you can modify it by clicking on the settings button or delete it by clicking on the ❌ button.
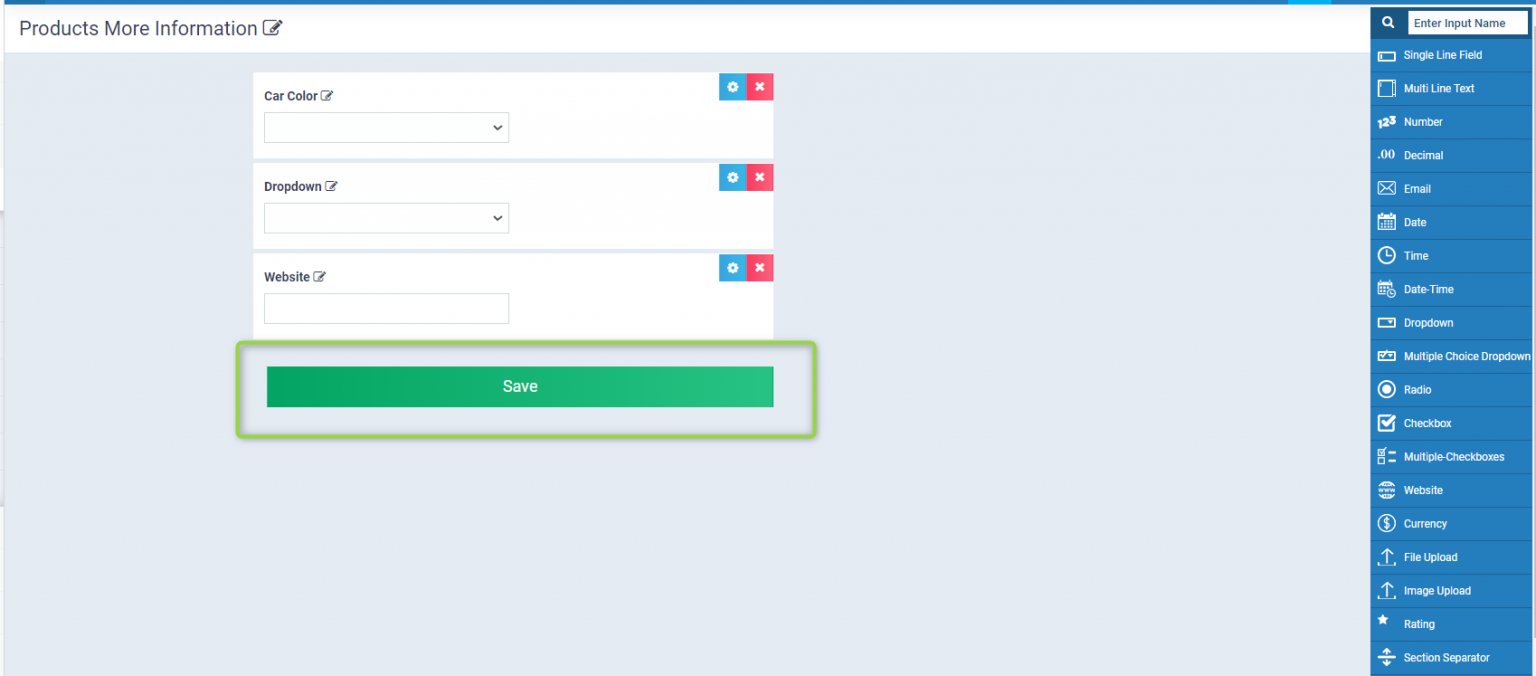
Add all the fields you want to add then click on the “Save” button.
After saving, the field appears when adding a new product, including the data and properties you added.