
How to categorize the Products
With the increase in the number of products and the diversity of their classifications, categorizing products into categories comes as an ideal solution to facilitate the selling process. The effect of this can be seen in the organization of inventory and the speed of sales at points of sale and in the online shop. In this example, we will learn about the steps of product categorization in the Daftra program.
How to Add a New Category
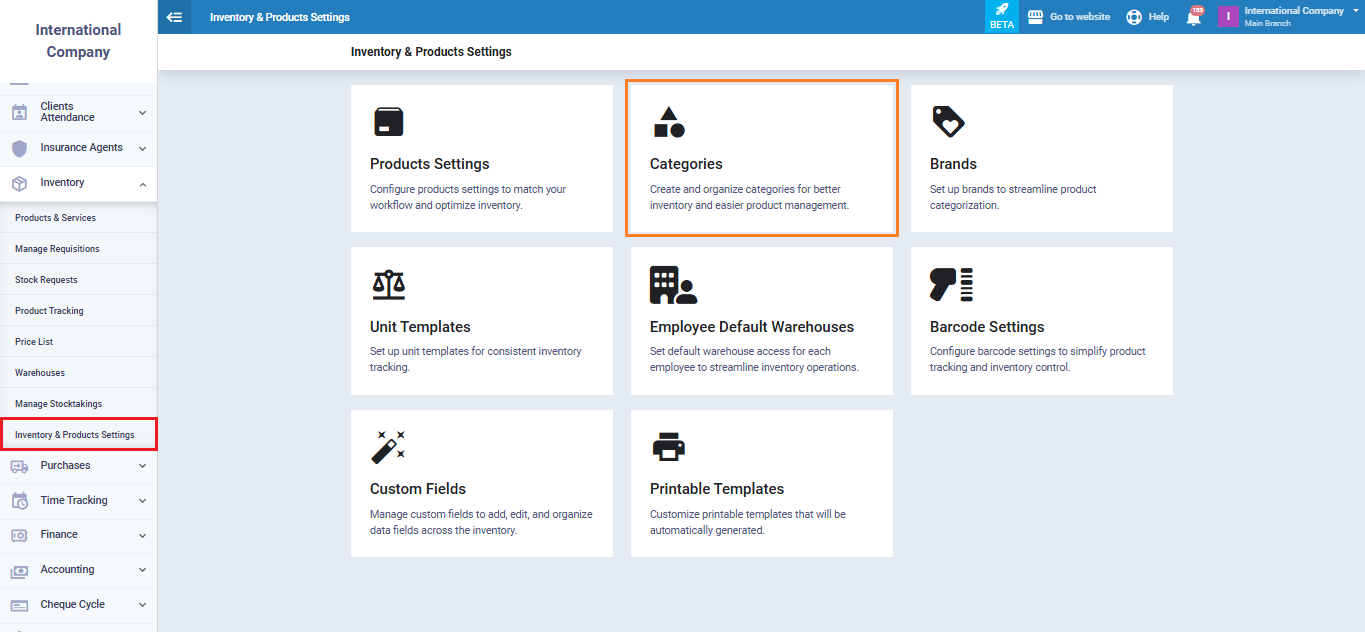
Click on “Product Settings” in the drop-down menu under “Inventory” in the main menu, then click on the “Categories” card.
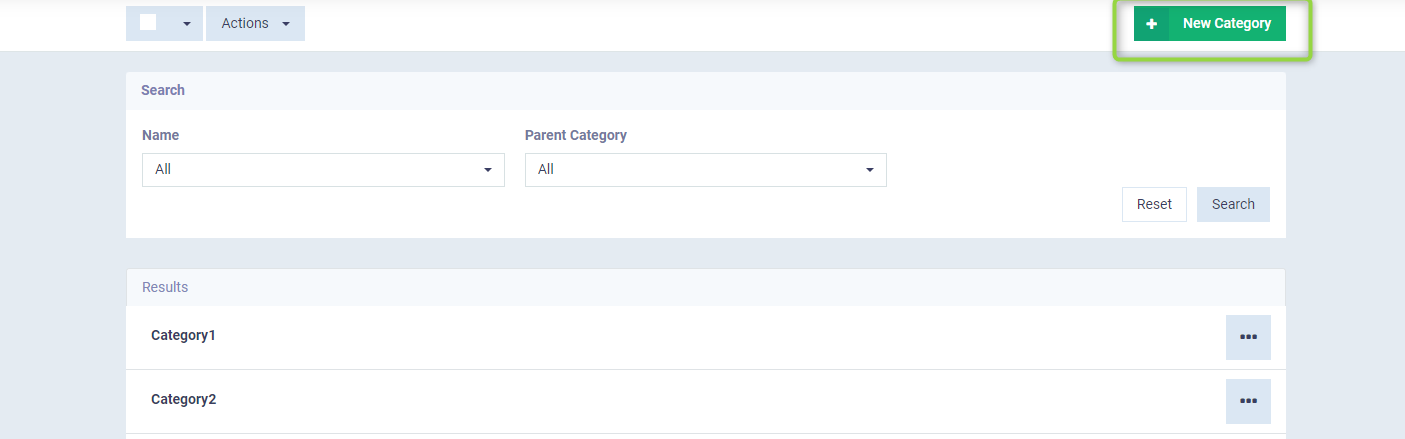
Click on the “New Category” button.
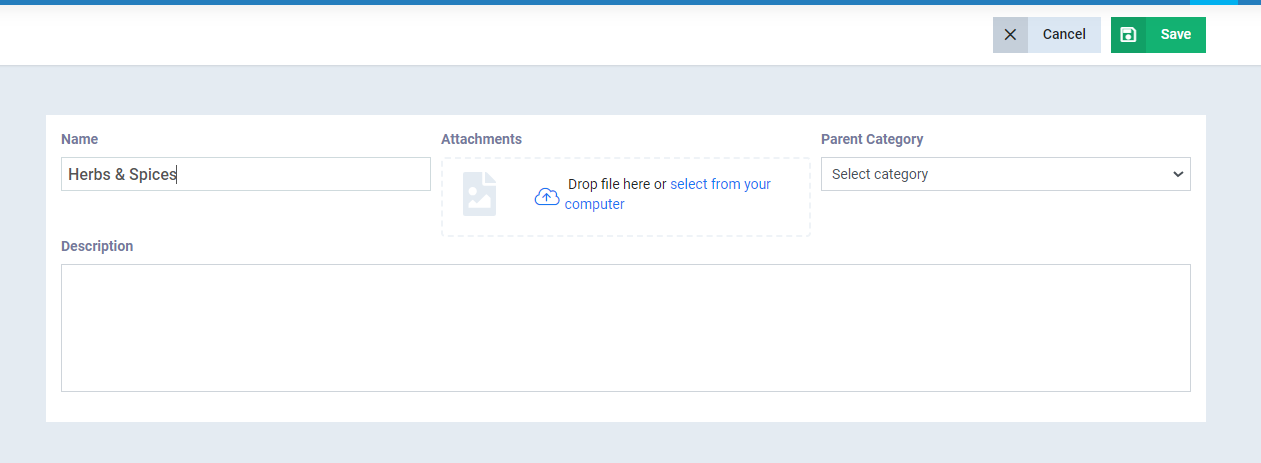
Type the name of the category, choose a picture, then press the “Save” button to save it as a main category. If you wish to add it as a subcategory within another main category, you must select the name of this category from the drop-down menu under the field “Parent Category” before saving.
Actions on Categories
By navigating to the “Categories” card within “Product Settings” dropped down from the inventory in the main menu, you can view your list of categories, or by filtering products according to categories by clicking on “Products & Services” dropped down from “Inventory” in the main menu and then clicking on the categories icon next to the “Import” button.

After displaying the categories, click on the dots next to the name of the category you want to edit and press “Edit” or “Delete”.

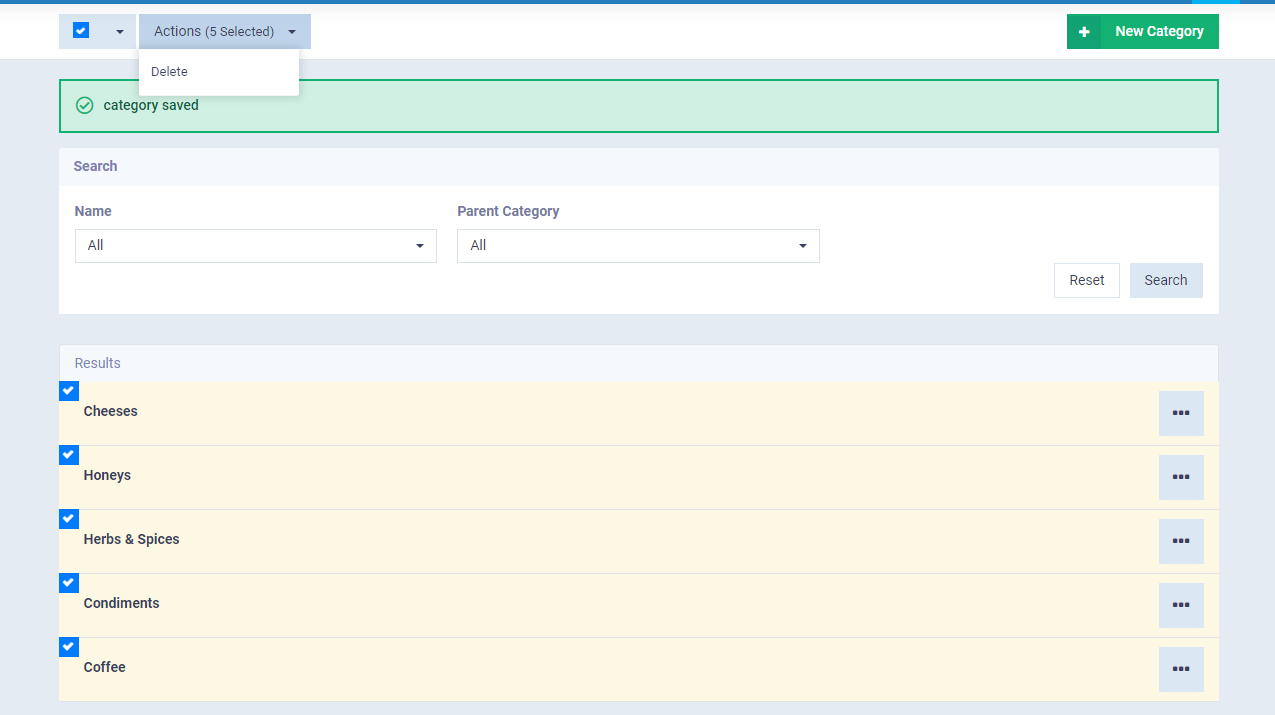
You can delete all categories after selecting them by clicking on the box next to actions ✅ as you can select specific categories by clicking on the box next to the name of each category ✅, then click on “Actions” and choose “Delete” from the dropdown menu.
The categories appear as follows within the point of sale and shop front screen, you can easily browse the products belonging to the category by clicking on it.
