
Importing Products through Excel
The process of adding products and services that you offer on the system can be done individually for each product or by uploading all products or services to the system in the form of an Excel file. In this article, we will review the method of preparing the Excel file and how to import products from it to the system in moments.
Presenting the Proper Excel File for Uploading the Products
Make sure the Excel file is prepared with all the data of the products or services you want to upload to the system , such as the product name, description, product code, barcode, and other data.

How to import the Items through an Excel File
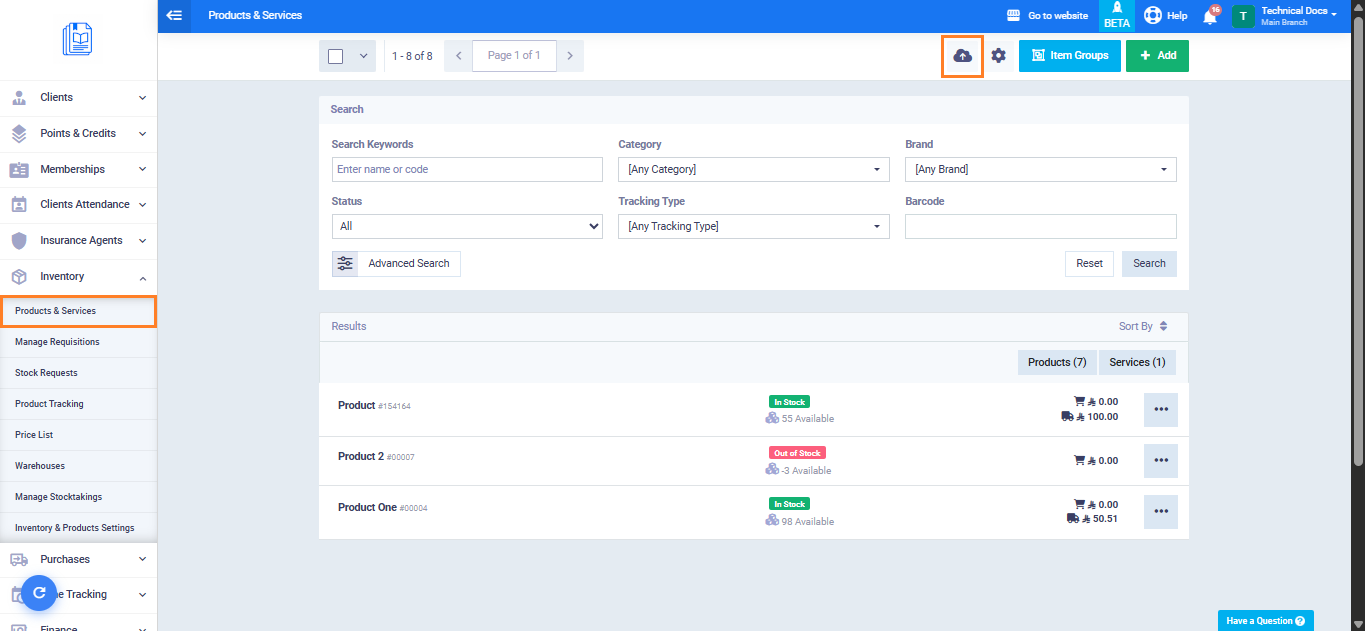
Click on “Products & Services” under “Inventory” in the main menu, and then click on the “Import” button.
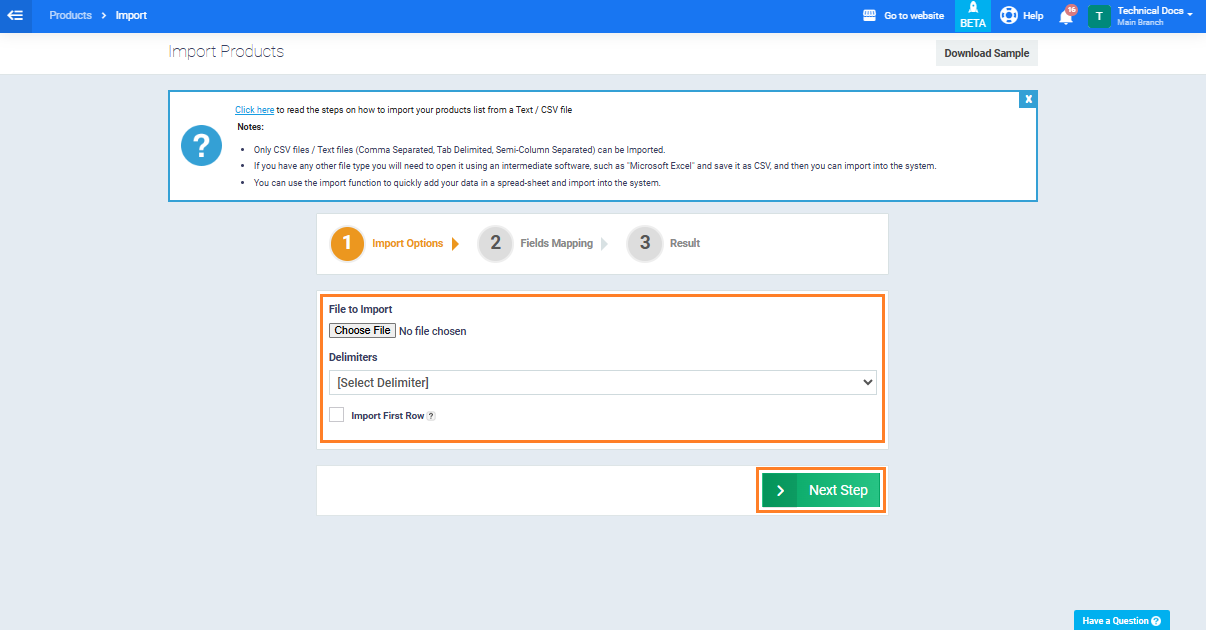
Choose the “Comma Separated” option and click on “Choose File” to upload the desired Excel file from your device.

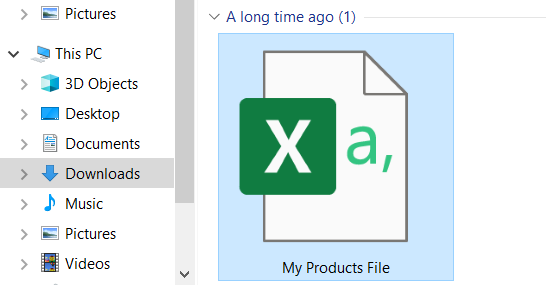
Select the Excel file with your products from your device to upload it to the system
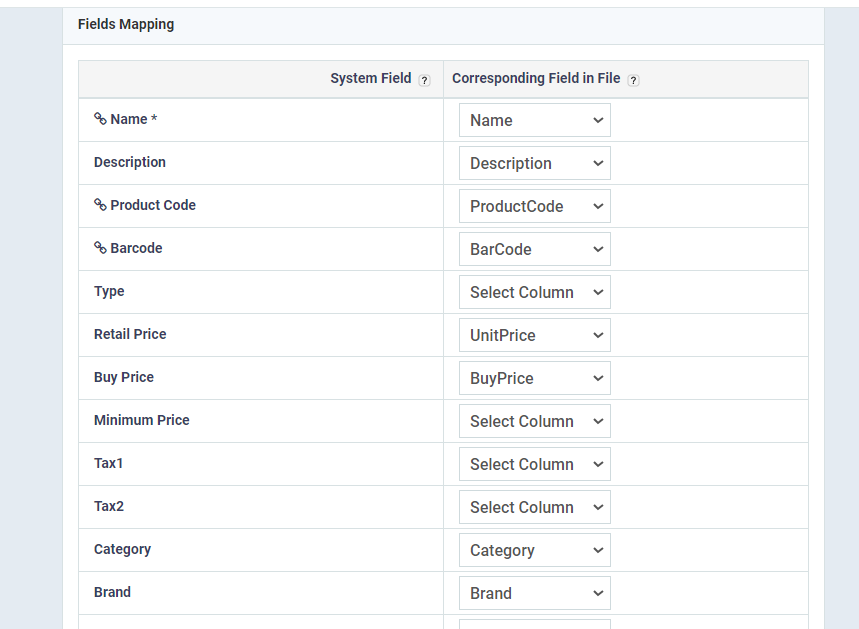
Match the data from the Excel file containing the products with the corresponding fields in the system. For example, if the column title for the product name in the Excel file is “Name”, write this title next to the name field so the system recognizes each type of data it uploads, then click on the “Import” button.
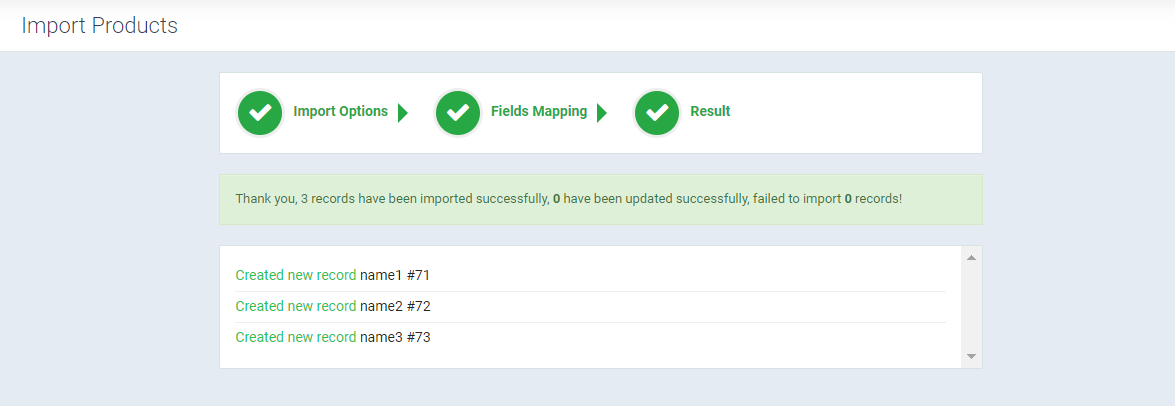
You will receive a message with the number of products that were successfully imported, as well as those that failed to import so you can fix the errors that caused their omission.
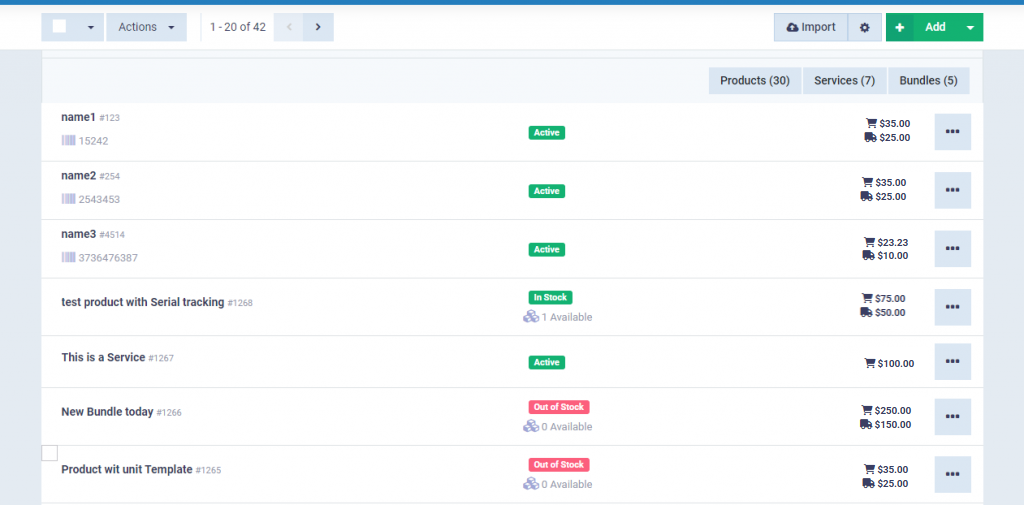
After successfully importing products via the Excel file, you can navigate to “Products & Services” under “Inventory” in the main menu to see the products now displayed on your system.
Pasting the Invoice Items from a Data Sheet
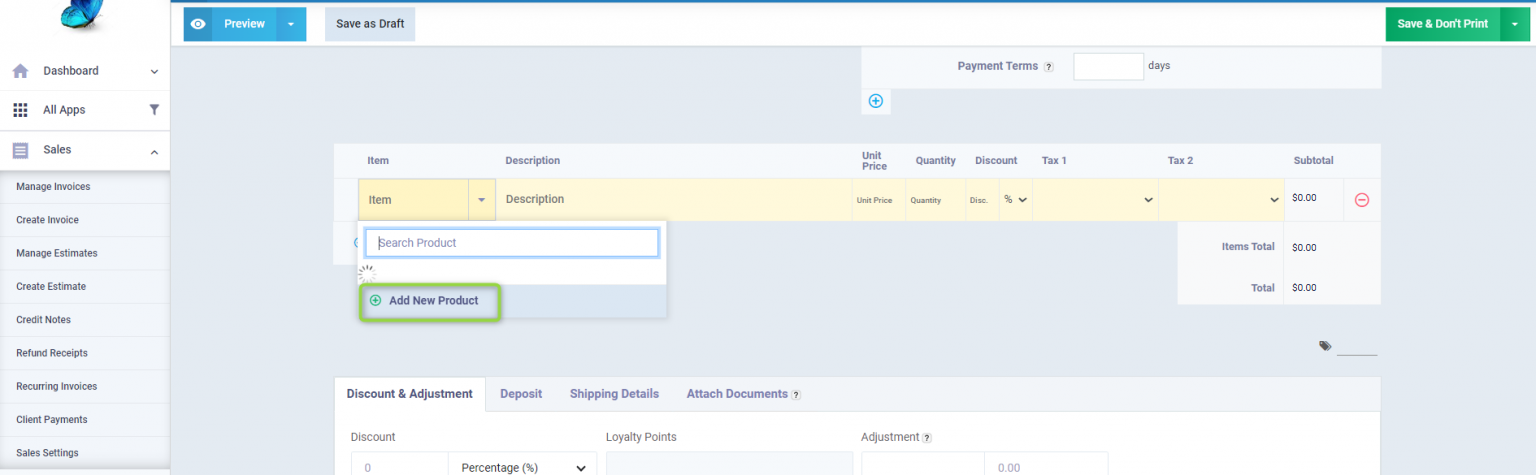
When selecting a product to add as an item to the invoice, you can add a new product if the one you are looking for has not been added previously by clicking on the arrow next to the item and then clicking on “Add New Product”.
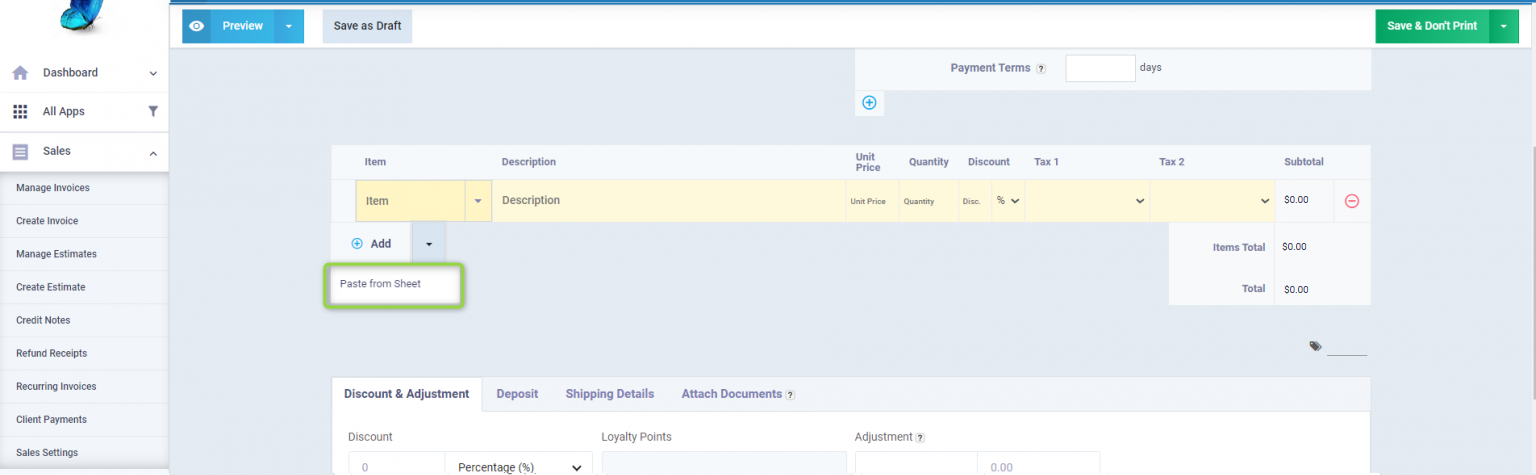
You can do this with several products together instead of adding each product individually, by clicking on “Paste from Sheet” found in the invoice items table.
Type the products you wish to add manually or by copying them from a spreadsheet through the usual copy and paste, then press the “Import” button.
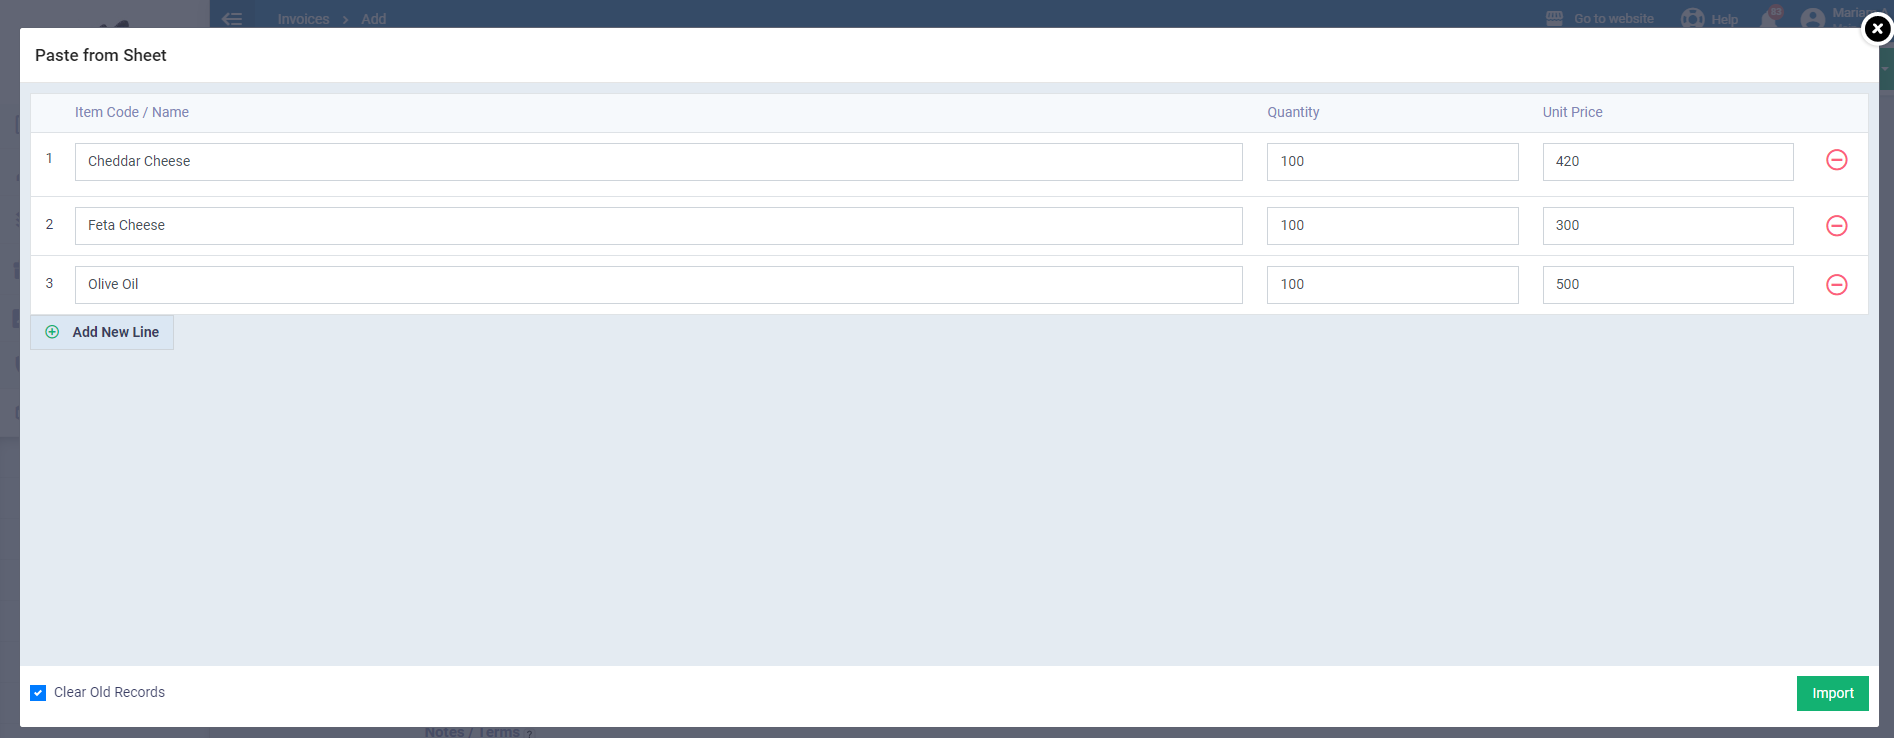
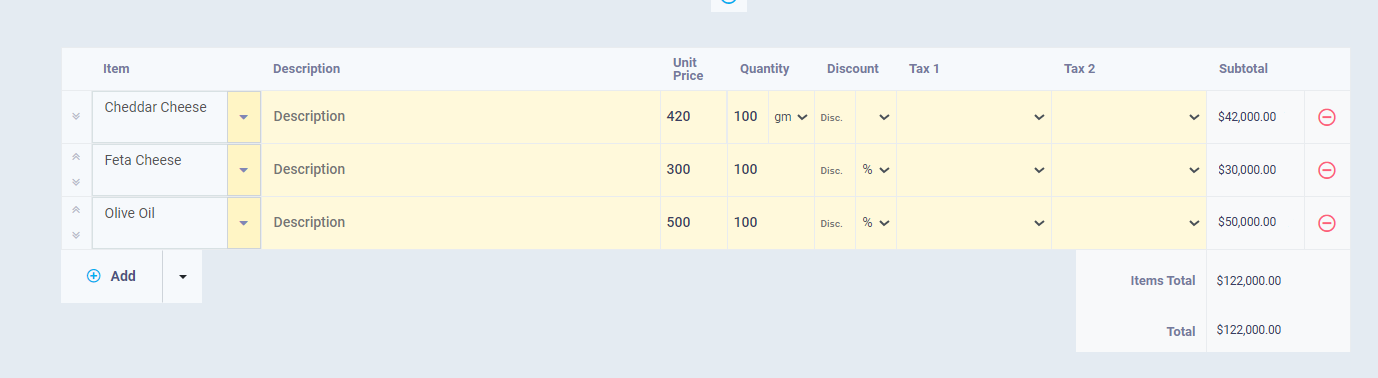
Afterwards, you will find the products have been imported with their quantities and prices specified
Importing Bundle Products
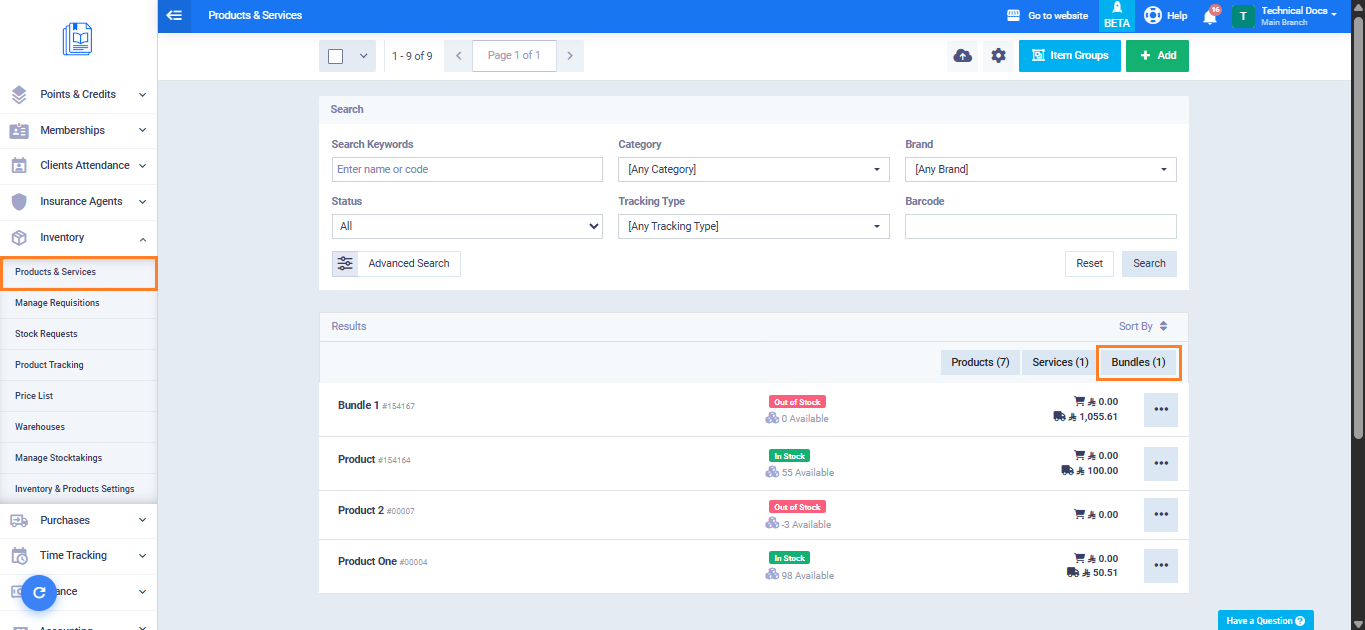
Go to “Products & Services“, then click “Bundles“.
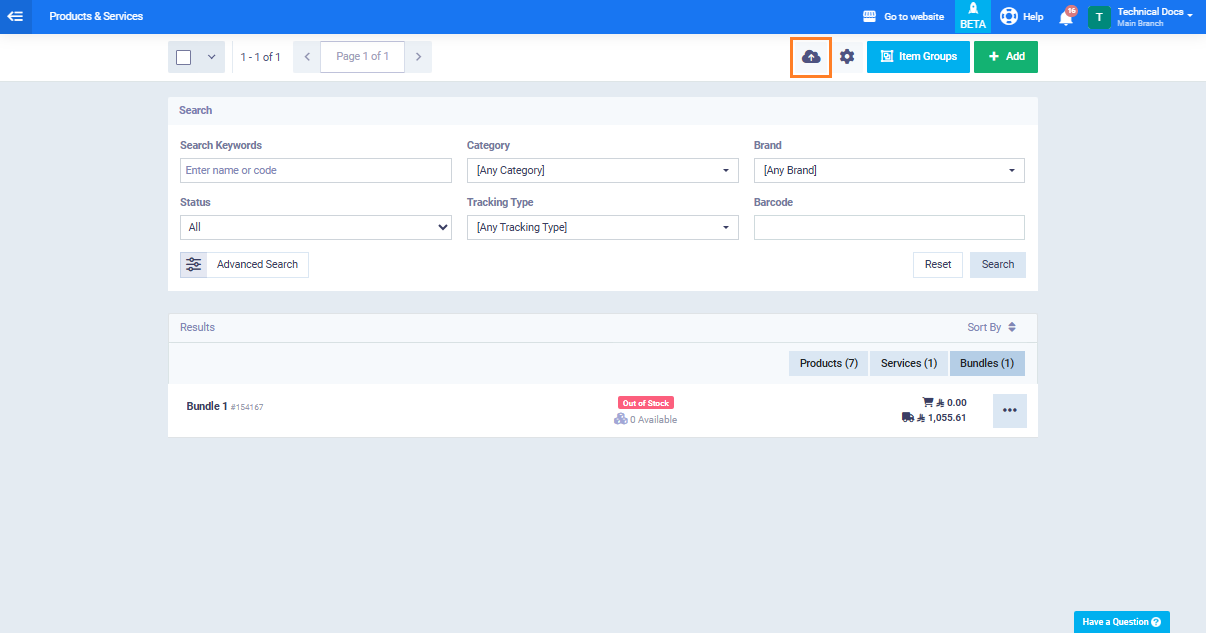
Click “Import” at the top of the page.
Click “Choose File” and select the file you want to import. Select “Comma Separated“, then click “Next Step“.
Enable the option “Update an existing Product with new data“. Click “Import“.