Sales Cycle
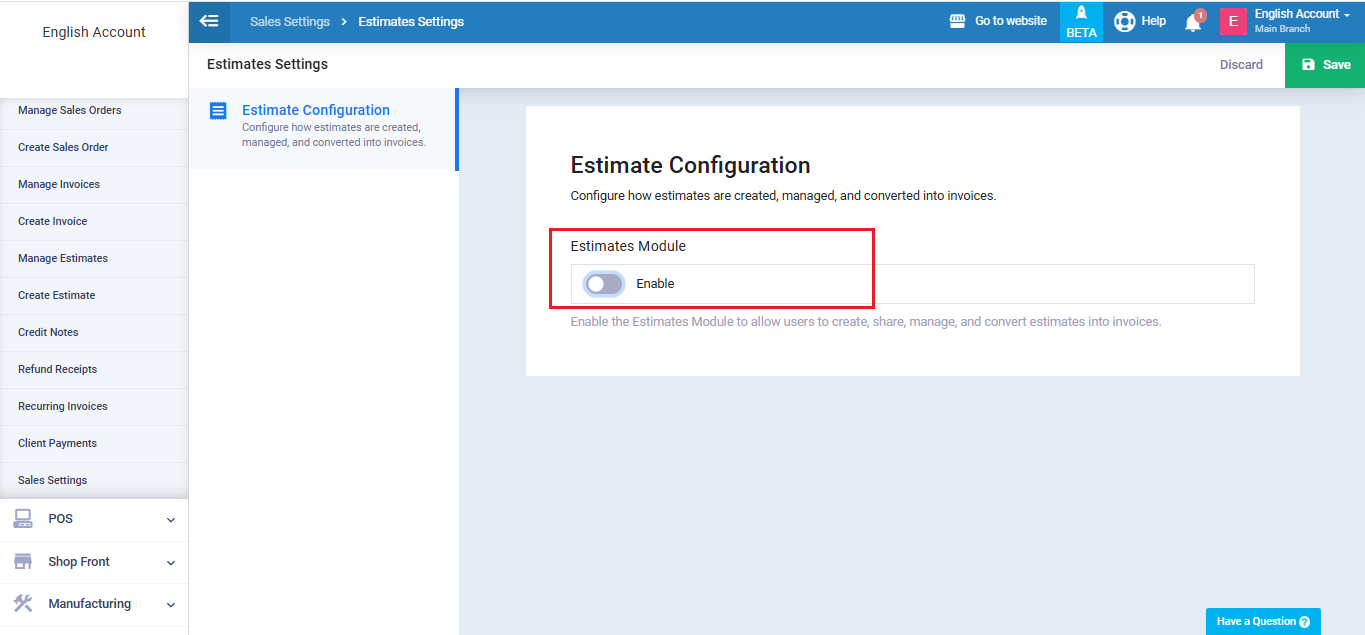
Typically, you can directly issue sales invoices, or you can generate estimates for clients and convert them into invoices after their approval.
However, if you want to streamline the sales process further, you can enable the “Sales Orders” setting to make it an intermediate step between issuing estimates and invoices. This way, the sales cycle starts with an estimate, which, upon client approval, becomes a sales order to inform your employees. After approval, it converts into a sales invoice.
You have the flexibility to start the sales cycle from any step, such as making sales orders your initial step. Additionally, you can still issue invoices directly without generating any prior documents even after activating this feature.
Enable Sales Orders
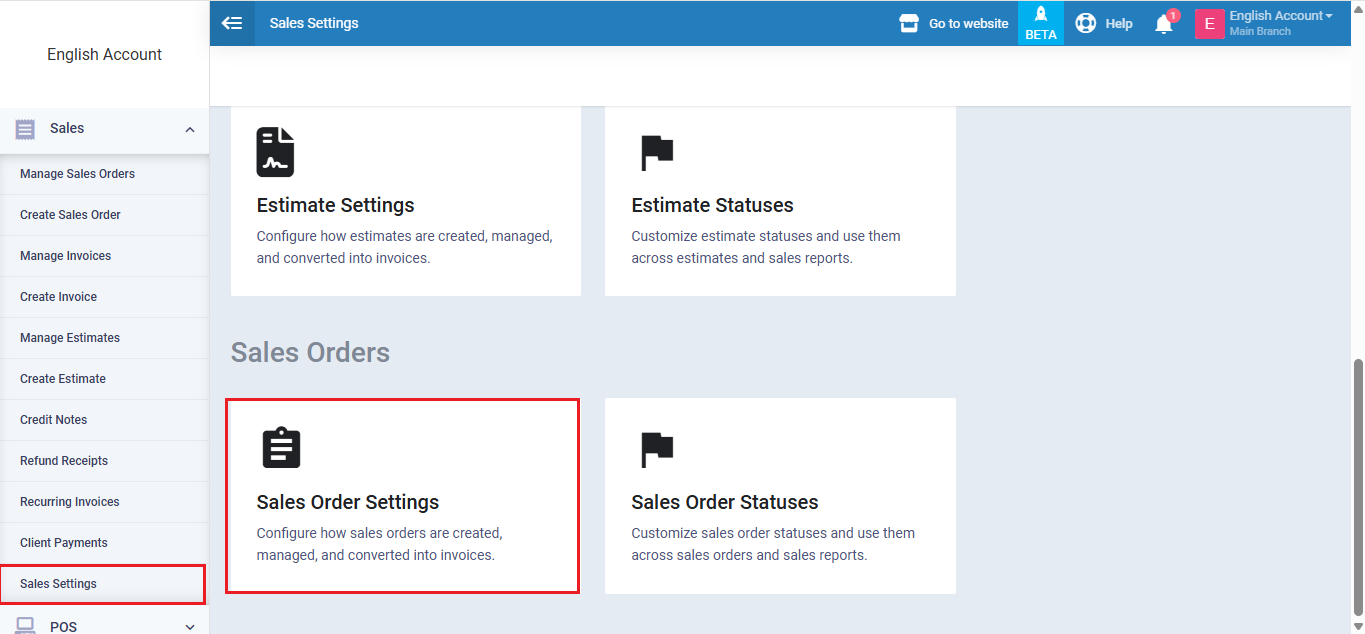
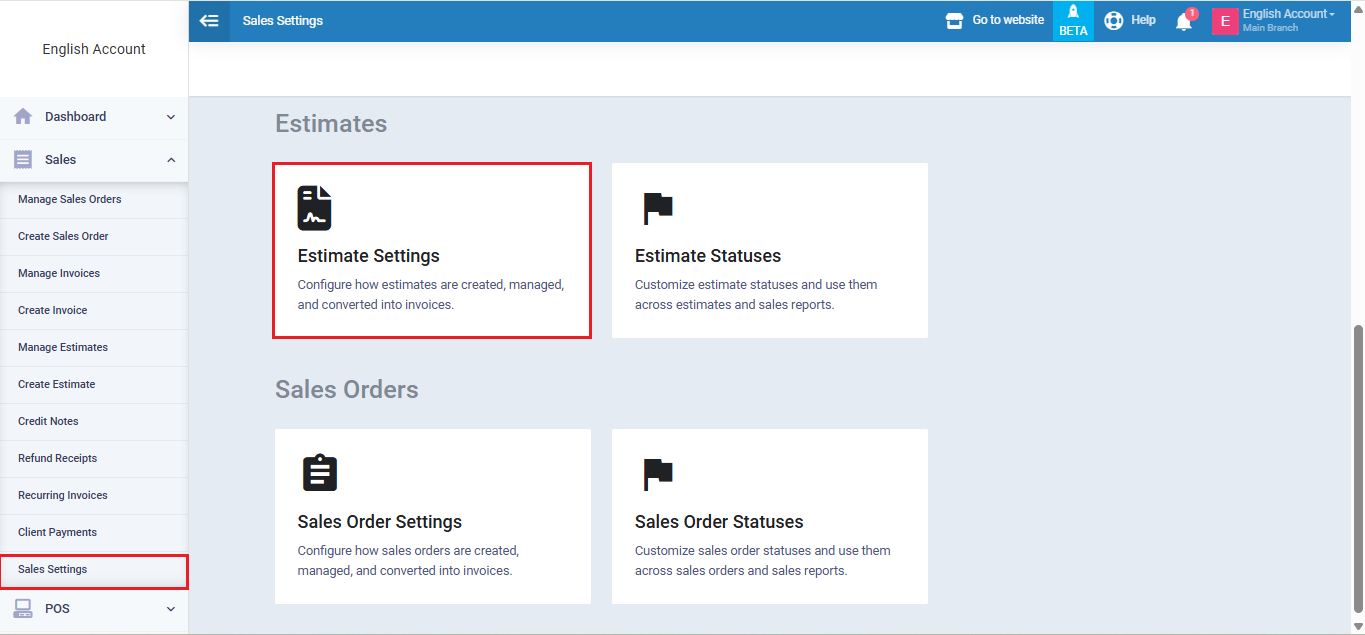
To enable sales orders click on “Sales Settings” from the dropdown of “Sales” from the main menu, and click on “Invoicing Settings“.
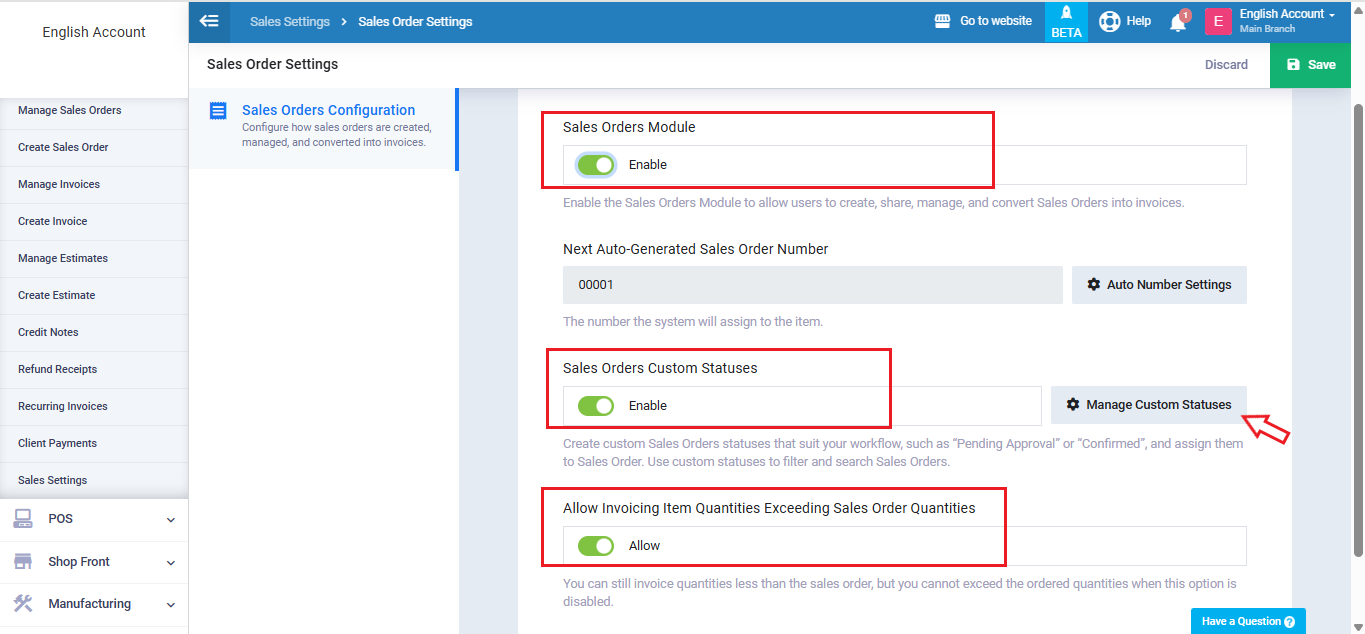
Enable the “Sales Orders Module” setting, then enable “Allow Invoicing Item Quantities Exceeding Sales Order Quantities” if you want to allow editing product quantities in sales invoices after they are converted from sales orders.
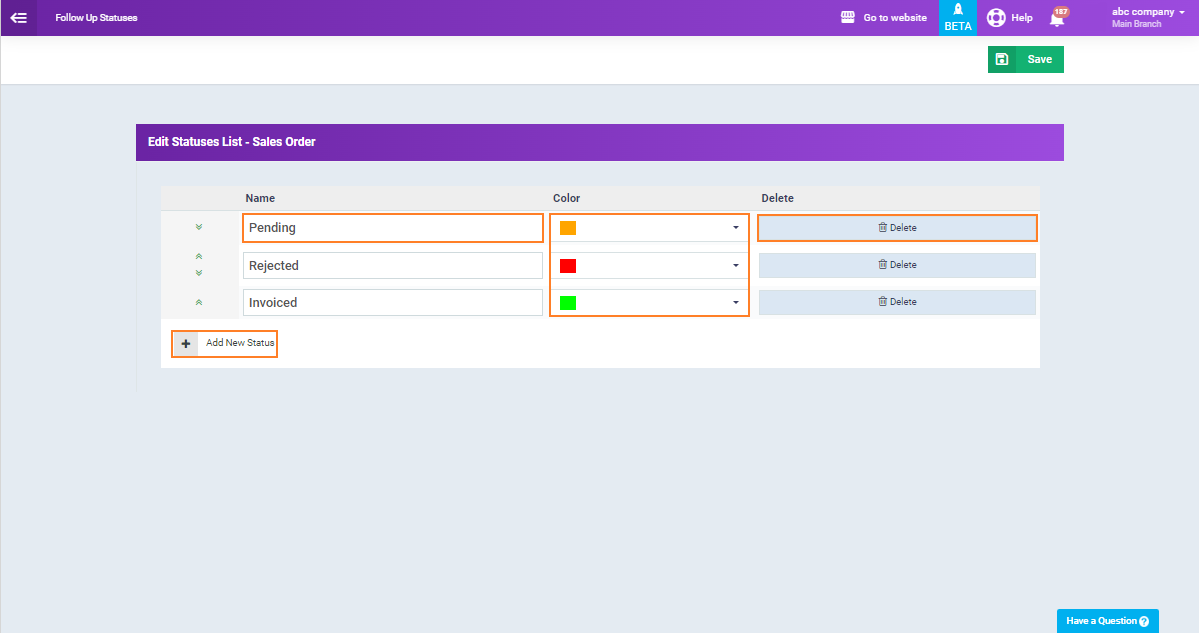
You can also enable “Sales Orders Custom Statuses” to control and manage sales order statuses by clicking the “Manage Custom Statuses” button.
Manage Sales Cycle
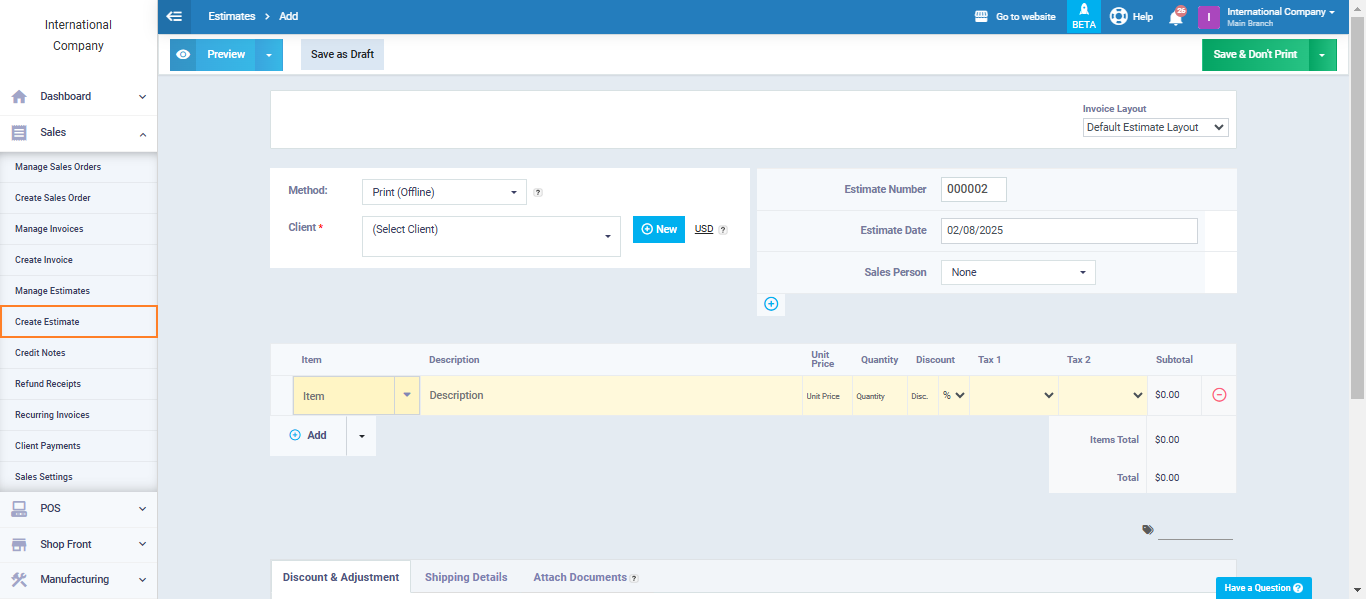
Click on “Create Estimates” under “Sales” in the main menu, then fill in the estimate details as you would for estimates and invoices. You can refer to the Create Sales Invoice Guide for more information about the fields on the invoice and estimate screens.
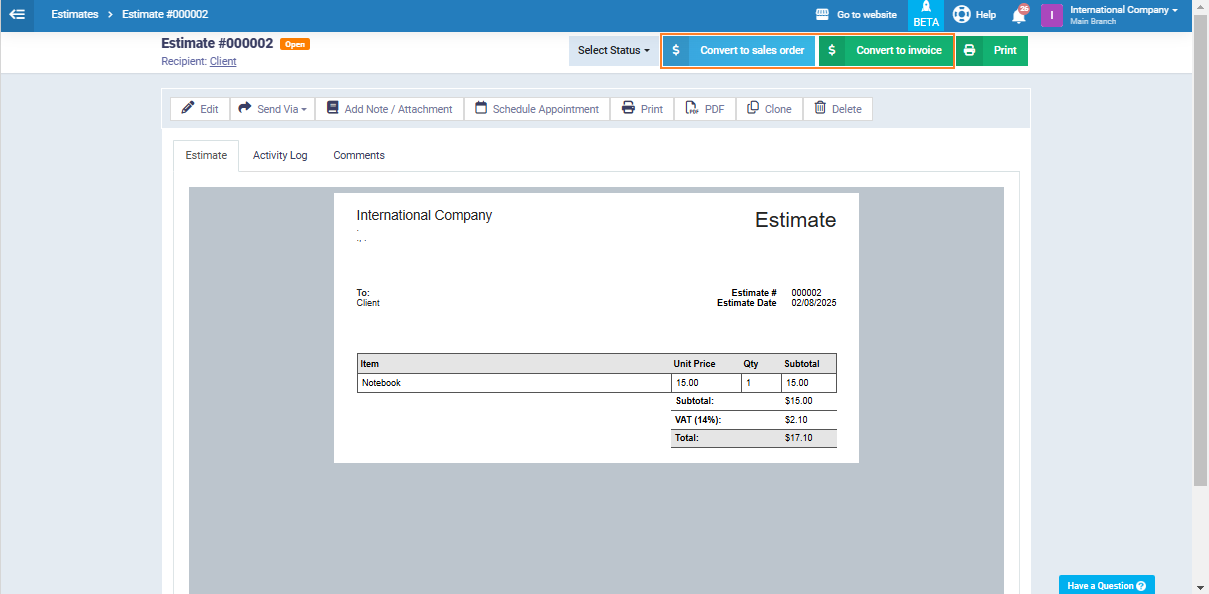
After saving the estimate, you can convert it into a sales order by clicking on “Convert to Sales Order,” or you can convert it into an invoice by clicking on “Convert to Invoice.”
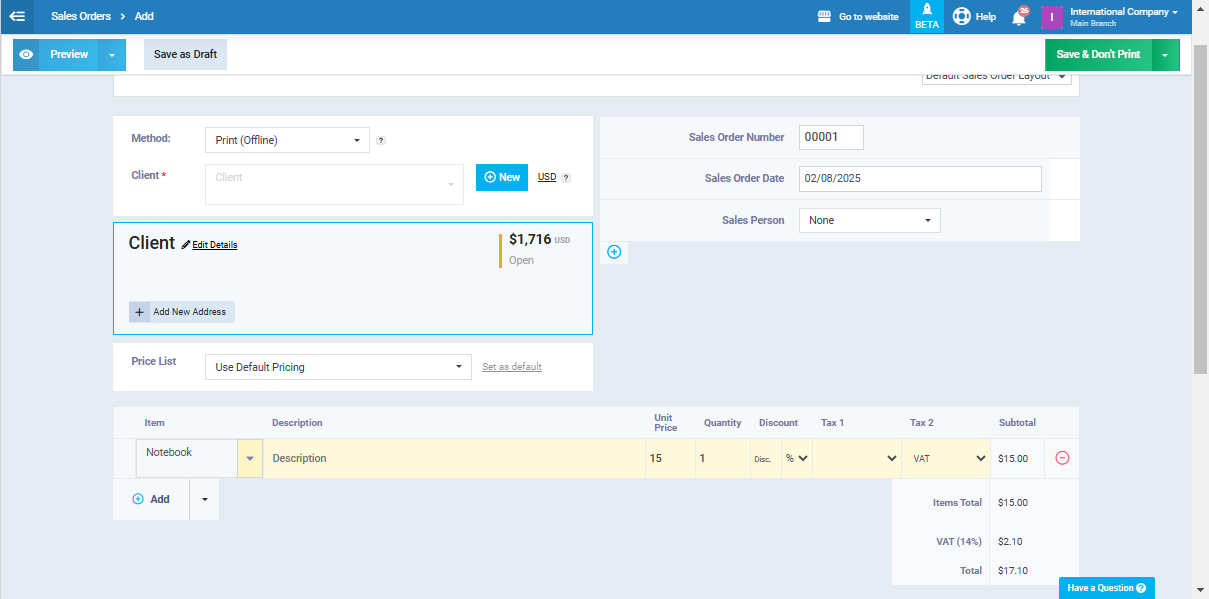
You can add a payment transaction after converting the sales order into an invoice. You can also refer to the originating sales order by clicking on its unique serial number.
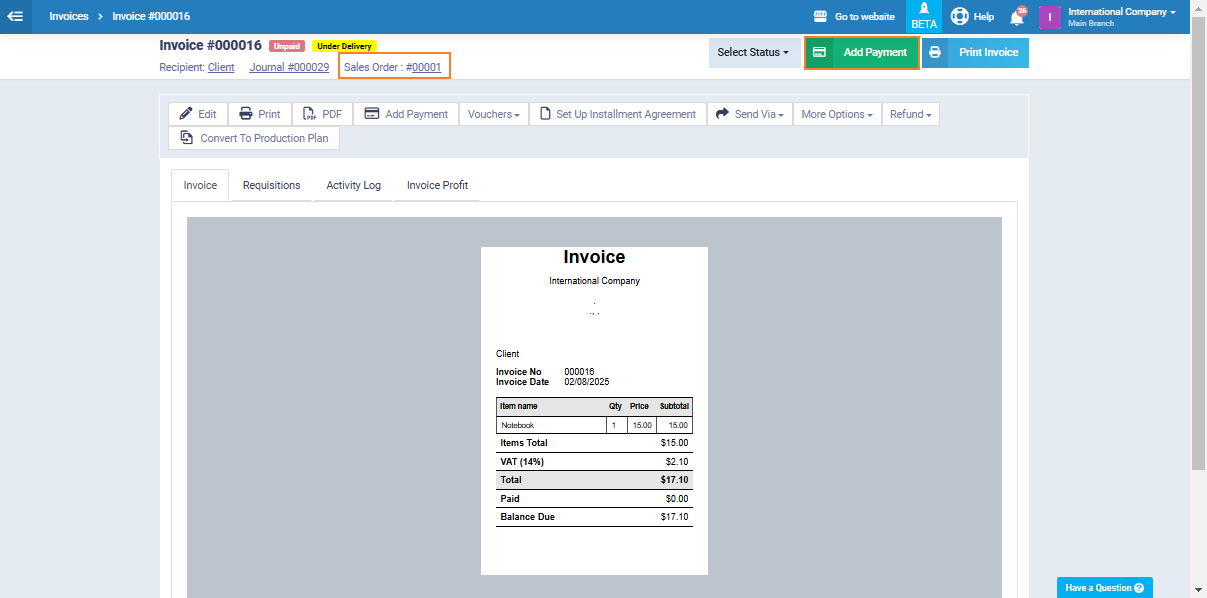
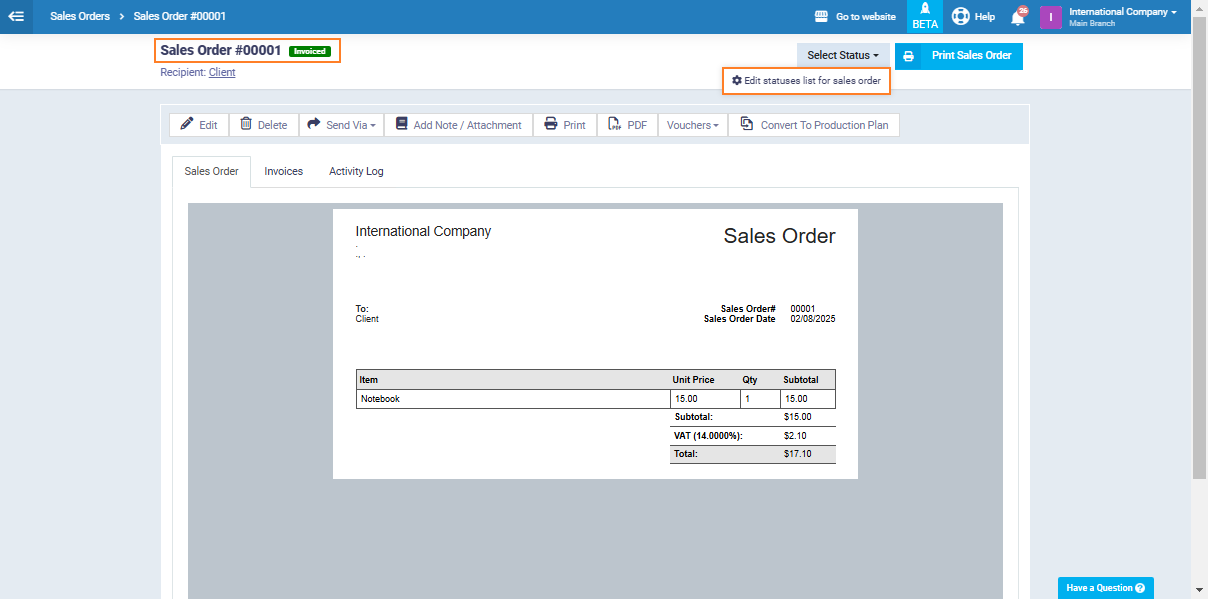
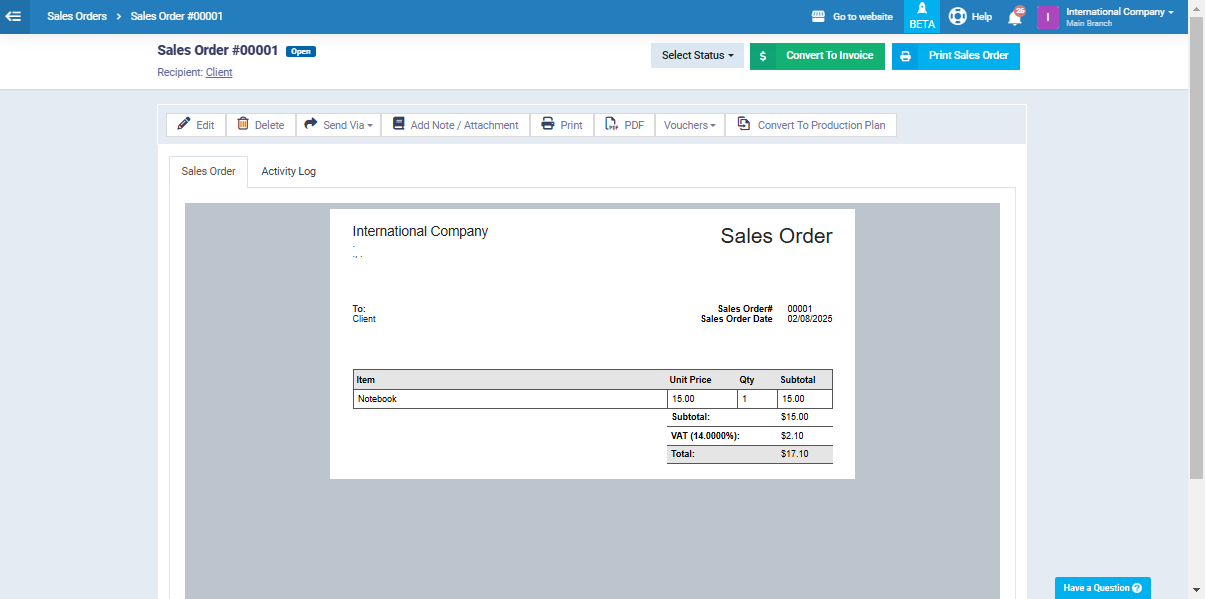
The status of the sales order after it has been converted into an invoice appears here.
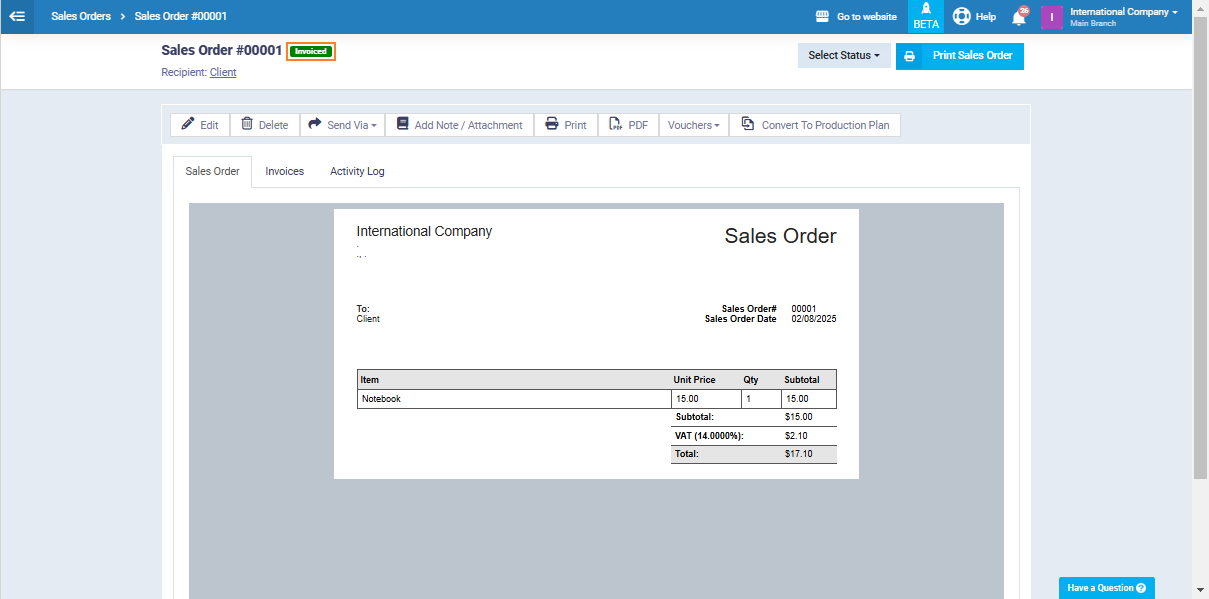
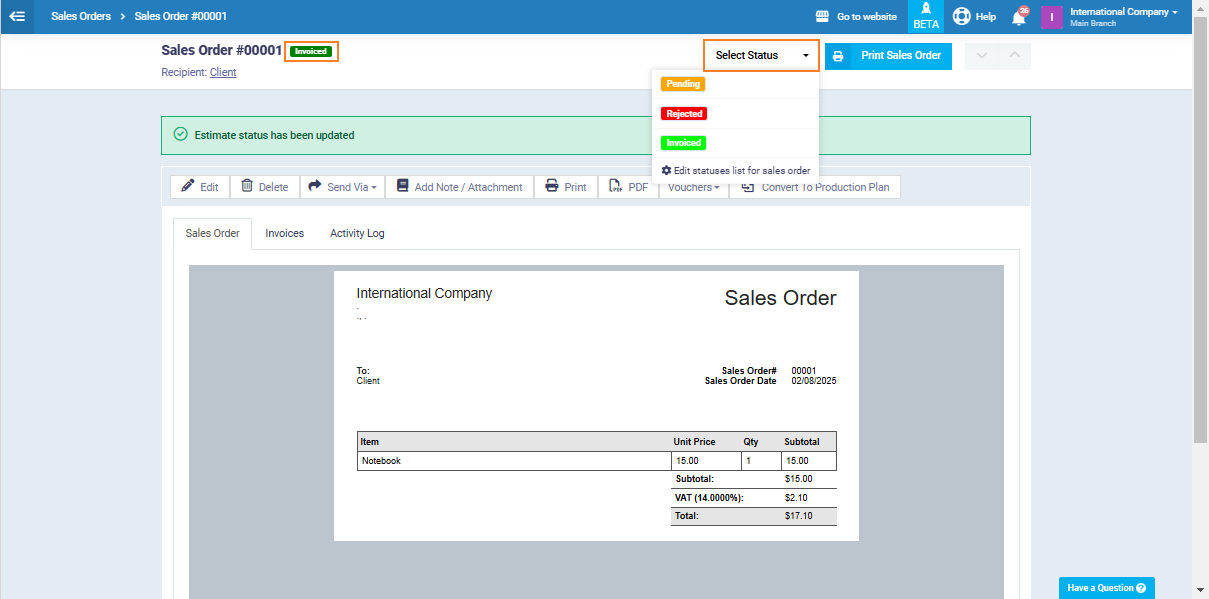
In addition to the default statuses, you can create custom statuses for sales orders and assign them to each sales order manually. To do this, go to one of your sales orders, then click on the ‘Select Status’ button, and then click on ‘Edit Sales Order Status List.’