Back

Changing the Name of a Field in Layouts and Other Invoices

As checks are one of the most important means of financial payment and collection in the enterprise, it was necessary to establish an application specifically for the checks cycle in Daftra. This application incorporates a set of features ensuring accurate financial management of expenses, receipts, disbursement, and receipt operations.

The Checks Cycle Guide in Daftra provides a comprehensive explanation of how to use the Checks Cycle application, highlighting the following points:

  • Activating the Checks Cycle application in the account.
  • Registering and managing checkbooks.
  • Managing paid checks.
  • Managing received checks.
  • Tracking checks.

How to Change the Name of a Field in Layouts

If you want to install a field to appear automatically in every purchase invoice or document that uses the layout to which you added the field, follow these steps.

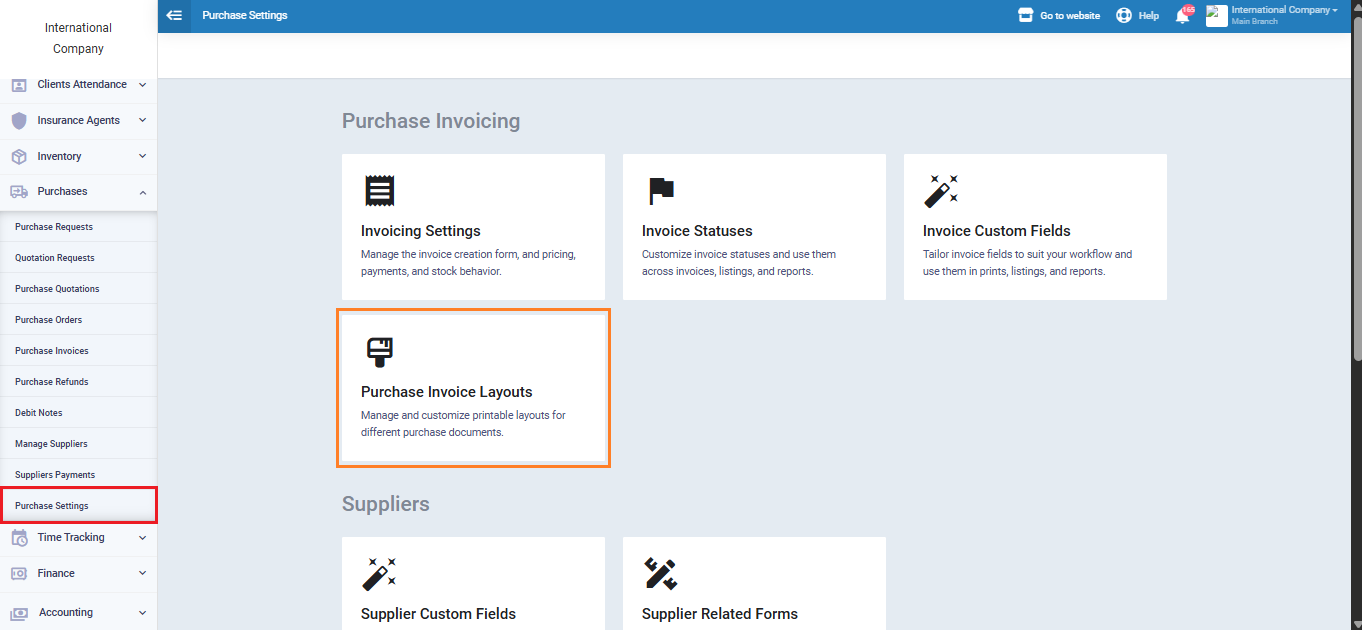
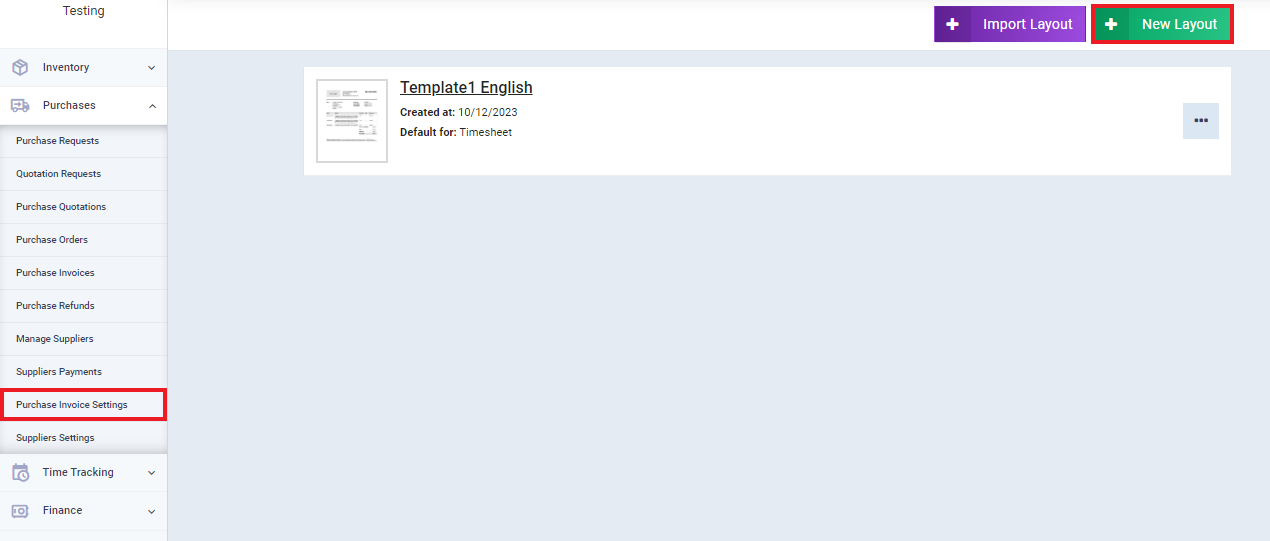
Click on “Purchase Invoice Settings” in the dropdown menu under “Purchases” in the main menu and click on “Purchase Layouts.

Click on “New Layout

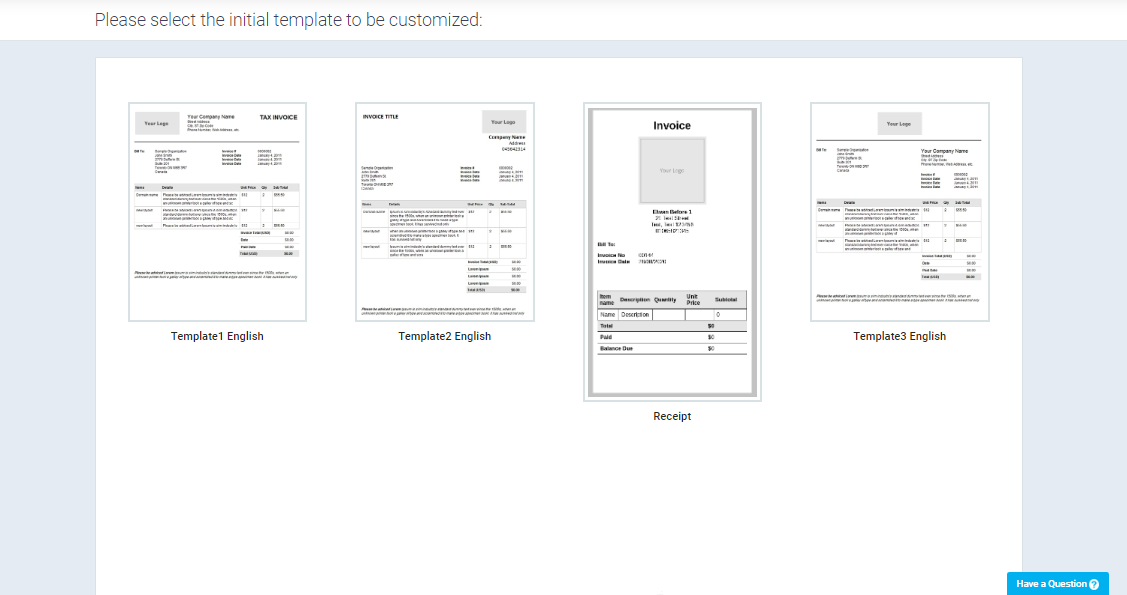
Click on the layout that you want to add a custom field to it.

You can add the fields you want and control how these fields are displayed, or change the name of the field. You can learn about this in detail from the following explanations: Adding an Custom Field to the Invoice – Changing the Name of the Field in the Invoice Template – Controlling the Display of Items and Prices in Invoices.

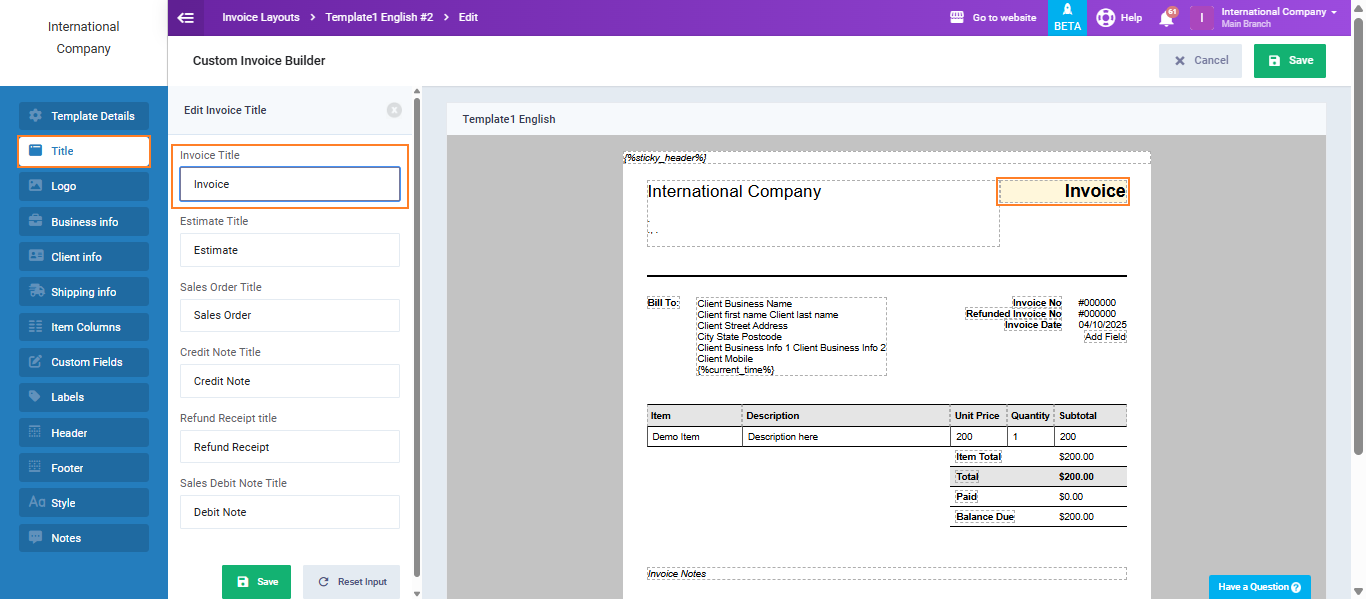
Click on “Title” to change the names of the invoices. For example, you can change the title of the invoice from “Invoice” to “Tax Invoice.”


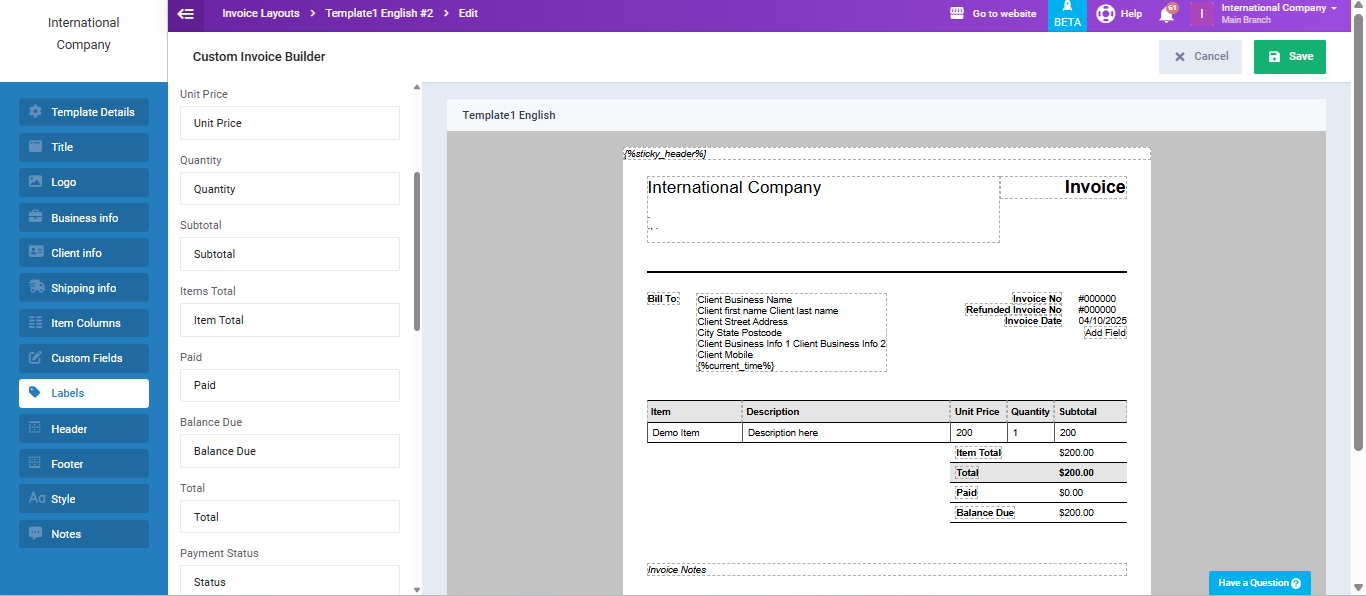
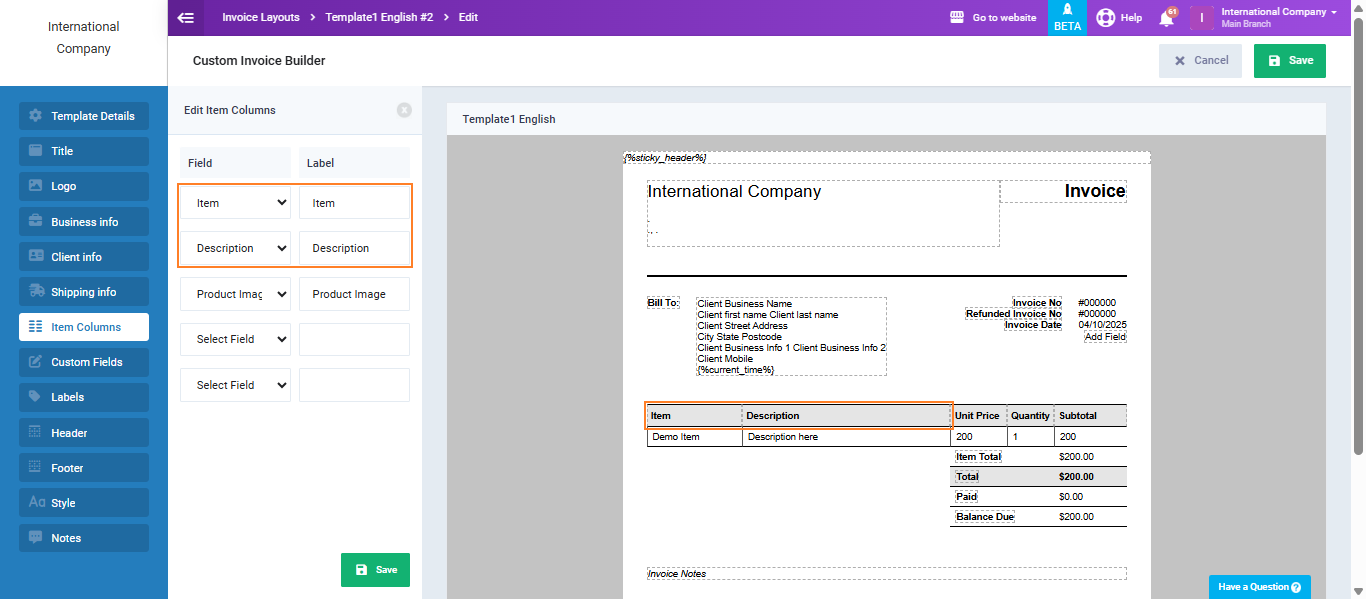
Click on “Labels” or “Item Columns” to change the titles of the fields.

For example:

You can change “Description” to “Description”

Or “Item” to “Item”

After changing the title, click on the “Save” button in the item columns or titles section, and the changes will appear in the layout preview for you to test. Then click the “Save” button to save the entire layout after making all the desired modifications.