Displaying the Warehouse Field in the Invoice Template
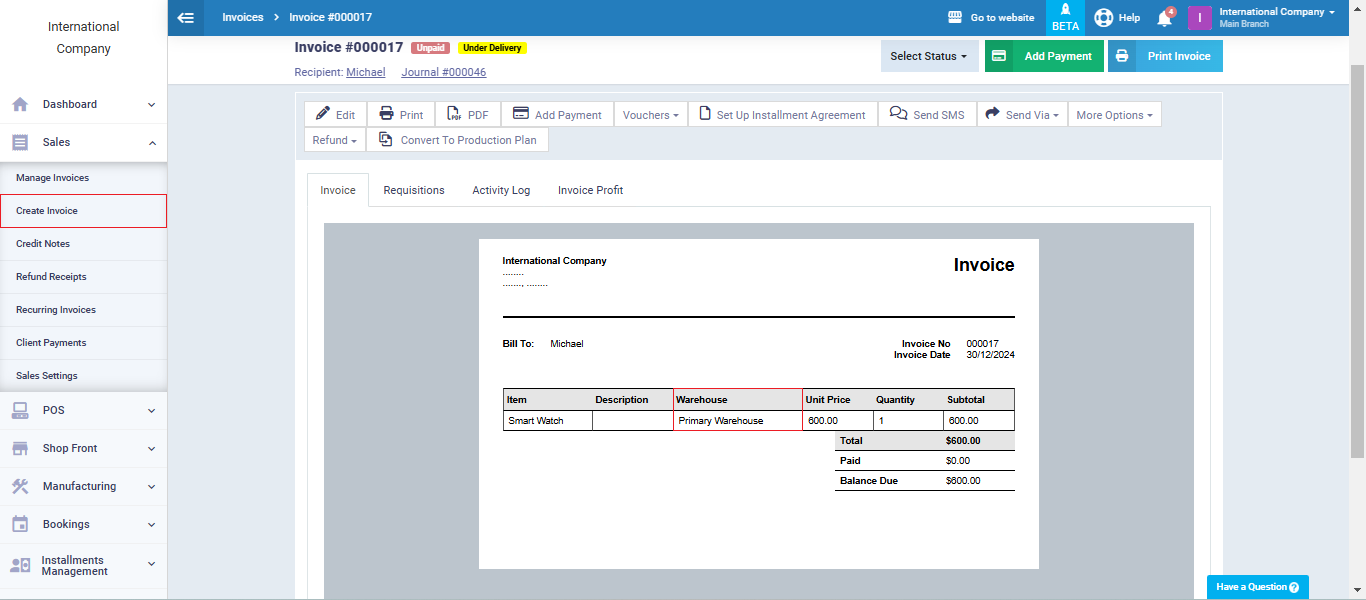
In addition to the default invoice template, the system offers several other templates that you can use as they are or modify by adding or removing fields or changing the design. In this article, we’ll show you how to display the warehouse field in the invoice template.
How to Display the Warehouse Field in the Invoice Template
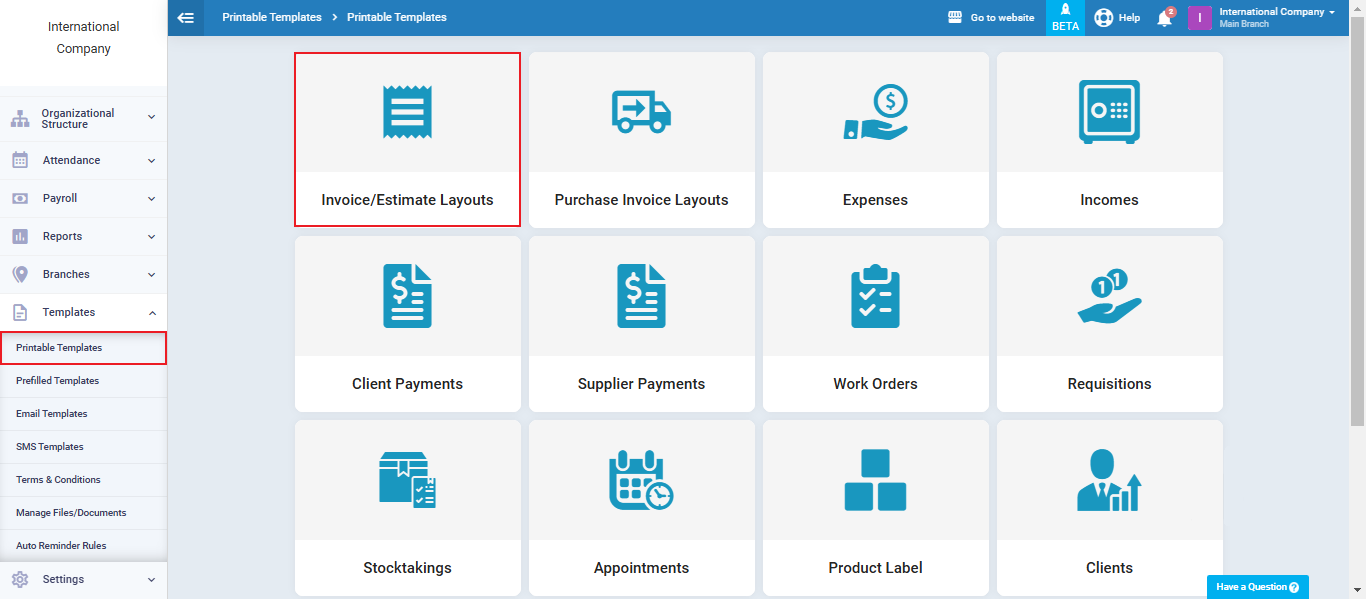
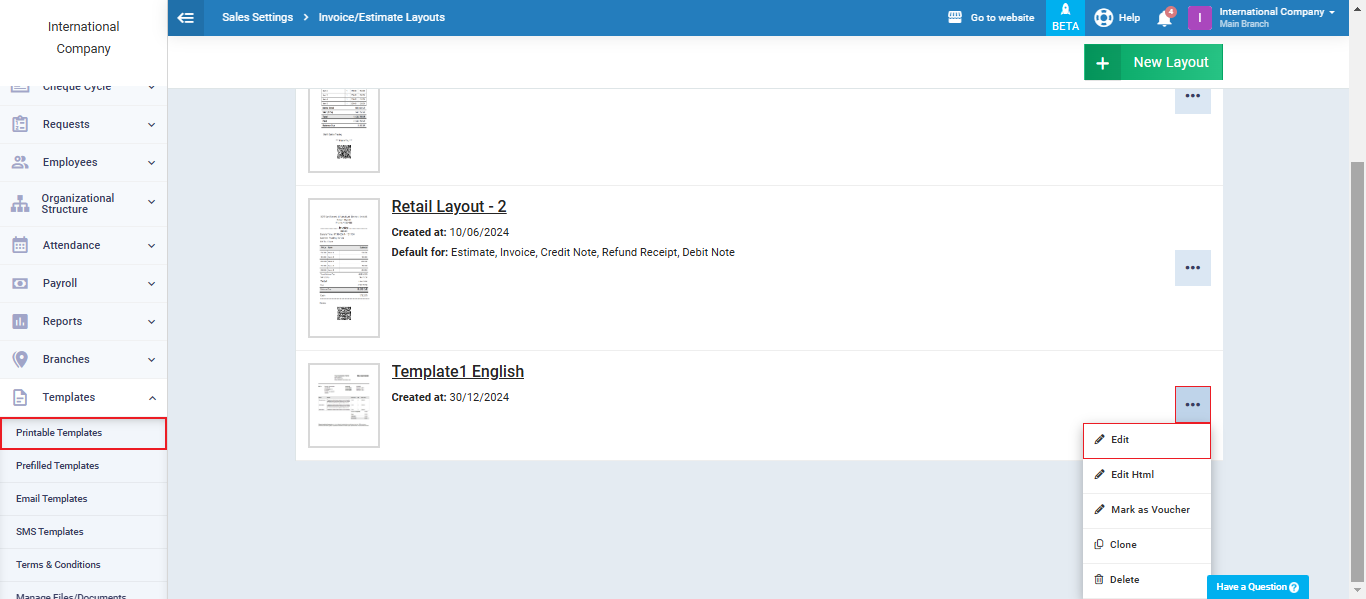
To access the invoice templates for design modifications, click on “Printable Templates” under “Templates” in the main menu, then select either “Invoice/Estimates Layouts” or “Purchase Invoice Layouts.”


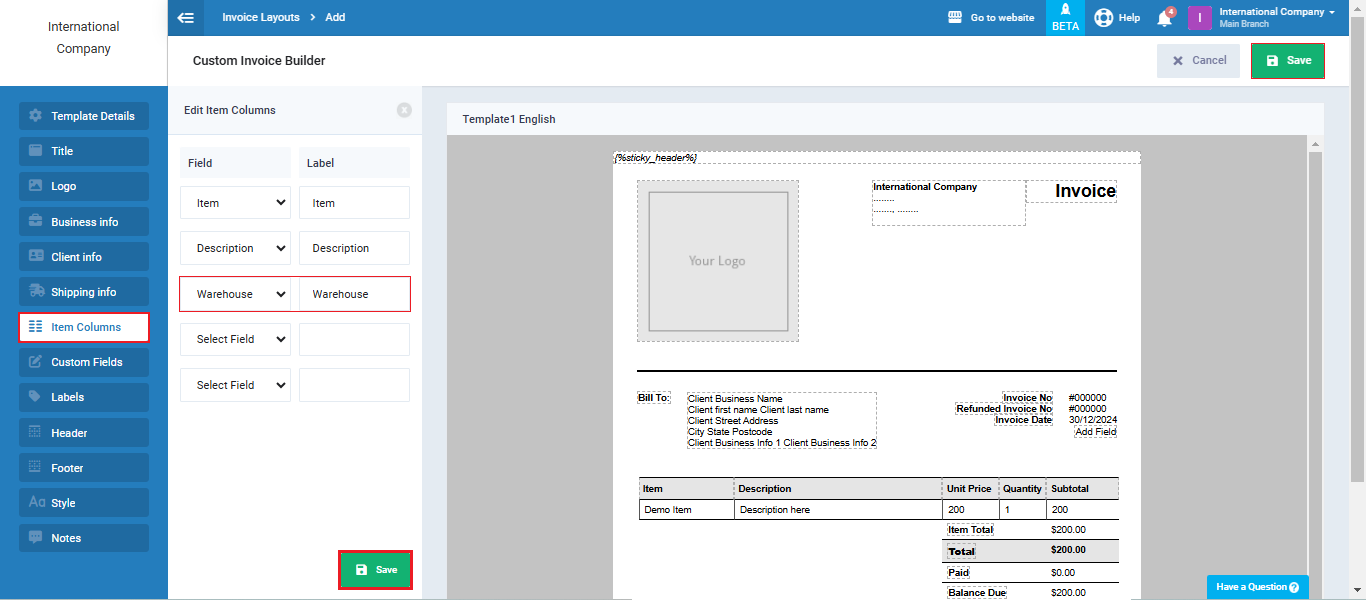
Click on “Item Columns,” then click on the dropdown menu and select “Warehouse.” After that, click the “Save” button within the item columns, and then “Save” for the template itself.


