Control the Print Window Display Settings from the POS
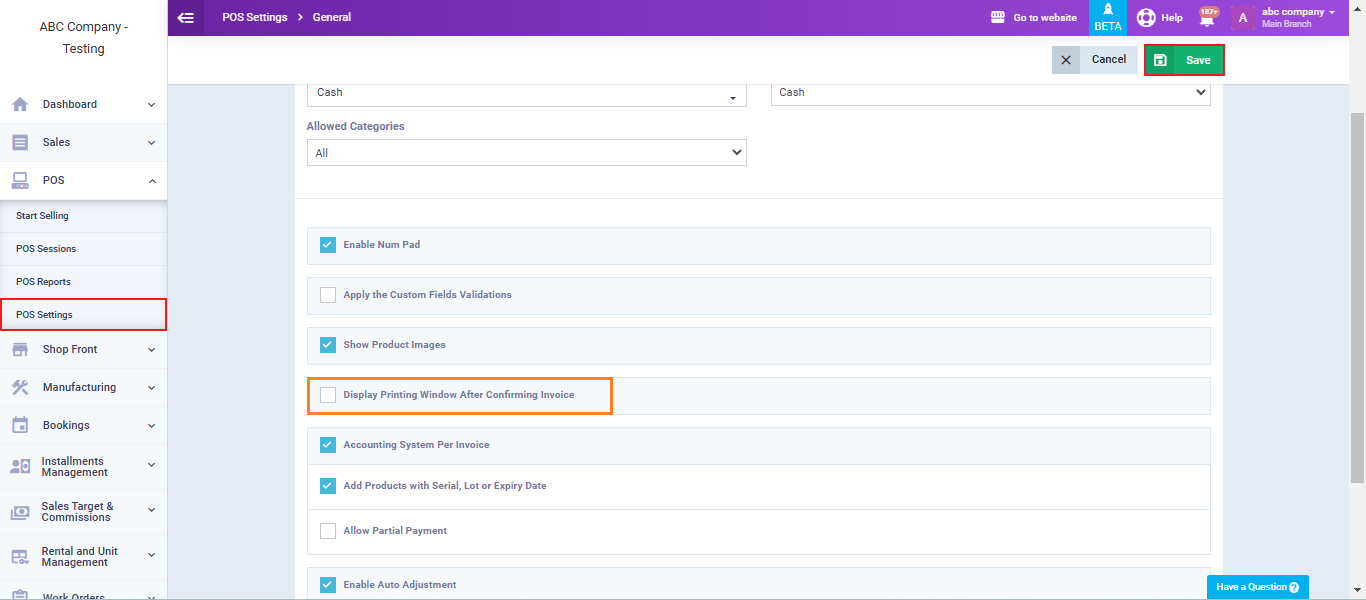
Through the setting “Display Printing Window After Confirming Invoice,” you can control the appearance of the print window when issuing an invoice from the POS. It can either display two print windows (the print window of the system followed by the browser’s print window), or it can show only the browser’s print window immediately after confirming the invoice. This guide outlines all the details.
Show Both Print Windows
If you want to display the system print window followed by the browser’s print window when printing an invoice from the POS screen, follow these steps:
Click on “POS Settings” in the dropdown of “POS” in the main menu, click on the “General” tab.
Make sure the setting “Display Print Window After Invoice Confirmation” is not activated.
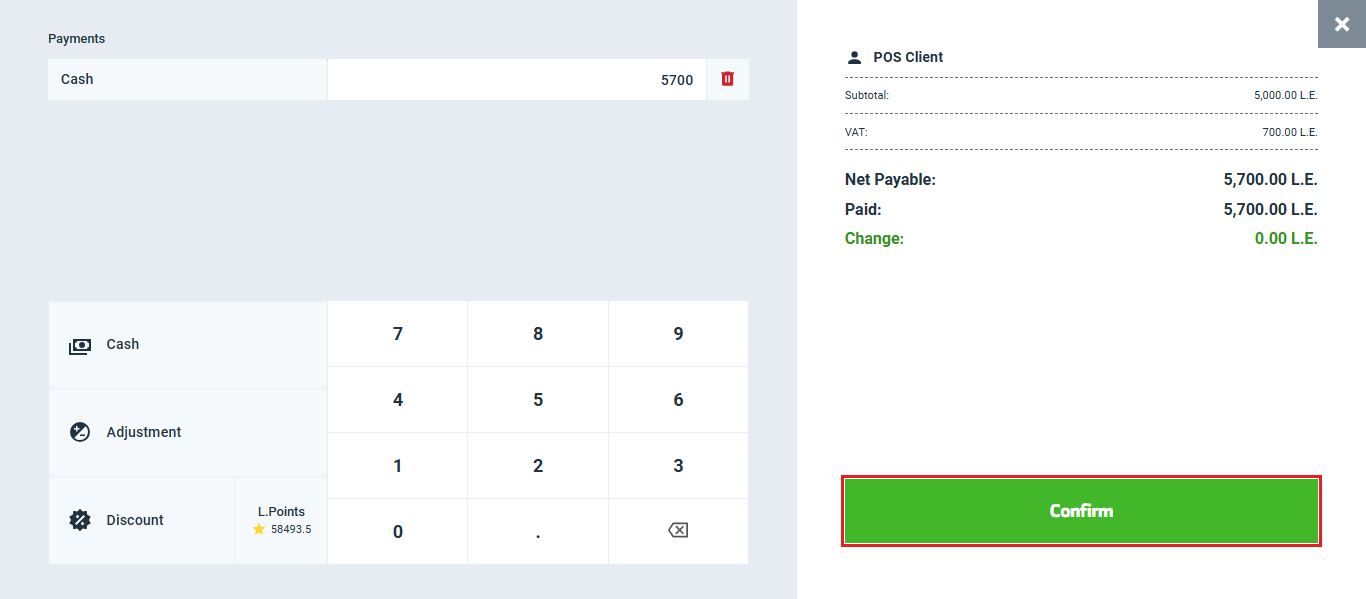
Go to the POS selling screen and create an invoice in the usual way for the POS. At the end of the steps, click the “Confirm” button to confirm the invoice.
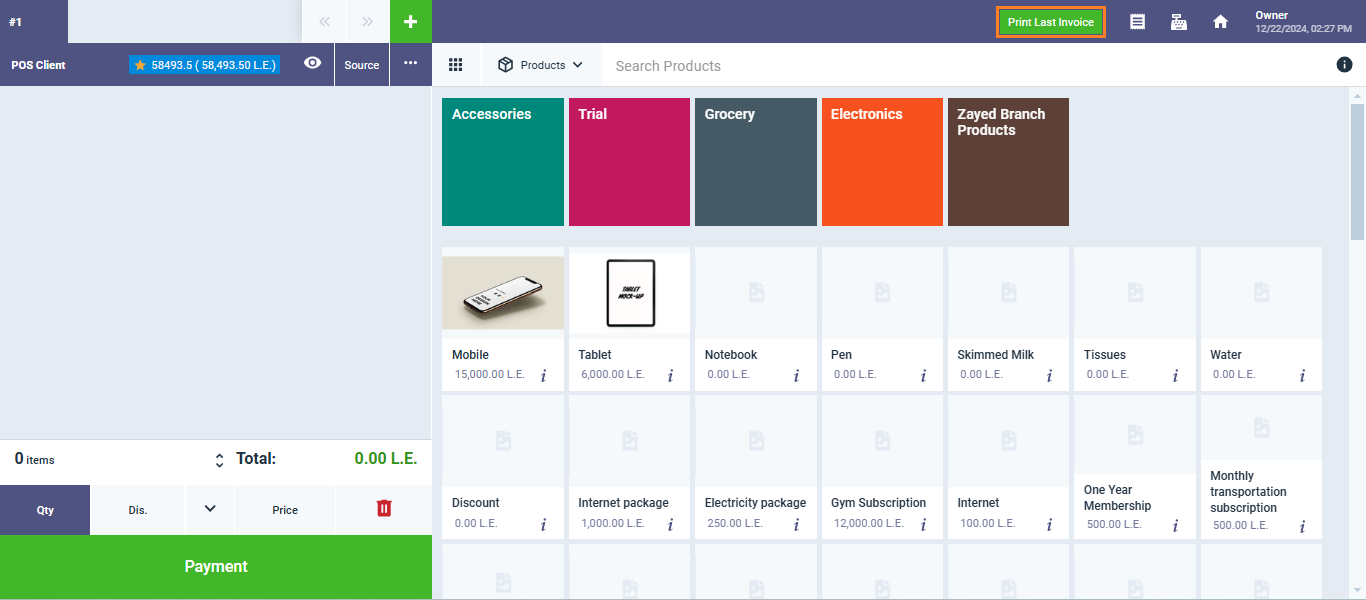
After confirming click on “Print Last Invoice” button.
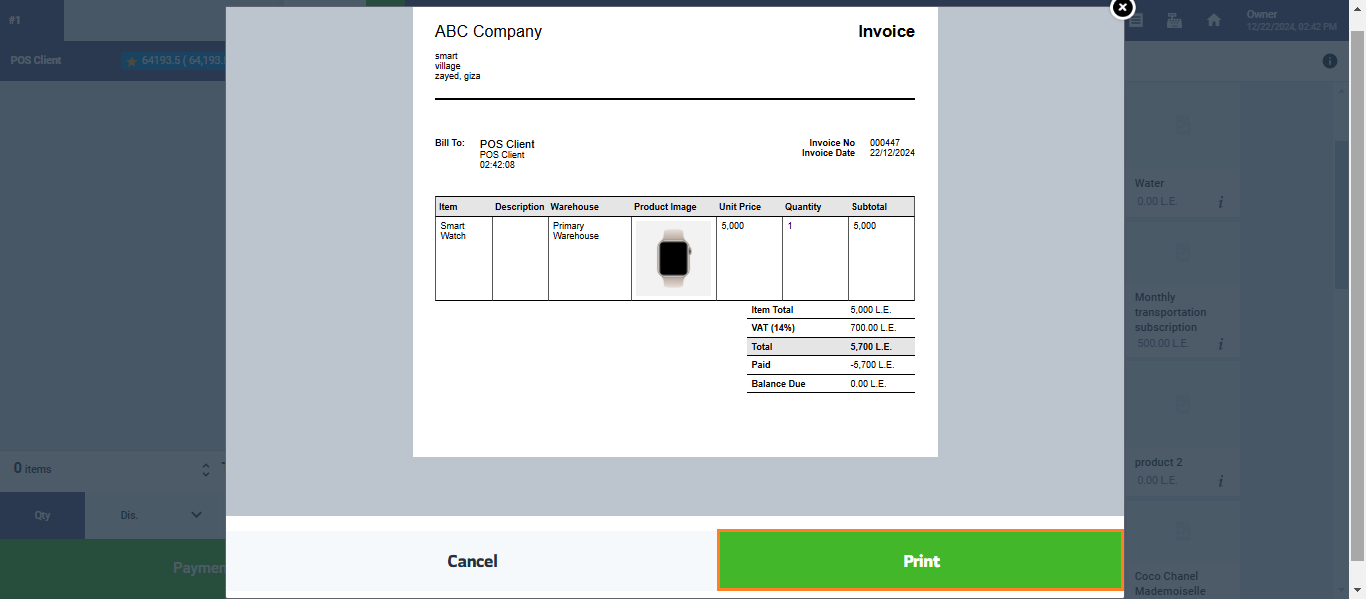
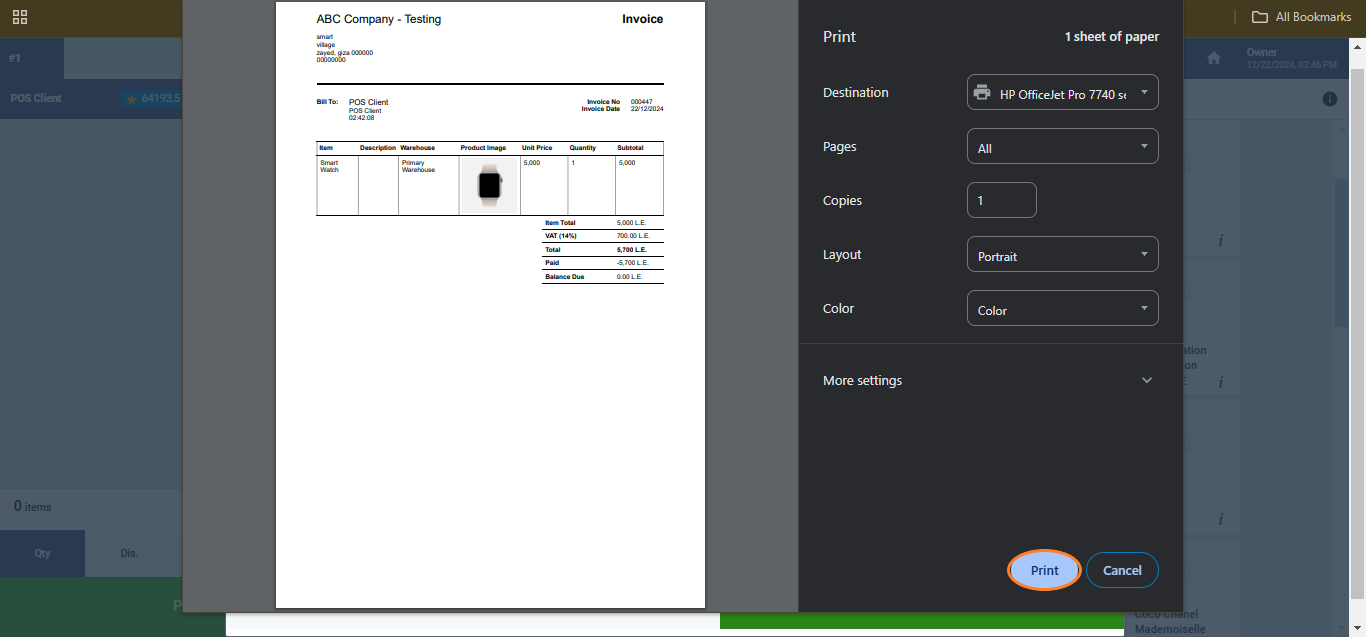
Then the browser’s print window will appear. Click the “Print” button to complete the printing.
Display the Browser Print Window Immediately After Confirming Invoice
If you want to display the browser’s print window immediately after confirming the invoice on the POS selling screen, follow these steps:
Click on “POS Settings” from the “POS” dropdown in the main menu, then click on “General.”

Make sure to activate the setting “Invoice Preview Before Saving” then click the “Save” button.

Go to the POS selling screen and create an invoice in the usual way for the POS. Then, click the “Confirm” button to confirm the invoice.

The browser’s print window will appear automatically. Click the “Print” button to complete the printing.

