How to Assign an Account and Cost Center for Each Item in Invoices and Requisitions
This feature allows you to assign an account and a cost center for each item individually within invoices and requisitions, ensuring accurate accounting entries and improving cost and revenue tracking at the item level.
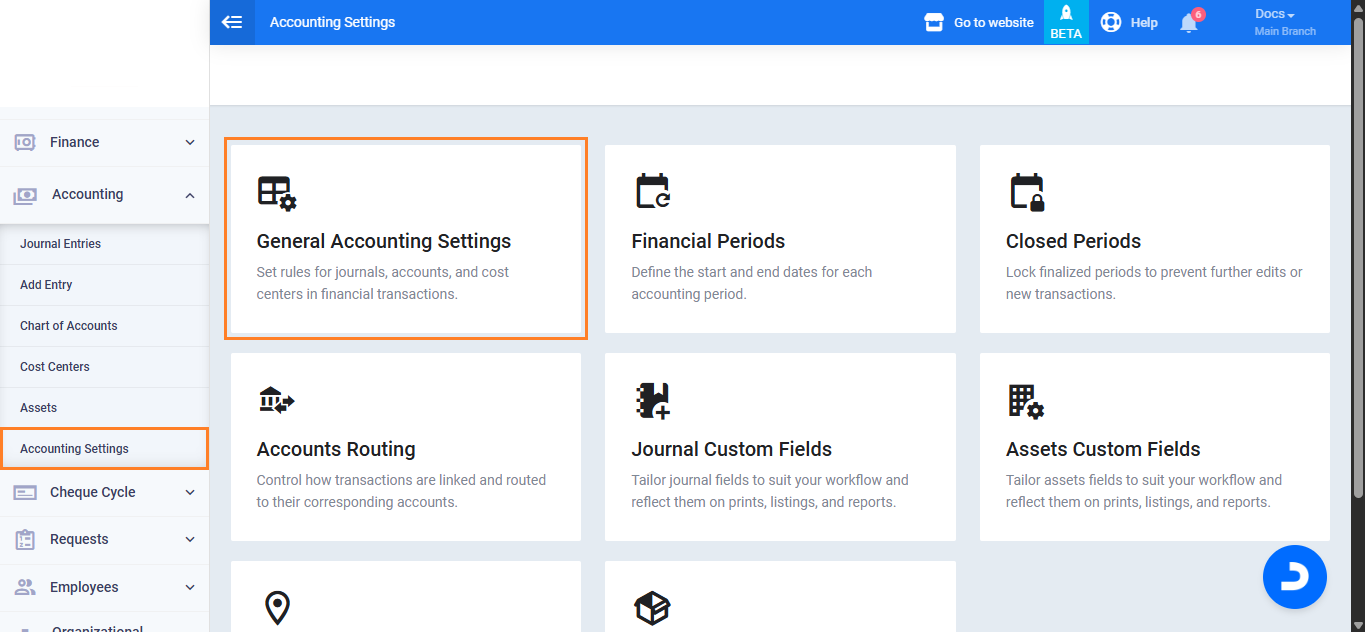
Activating Account and Cost Center Settings
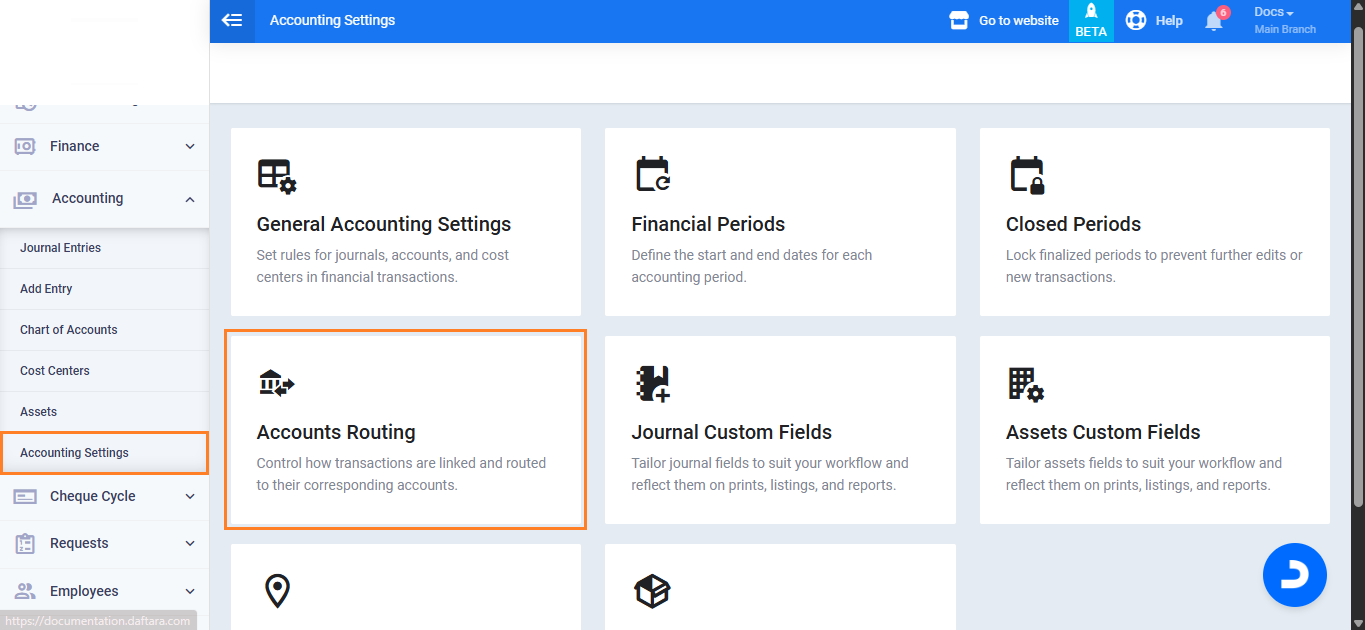
From the main menu, go to “Accounting” and select “Accounting Settings“.
Click on the “General Accounts Settings” tab.
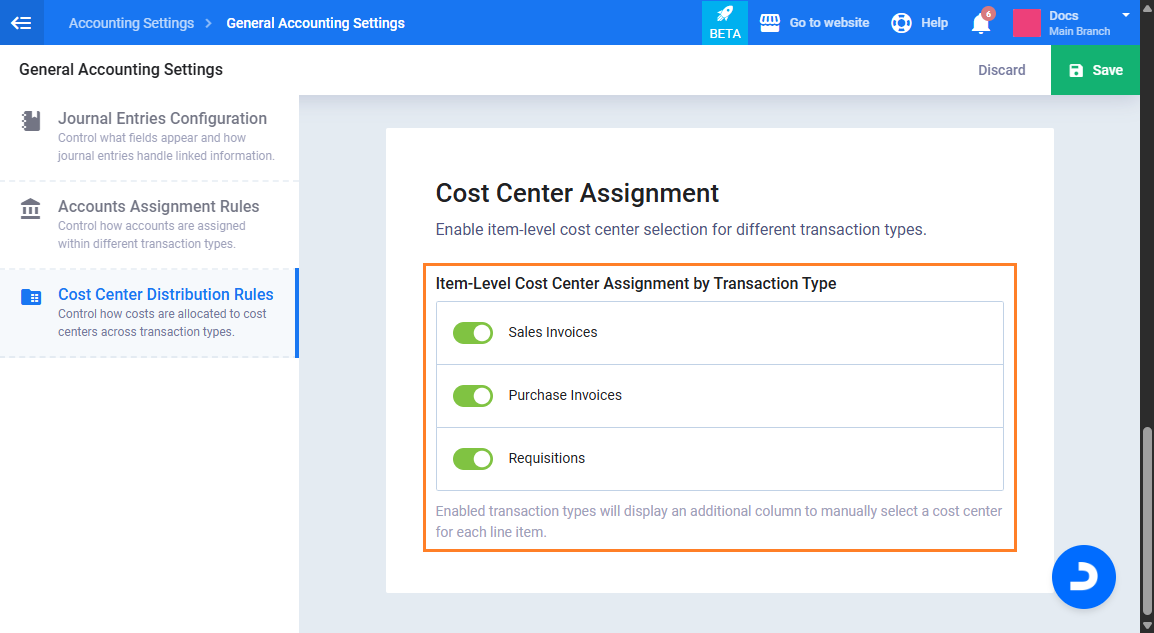
Enable the following settings under Account Assignment Rules:
Item-Level Account Assignment by Transaction Type in invoices and requisitions.
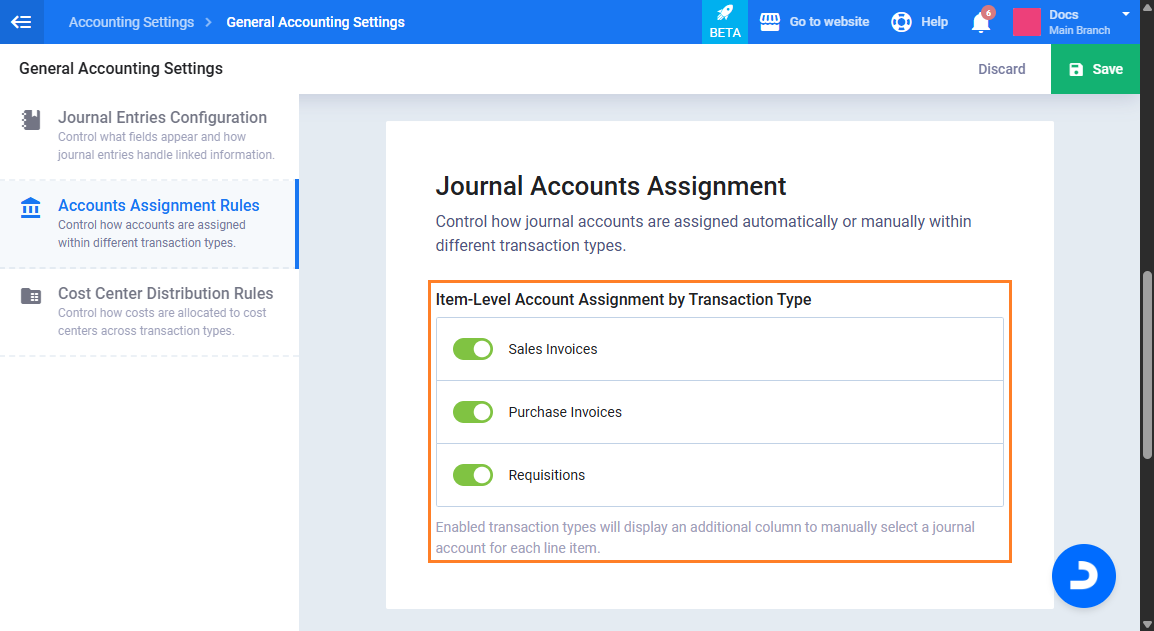
Under Cost Center Assignment Rules, activate:
in invoices.
Then click “Save“.
Setting Account Routing at the Item Level
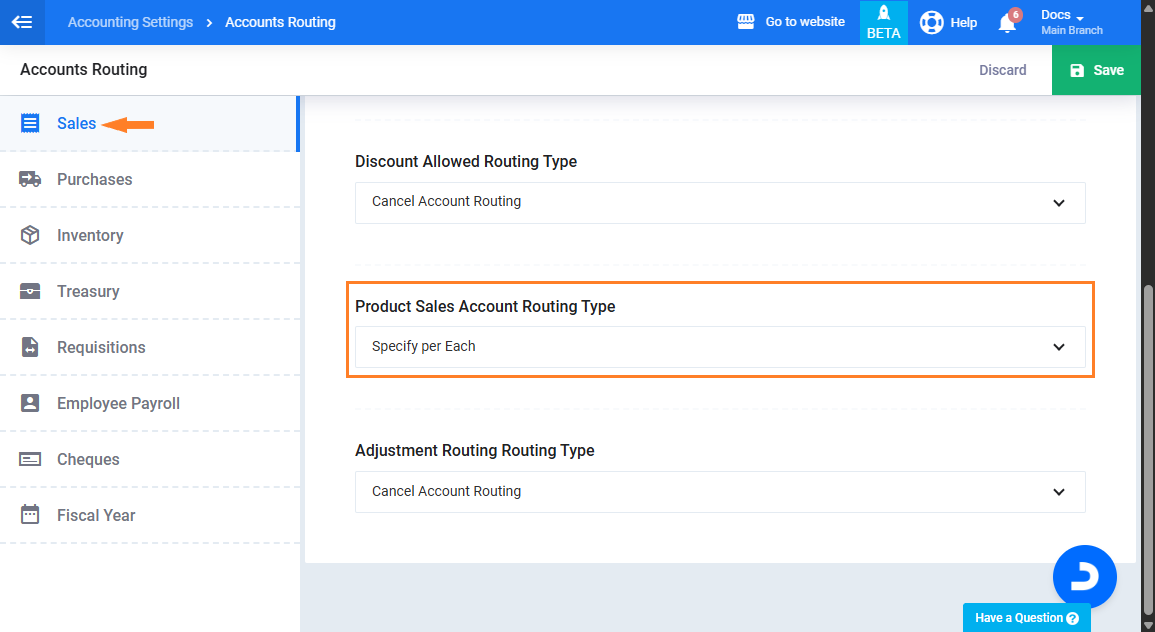
From “General Accounts Settings“, go to Account Routing“.
Under the “Sales” section, go to “Product Sales Account Routing Type” and select the routing type “Specify per each“.
The click on the “Save” button.
Creating a New Sales/Purchase Invoice
To create a new sales invoice:
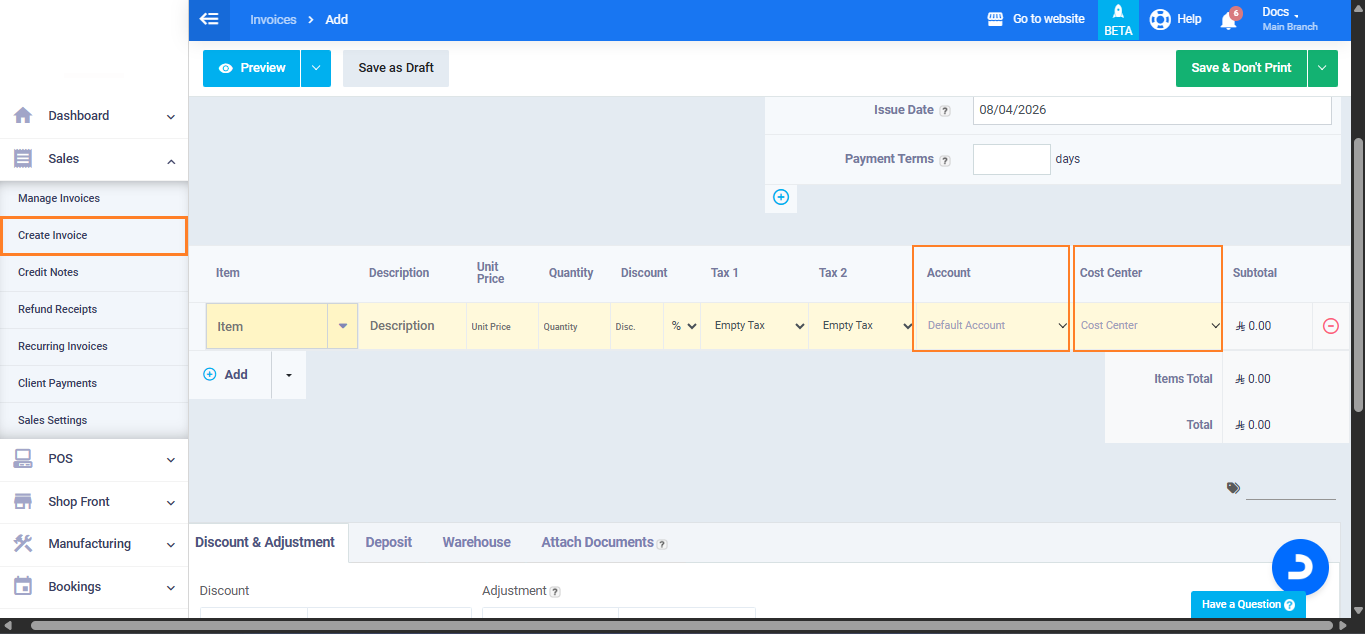
From the main menu, go to “Sales” and select “Create Invoice“.
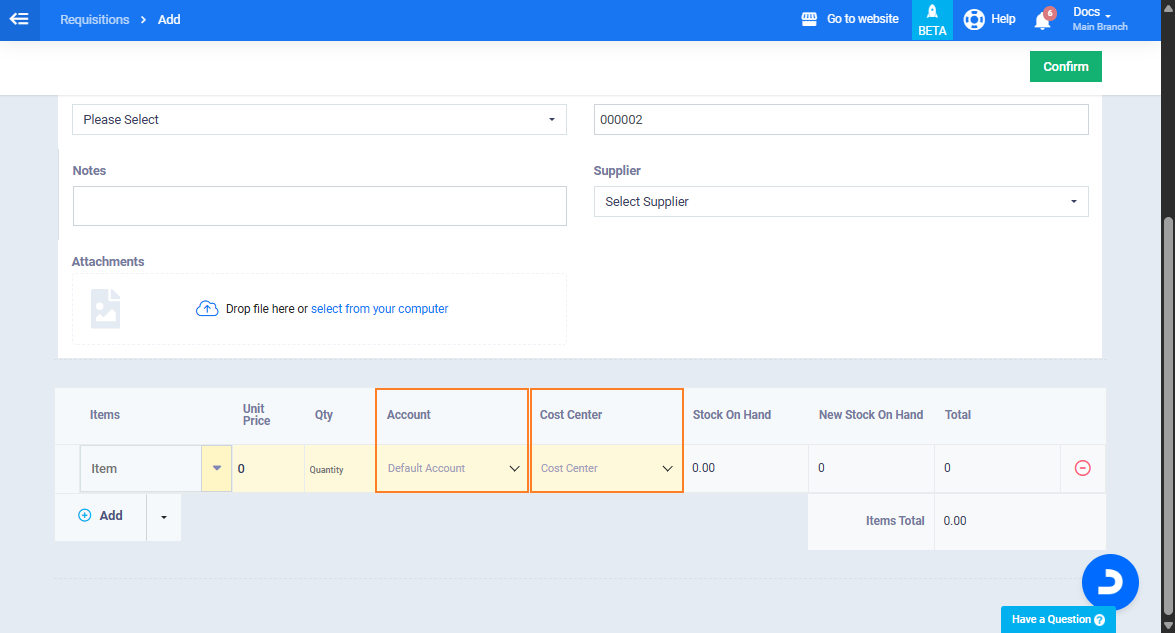
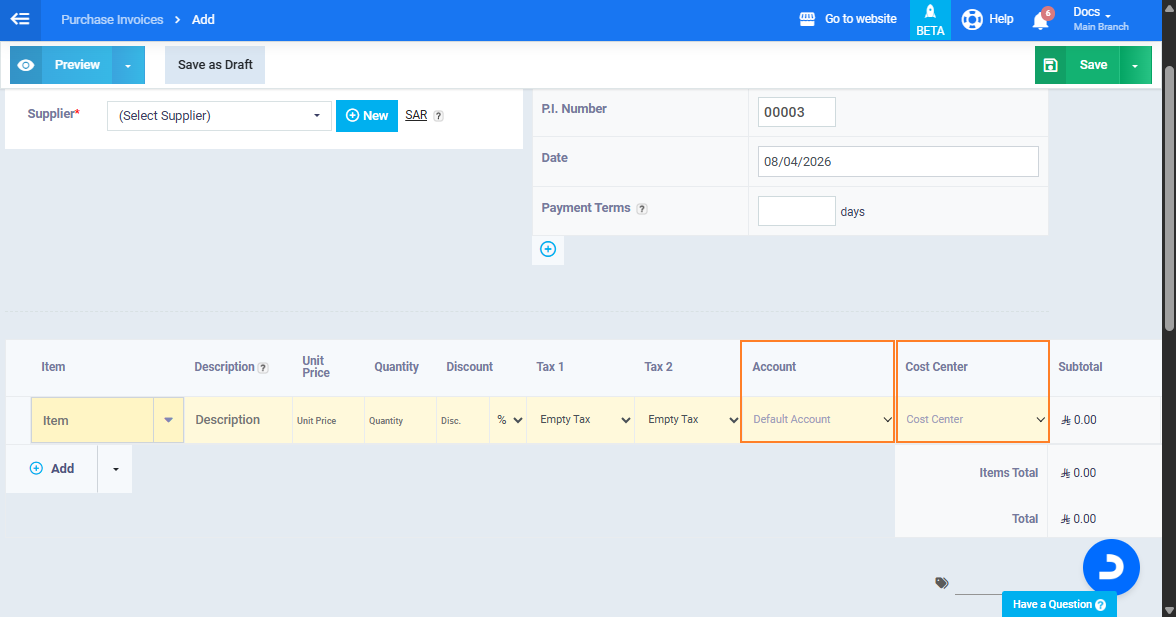
In the invoice table, new fields will appear for each item, allowing you to assign:
- Account
- Cost Center
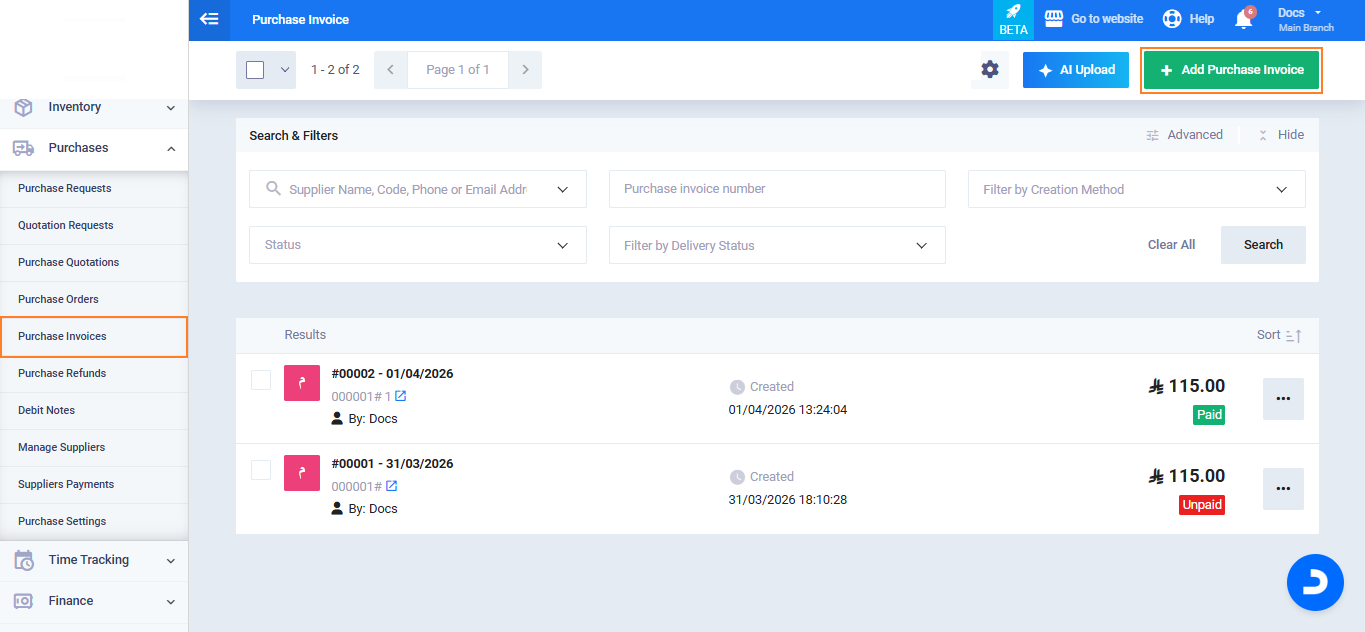
To create a purchase invoice:
From the main menu, go to “Purchases“, select “Purchase Invoices“, then click “Add Purchase Invoice“.
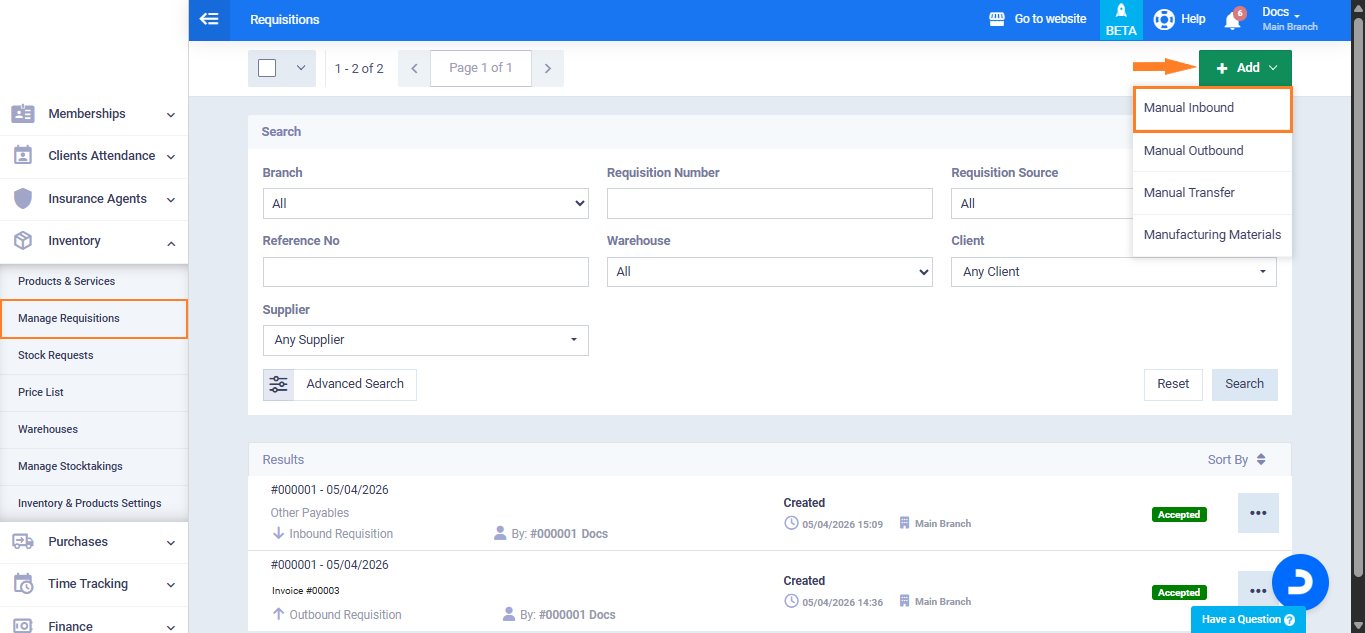
Creating a New Requisitions
Go to “Inventory” and select “Manage Requisitions“.
Click Add and choose “Manual Inbound“.