


Adding Notes / Attachments to Estimates
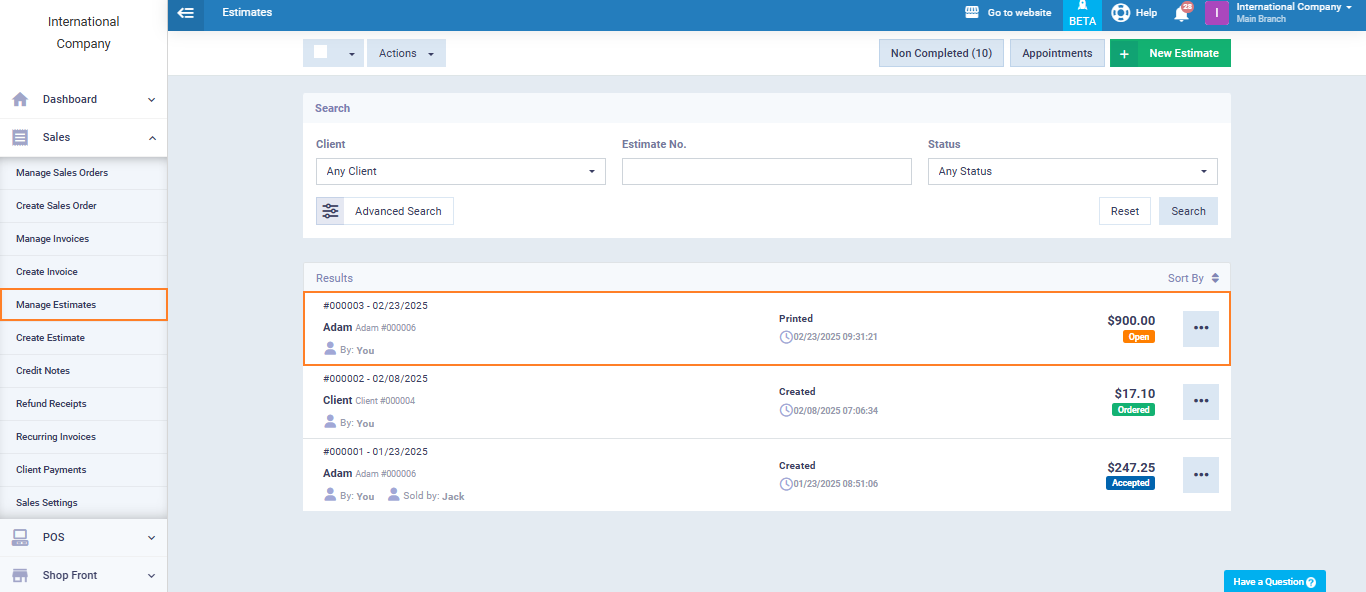
Click “Manage Estimates” from the “Sales” dropdown menu, then choose the estimate to which you want to add notes/attachments.
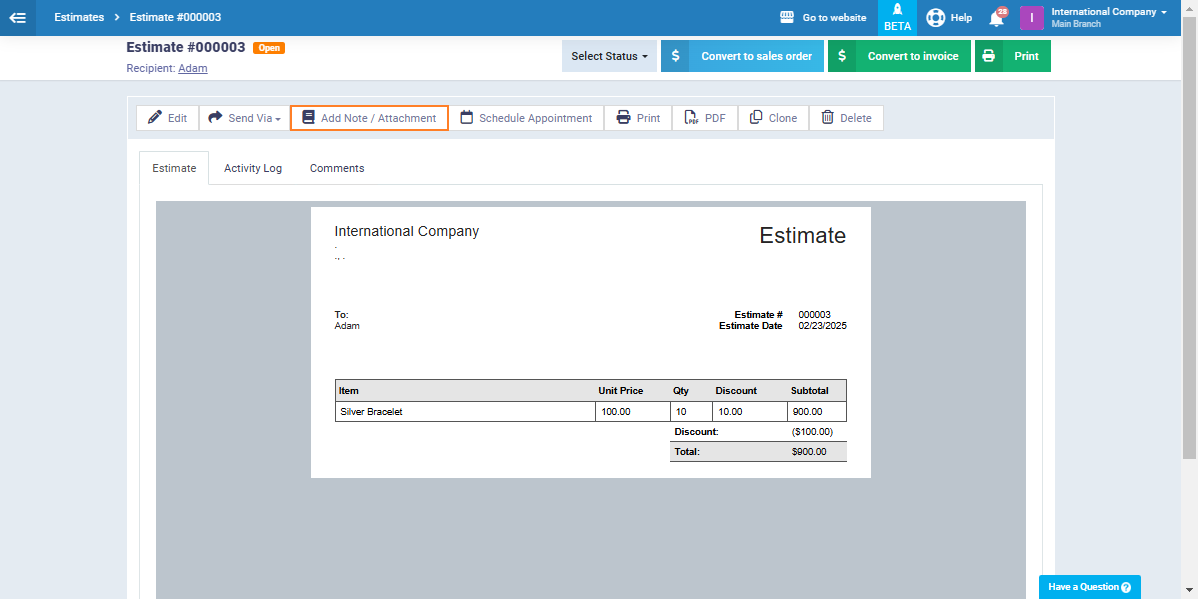
Click on the “Add Note/Attachment” button at the top of the estimate display window.
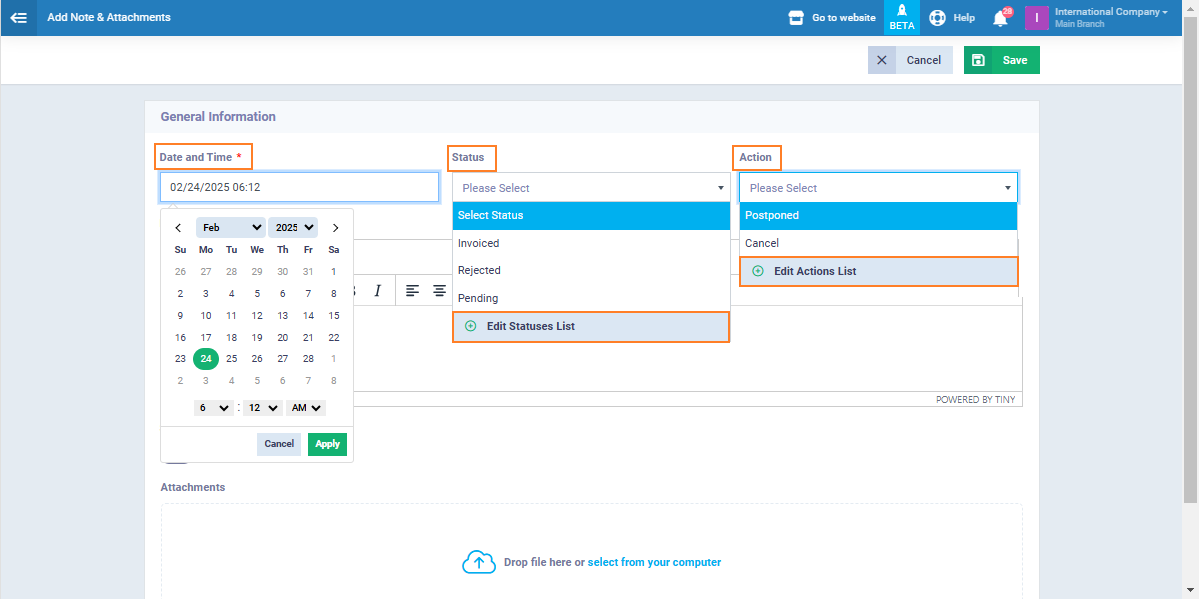
Enter the following details:
- Date and Time: Specify when the note or attachment is being added.
- Status: Specify the status of the attachments from the statuses list.
- Action: Select the performed action from the list.
Note that you can edit, add, or delete actions and statuses from the buttons “Edit Action List” and “Edit Statuses List” as shown in the image below.
- Note: Enter the necessary details in the text box.
- Attachments: Upload the required files by clicking the “Upload” button or simply dragging and dropping them.
- Enable the “Share With Client” button if you want the client to be able to view the notes and attachments on their own portal of the system.
For the client to be able to view the attachment, the permission to view notes and attachments on their personal page must be given. For more details, refer to the “Client Permission Settings“ guide. - Tags: Add tags to categorize specific notes and attachments, making it easier to search and filter them later.
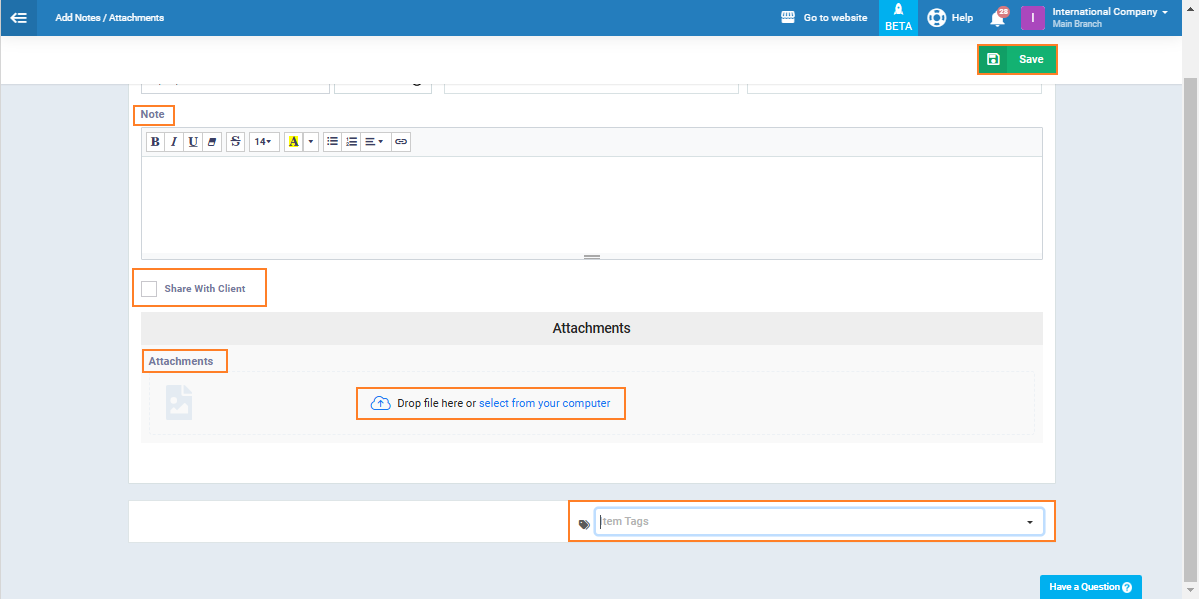
Once all fields are completed, click “Save” to confirm your entries.
You can check all the added notes or attachment from the estimate file when clicking on “Notes/Attachments” as shown in the image below.
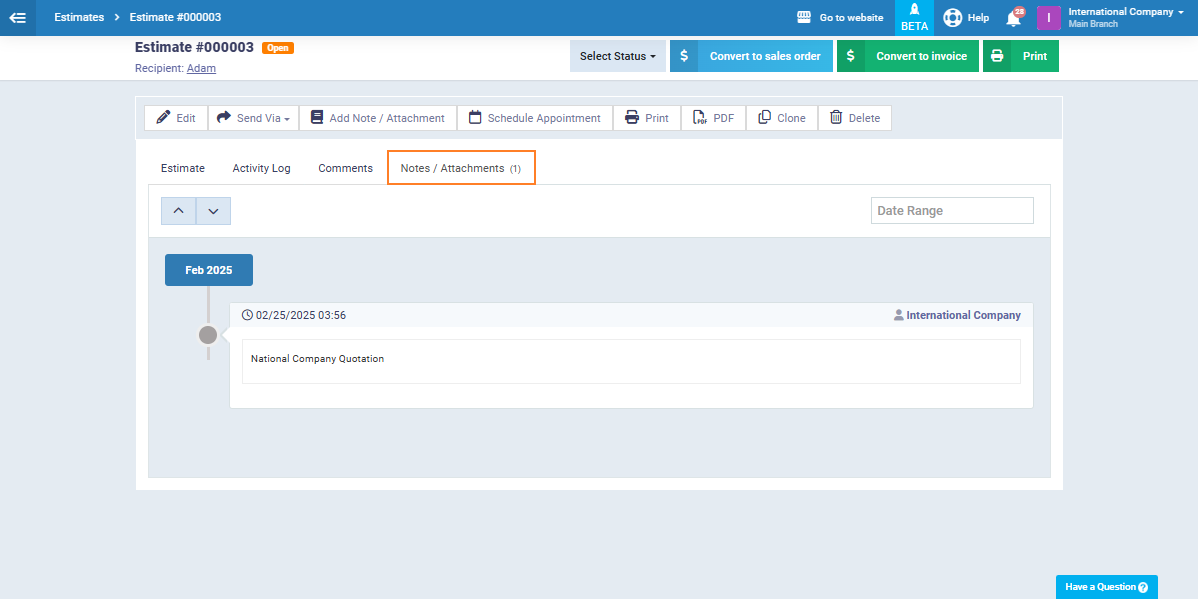
You’ll find all relevant details about the added note or attachment, including the date, time, and the employee who uploaded it.