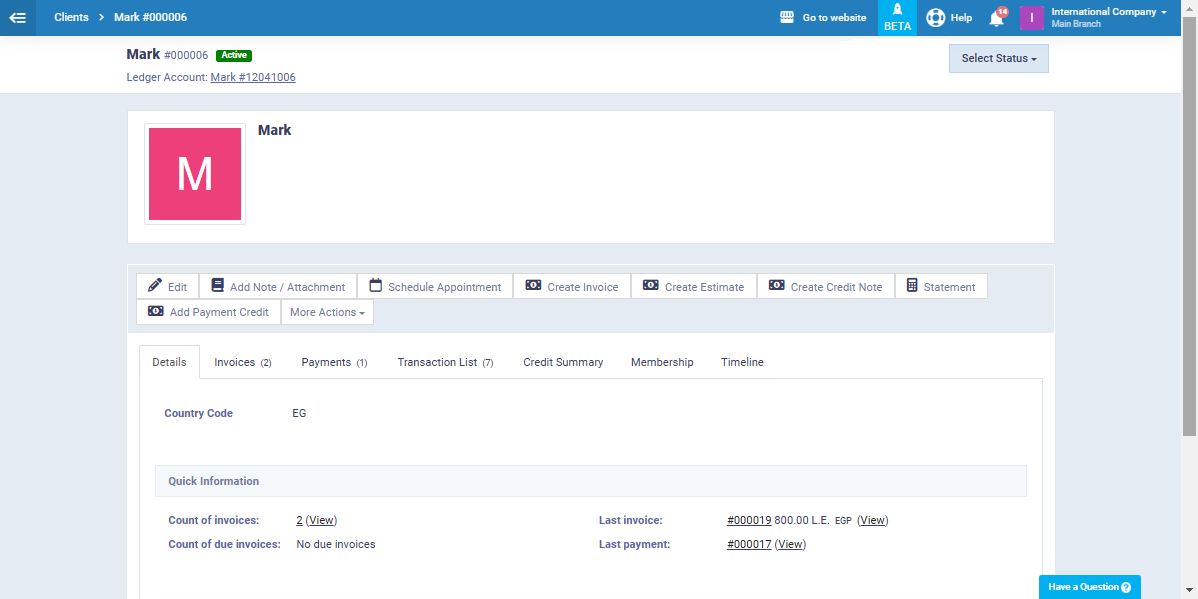
Display Invoice Report with the Correct Status when a Credit Note is Added to the Invoice
Credit notes are documents that prove the seller added a credit balance to the client’s account as a refund or to correct a transaction error. The client can use this credit to pay future invoices or other payments.
Transactions resulting from adding a credit note to a sales invoice may be processed incorrectly, which requires accounting adjustments.
Now, we’ll take you through some scenarios of the system’s accounting response to adding a credit note to invoices, and demonstrate how to handle each of these cases correctly.
Identify the Options of the Setting "Autopay Invoices if the Client Has Available Credit"
Invoice payment statuses are automatic statuses that are updated based on the payment transactions on the invoice without any manual intervention. The invoice status appears as “Paid” or “Unpaid” in the invoice as well as the invoices reports.
When adding a credit balance to a client, this balance may automatically be used to pay invoices and may not, depending on whether the setting “Auto-Pay Invoices Using Client Credit” is enabled or not.
Here are the setting activation steps:
From the dropdown of “Sales” in the main menu click on “Sales Settings” then select “Invoicing Settings“.

Click on “Auto-Pay Invoices Using Client Credit” to activate it.

Activating the Setting and Adding a Credit Note to the Invoice
When you activate the setting “Auto-Pay Invoices Using Client Credit”, then you add a credit note to one of the invoices, the invoice amount will be deducted form the added credit balance, then the invoice status will automatically be “Paid“.
What if the client wants to keep the credit balance in their account and not use it to pay the invoice?
In this case you’ll create a “Reverse Entry” so that the invoice statues changes to “Paid” and the credit balance remains in the client’s account.
Here are the steps:
Click on “Sales Settings” from the dropdown menu of “Sales” in the main menu, then select “Invoicing Settings“, and activate the setting “Auto-Pay Invoices Using Client Credit”, then click on “Save“.

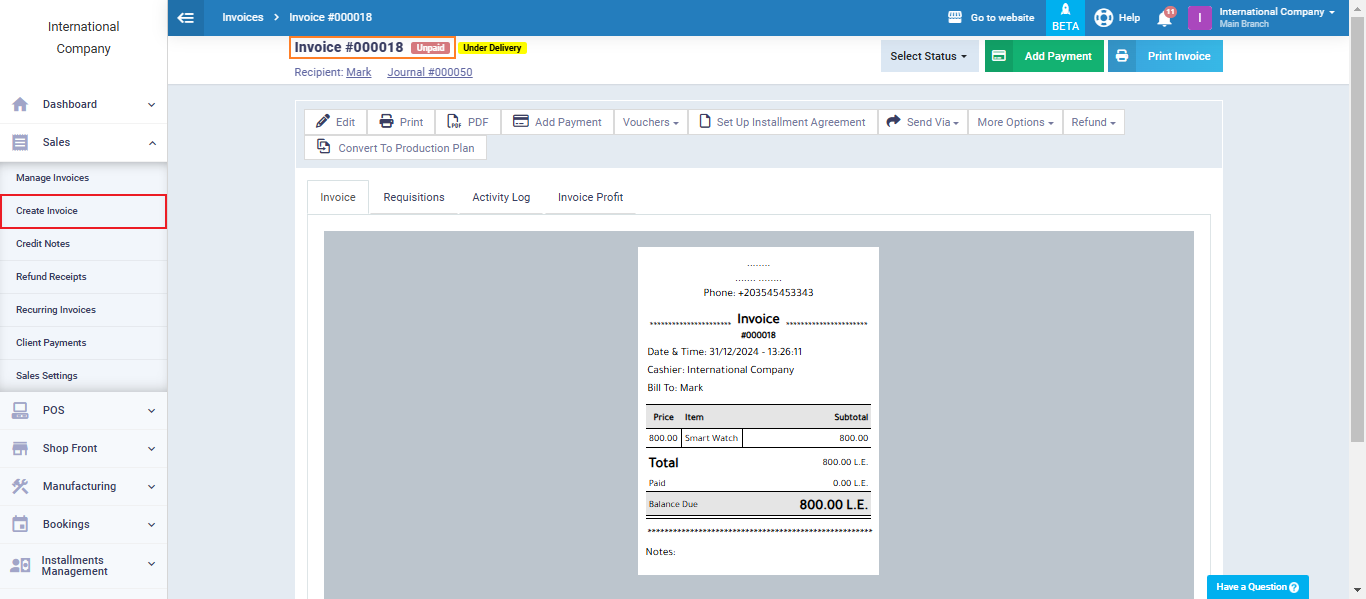
Create a new invoice without adding payments to it, so that its status appears as “Unpaid“.
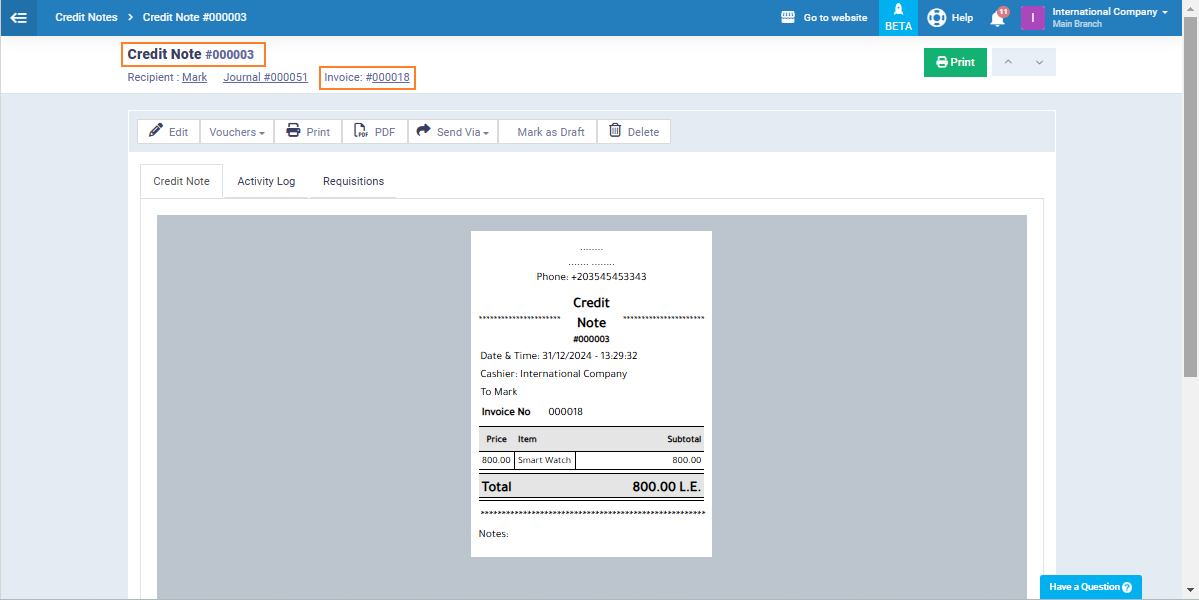
Issue a credit note on the same invoice as follows:
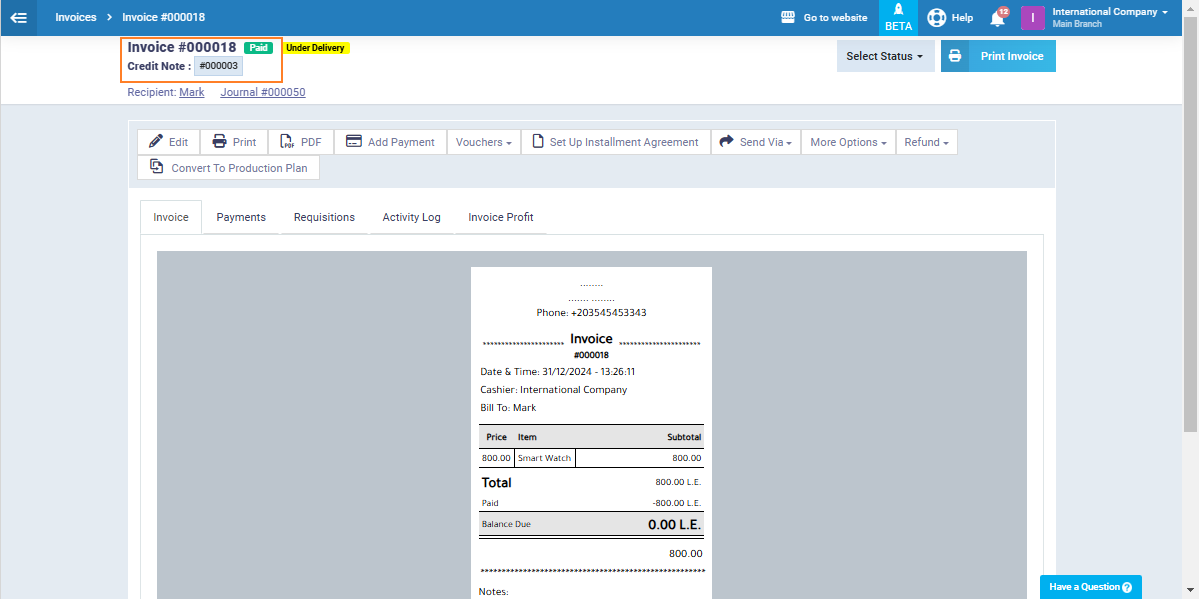
The invoice status has changed to “Paid” in the invoice file.
It also appears in the invoice reports with the status “Paid.”
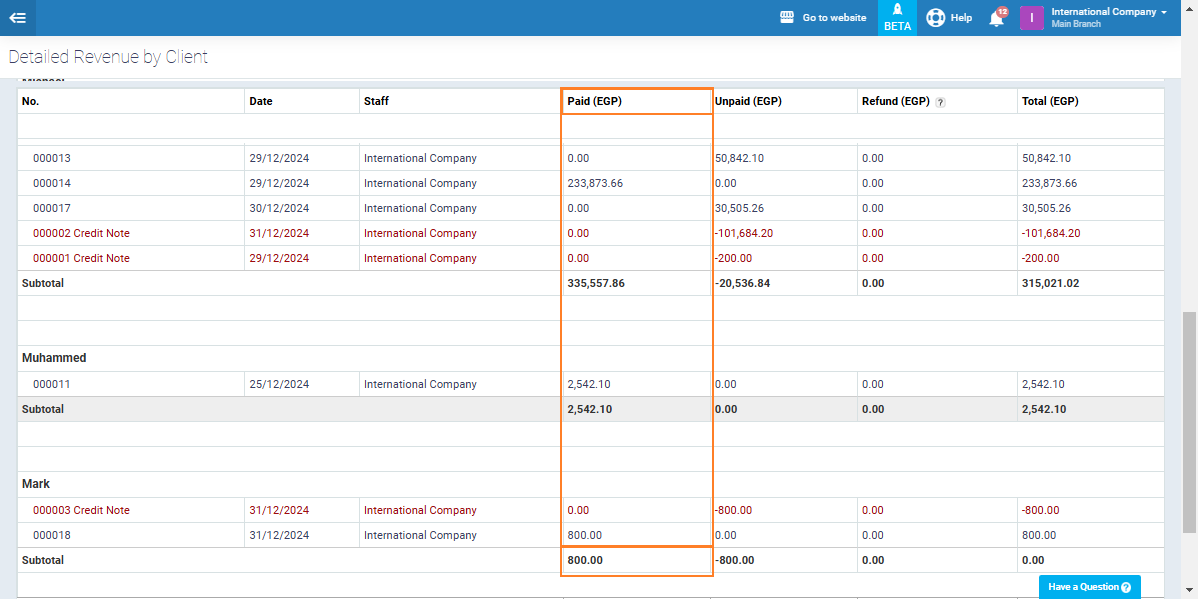
If you wish to retain the customer’s credit balance, the payment should be recorded through an alternative method, as you will not be able to add a payment in the usual way to a previously paid invoice (via a credit note). You will receive an error message: “This invoice has been paid before” when attempting to add the payment.
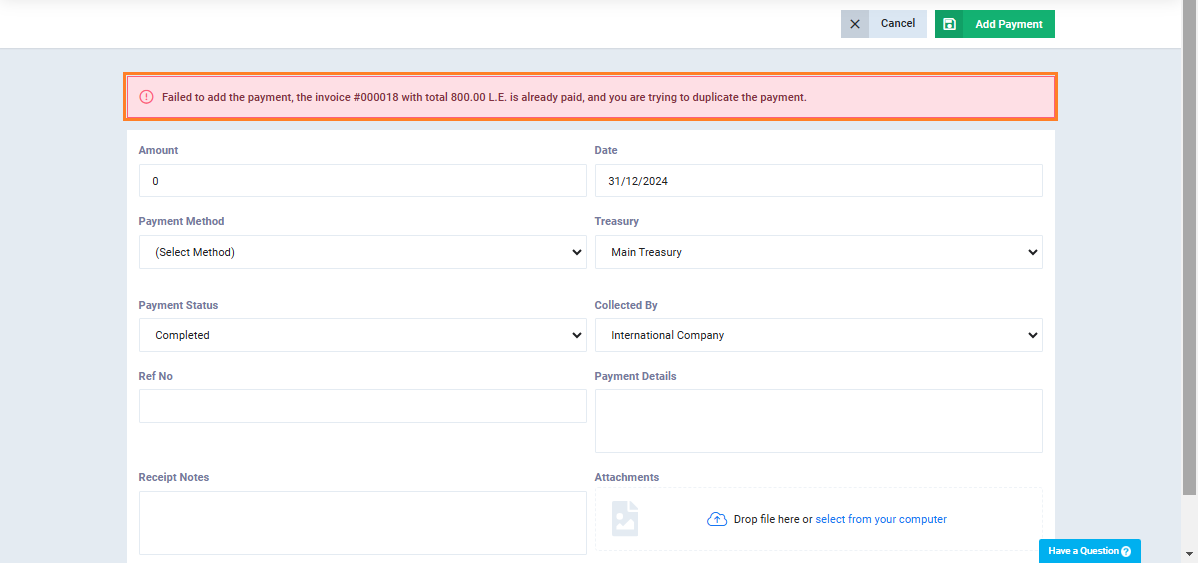
Therefore, we resort to adding a reversing journal entry for the entry resulting from the creation of the invoice, so that this reversing entry will restore the credit balance to the client’s account.
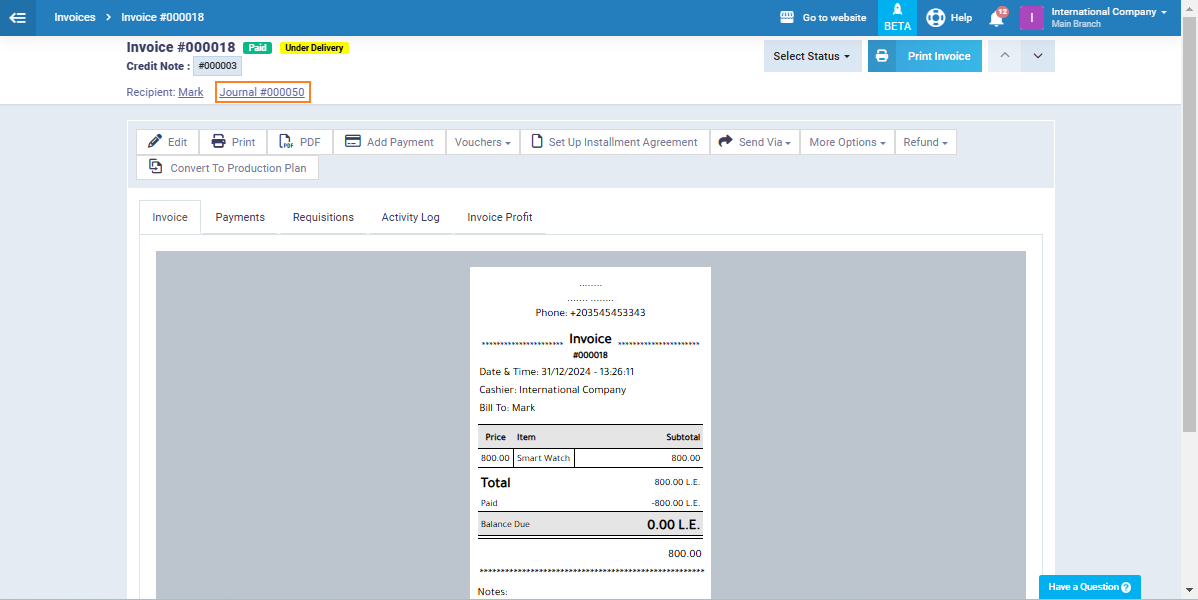
Click on the desired invoice, then click on the journal entry number at the top of the invoice details.
Then click on “Clone” and select “Reverse Journal Entry” from the dropdown menu.
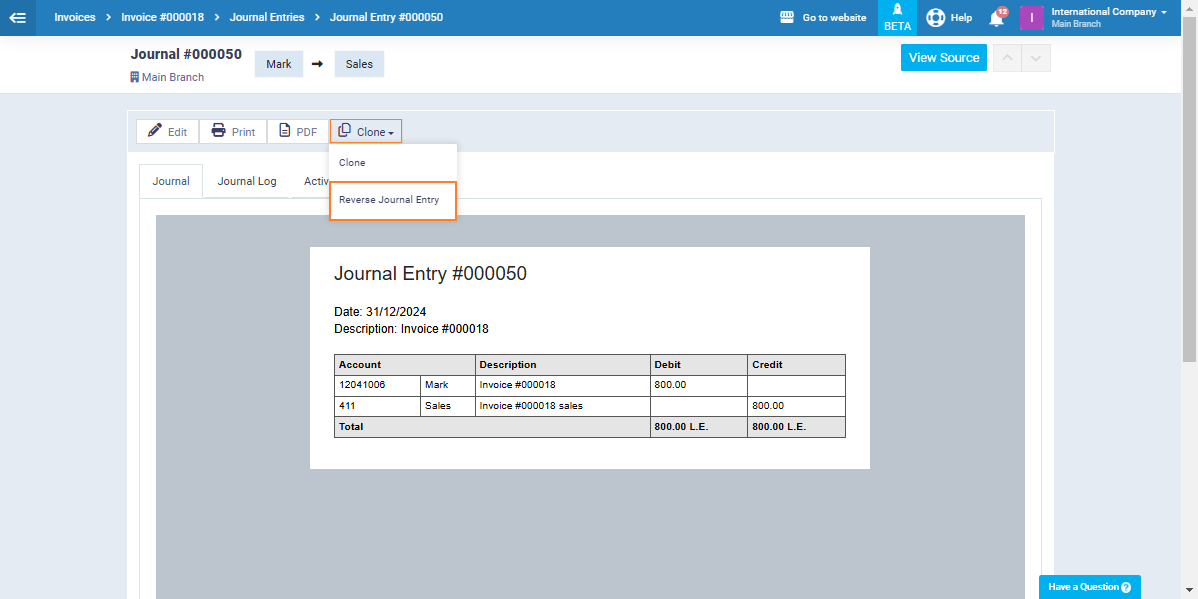
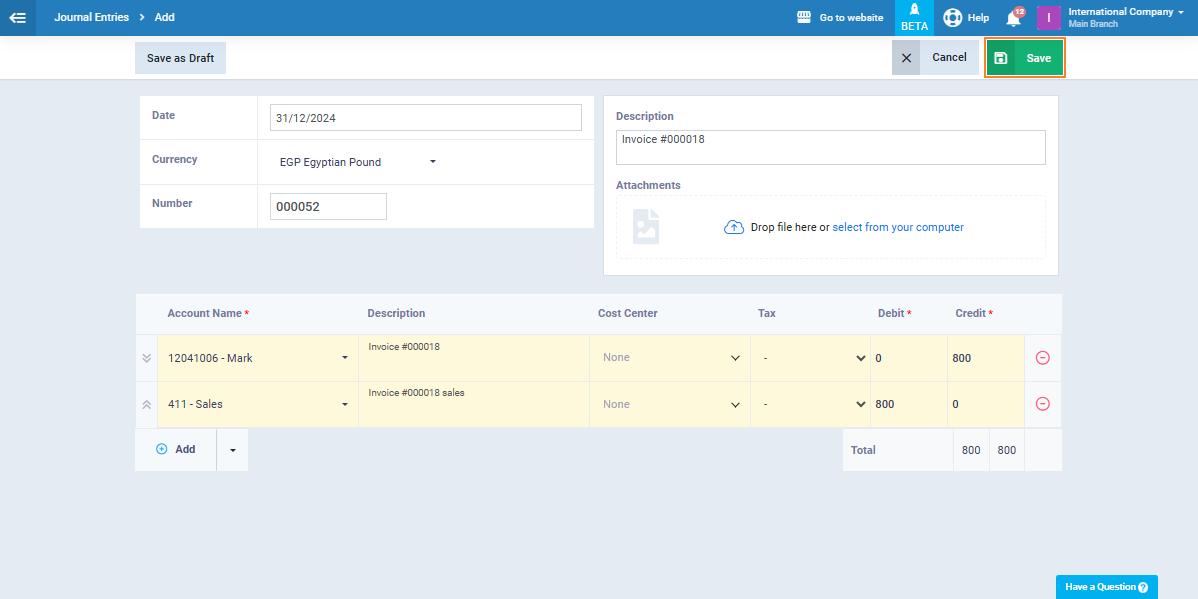
The details of the reversing entry will appear automatically, and all you need to do is click the “Save” button.
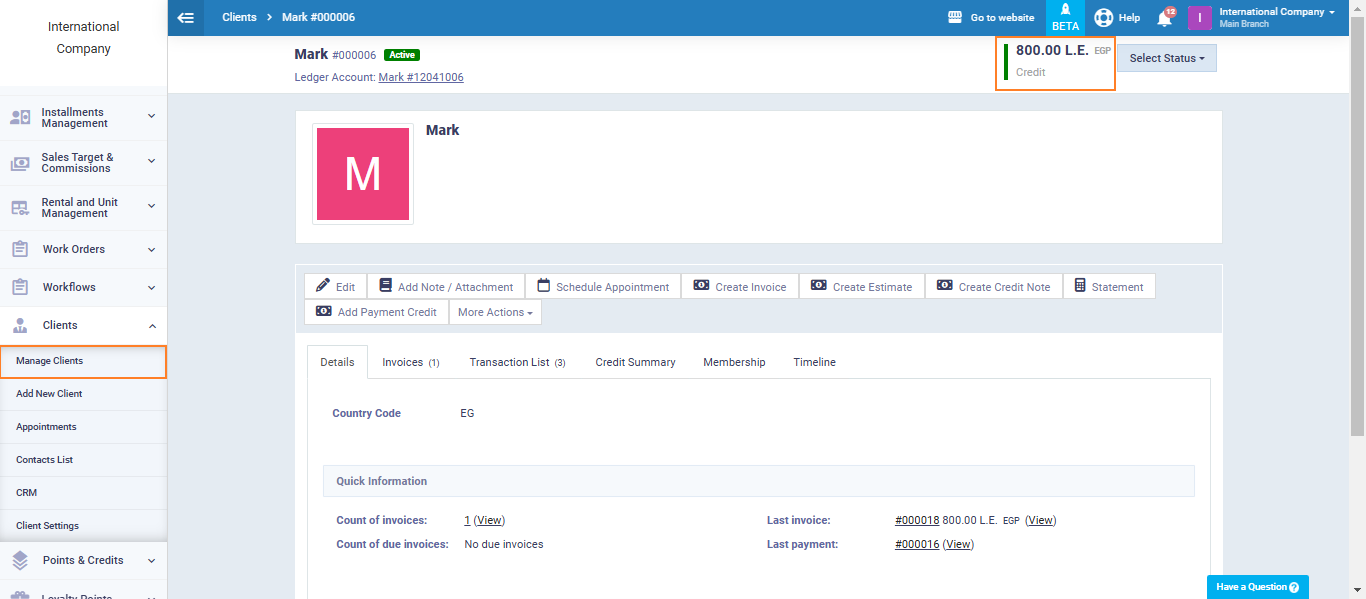
The credit balance will then appear in the client’s file as desired, as shown below.
Not activating the setting and adding a credit note to the invoice
If the setting “Auto-Pay Invoices Using Client Credit” is not activated, and a credit note is added to one of the invoices to pay the client’s invoice, the customer’s credit balance remains unchanged. The invoice is not paid through it. To change the invoice status to “Paid,” you must add the payment transaction, then issue a reversing entry for the payment transaction to cancel out the possibility of the invoice being paid twice: once via the payment transaction and once via the credit note. Here are the detailed steps to implement this:
Click on “Sales Settings” from the “Sales” dropdown in the main menu, then click on “Invoicing Settings.”
Ensure that the setting “Auto-Pay Invoices Using Client Credit” is not activated. Then, click the “Save” button.

Issue a new invoice without adding a payment transaction, and it will appear with the status “Unpaid.”

Then, issue a credit note for the invoice as follows:
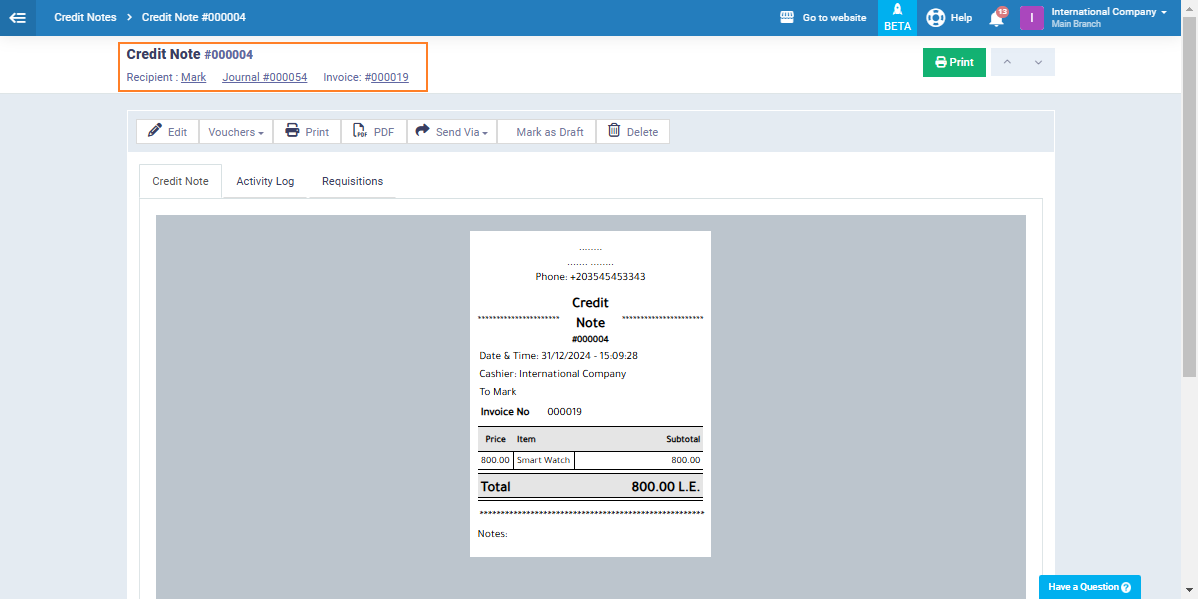
To find that the invoice status is still unpaid, so click on ‘Add Payment‘.
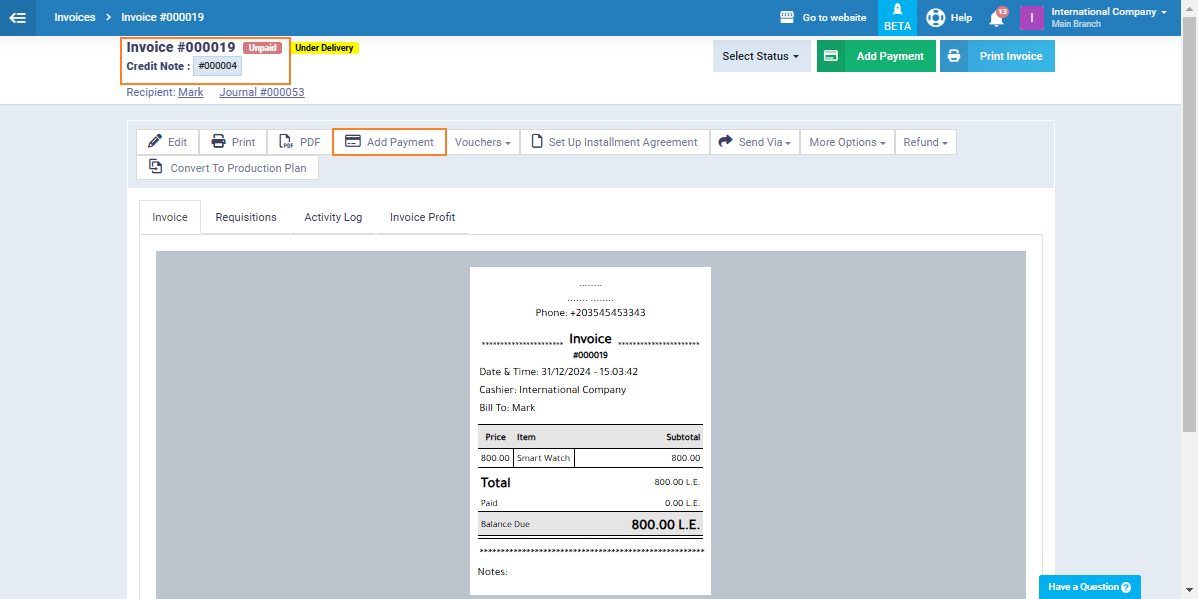
Enter the payment transaction details, then click on “Add Payment.” The invoice status will then change to “Paid” in both the invoice file and the invoice reports.
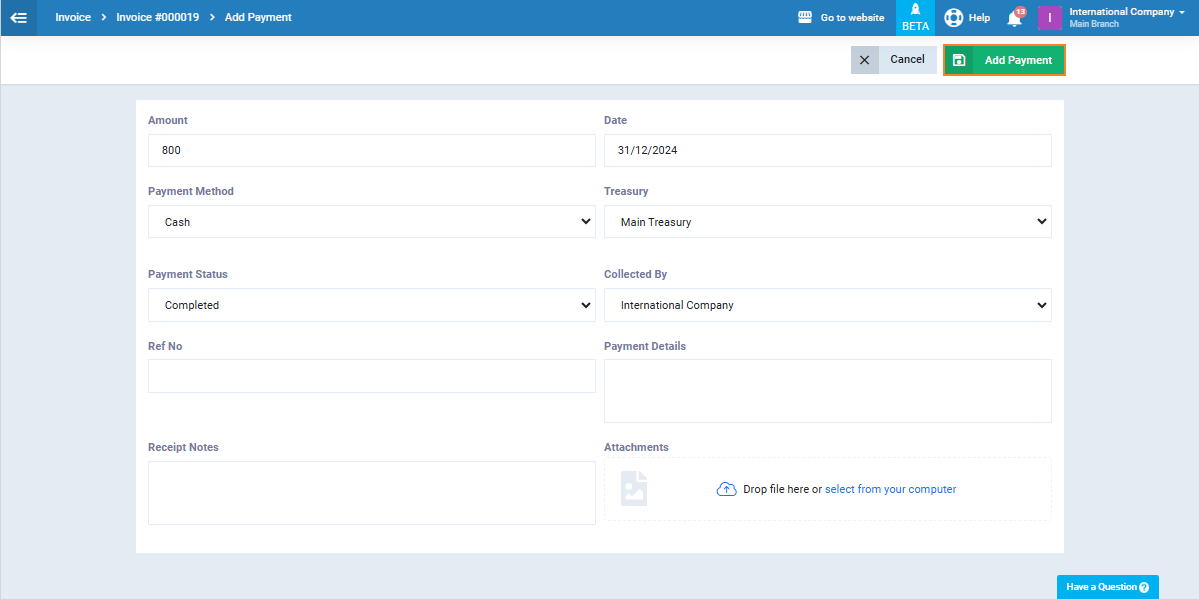
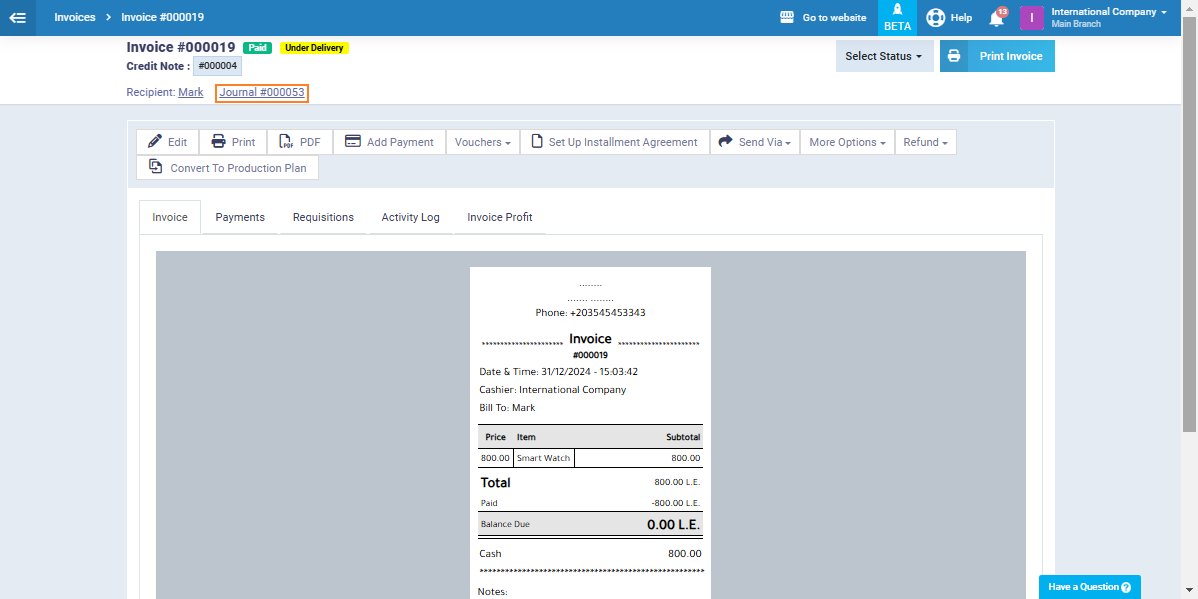
Then, click on the payment transaction and click on the journal entry number associated with the transaction.
Click on “Clone” then “Reverse Journal Entry“.
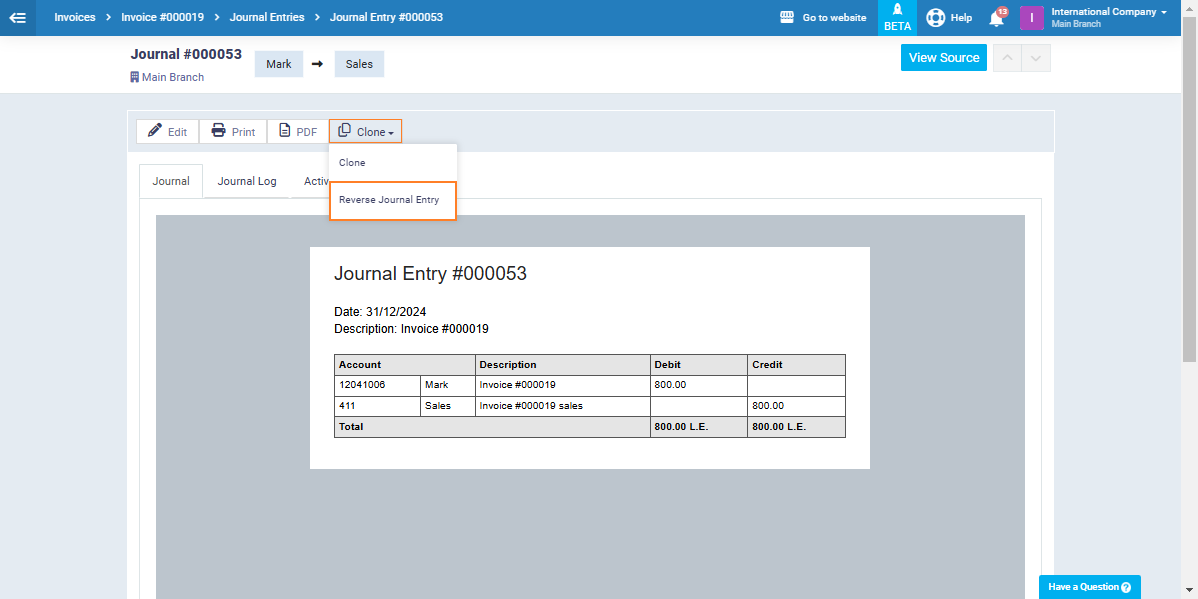
The details of the reversing entry will appear automatically. All you need to do is click the “Save” button.
You will find that the client’s account is settled after issuing the reversing entry for the payment transaction, so there will be no credit balance or open balance requiring payment.
