Setting Up the Employee Assets Cycle
Before using the Employee Assets application, three core elements must be configured — they form the foundation of the application: Asset Types, Physical Locations, and Warehouses. These elements appear in dropdown lists when adding and managing assets. This guide explains how to set up each one.
Setting Up Asset Types
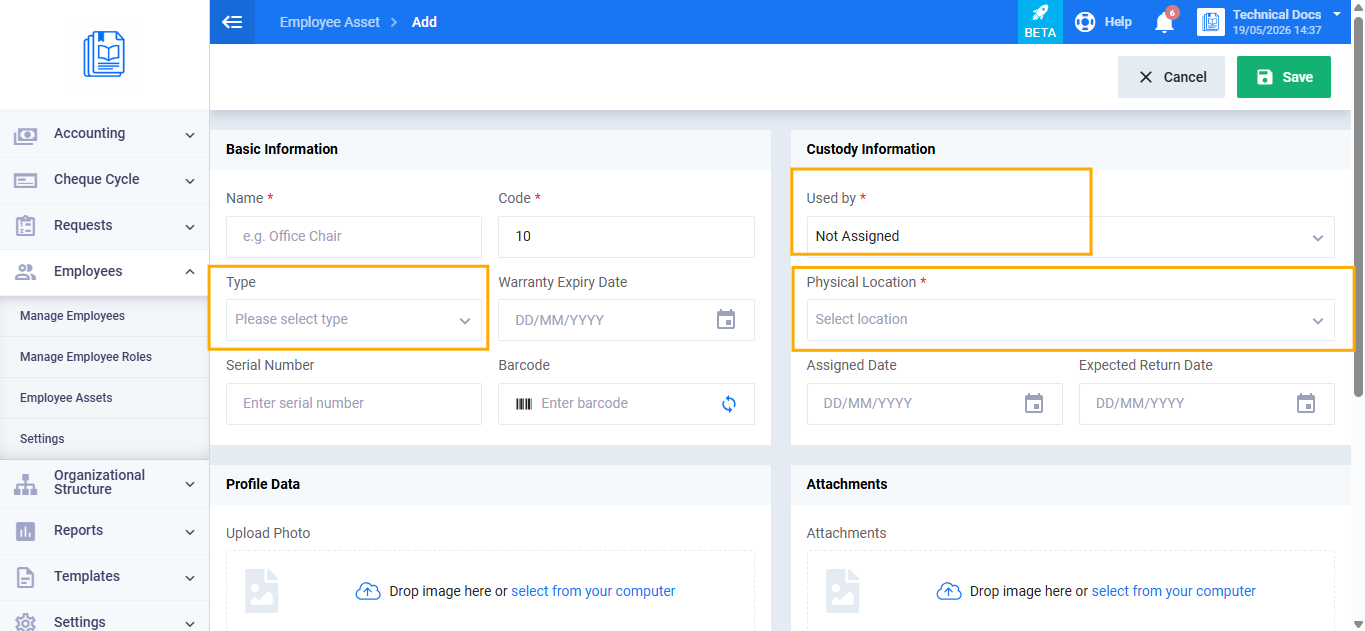
Asset types are the categories you use to distinguish your assets, such as: computers, phones, vehicles, furniture. You can add as many types as your business needs.
Adding a New Asset Type
- From the main menu, click Employees.
- Click Settings.
- Select Asset Types.
- Click Add Asset Type.
- Enter the asset type name.
- Enter a description if you’d like to add additional details. (Optional)
- Make sure the status is set to Active so it appears in dropdown lists.
- Click Save.


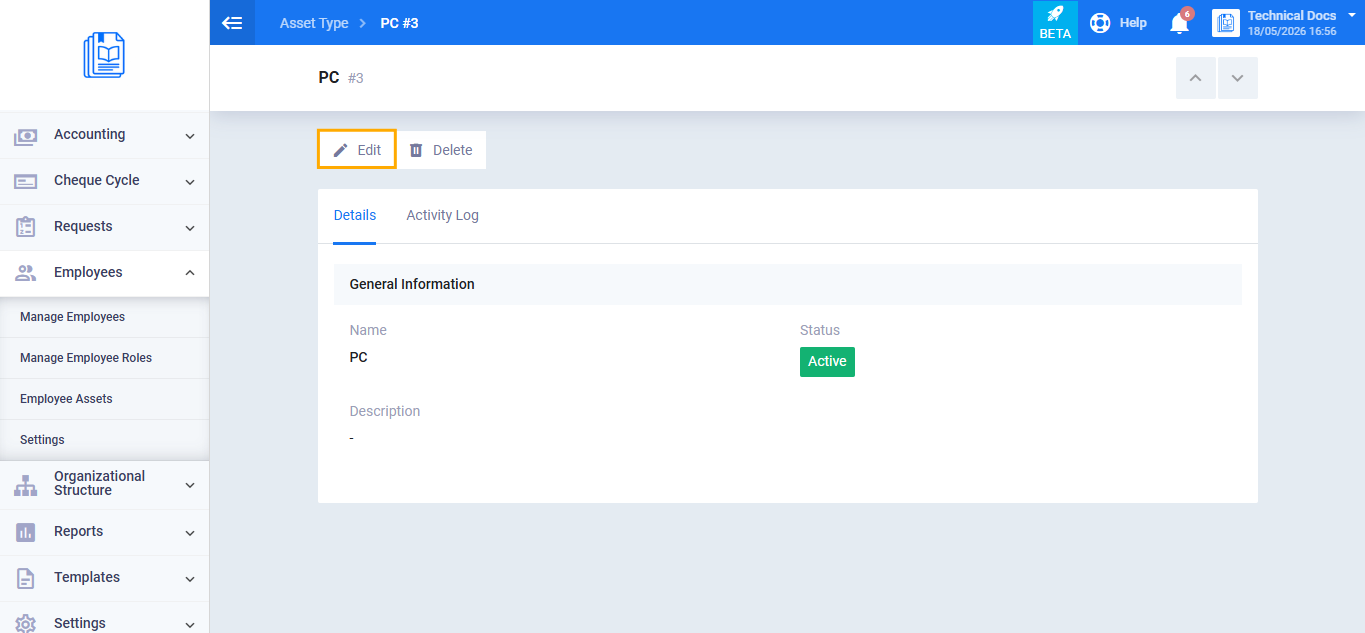
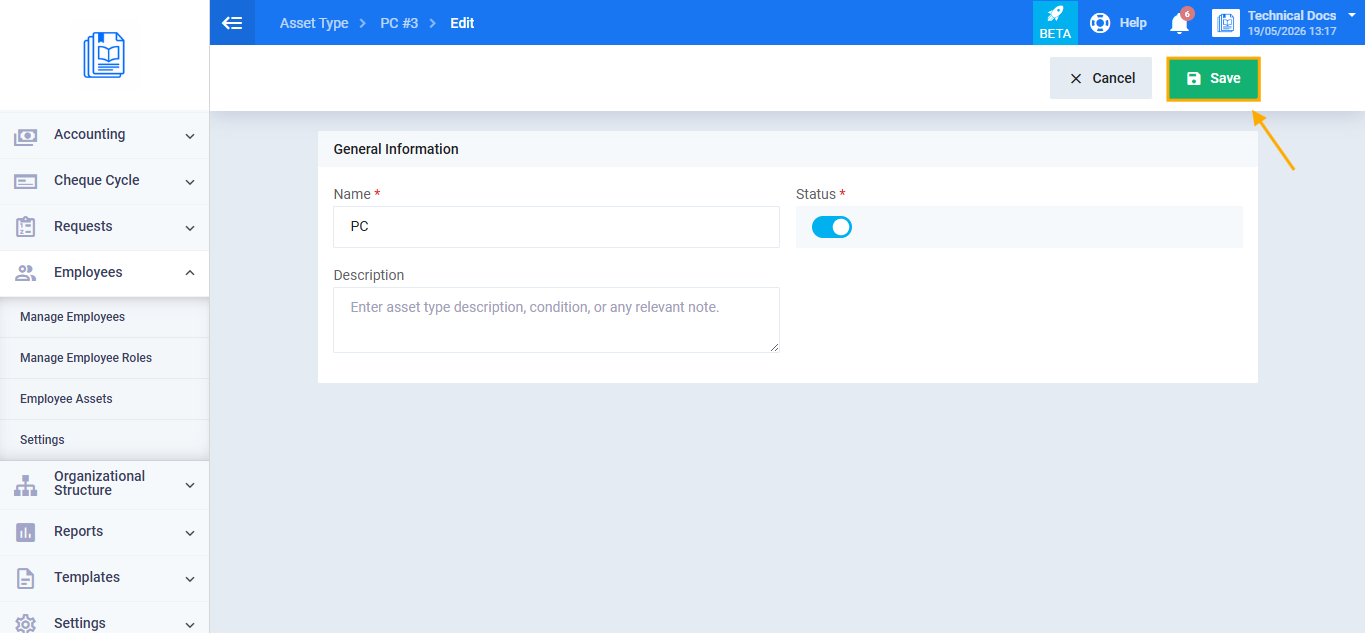
Editing an Existing Asset Type
- From the asset type view screen, click the Edit button.
- Make the required changes.
- Click Save.
2. Setting Up Physical Locations
Physical locations describe the geographical places where assets are located, such as: Main Building, Second Floor, Riyadh Branch. They are used to specify where an asset is when adding or editing it.
Adding a New Physical Location
- From Settings, select Physical Locations.
- Click Add Physical Location.
- Enter the location name.
- Enter a description if you’d like. (Optional)
- Make sure the status is set to Active.
- Click Save.

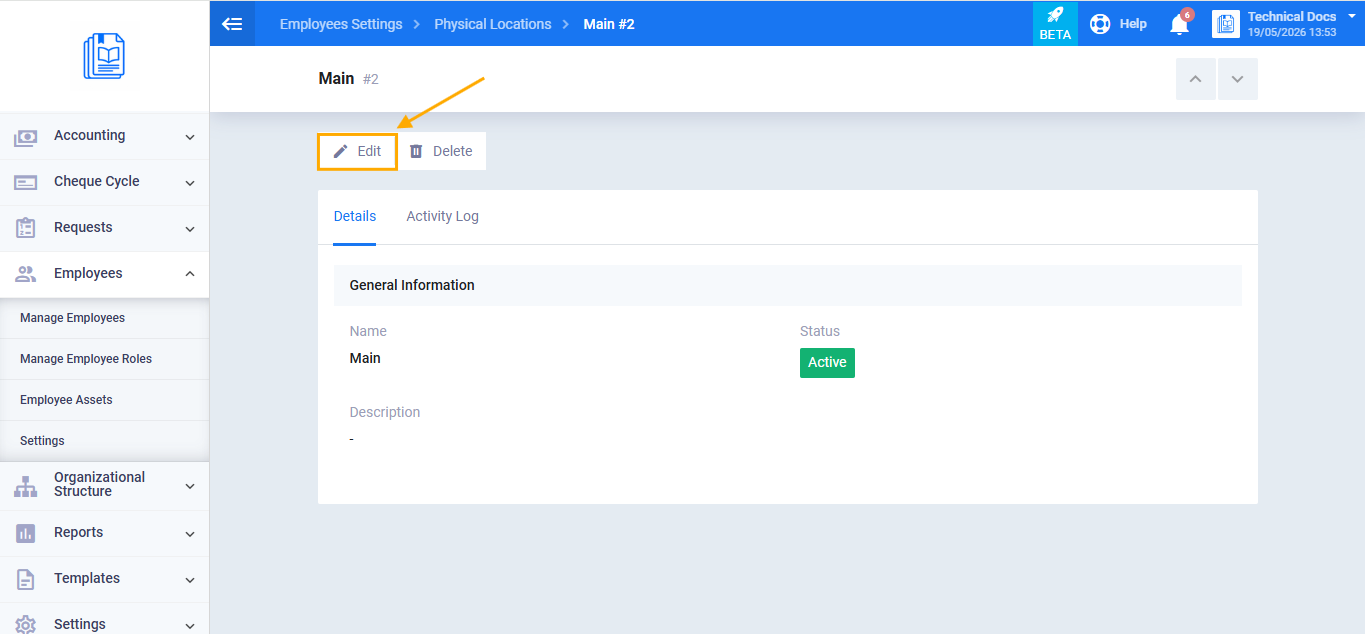
Editing an Existing Physical Location
- From the physical location view screen, click the Edit button.
- Make the required changes.
- Click Save.
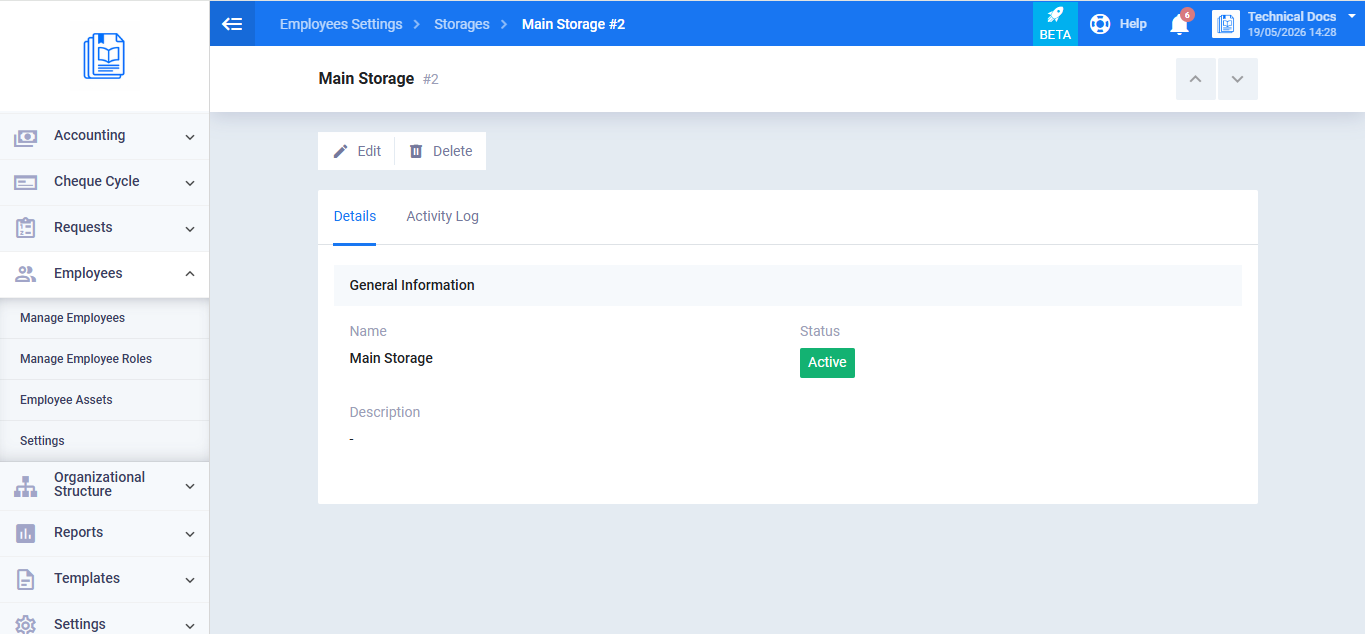
3. Setting Up Storage
Warehouses are the internal storage areas where assets are kept when not assigned to an employee, such as: IT Storage Room, Equipment Room, Branch Warehouse. They differ from physical locations in that they are used specifically when an asset is stored rather than assigned to an employee.
Adding a New Storage
- From Settings, select Storage.
- Click Add Storage.
- Enter the warehouse name.
- Enter a description if you’d like. (Optional)
- Make sure the status is set to Active.
- Click Save.

Editing an Existing Storage
- From the warehouse view screen, click the Edit button.
- Make the required changes.
- Click Save.
Verifying Setup Completion
After configuring all three elements, verify the following before you begin adding assets:
- At least one active asset type exists in the Asset Types list.
- At least one active physical location exists in the Physical Locations list.
- At least one active warehouse exists in the Warehouses list.
- When opening the Add New Asset form, these elements appear in the dropdown lists.