A Complete Guide to Adding and Closing Financial Periods
Financial periods are the time framework on which accounting operations and financial reports are built in the system. Through them, you define the start and end of each accounting period, close completed periods with automatic closing entries, and track each period’s profit or loss result.
This guide covers the complete financial period workflow, from adding a period, viewing and editing it, to closing it and reversing a closing.
Before You Begin
- Viewing financial periods requires the “View Closed Periods” permission.
- Adding, closing, editing, and deleting actions require the “Manage Closed Periods” permission.
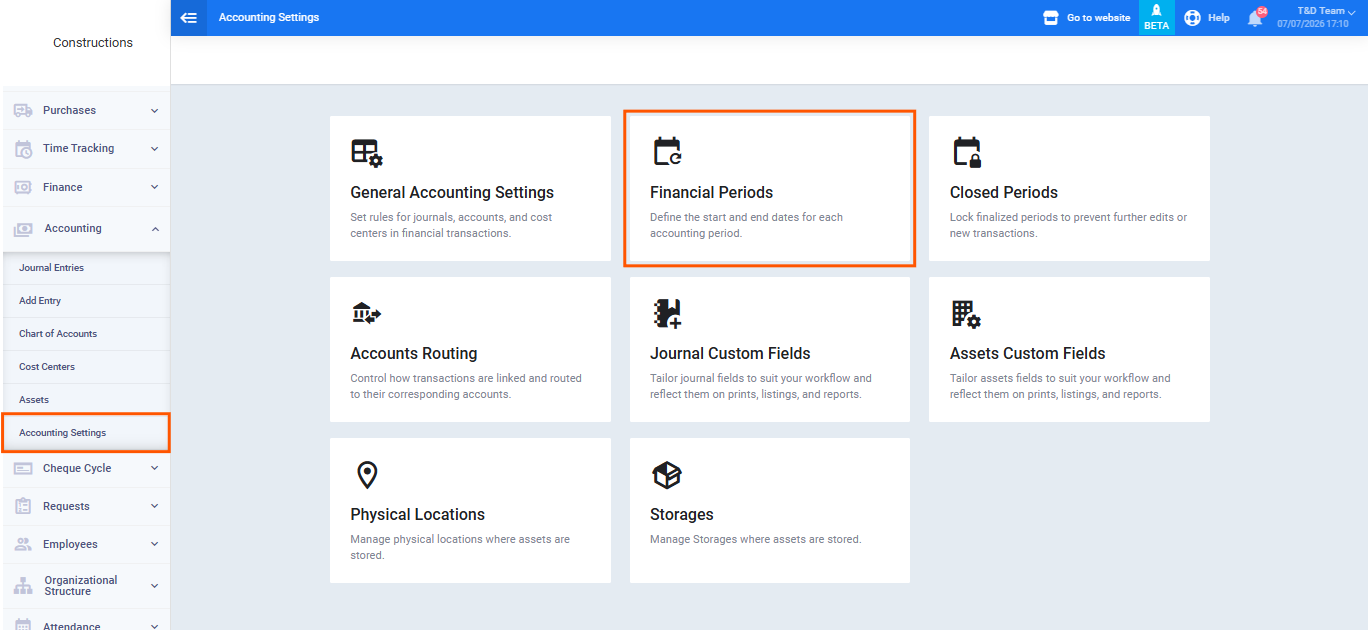
- To access financial periods: click on the “Accounting” menu, then “Accounting Settings”, then navigate to the “Financial Periods” section.
Adding a Financial Period
When adding a new financial period, you specify its duration and start date and the system automatically calculates the end date.
- From the “Financial Periods” screen, click “Add Financial Period.”
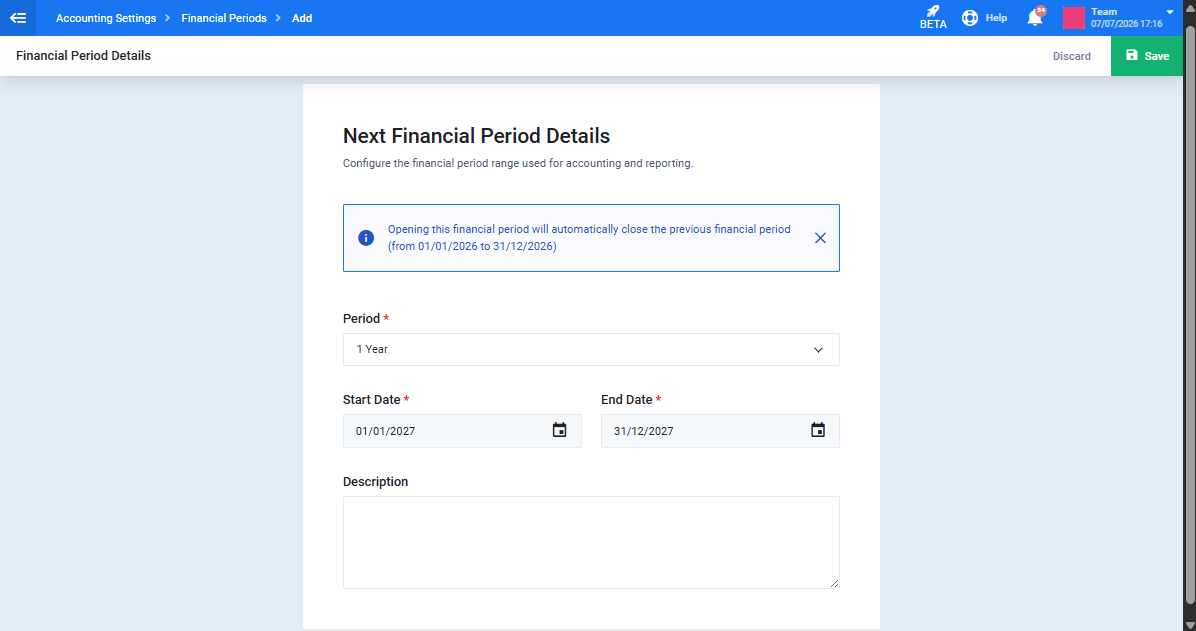
- The “Financial Period Details” screen appears. Fill in the following fields:
- Period (Required): Select the financial period duration from the dropdown: “1 Year,” “6 Months,” “3 Months,” “1 Month,” or “Custom.”
- Start Date (Required): Select the start date of the financial period. This field is editable only for the first financial period in the account — for subsequent periods it is automatically linked to the end of the previous period.
- End Date: Automatically calculated based on the duration and start date, displayed as read-only — unless “Custom” is selected from the Period field, in which case you can set it freely.
- Description (Optional): Enter a descriptive note for the period.
- Click “Save” to add the period, or “Discard” to go back without saving.
Viewing the Financial Periods List
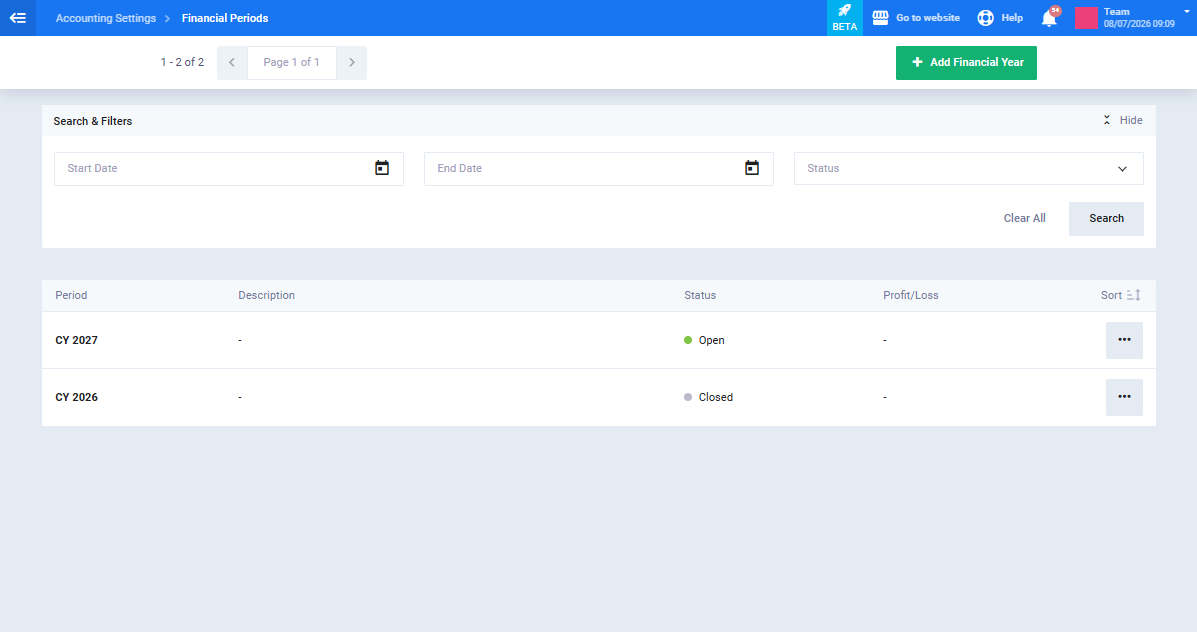
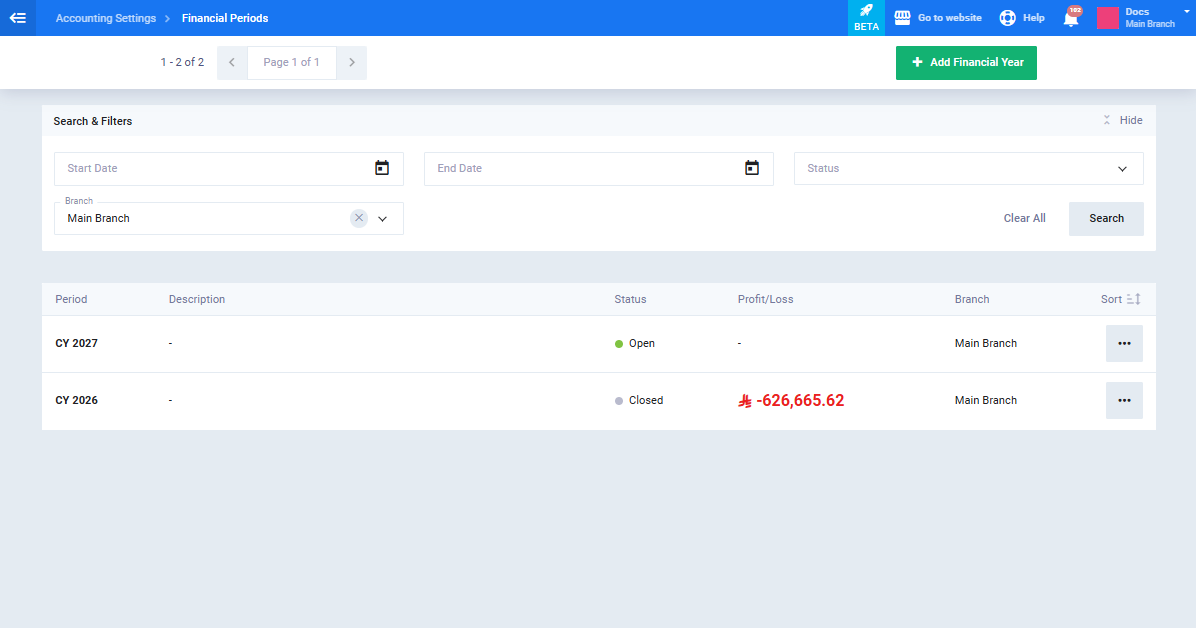
The list displays all financial periods in the account through the following columns:
- Period: Displays the time range in a shortened format based on the period duration — a full year appears as “2026,” a quarter as “Q1 2026,” a full month as “January 2026,” and any other range as “Start Date – End Date.”
- Description: The descriptive note entered when the period was created.
- Status: The financial period status (Open / Closed).
- Profit or Loss Amount: Appears for closed periods only — profit in green and loss in red, followed by the amount and currency.
- Branch: Displays the branch the period belongs to. This column only appears if the Branch feature is enabled on the account.
You can filter the list by start date, end date, status (All / Open / Closed), or branch, sort it ascending or descending by start date, end date, or creation date, and click “Reset” to clear filter criteria.
Viewing Financial Period Details
Click on a financial period from the list to open the “Financial Period Information” screen, which includes: start and end dates, description, status, branch, and the profit or loss amount for closed periods.
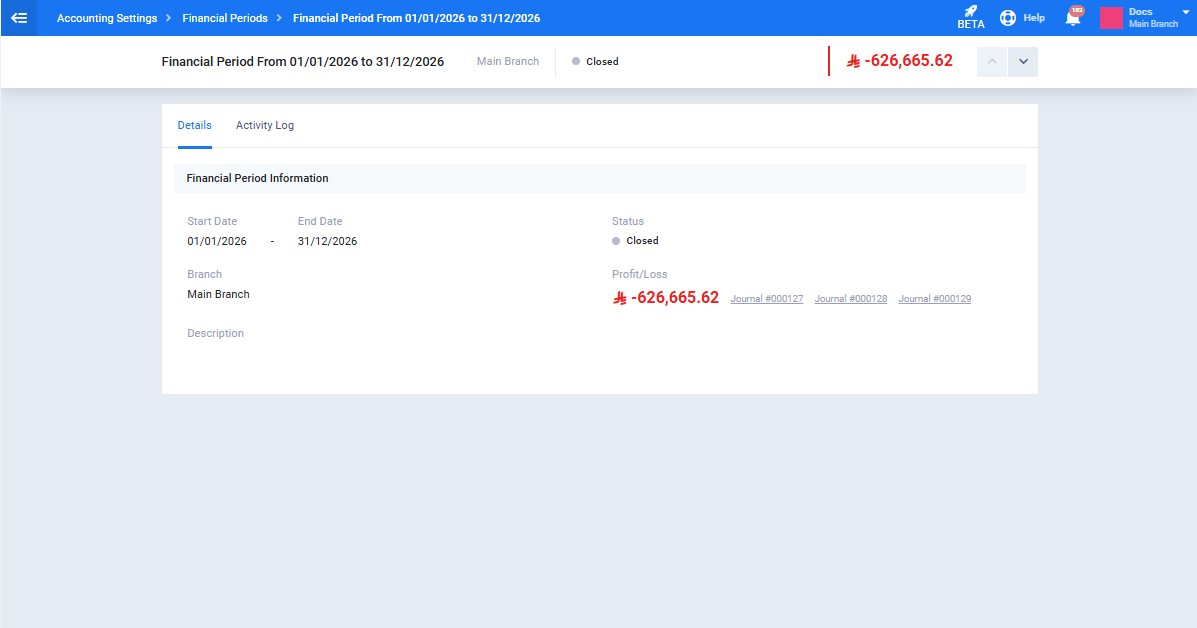
If the period is closed, three direct links to the accounting entries generated upon closing appear:
- Profit & Loss Entry
- Closing Balance Entry
- Opening Balance Entry
Click any link to navigate directly to the full entry details view screen.
Note: Viewing entry links requires the “View All Journals” permission. If a specific entry was not generated for any reason, its link is hidden while the remaining links continue to display normally.
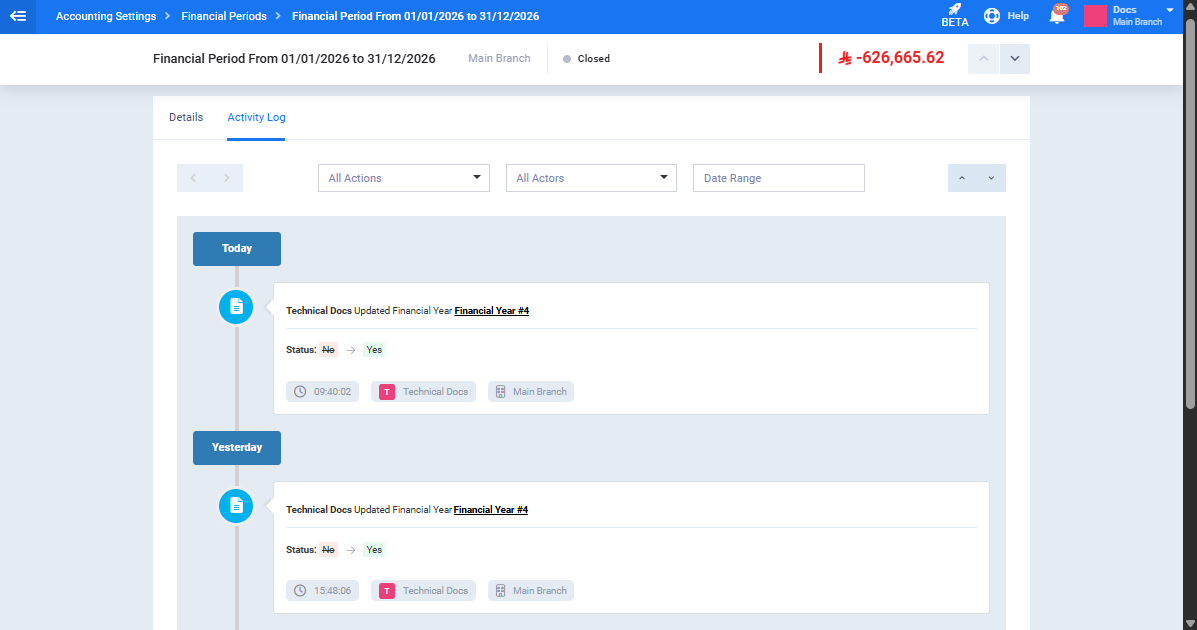
From the “Activity Log” tab you can track all actions performed on the period (closing, editing, deleting).
Editing a Financial Period
Editing is only available for financial periods with an “Open” status — closed periods do not show an edit option.
- Click “Edit” next to the open period, or from inside the period view screen.
- Edit the required fields: the period duration, the end date if “Custom” is selected, or the description.
- Click “Save” to apply the changes.
Note: The “Start Date” field is read-only because it is linked to the end of the previous period, except for the first financial period in the account.
Closing a Financial Period
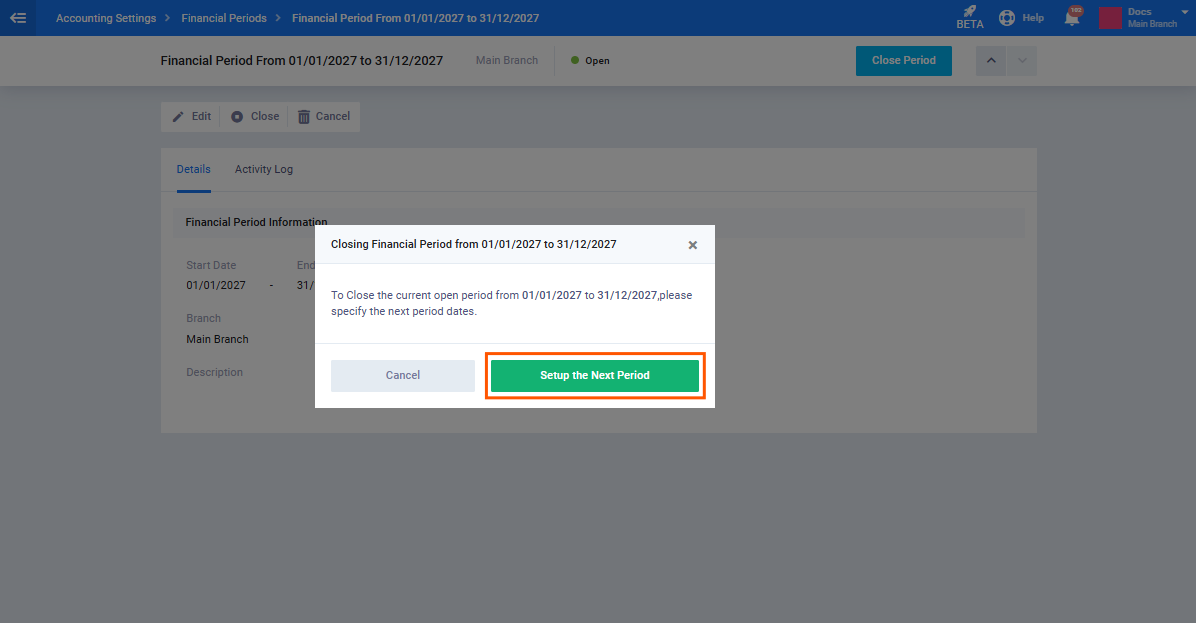
When closing the current open period, the system asks you to specify the details of the new period that will open automatically after the closing.
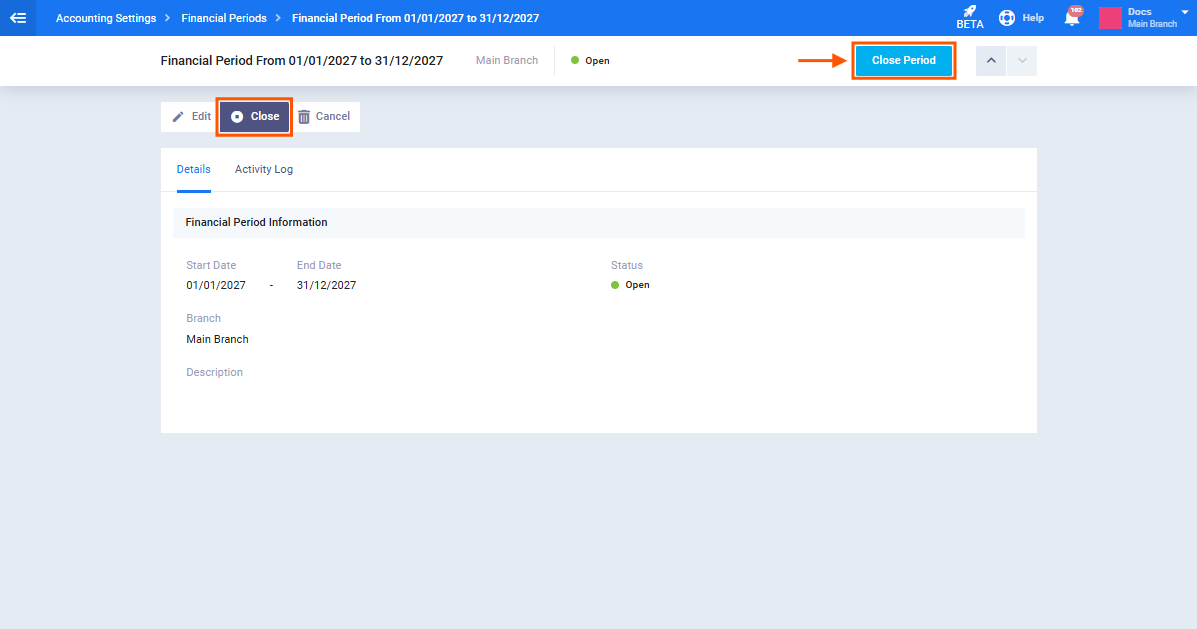
- Open the financial period you want to close.
- Click the “Close” option in the actions bar.
- The “Next Financial Period Details” screen appears with the message: “To close the current open period from [date] to [date], please specify the opening dates for the new period.”
- Specify the new period details:
- Start Date: Pre-filled automatically and cannot be edited — the new period starts immediately after the end of the closed period.
- Period: The system pre-selects the same duration as the last period you closed — you can change it.
- End Date: Automatically calculated, and editable only when “Custom” is selected.
- Click “Save” to complete the closing.
What happens upon closing:
- The system automatically generates the three accounting entries: the Profit & Loss entry, the Closing Balance entry, and the Opening Balance entry for the new period.
- The period status changes to “Closed” and its transactions become read-only.
- The profit or loss amount appears in the list and view screen, derived from the retained earnings line in the Profit & Loss entry.
- The new financial period opens automatically with the specified dates.
Reversing a Financial Period Closing
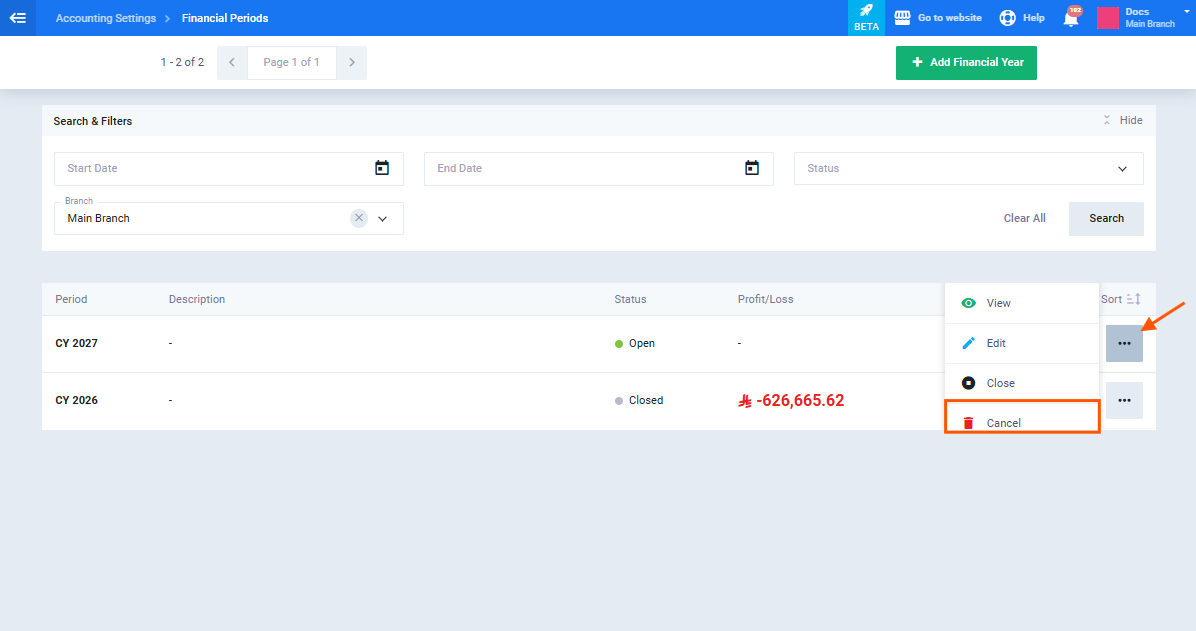
A financial period closing can be reversed by deleting all financial periods created after it — periods are linked sequentially.
Once the subsequent periods are deleted:
- The accounting entries generated upon closing are automatically deleted (the Profit & Loss entry, the Closing Balance entry, and the Opening Balance entry).
- The period status automatically reverts to “Open” without any additional action.
Deleting a Financial Period
Deletion is only available for financial periods with an “Open” status.
- Click “Delete” next to the open period, or from inside the period view screen.
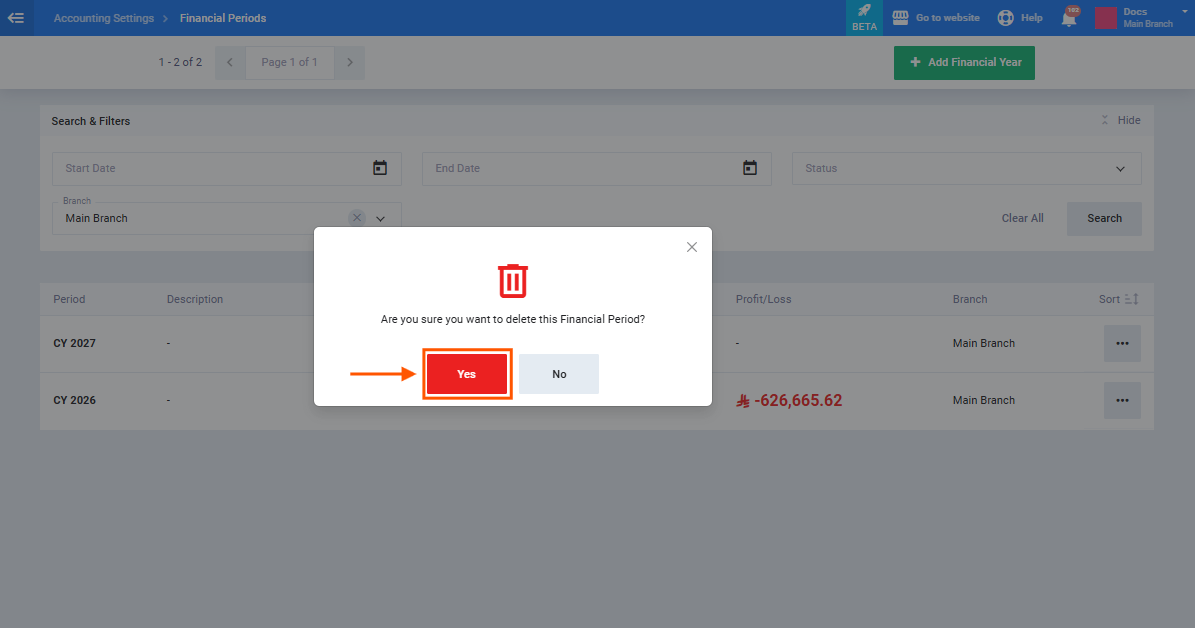
- A confirmation message appears — click “Confirm” to complete the deletion.
Note: If a period that follows a closed period is deleted, the system automatically reverses the closing of the previous period and it reverts to “Open” status.