


The Accounting Treatment for Canceling Automatic Journal Entries
Often, we need to delete an automatic journal entry generated automatically by the program, which cannot be deleted because it is an entry resulting from the original transaction and was not added manually. Therefore, in the following steps, we will review the method of cancelling the entry using the “Reversing Entry” method without deleting the original transaction.
Steps to Cancel the Automatic Journal Entry
- Click on “Accounting” from the main menu.
- Click on “Journal Entries“.
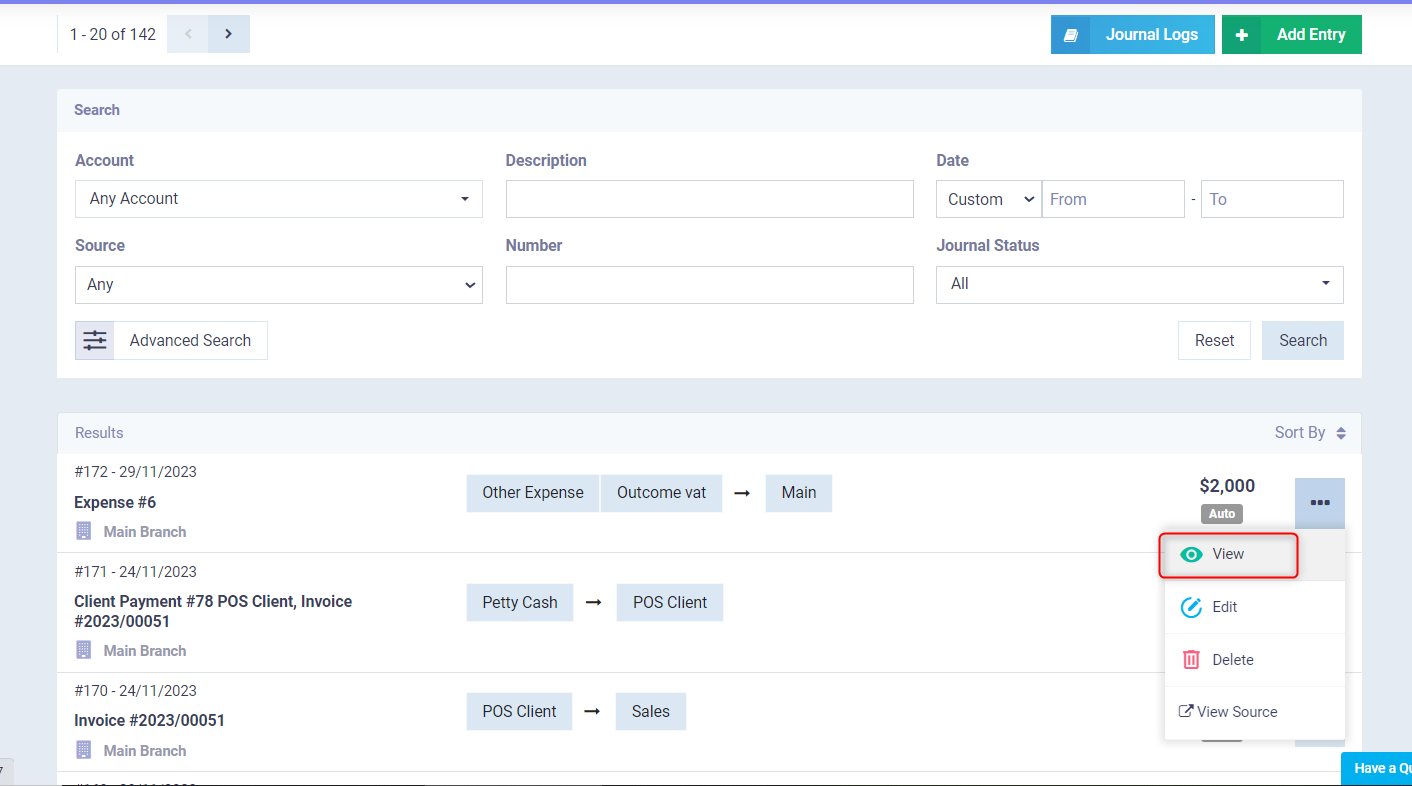
- Display the automatic accounting entry you wish to cancel from the options menu, then click “View“.
- The screen will show you the “Journal Entry” template with a set of control tools and different actions.
- Click on “Clone” from the options displayed on the entry page.
- Click on “Reverse Journal Entry” from the available menu.
- Once you click on “Reverse Journal Entry“, you will be directed to a new entry creation page but with the accounts reversed.
- Click on save without changing any data to properly close the accounts of the entry.
Example:
1- Display the journal entries page, then view the automatic entry you wish to cancel.
2- Click on “Clone” then choose “Reverse Journal Entry”.

3- As shown in the following picture, the accounts have been reversed between debit and credit.
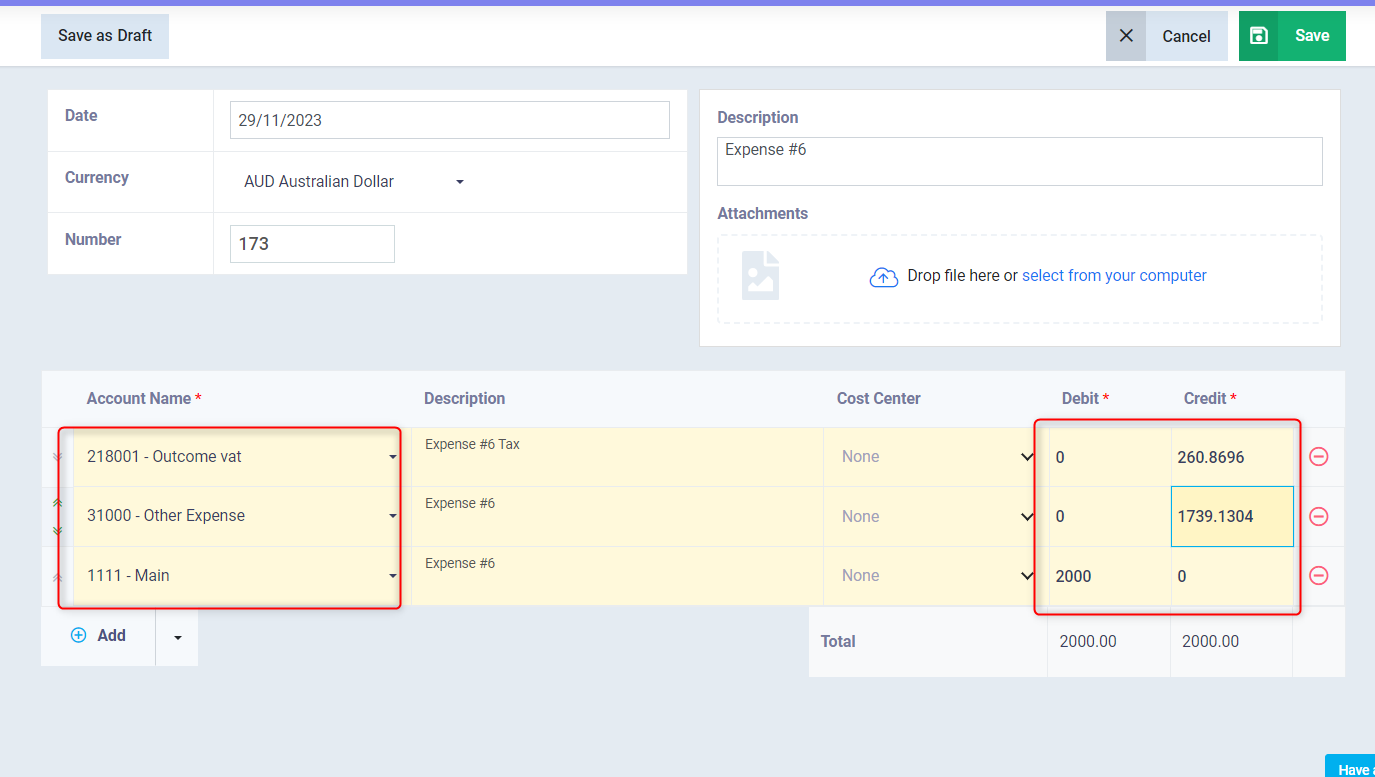
4- The entry is saved so that it has a reverse effect on the main entry.