Adding a Subsidiary Warehouse and Assigning a Primary Warehouse
Organizing the various warehouses, determining the main warehouse, and the sub-warehouses is one of the most important factors for successful inventory management. You can easily add new sub-warehouses and determine the main warehouse. We will review the steps in this article.
How to Add a New Warehouse
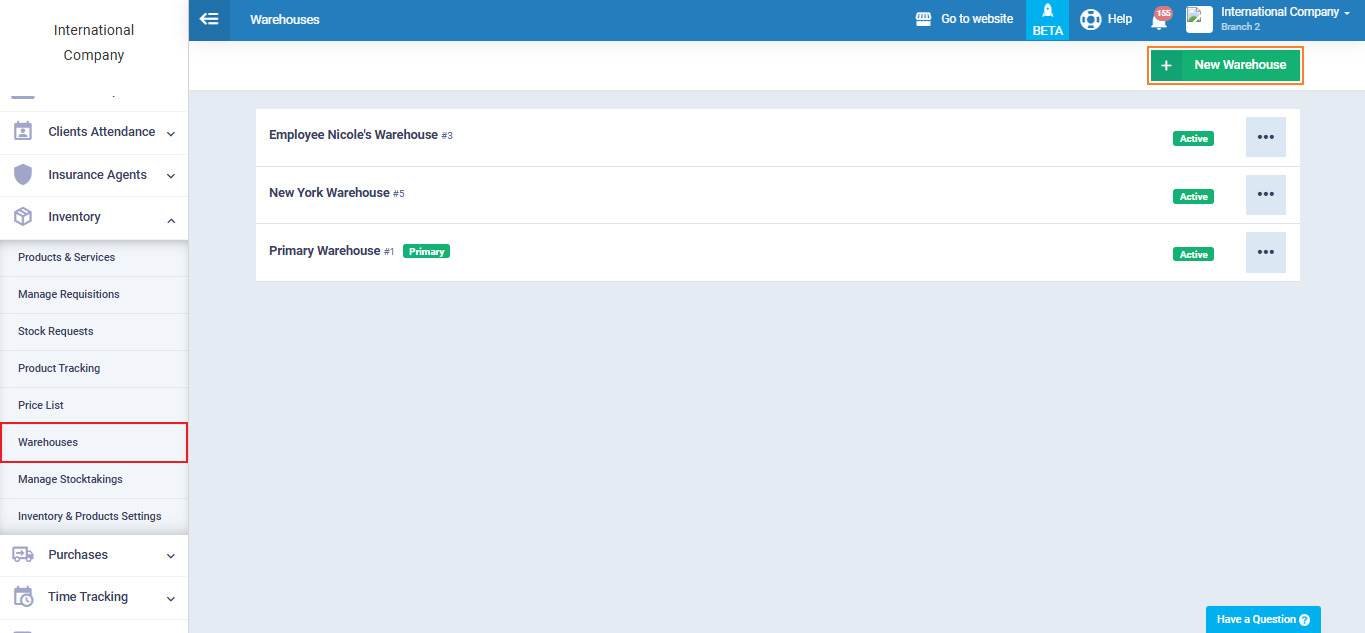
Click on the “Warehouses” dropdown from the “Inventory” in the main menu and click on the “New Warehouse” button.
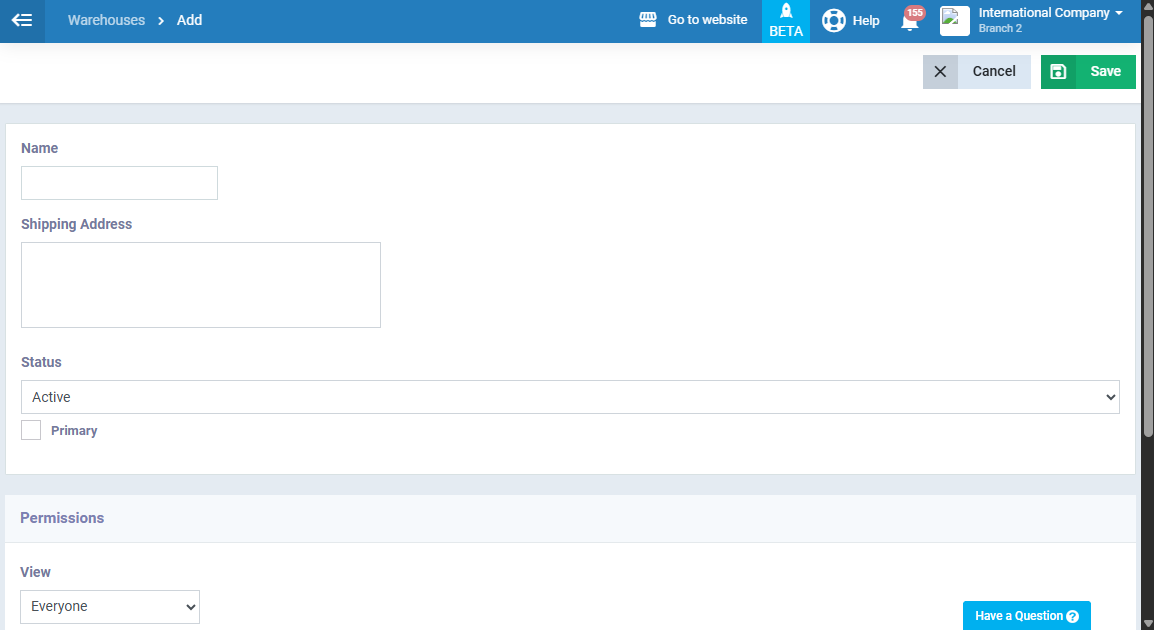
Enter the basic warehouse information such as name, and address for shipping goods from and to it.
Control the warehouse status:
– Active: When the warehouse is in use.
– Inactive: When the warehouse is temporarily paused.
– Suspend: When the warehouse is completely paused.
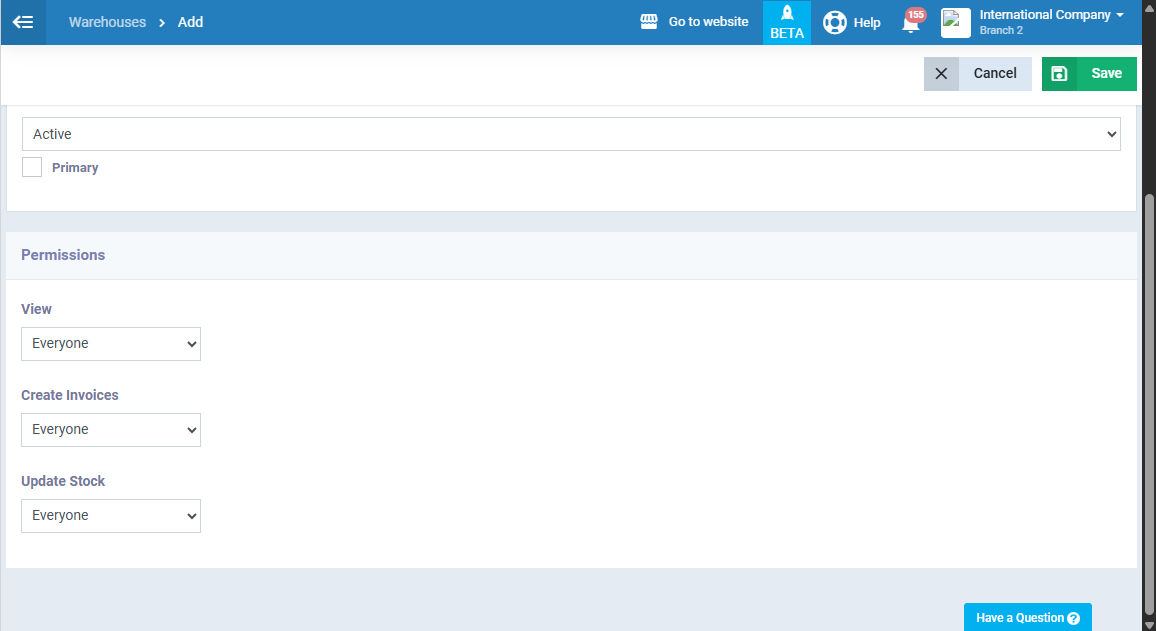
Inventory permissions include viewing its data, creating related invoices, editing the inventory itself, and these permissions are assigned to one of these roles:
– Everyone: All system-access rights users can obtain this permission.
– Specific Employee: This means the warehouse is specific to a particular employee.
– Specific Role: Where permission is granted to all employees with a specific role you choose.
– Specific Branch: This means assigning the warehouse’s permission to the users of one of your branches.
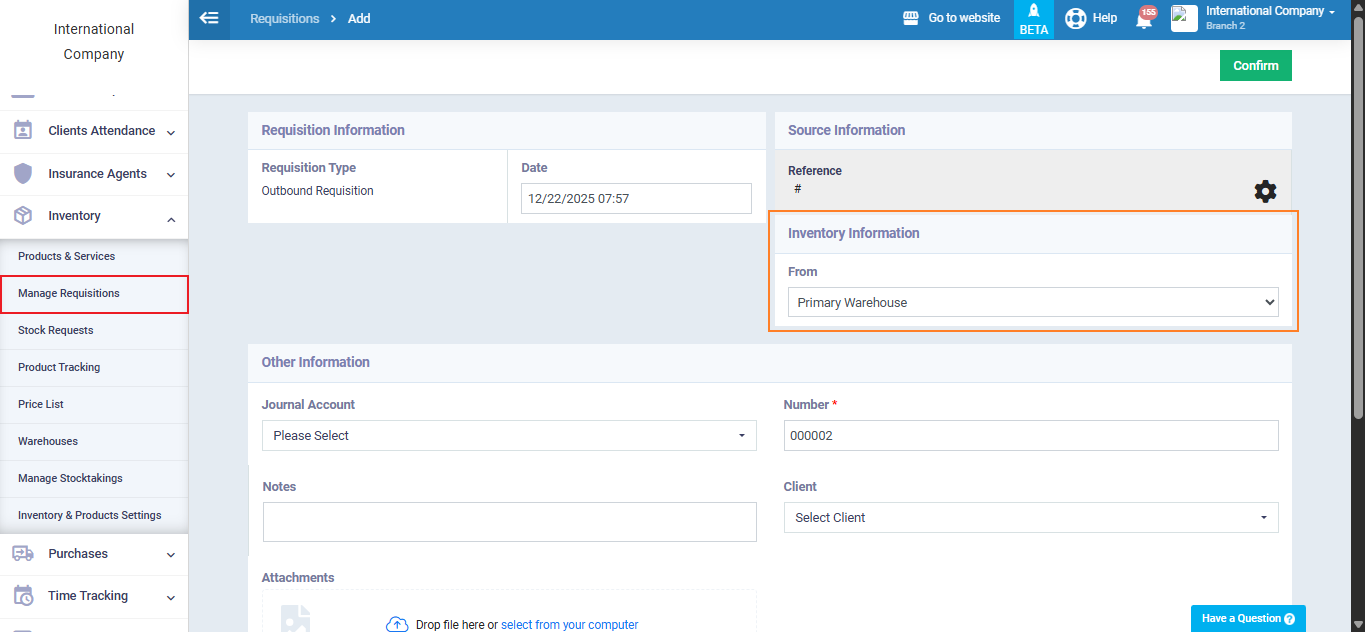
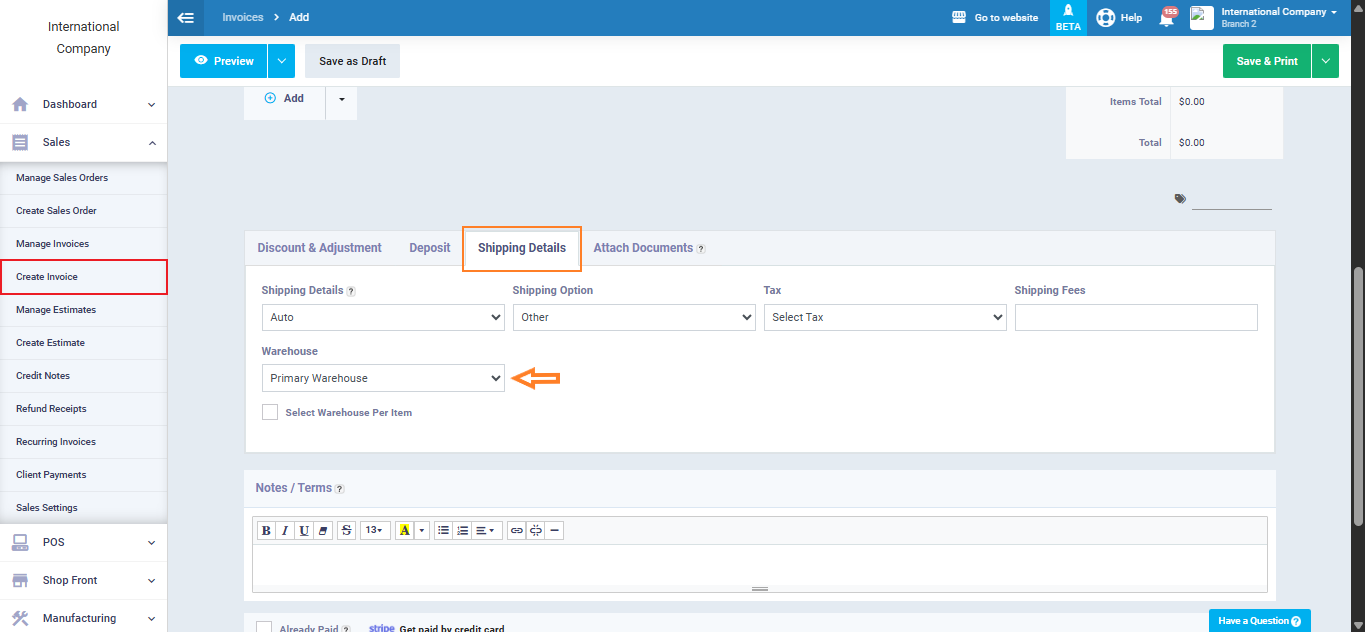
After adding the active sub-warehouse, you can select it in the system screens related to the warehouse if you want, such as the requisition screen or the invoice screen.
Assigning the Primary Warehouse
You can assign one primary warehouse in the system, and the primary warehouse appears as a default warehouse when conducting any transaction unless you replace it with another sub-warehouse.
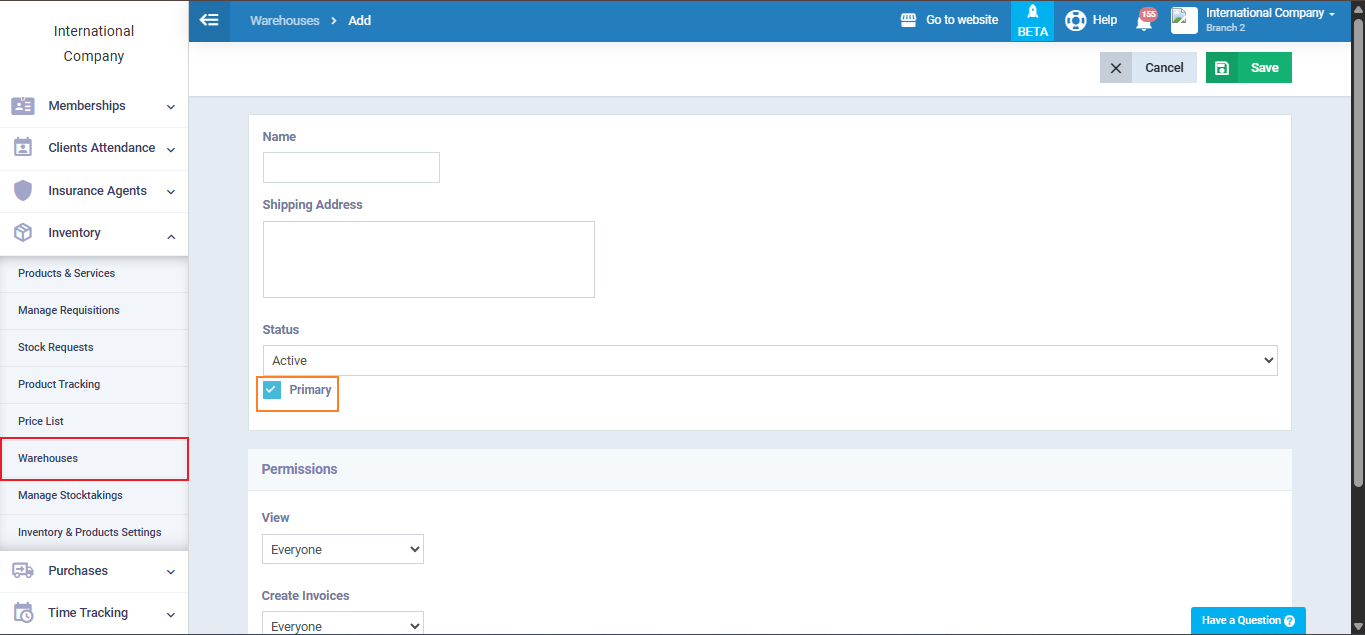
To assign a warehouse as the primary one, click on the “Warehouses” dropdown from the “Inventory” in the main menu, click on the “New Warehouse” button or choose an old warehouse and click on the “Edit” button, then activate the “Primary” checkbox ☑️ on its data screen, and click the “Save” button.
