Explanation of How to set up the Client Settings in the Client Management App
Client settings in the system help you manage client permissions, personal profile data, follow-up statuses, and other details. client settings are divided into:
- Client Settings
- Follow-up Statuses
- Custom Fields
- Related Forms
- Client Portal
Most of these settings have been explained in separate topics which you can refer to, and here we provide an overview of the general settings for clients.
Overview on the Client General Settings
Click on “Client Settings” under “Clients” in the main menu, then click on the “Clients Settings” tab.
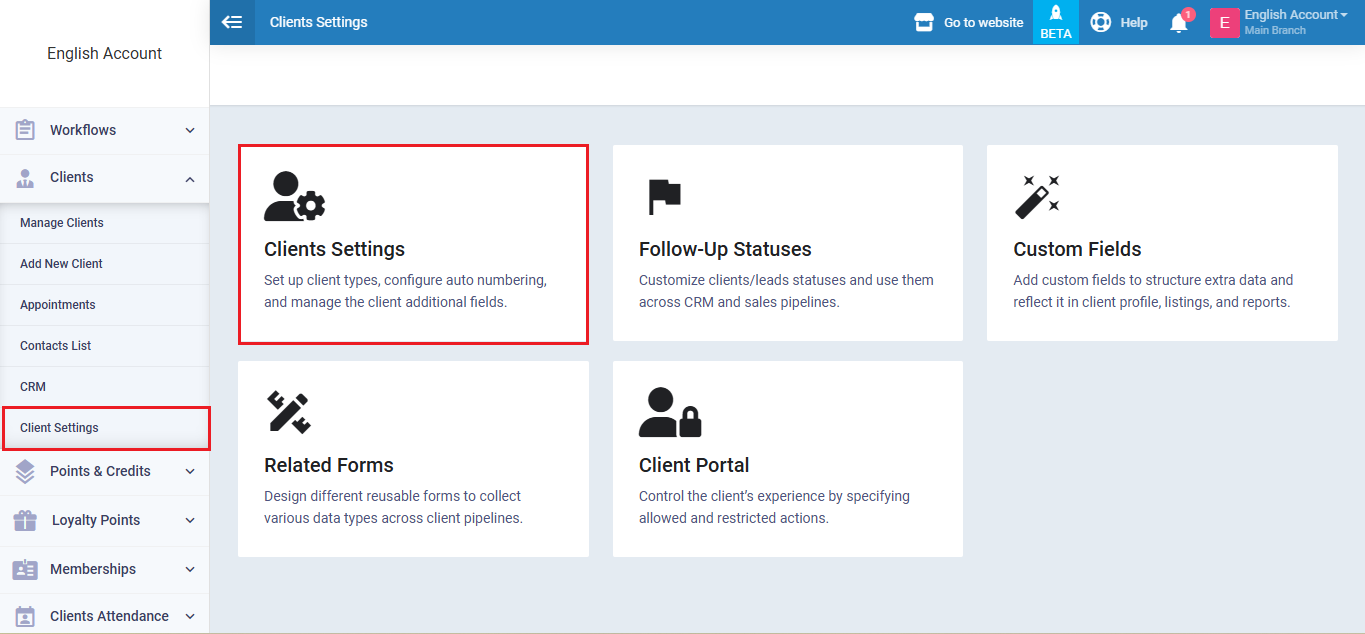
The system settings for the client are divided into:
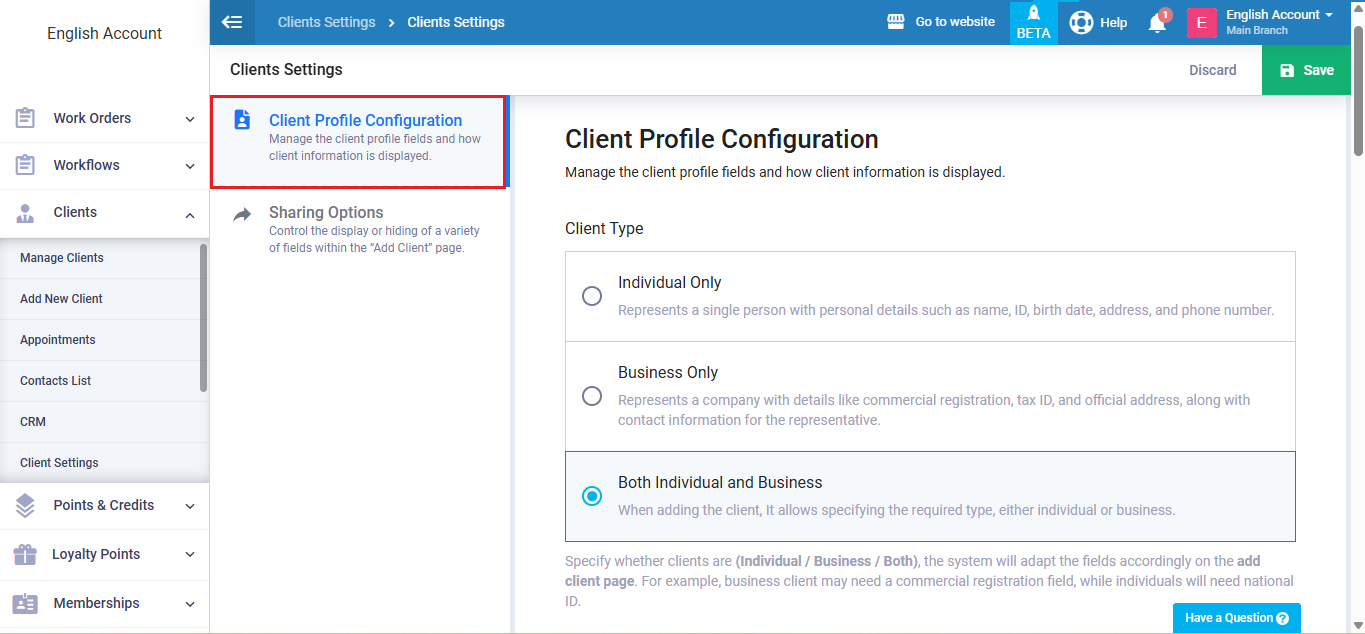
Client Profile Configuration
Client profile configuration settings give you full control over the data displayed in Client profiles and allow you to define suitable fields based on the Client type and your business activity.
Client Type
Specify the types of Clients you deal with so the system automatically displays the appropriate fields when adding a new Client.
- Individual Only:
Used to add Clients who represent natural persons only. Includes personal data such as name, ID number, date of birth, address, and phone number. - Business Only:
Used to add companies, institutions, or commercial entities, with additional fields such as business name, commercial registration, and tax card. - Both Individual & Business:
Allows adding either individual or business Clients when creating the profile. Tax and commercial registration fields appear only for business-type Clients.
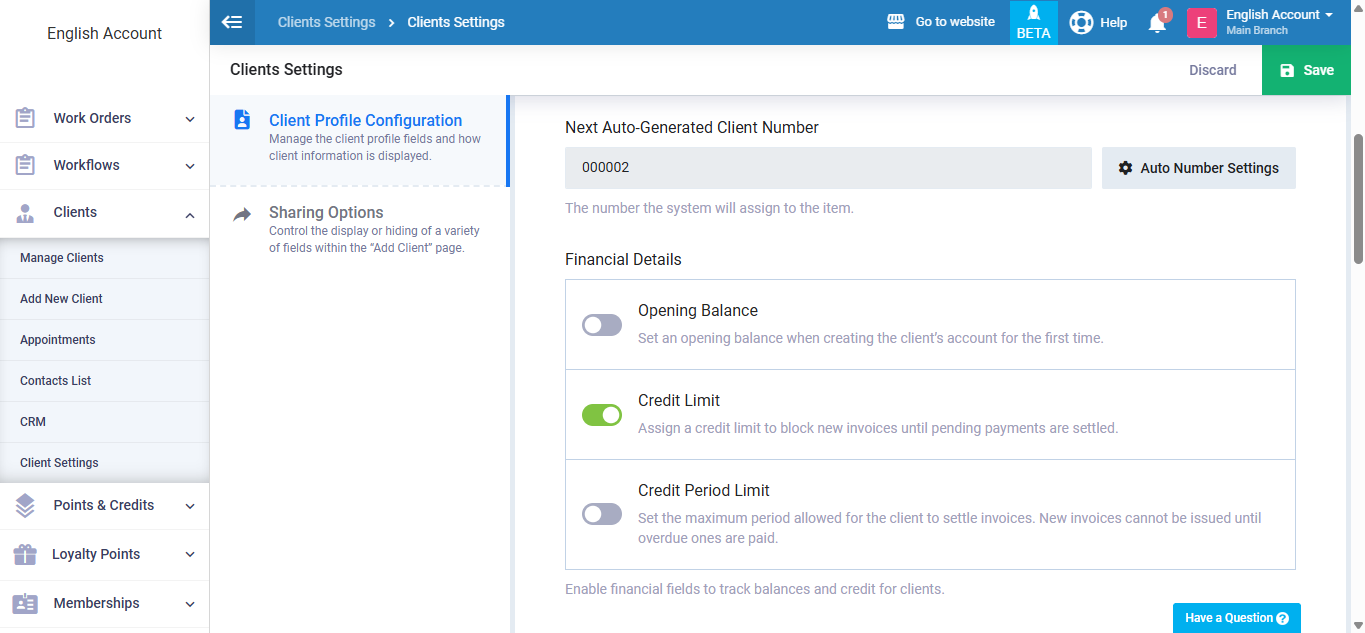
Next Auto-Generated Client Number
Enabling this option displays the number that the system will automatically assign to the next new Client profile, helping maintain organized and sequential Client records.
Financial Data
Enable financial fields in the Client profile to track balances and credit obligations.
- Opening Balance:
Add an initial balance to the Client’s account when it is created for the first time. - Credit Limit:
Set a maximum limit that prevents creating new invoices until outstanding amounts are paid. - Credit Period Limit:
Define the maximum allowed payment period for invoices. New invoices can be restricted once this period is exceeded.
 Identity Details
Select the identity and personal information you want to display in the Client profile.
- Image:
Upload a personal photo for the Client or a company logo, or automatically display the first letter of the Client’s name if no image is uploaded. - National ID:
Used to record the Client’s national ID or the commercial registration number for companies. - Birth Date :
Display the Client’s date of birth regardless of Client type. - Gender:
Specify the Client’s gender (Male / Female). - Barcode:
Assign a unique barcode to each Client for use in various operations such as memberships, discounts, or transaction tracking.

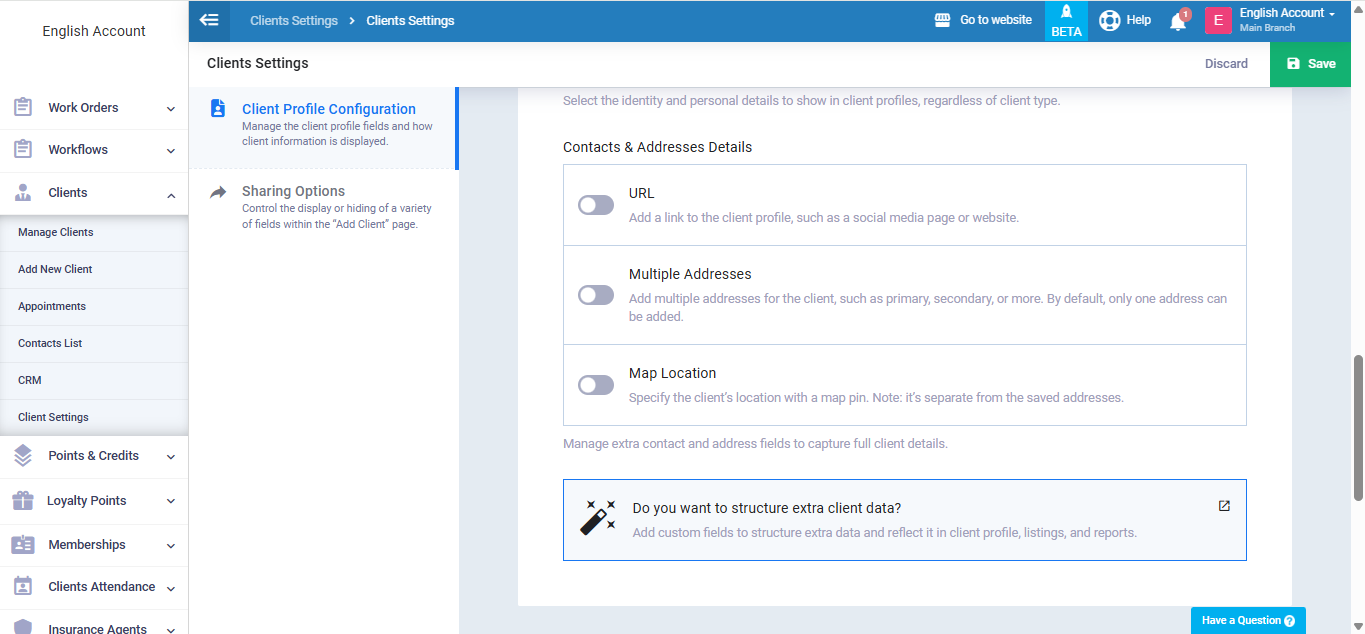
Contact & Addresses Details
These details help you manage communication channels and Client addresses efficiently.
- URL:
Add links such as the Client’s website or social media accounts. - Multiple Addresses:
Register more than one address for the Client as needed. - Map Location:
Add the Client’s location on the map independently from text-based addresses.
Custom Fields
You can add custom fields to record additional data that is not available by default, with the ability to display them in Client profiles, lists, and reports.
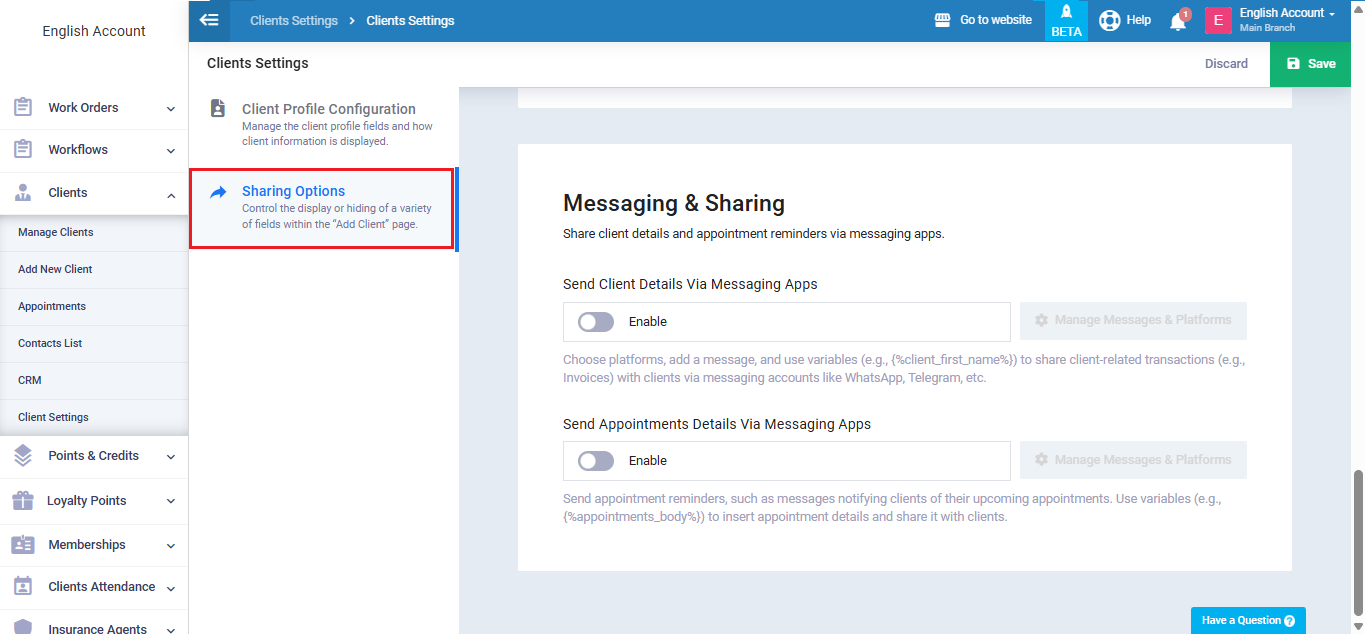
Messaging & Sharing
Share Client data and appointment reminders via messaging applications.
- Send Client Data via Messaging Apps:
Send transaction details such as invoices via WhatsApp or Telegram using custom messages and automatic variables. - Send Appointment Details via Messaging Apps:
Automatically send appointment reminders to Clients through supported messaging platforms.