CRM Comprehensive Guide
The CRM application in the system allows you to effortlessly manage your clients’ invoices, follow up with them, renew or suspend memberships, credit charges, and all other client-related issues. In the following tutorial, we will highlight all you need to know about the CRM app to start using it easily.
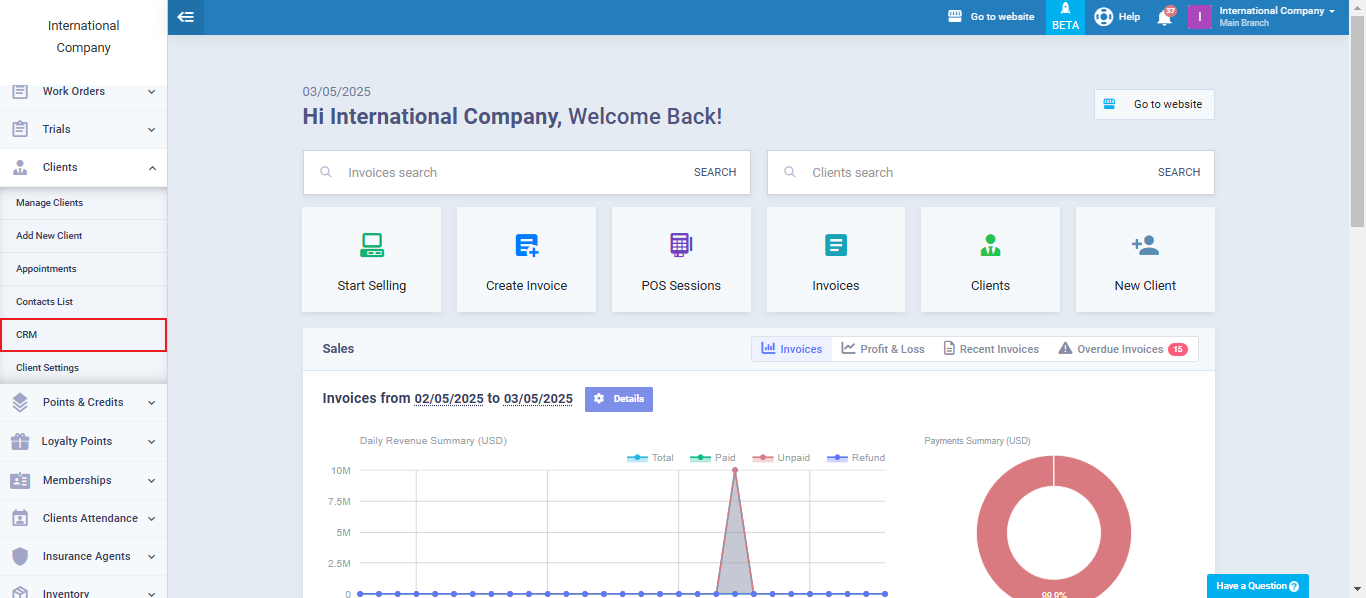
From the main menu, click on “Clients.”
From the drop-down menu, click on “CRM.”
This screen will appear, in the following lines you’ll find out how to use it.
Client Search
On the left side of the screen, you’ll find your clients list, including the client’s name, country, time, and date of the client registration.
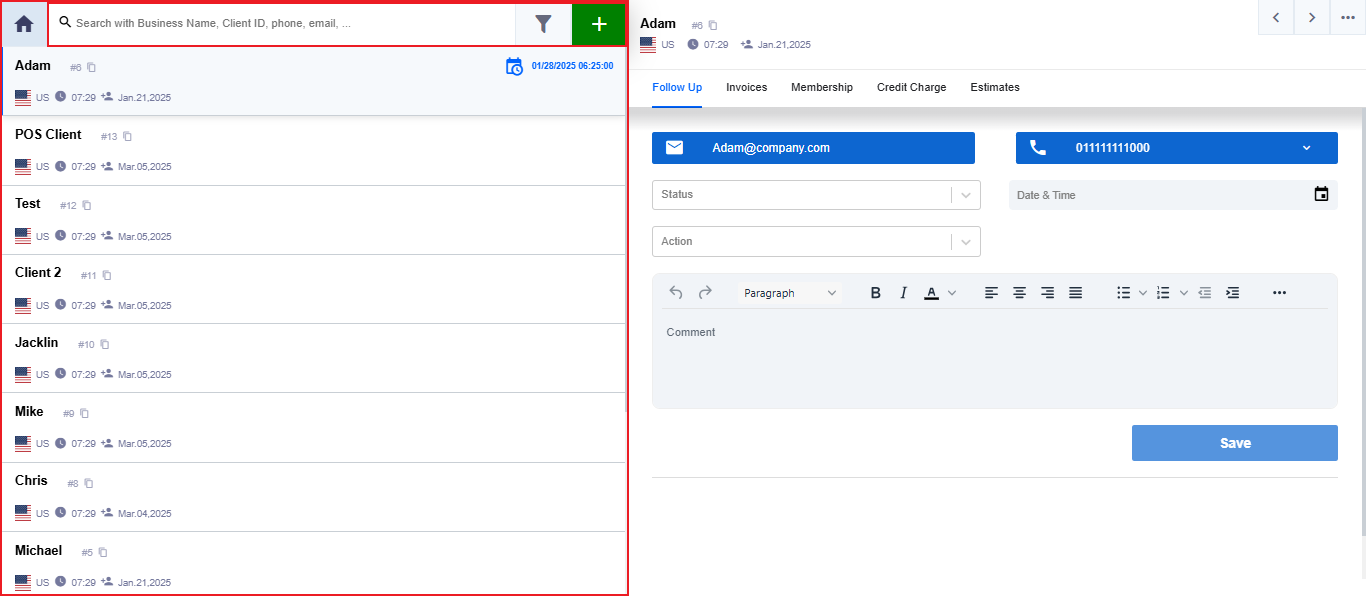
You can select the desired client to view their profile or search for the client.
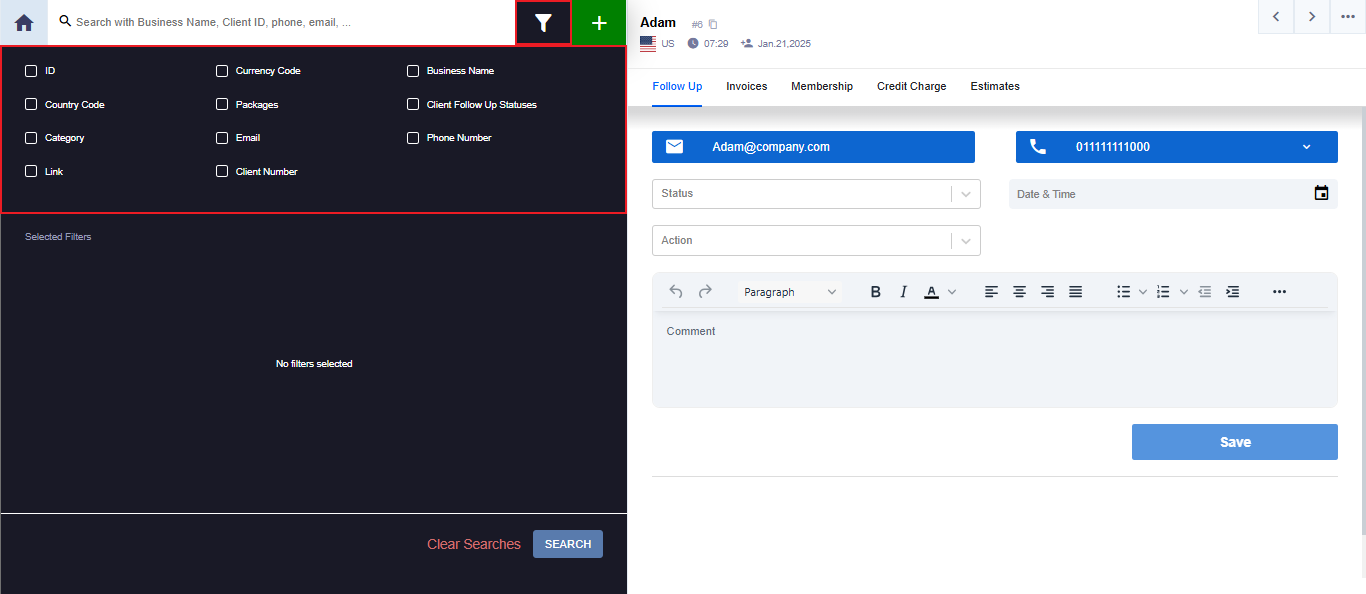
To search for a client, you can use the typical search methods (e.g., business name, client ID, phone, email) through the search bar on the top left of the screen or click on the “filter” icon to use the following search filters:
Add a New Client
From the CRM program, you can add a new client.
Click on the “+” icon on the top left beside the filter icon.
The add a new client screen will appear on the right side of the screen to fill in the client details and account details.

After filling in the client’s details,
Click “Save” on the top right of the screen.
Manage Clients
You can manage your clients and perform all necessary actions from a single screen in the CRM application.
The client’s screen includes the following options:
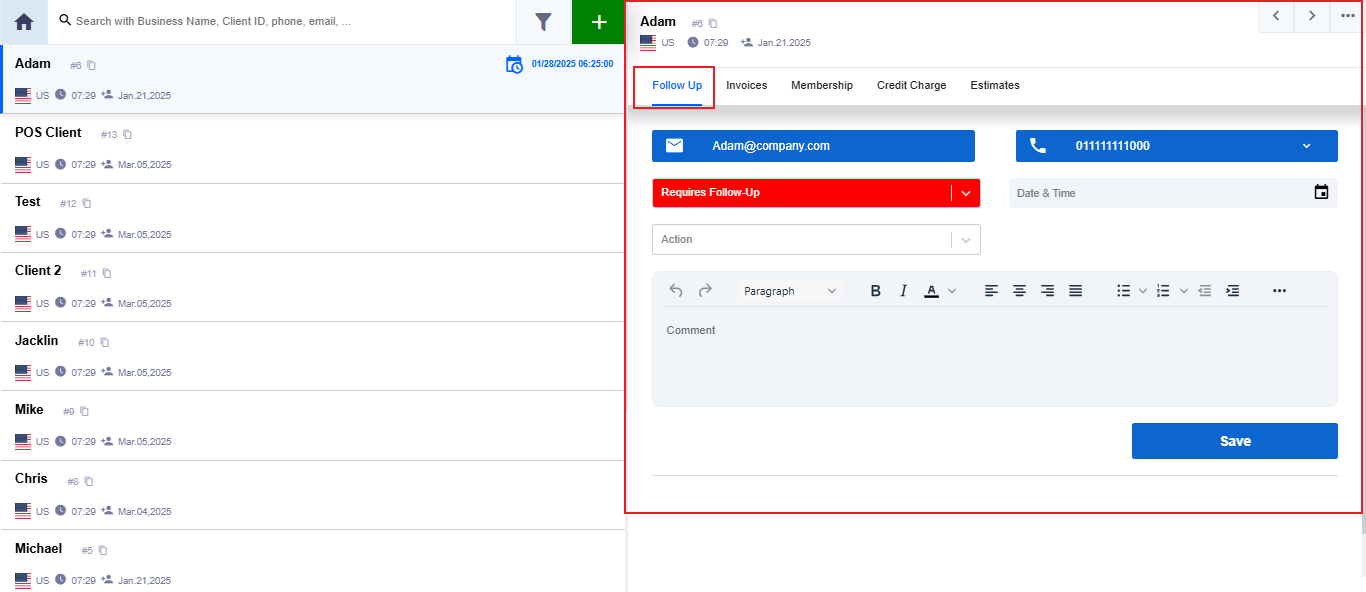
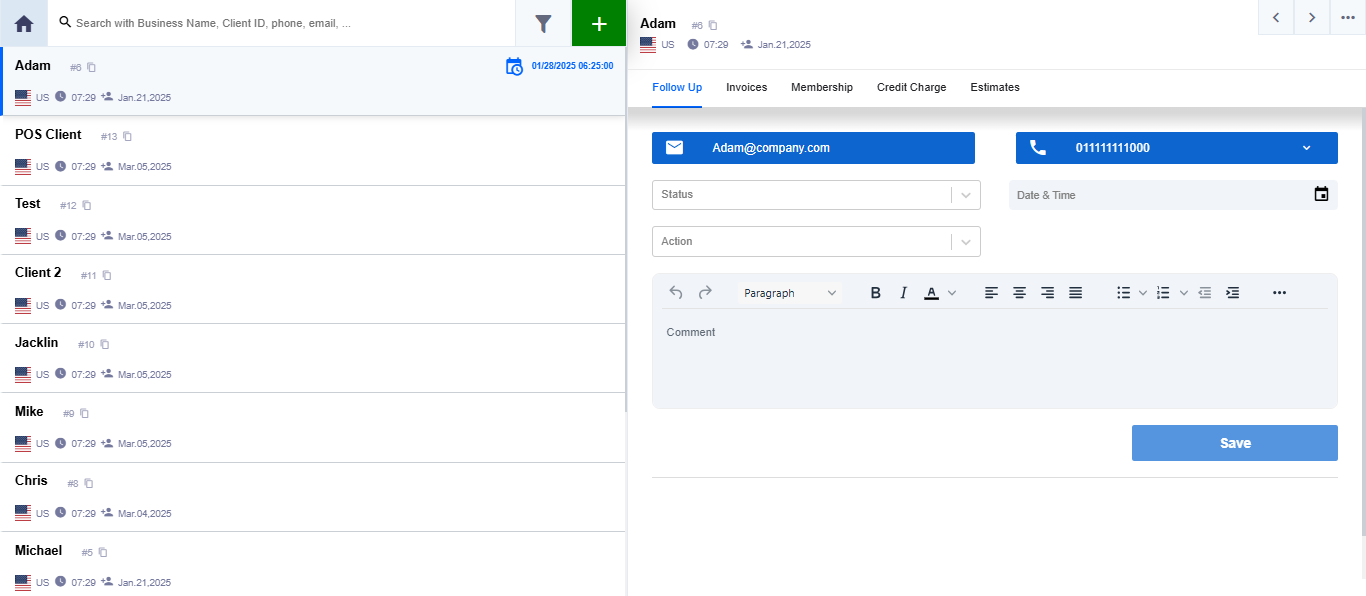
Client Follow-Up
You can use this page to follow up with clients since you can choose the client’s status and required action, as well as the action’s date and time, and write a note if necessary in the text box.
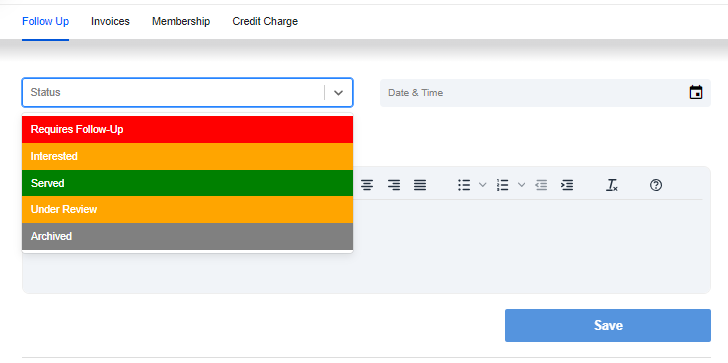
Status
When you click on “Status,” a dropdown menu will appear from which you can select the client’s status and whether the client requires: Follow-up / Interested / Served / Under Review / Archived. Both sticky statuses and normal ones will be displayed on the CRM screen as shown in the picture.
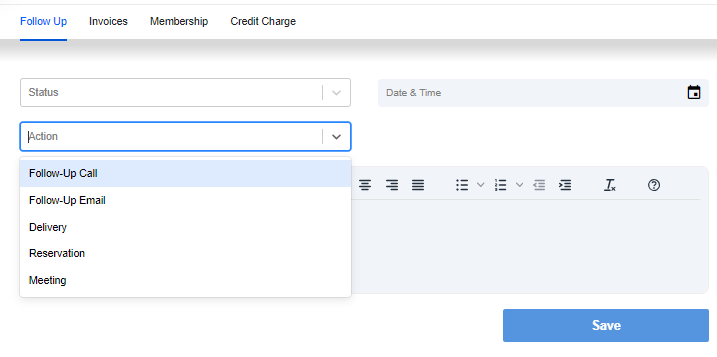
Action
Click on “Action” to select the action you’d like to assign to the client from the dropdown menu: Follow-up call / Follow-up E-mail / Delivery / Reservation / Meeting.
Date & Time
Set the desired date and time for the selected follow-up.

Your status and actions will appear at the end of the screen as shown in the picture and beside the client on the left side of the screen.
Invoices
Click on “Invoice”
You’ll find all the client’s invoices, but to edit or view the full invoice details click on the desired invoice and you will be automatically redirected to the system.

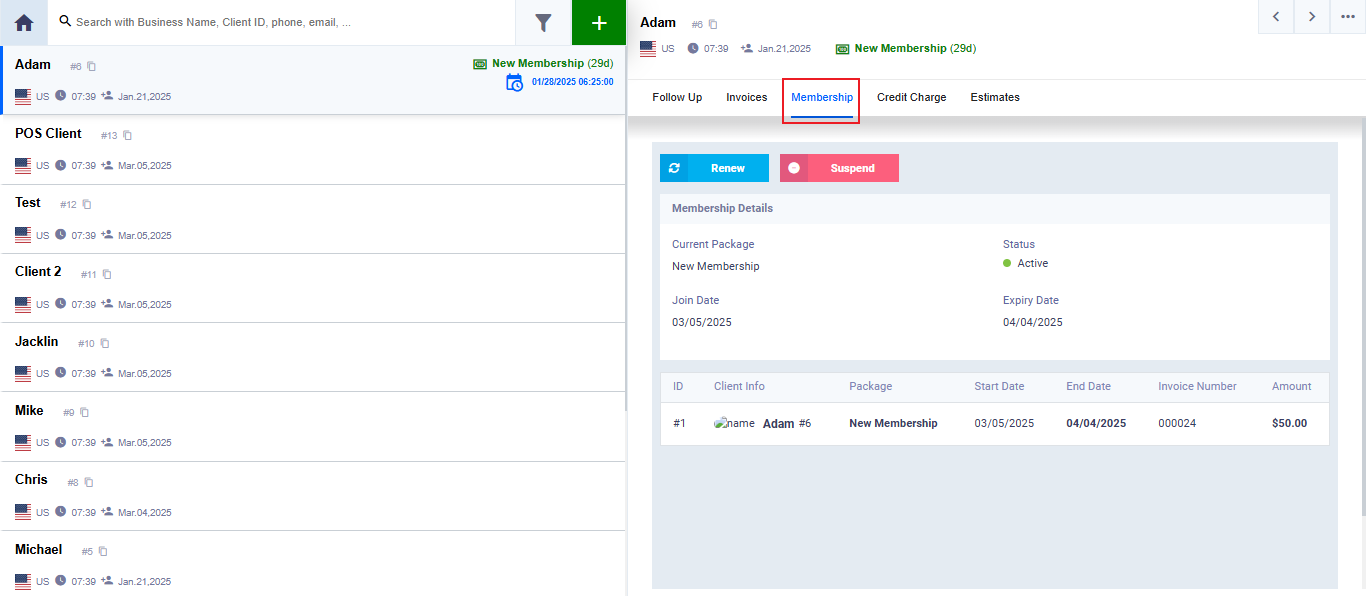
Memberships
Select “Membership“.
You can view all of the client’s memberships and the membership details:
– The package to which the client has currently subscribed.
– The package’s status, whether active or expired.
– Join and Expiry dates.
You will be redirected to the system to suspend or renew a client’s membership.
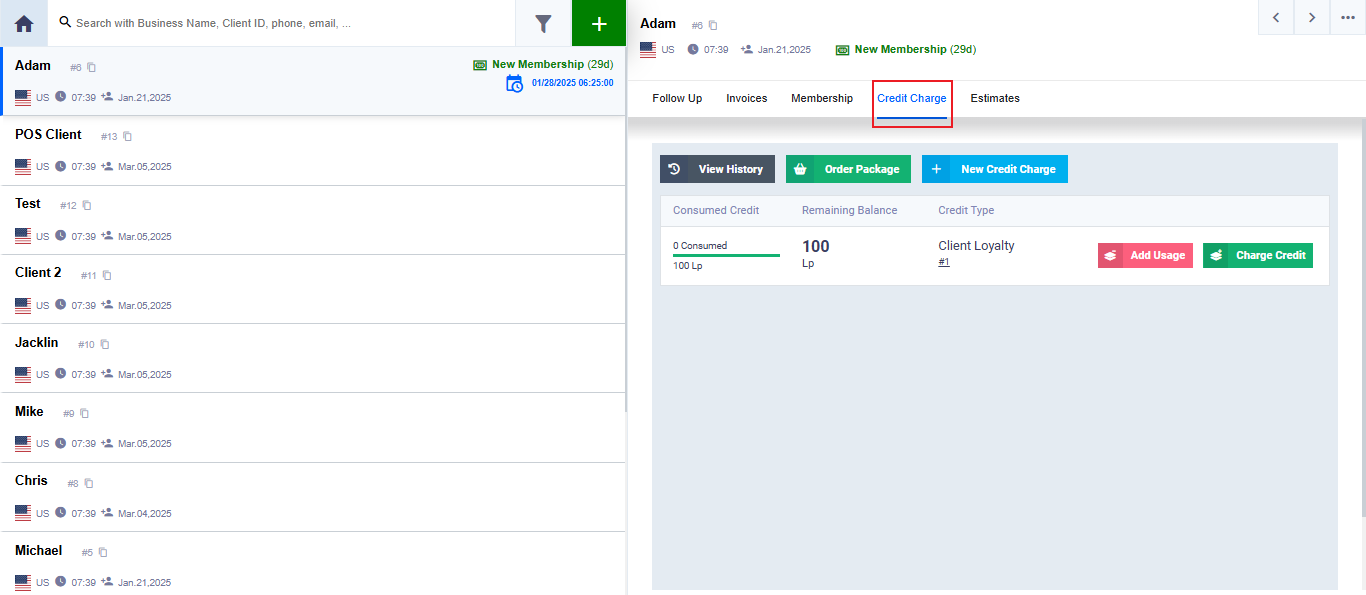
Credit Charge
This screen displays the client’s credit consumption, remaining credit, and credit type (Loyalty points / Membership).
To view the client’s credit history, order a new package, or add a new credit charge you will be redirected to the system.
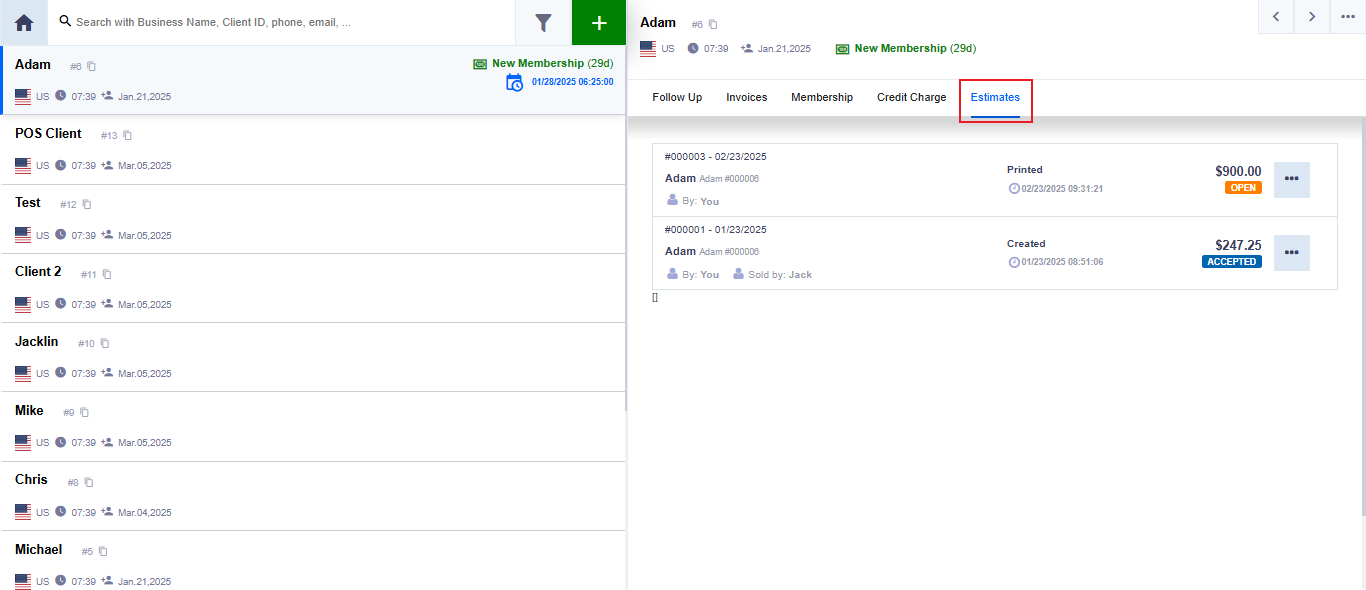
Estimates
All estimates related to a client will appear on this screen, it includes the details of your services or products with their estimated costs to potential clients.
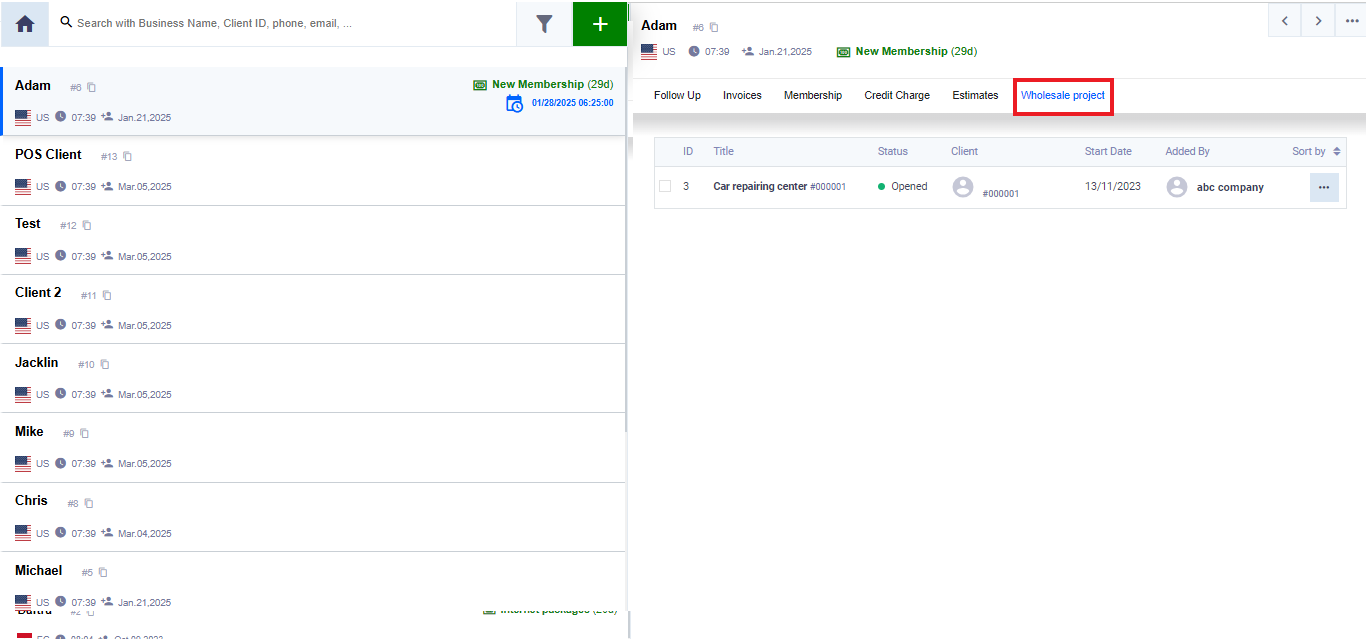
Workflow
All workflow projects will appear on this page where you can preview the project details (Title, client, status, start date).
Ensure the workflow app is activated and a workflow project has been assigned to the client so that it displays on the CRM page.