


Linking the Client and Supplier to One Account Statement
Sometimes, a client can also be a supplier, and vice versa. This happens when one of your suppliers purchases from you, making them both a supplier and a client, or when you import goods from one of your clients, making them both a client and a supplier.
The system usually treats the same person as both a client and a supplier, but it keeps separate accounts for each role. This approach helps the system accurately track and record financial transactions for each role. It’s common to have separate accounts for clarity and accounting purposes, even though the individual represents both roles.
In this topic, we will learn how to link a client and a supplier account together if they are the same person, by reviewing the following points:
- Define the primary role: (Client) or (Supplier).
- Change the account routing type.
- Create a client file.
- Create a supplier file.
- Apply to purchase and sales invoice.
The practical application will involve “Yousef,” who is both a client and a supplier at the same time. Our goal is to assign a single account to record all our financial transactions with him.
Defining the Primary Role: Client or Supplier
The first step in linking Mike (both client and supplier) into one account statement is to define his primary role based on the predominant nature of his transactions with us: is he primarily a client or a supplier? If Mike deals with us more as a client, we will designate his primary role as “client,” and vice versa.
We haven’t taken any action yet; all we’ve done is determine in our minds Mike’s primary role (client). In the next step, we will see the significance of this determination.
Changing the Account Route Type
After having designated Mike as a client by default, we now move on to “Changing the Type of Suppliers’ Account Routing.” This action signifies informing the system not to direct financial transactions to the default suppliers’ accounts. The system automatically creates a default account for each supplier to receive their financial transactions.
If we had designated Mike as a supplier, we would have changed the “Account Routing Type” for clients, not suppliers. That’s why we completed the first step and designated Mike’s primary status before proceeding with this step.
To change the type of suppliers’ account direction, we must first click on “Accounting” in the main menu, then select “Accounting Settings,” and choose the “Account Routing” tab.

We select “Purchases” among the available account types and in the “Suppliers” field, as shown in the image, we change the routing type from “Automatic Account Routing” to “Specify Per Each“.
This way, we have informed the system not to add the transactions made by Mike (the supplier) to his default account, and we can choose any other account instead.
Creating Mike's (Client) File
We are now creating a file for Mike (the client) in our account.
 لربط حساب العميل والمورد معًا")
You can refer to the guide for adding a new client.
")
After creating Mike’s (the client) file, in the next step, we will create a file for Mike (the supplier). In this step, we will be able to link the two accounts in one account.
Creating a file for Mike (the supplier)
We are now going to create a file for Mike (the supplier) by clicking on “Purchases” from the main menu, then “Manage Suppliers,” and finally “New Supplier.”

We will enter the same name we used in Mike’s (the client) file, and in the bottom left of the panel, we will choose Mike’s client account. Be sure to search for it by the name exactly as it was saved for the system to recognize it.
")
Then we click “Save.”
With this, we have linked Mike’s (the supplier) account with Mike’s (the client) account. In the following practical examples, we will see how the system directs all financial transactions for Mike to a single account by creating a sales invoice and a purchase invoice, and then reviewing the account statement.
Create a Sales Invoice for Mike (Client)
To create a sales invoice, click on “Sales” in the main menu, then select “Create Invoice,” and enter the invoice details, as shown in the image:
 للتأكد من ربط حساب العميل والمورد معًا")
At the bottom of the invoice details, you confirm the payment by clicking on “Already Paid,” as shown in the image:
")
Then click on “Save & Don’t Print.”
Now click on the client’s name “Mike” to view his account statement after completing the sale, as shown in the following image:
")
We click on “Transaction Lists” we can see, the sale transaction to the client Mike has been recorded, along with the payment transaction, resulting in a final balance of $0.00.
")
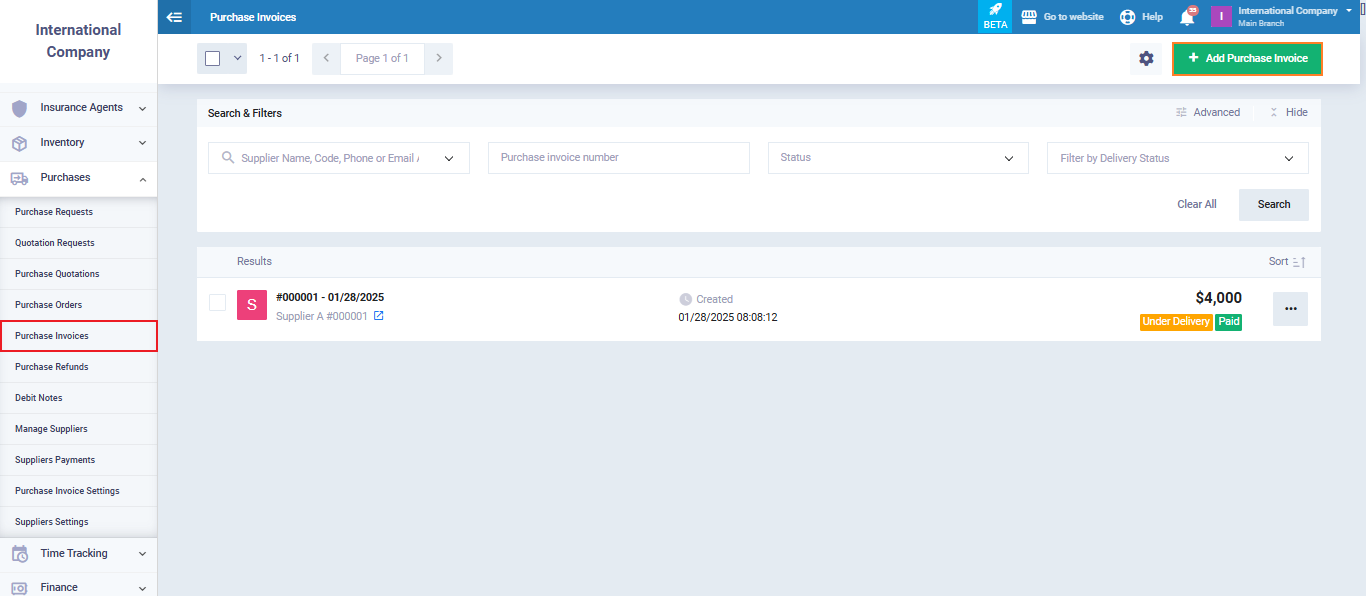
Creating a Purchase Invoice for Mike (Supplier)
Now we will create a purchase invoice for Mike (the supplier), then we will return to Mike’s (the client) account statement and see how the purchase transaction affects the account statement.
Click on “Purchases” from the main menu, then “Purchase Invoices,” and then “New Purchase Invoice.”
We fill in the invoice details as shown in the following image, making sure to confirm the payment, just as we did in the sales invoice:
 للتأكد من ربط حساب العميل والمورد معًا")
Then click “Save“
Reviewing the Account Statement
Now, we will test all the previous procedures by reviewing the account statement for Mike (the client) to see if his transactions have been recorded as both a client and a supplier.
Click on “Clients” from the main menu, then “Manage Clients,” and select the client “Mike.”

Then, click on “Transaction List” as shown in the following picture:

As we can see in the account statement, the purchase transaction has been added to it. Thus, all of Mike’s transactions, as both a client and a supplier, have been recorded in a single account statement, and our journey to explain this feature has also come to an end.