Controlling the Client Permissions
The increase in online business transactions sometimes necessitates allowing clients to access the system with certain restrictions that you can define through client permissions. In this article, we will explain how to control client permissions, along with a review of the Daftra system as it appears to clients according to their permissions.
Going to the Client Permissions Setting
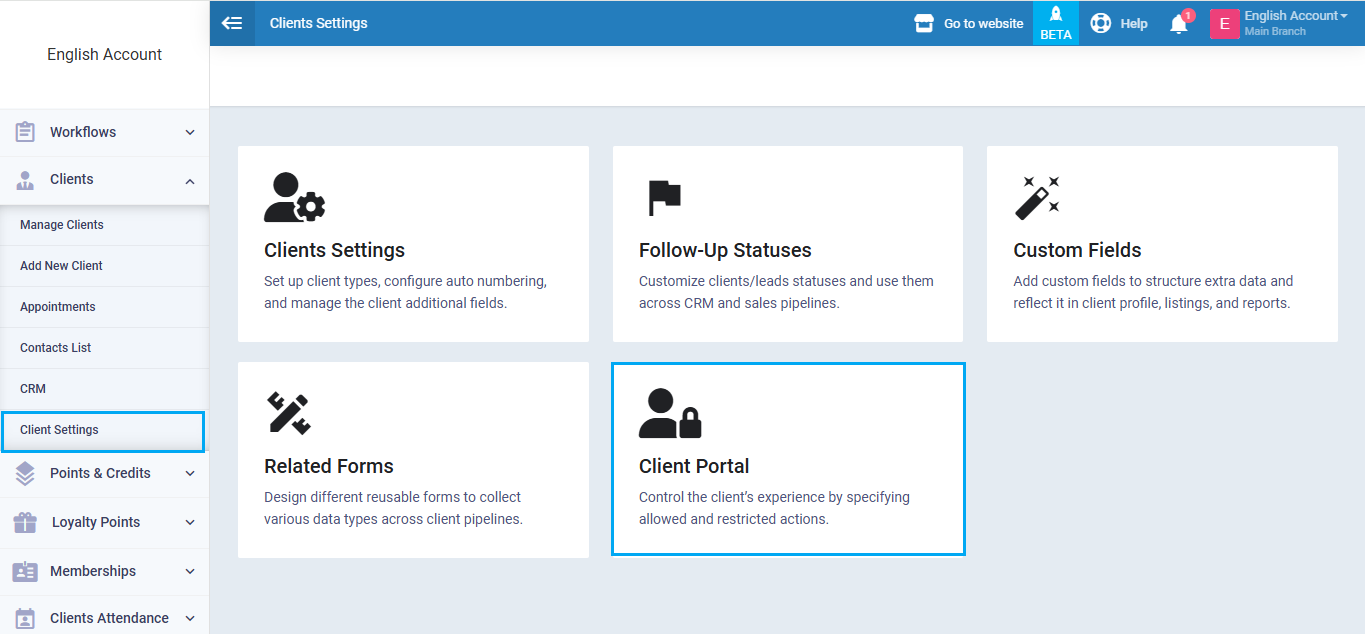
Click on “Client Settings” under “Clients” in the main menu, and click on the “Client Portal” card.
Disabling the Clients from Accessing the System
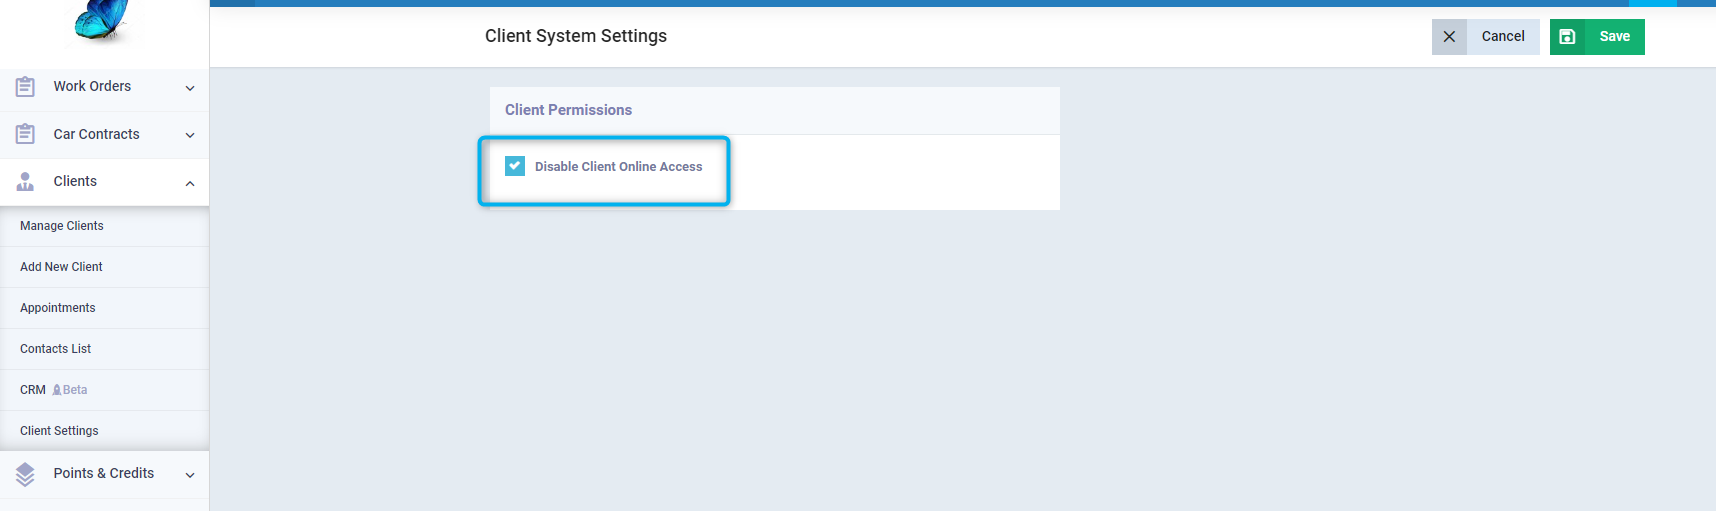
Tick the “Disable Client Online Access” ✅ option, then click on the “Save” button to prevent clients from accessing their portal on your Daftra account, and consequently, no permissions will be available to them.
Enabling the Client Access to the System and Controlling their Permissions
Do not enable the “Disable Client Online Access” option to allow your clients to access the system.
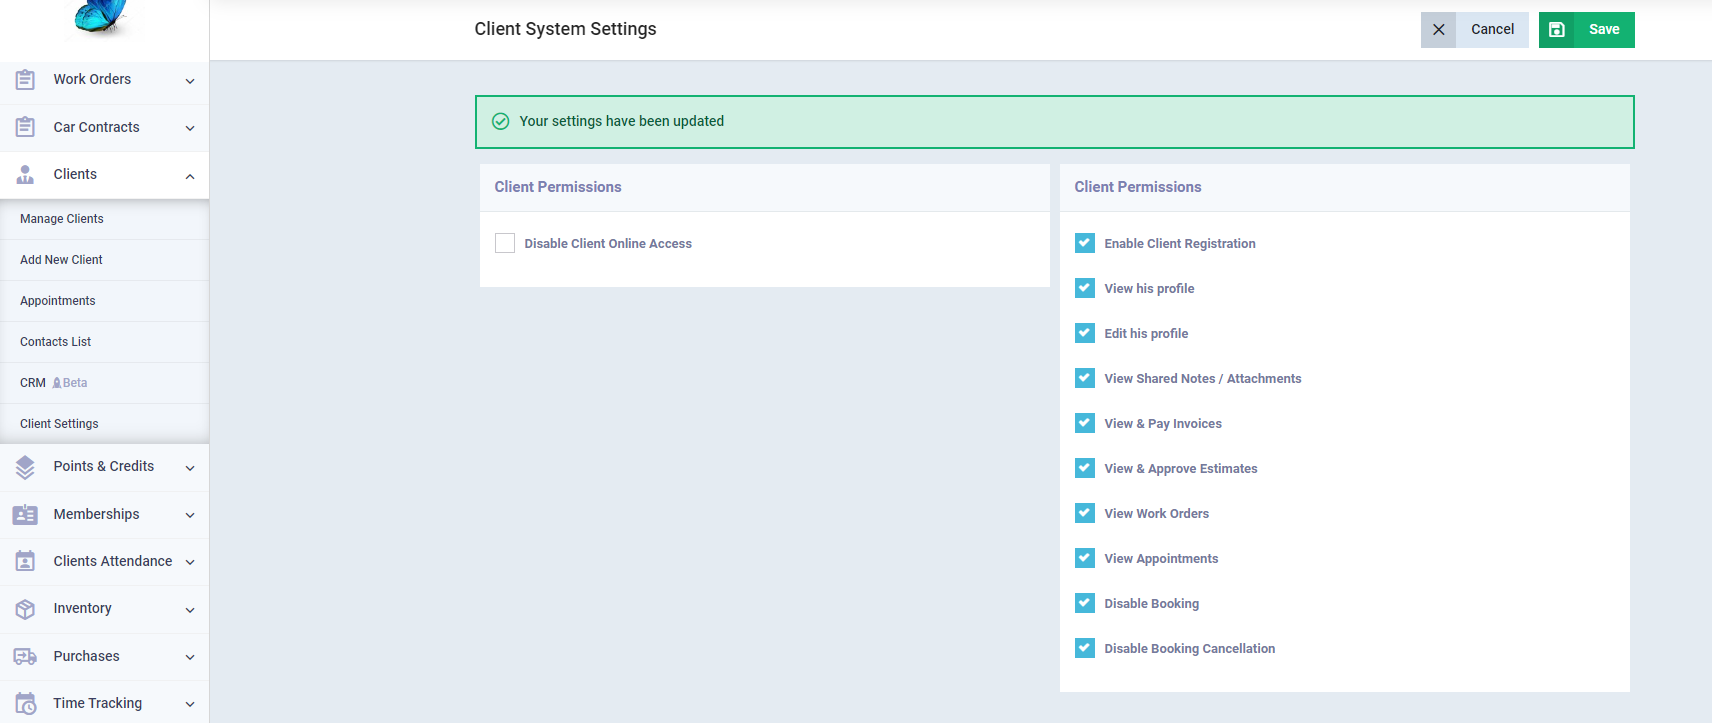
Enable the permissions that you want to allow your clients to do when logging in, then click on the “Save” button.
To enter the Client's Portal and check the Permissions available for them as it will be displayed for them:
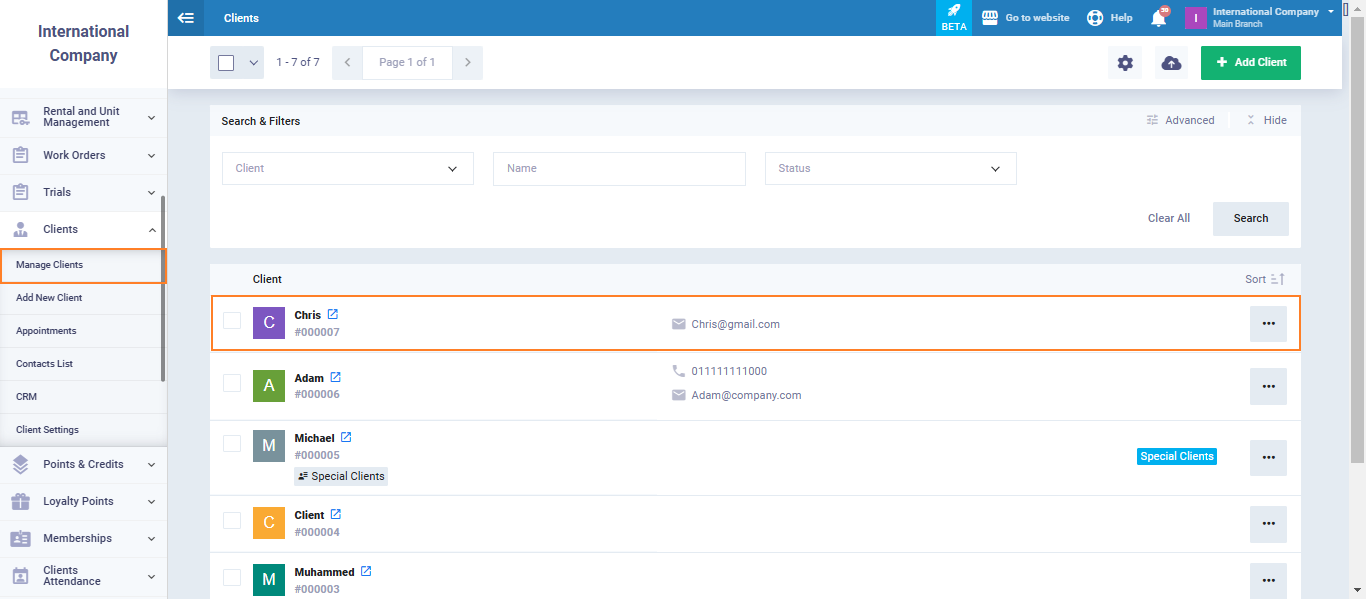
Click on “Manage Clients” under “Clients” in the main menu and click on the client’s profile that you want to view their portal and how the permissions are granted to them.
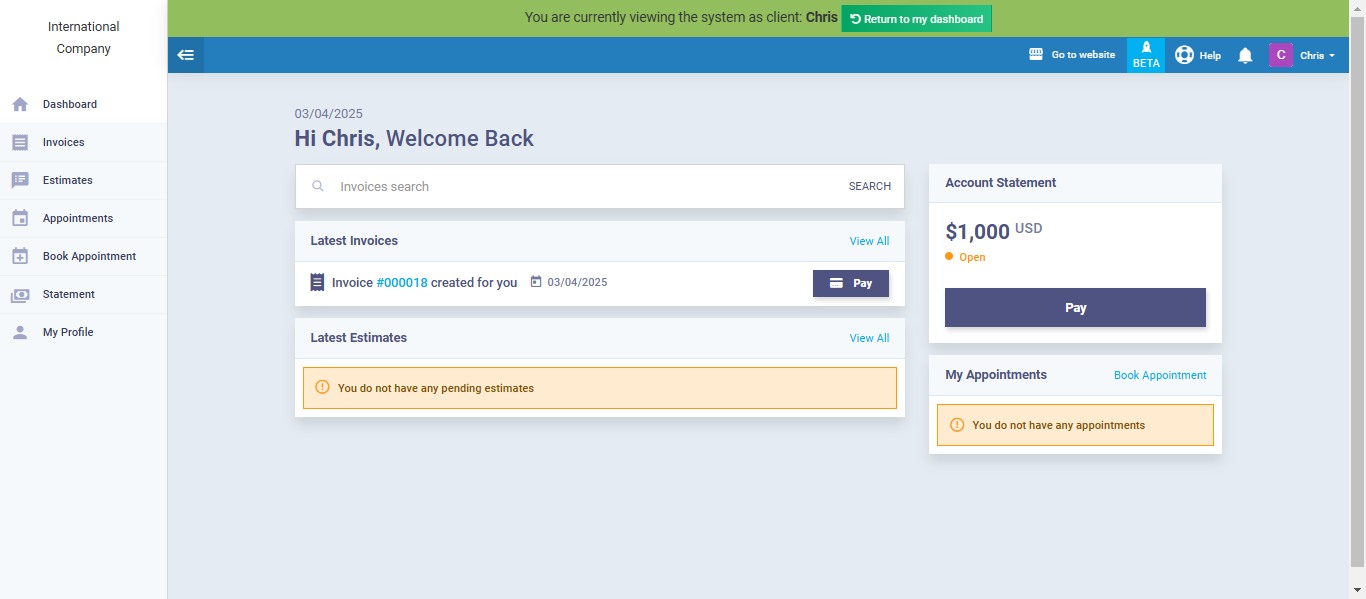
This will display the client’s portal
Viewing the Main Permissions as displayed to the Clients
- Enable Client Registration: To allow clients to create a profile on your Daftra account by themselves if they don’t already have an account.
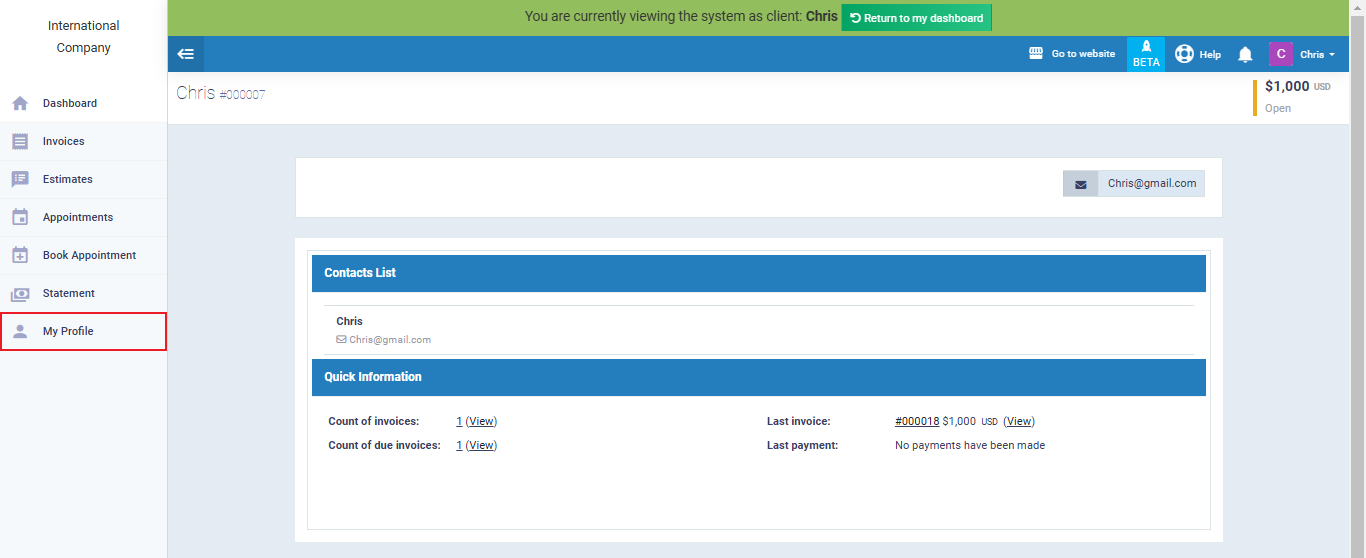
- View his Profile: To allow clients to view their profile on your Daftra account.
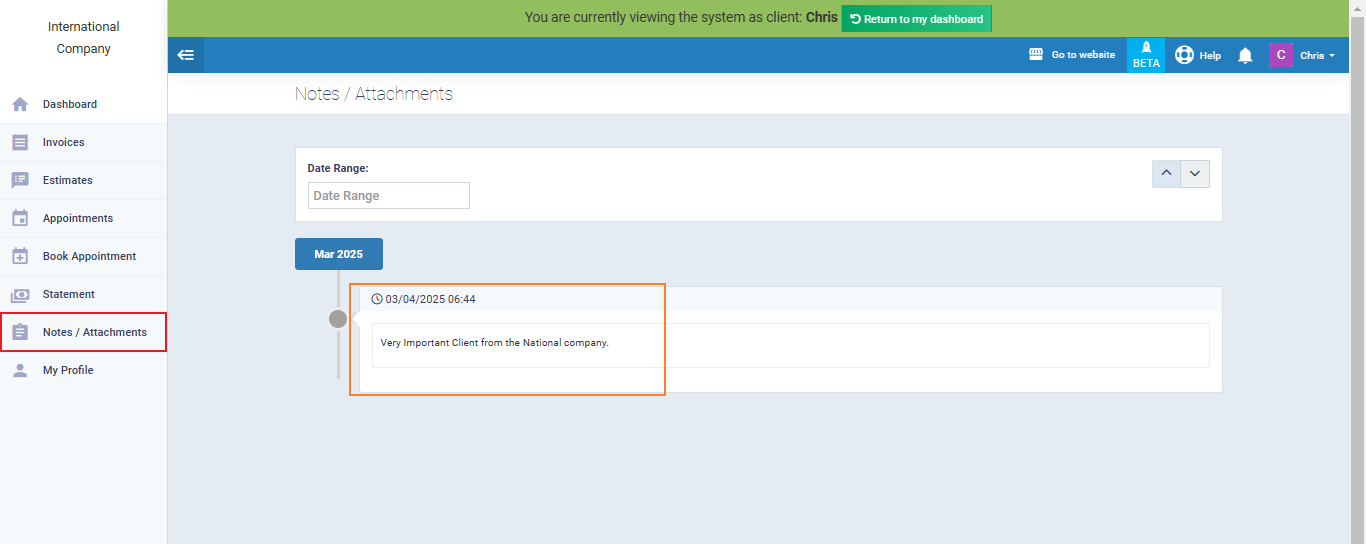
- View Shared Notes / Attachments: To view any notes or attachments related to them that you have shared with them by adding them to their profile.
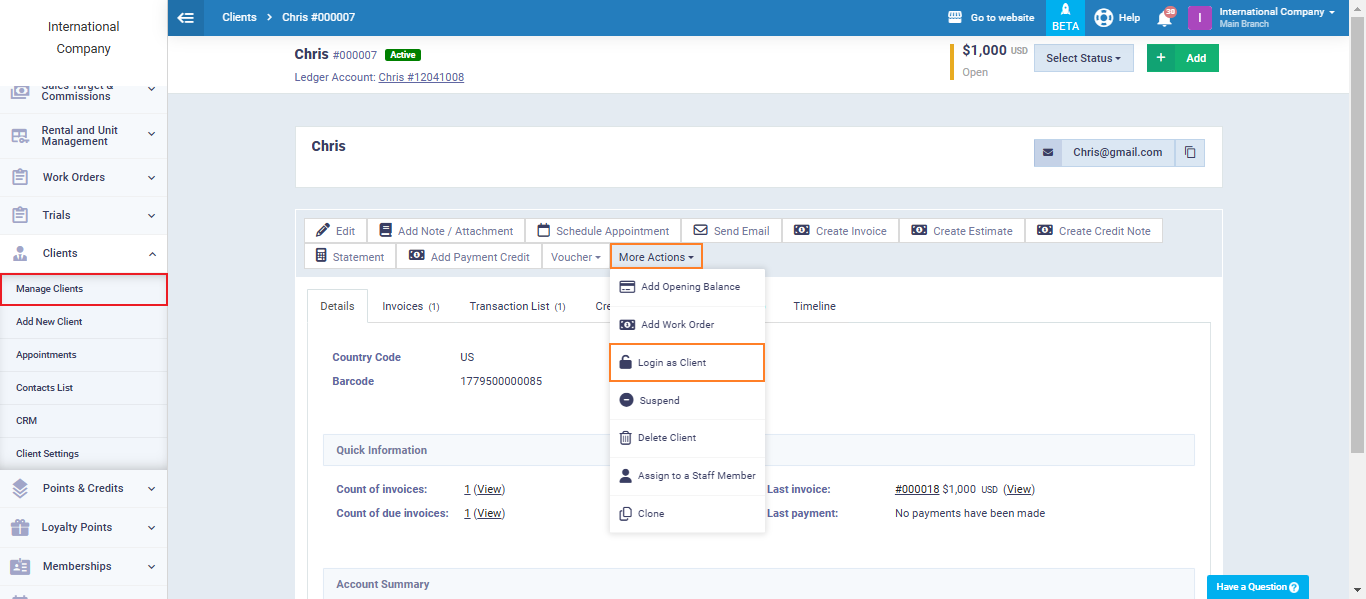
From the client’s profile, click on “More Actions” and choose “Login as Client” from the dropdown menu.
Click on the Notes/Attachments to view them as they appear to the client.
For the Note or the Attachments to be displayed to the Client, you would need first to follow these steps:
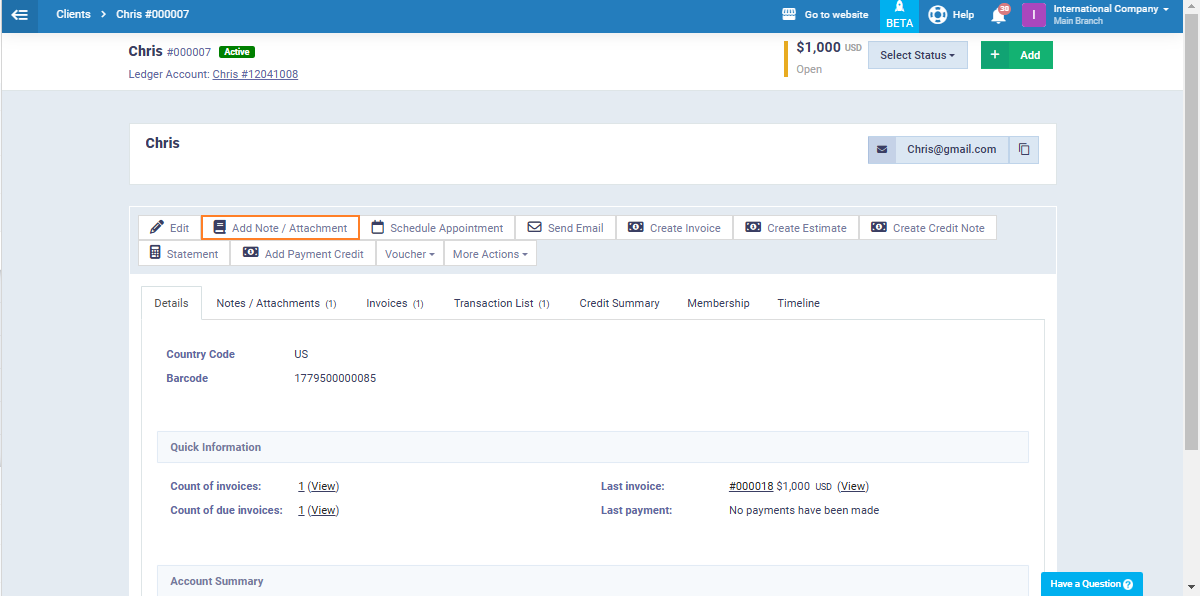
Click on “Manage Clients” from the dropdown under “Clients” in the main menu, and click on the client profile to which you want to add a note/attachment.
Click on the “Add Note/Attachment” button.
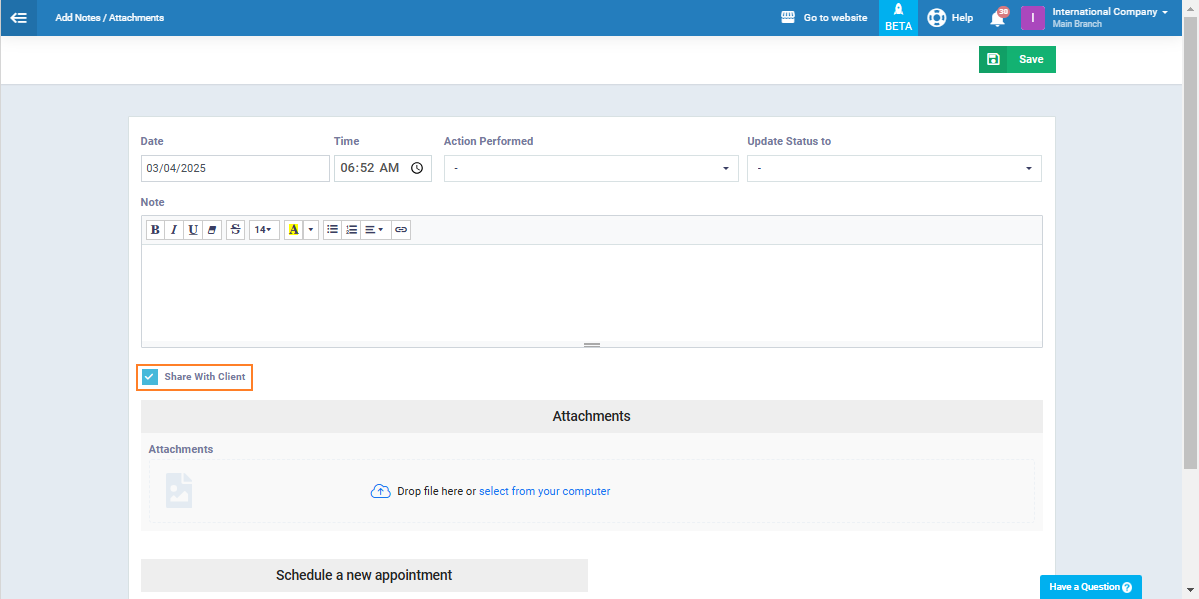
Enter the required data and action.
And make sure that the “Share with Client” ✅ feature is activated so that the client can view the note or attachment when they log in to the system themselves.
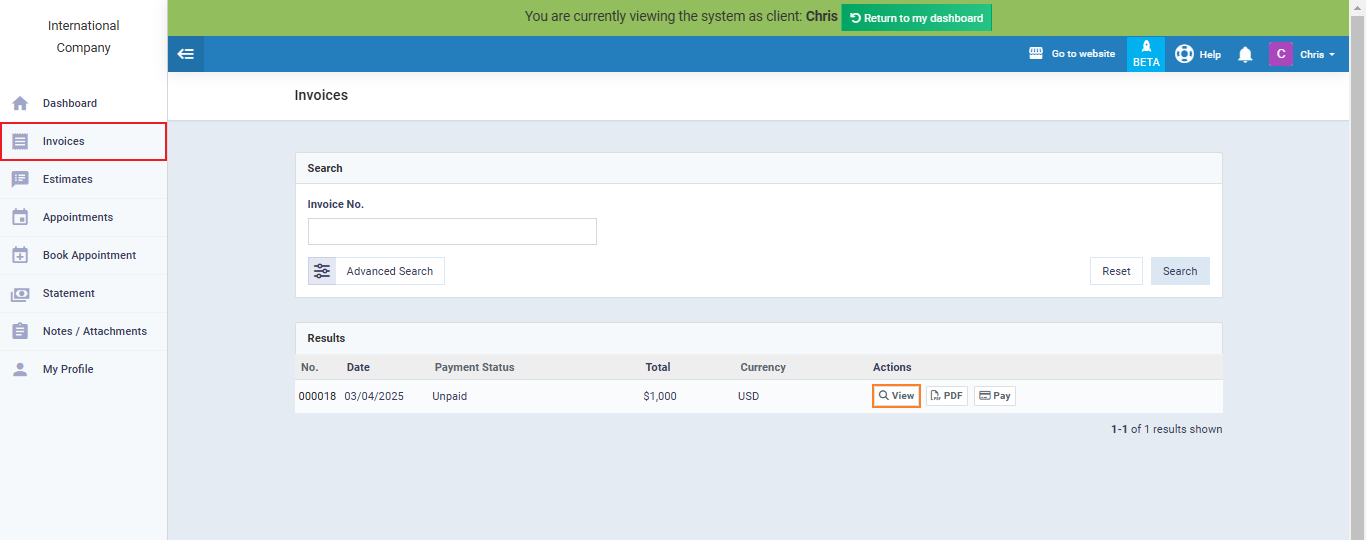
- View & Pay Invoices: The client can view their invoices, know the paid and due amounts, the due date, and can also pay the dues online by themselves.
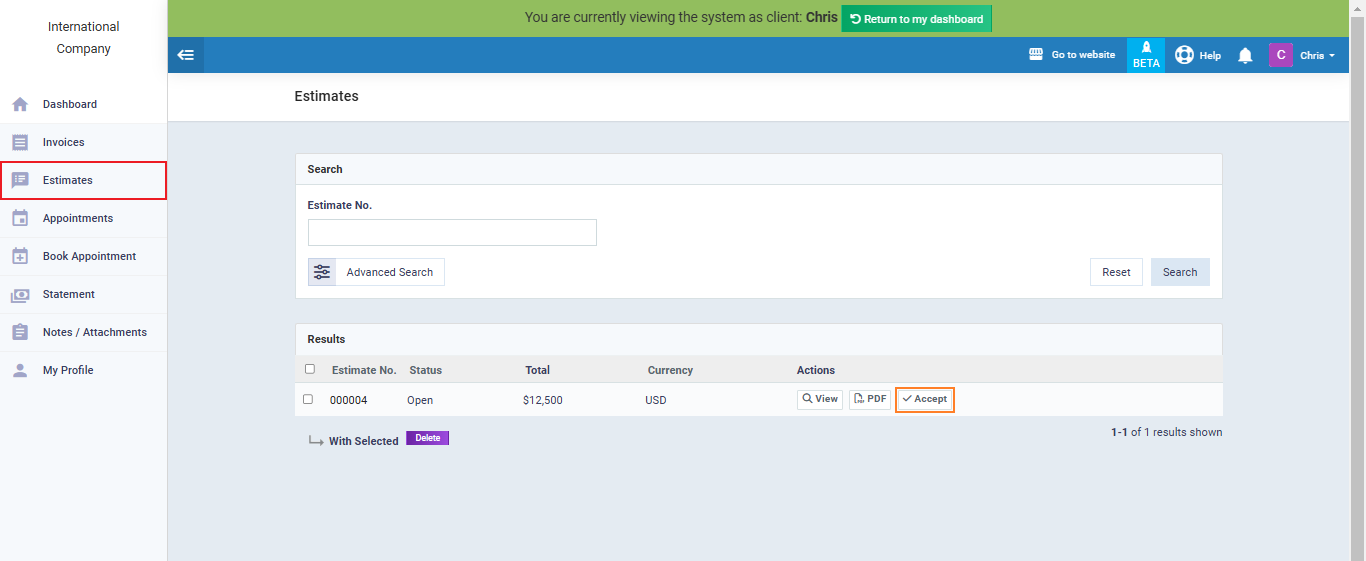
- View & Approve Estimates : In case an estimate is created for the client, they can view it, print it, and approve it.
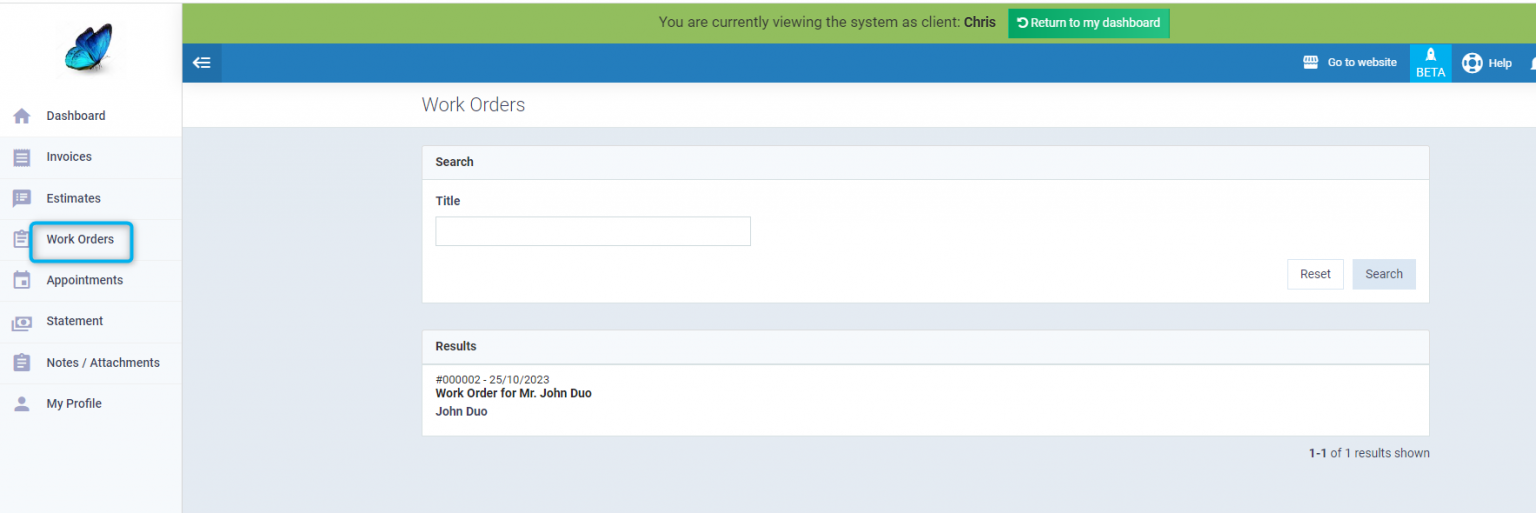
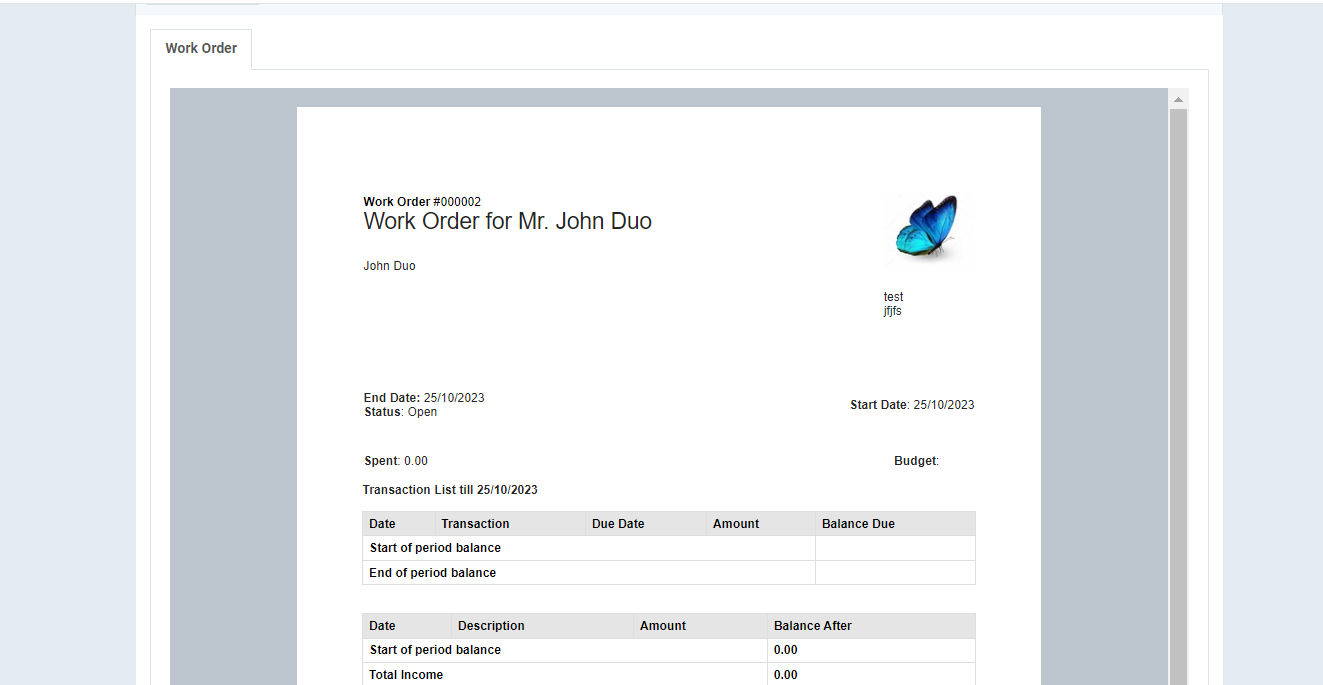
- View Work Orders: The client can browse work orders related to them and their details through this.
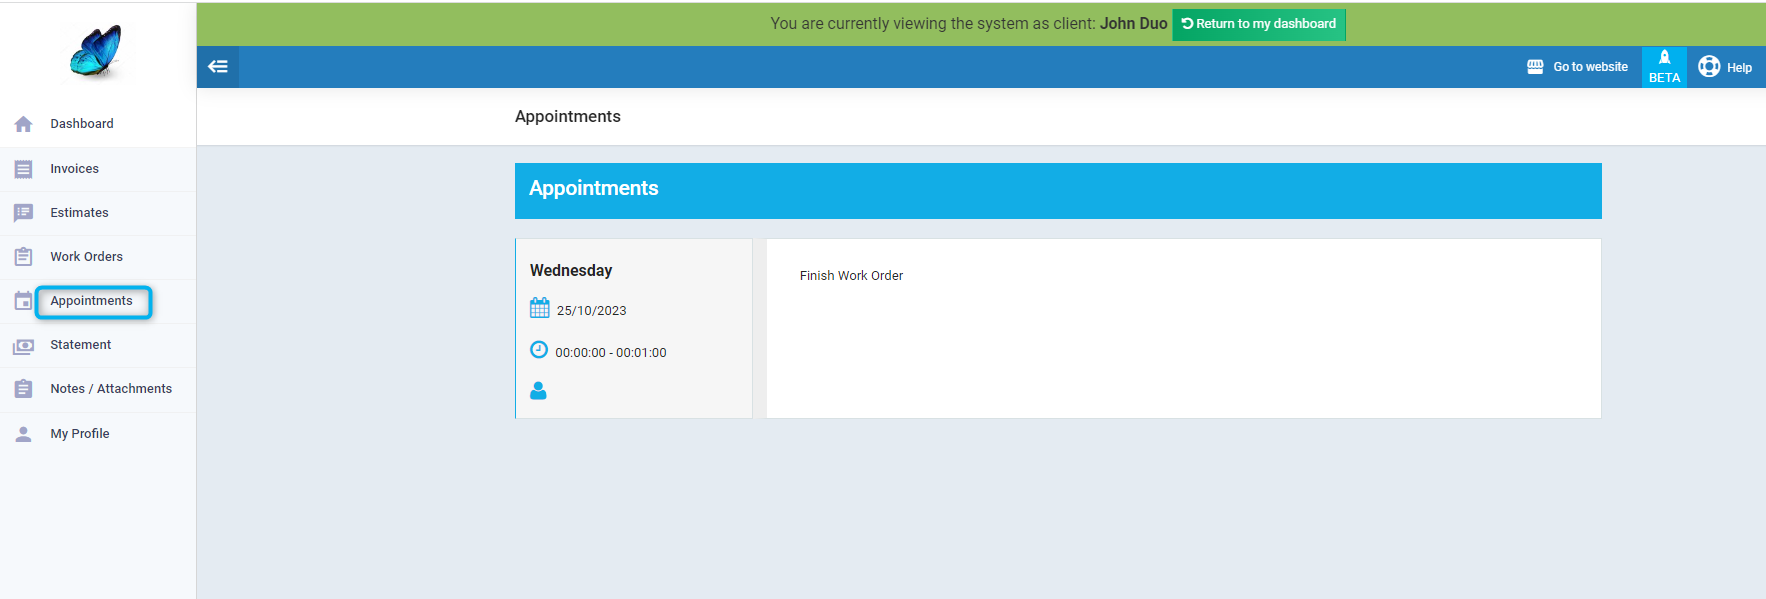
- View Appointments: The client can view their appointments through this.
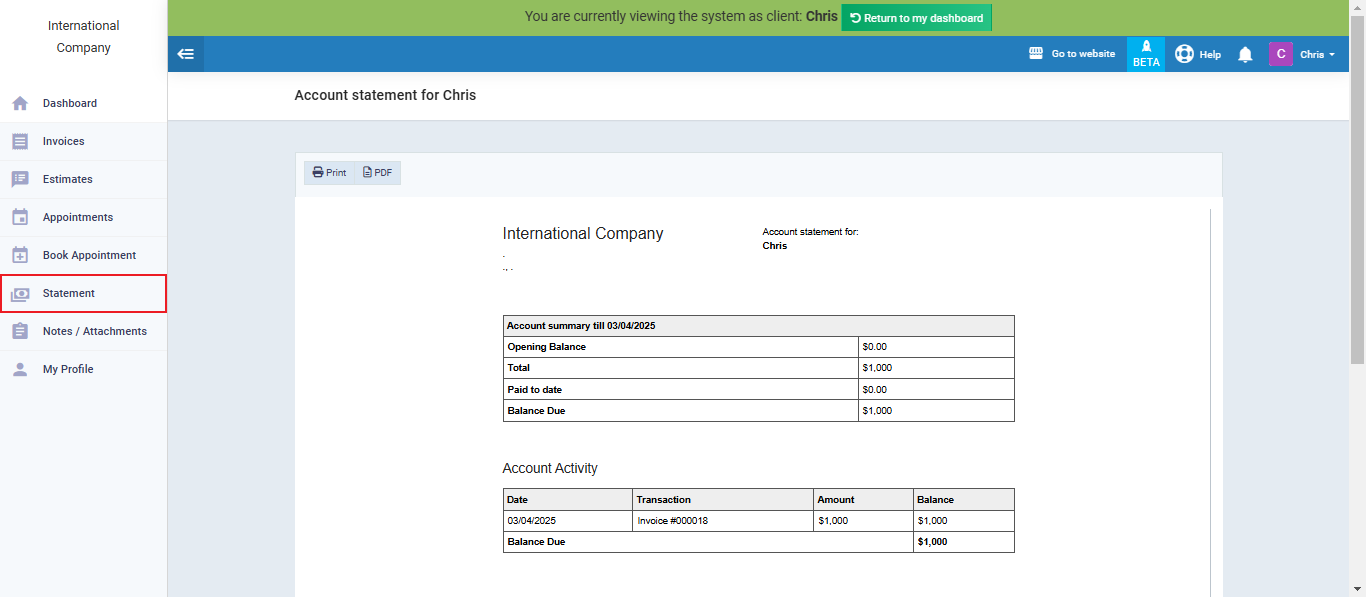
- Statement: The client can know their total balance, what has been spent, the paid and unpaid dues through this option on their portal.