How to Copy Voucher Templates (Expense or Income) to (Clients or Suppliers) Payments
Sometimes, you need to copy one of the printable templates in the system from one screen to another for use in a different section.
For instance, you might want to transfer one of the payment voucher templates to use it as a client payment template, which requires some adjustments to ensure that the variables in the new template reflect the correct values for client payments instead of payment vouchers (as per the same example).
Copying Expense Data in the Same Format
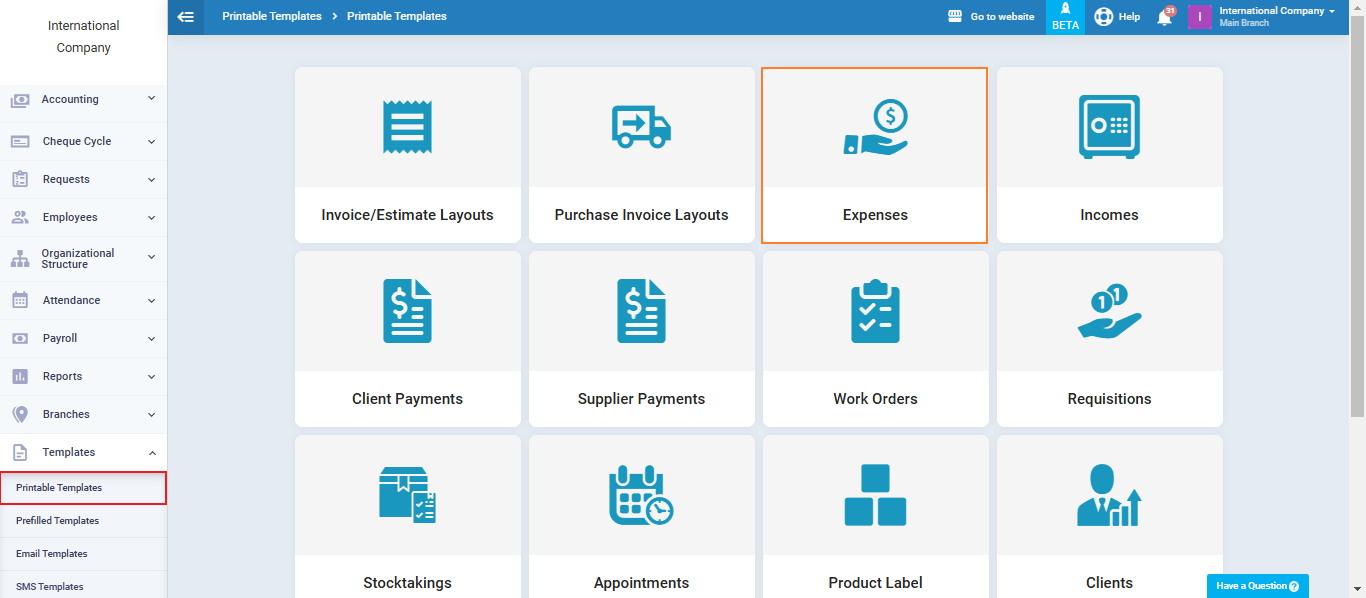
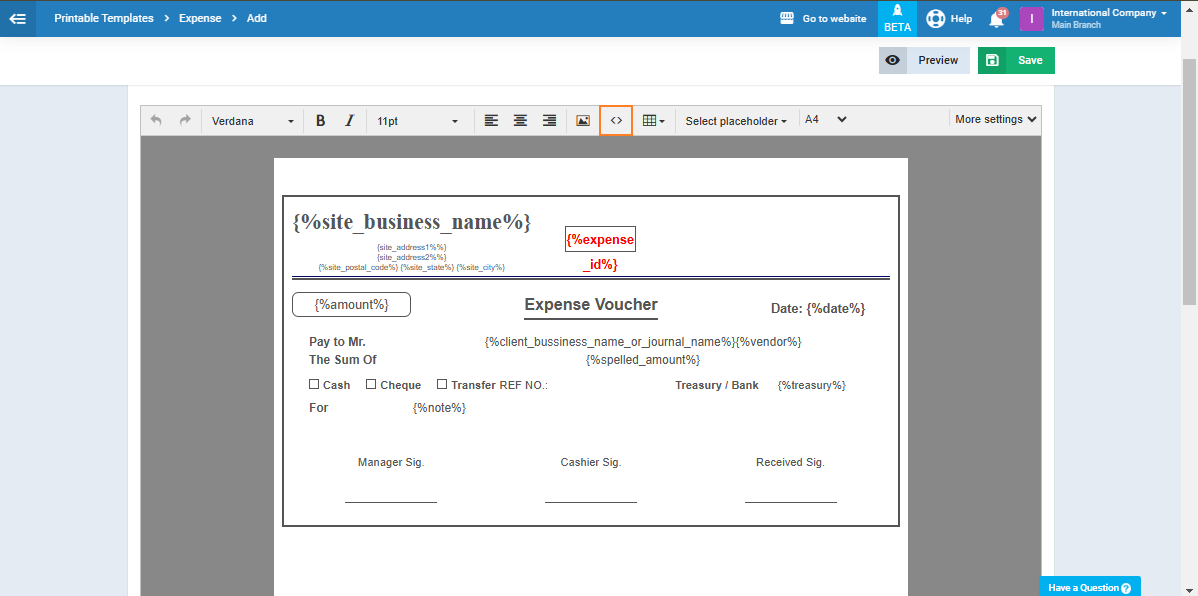
Click on “Printable Templates” under “Templates” in the main menu, then click on “Expenses.”
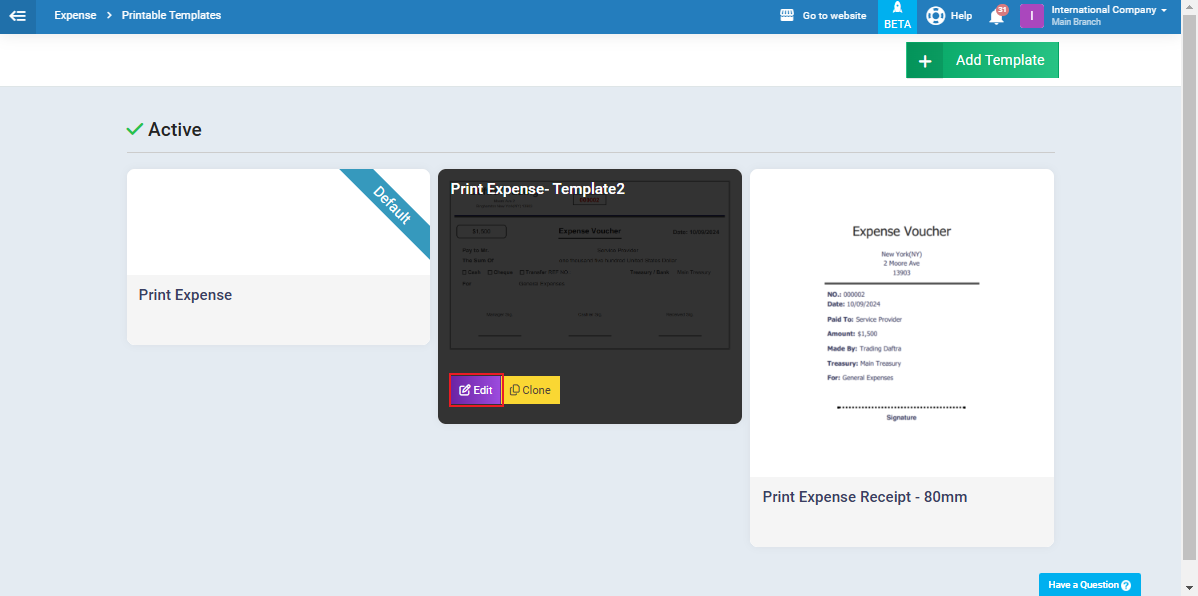
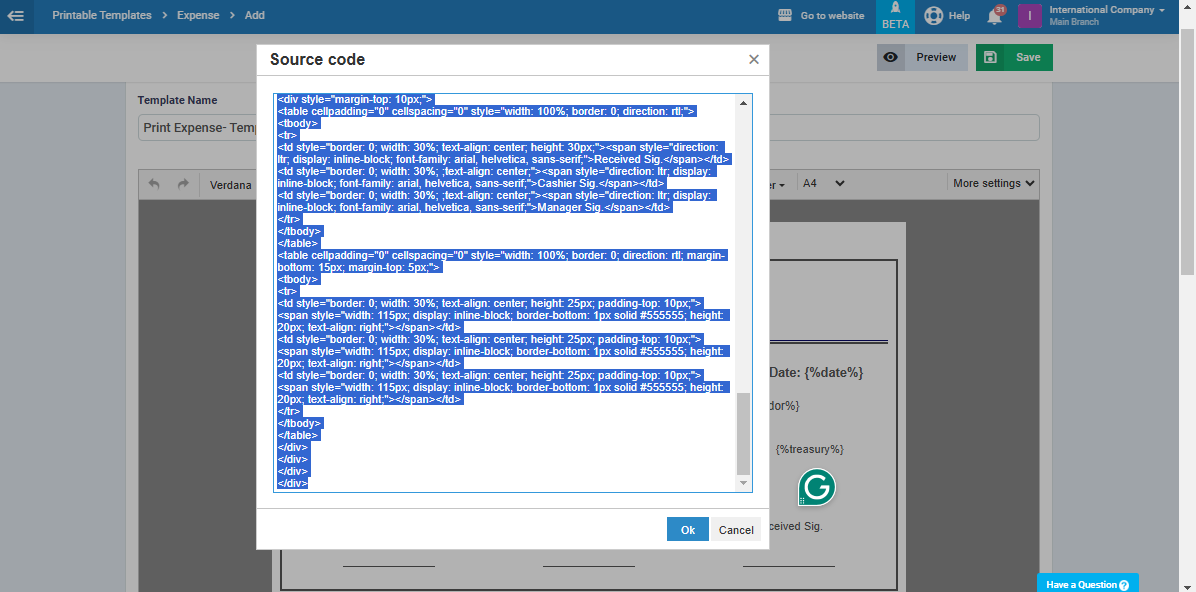
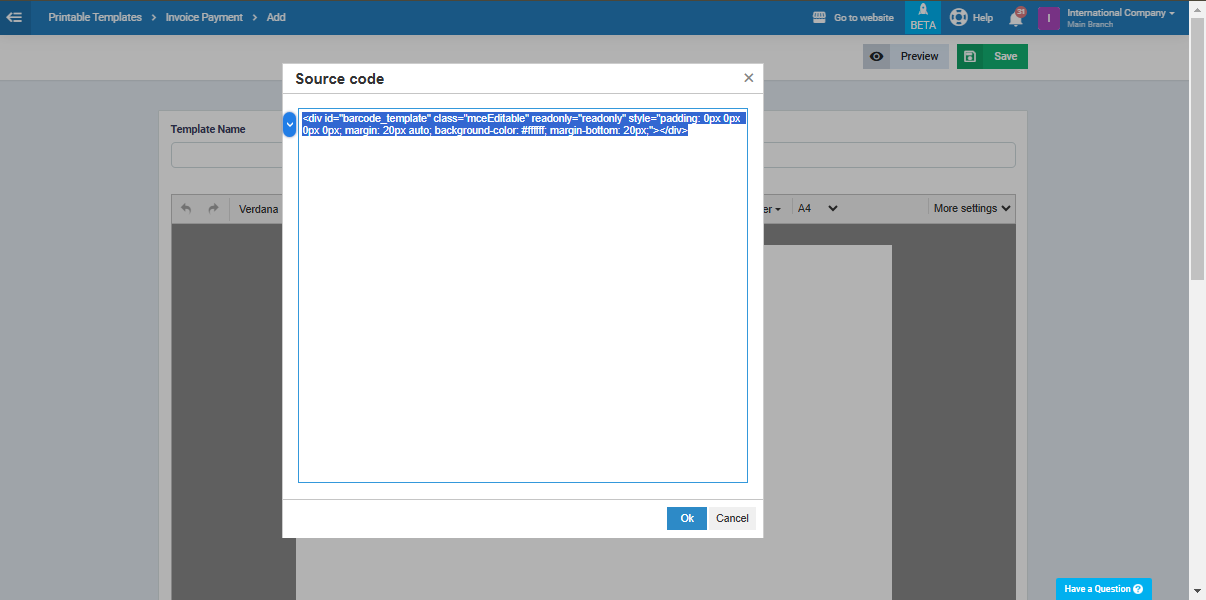
Click on “Source code <>”
Pasting the Expense Template into Client Payments
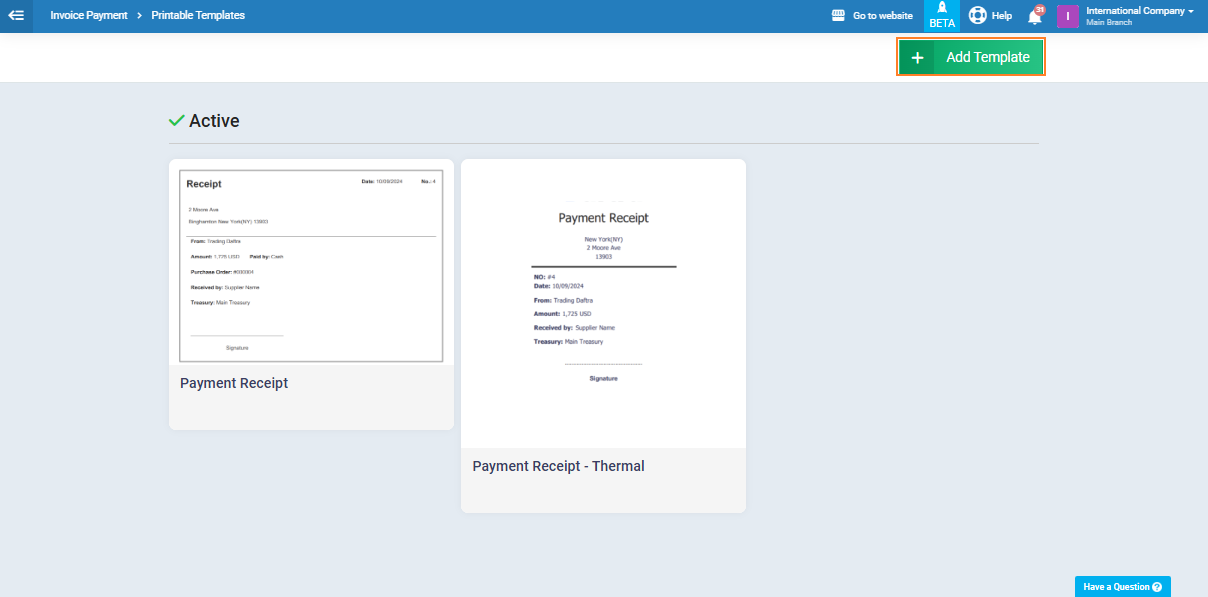
To paste this expense template into the client payment templates, click on “Printable Templates” under “Templates” in the main menu, then click on “Client Payments.”

Click on “Add Template“.
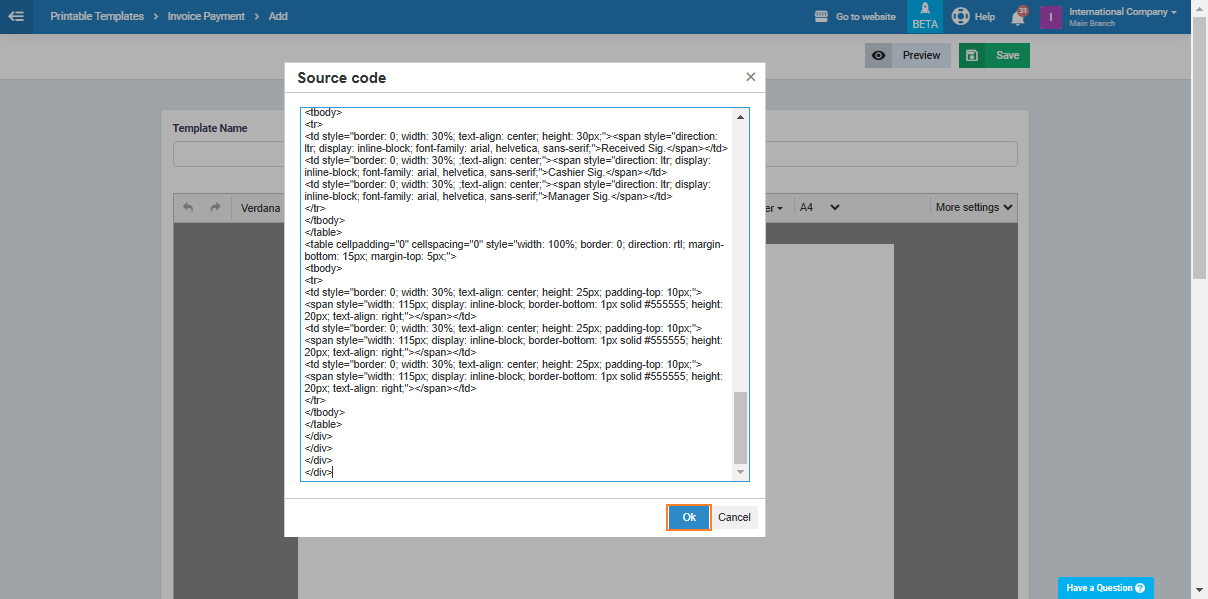
Click on “Source Code <>”.
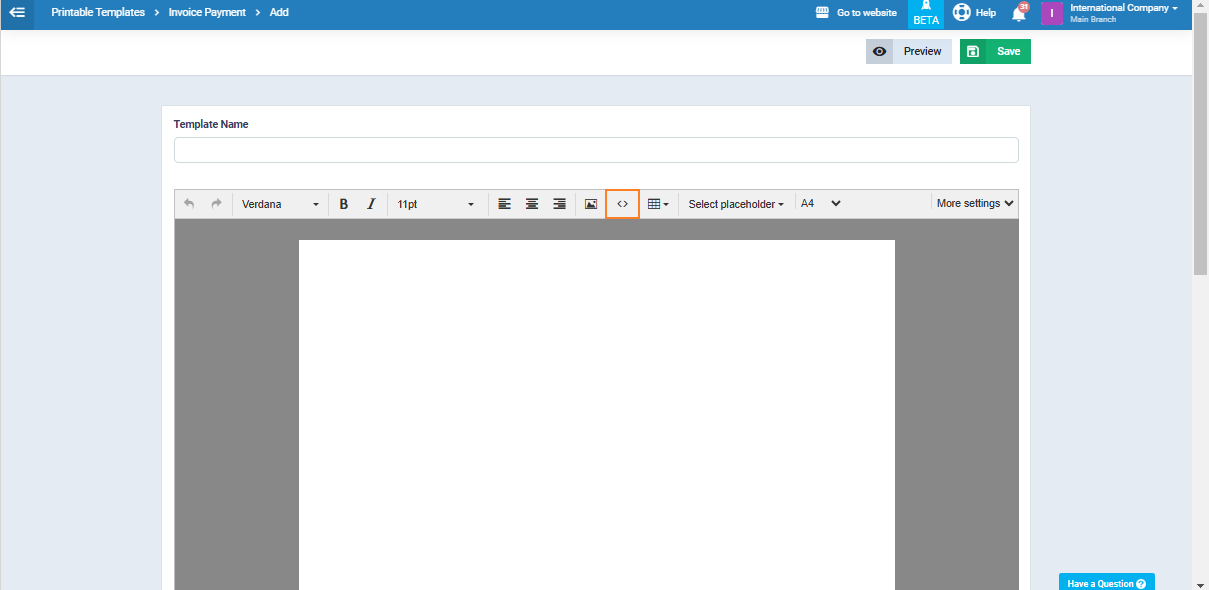
After pasting the code click “Ok”.
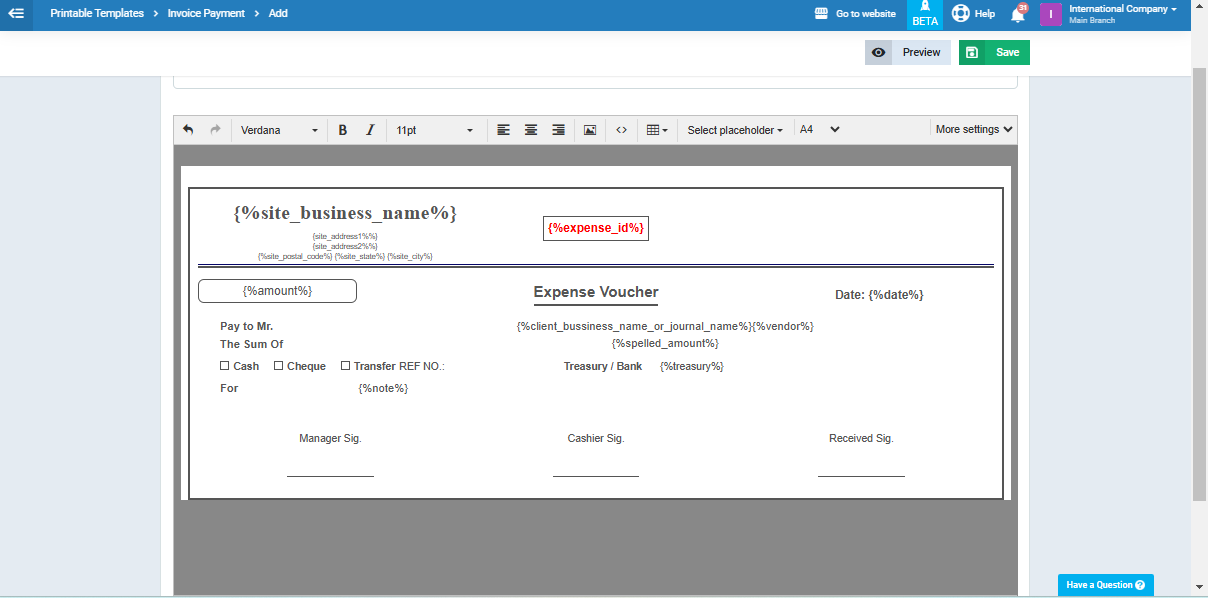
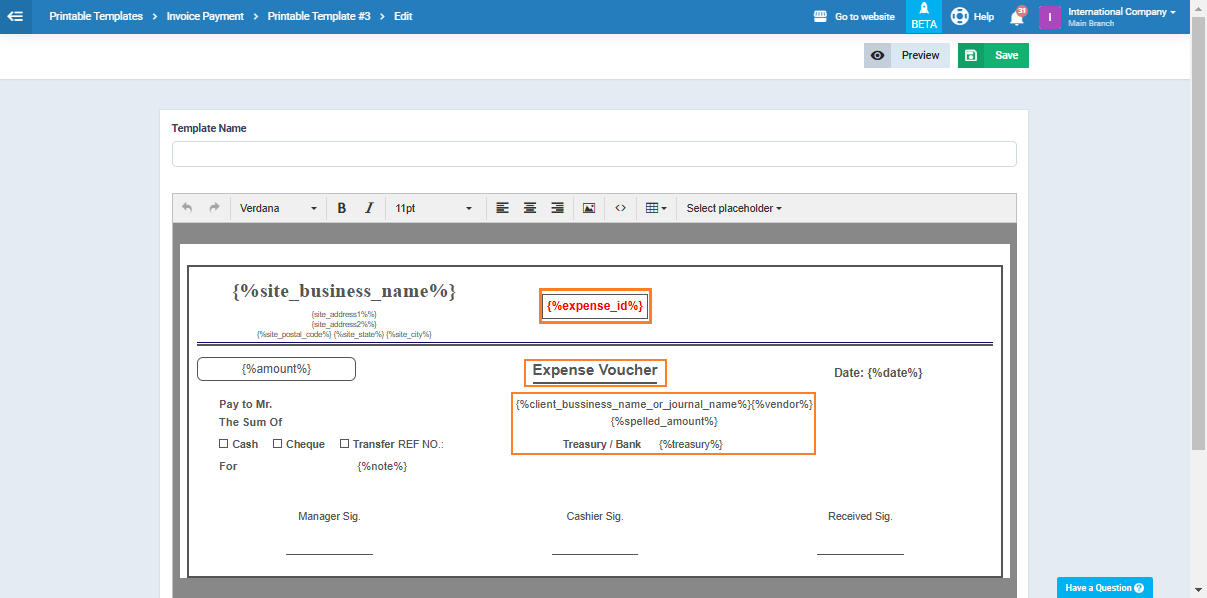
Editing the Template Data to Ensure Its Suitability for Client Payments
To edit the duplicated template, go to the client payment templates as usual, and for the template you want to modify, click on the “Edit” button.
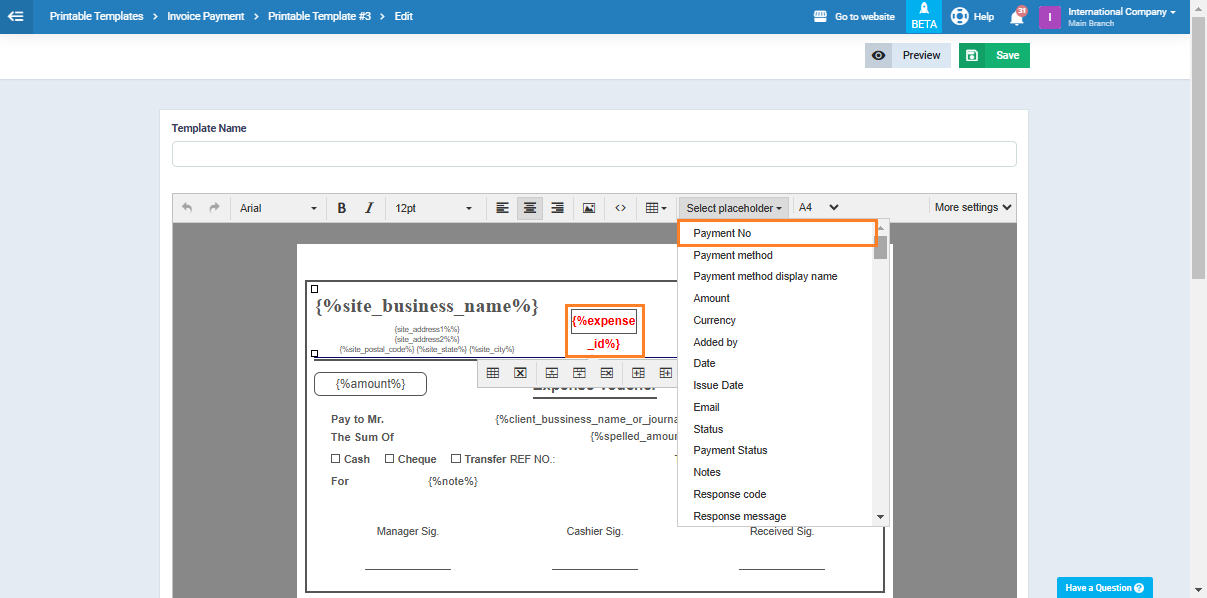
Delete the expense-specific variables and replace them with client payment variables by clicking on “Select Placeholder” and choosing the variable from the dropdown menu.
For example:
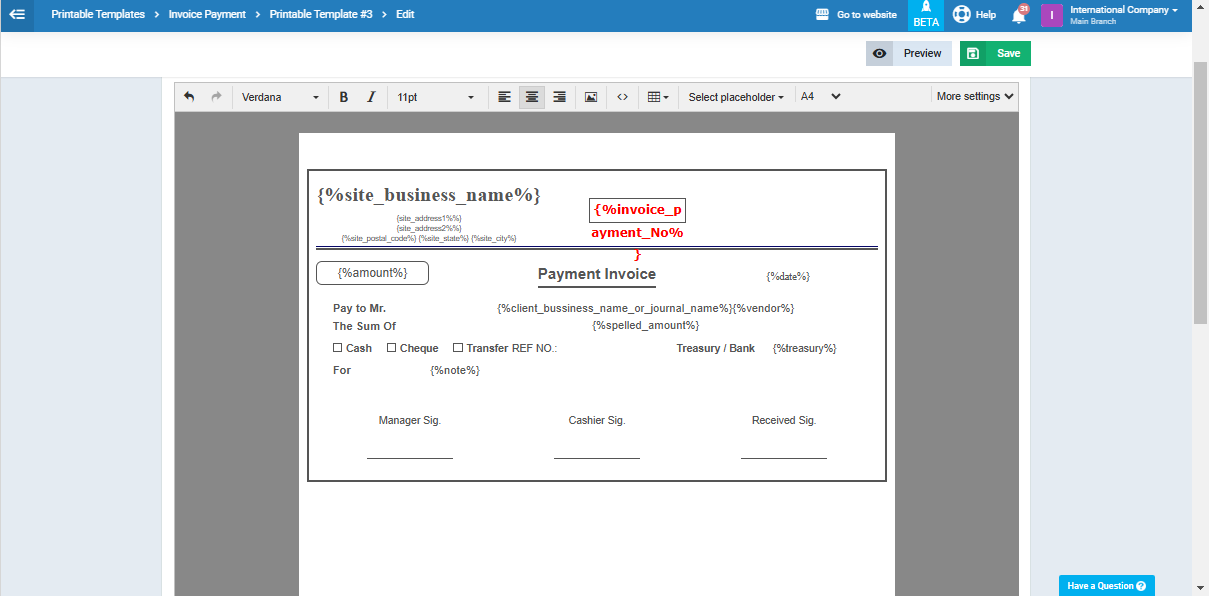
Delete the variable for the expense number “expense_id” and add the “payment_id” variable in the same place.
In the same way, replace all the template data by deleting the expense template variables and adding the corresponding payment receipt variables in the same places.
Don’t forget to add the name of the client payment template below the “Template” field.
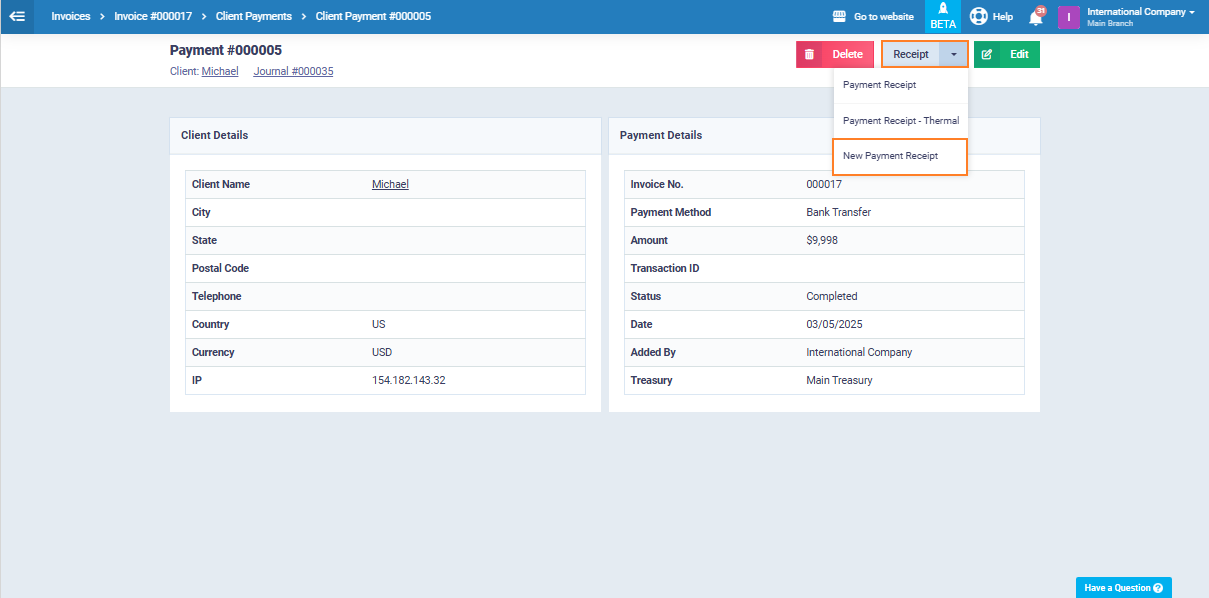
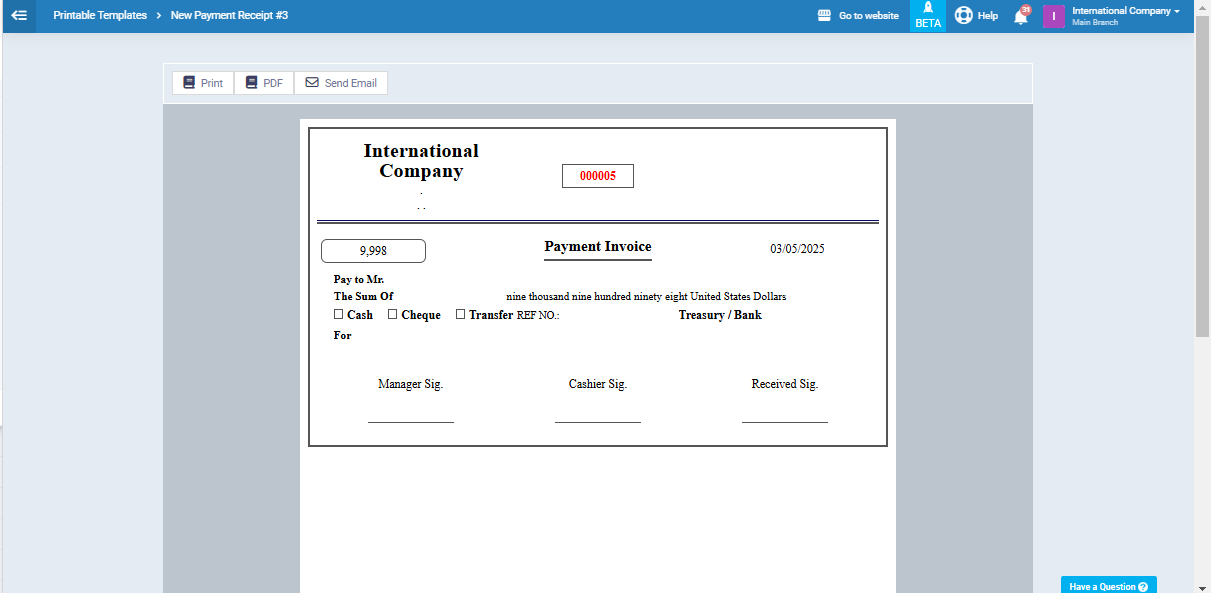
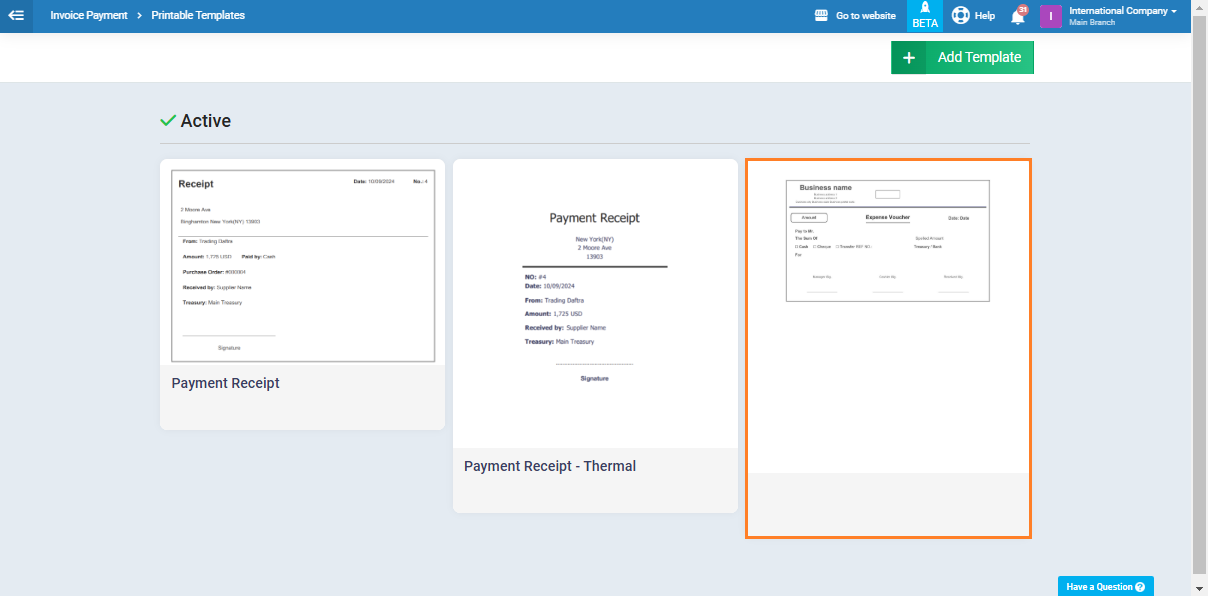
Printing the New Payment Receipt Template for Client Payments