Comprehensive Guide to Booking a Service
When adding a new service to the system, you can specify a time period to allow booking this service for your clients for a specific duration. This makes it easier for you to organize reservation schedules, assign them to responsible employees, and convert bookings into invoices.
How to Book a Service
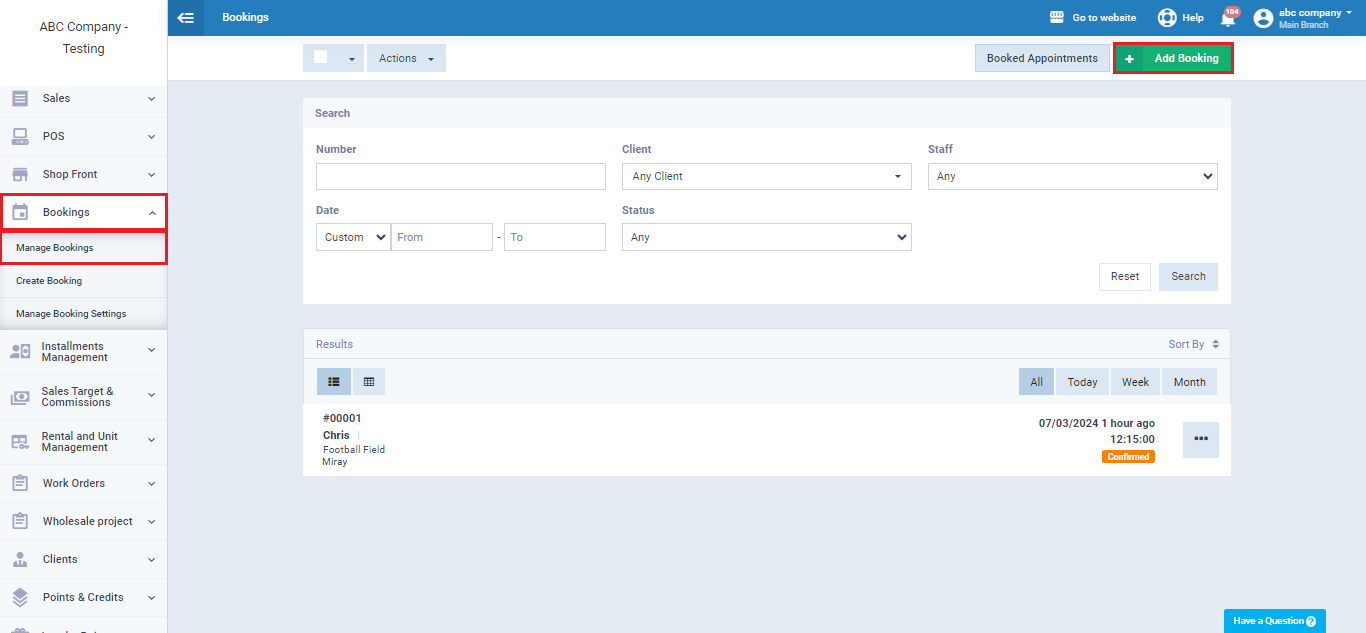
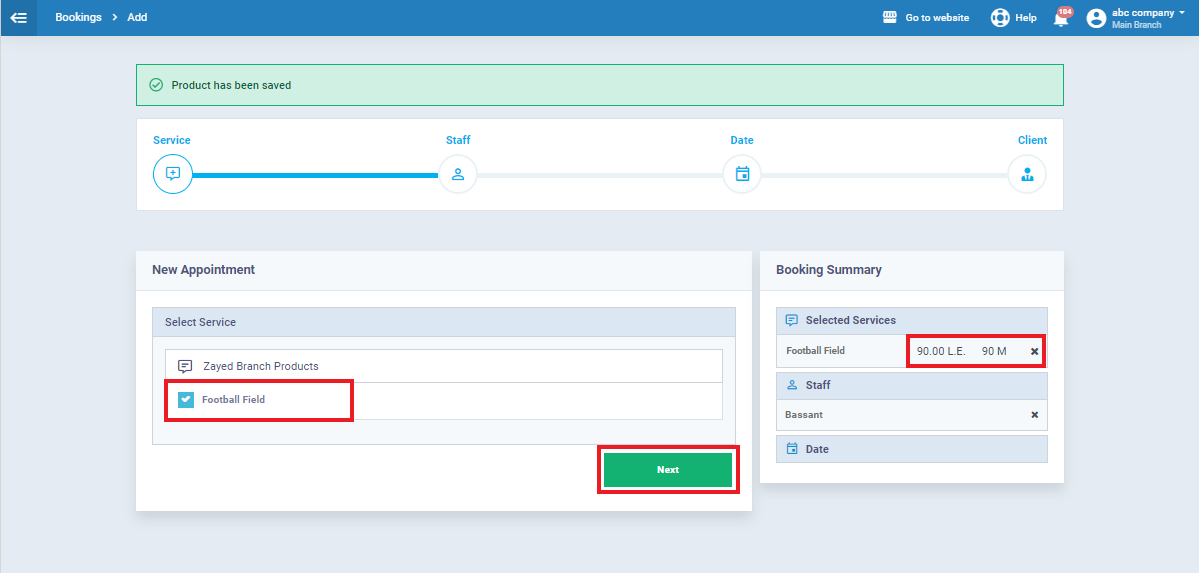
Click on “Select Service,” then click on the name of the service you want to book, for example, “Football Field Reservation.”
Then press the “Next” button.
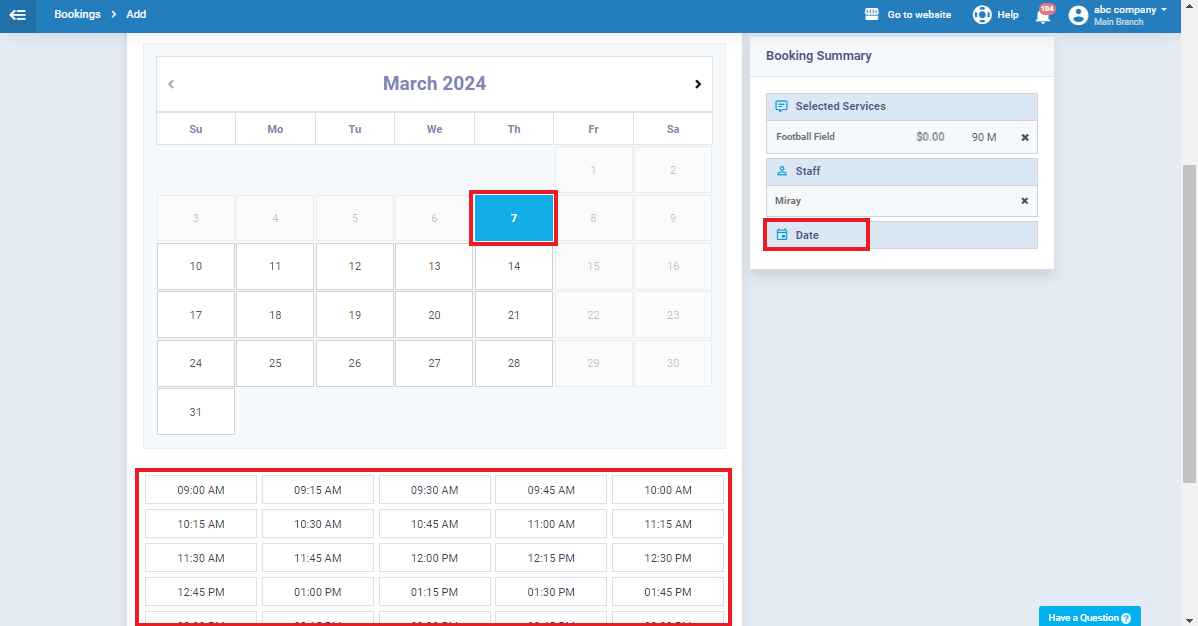
After selecting the service, you will notice the appearance of the booking price and its duration.
Click on “Select Staff” and choose the name of the employee responsible for the booking.
Then press the “Next” button.
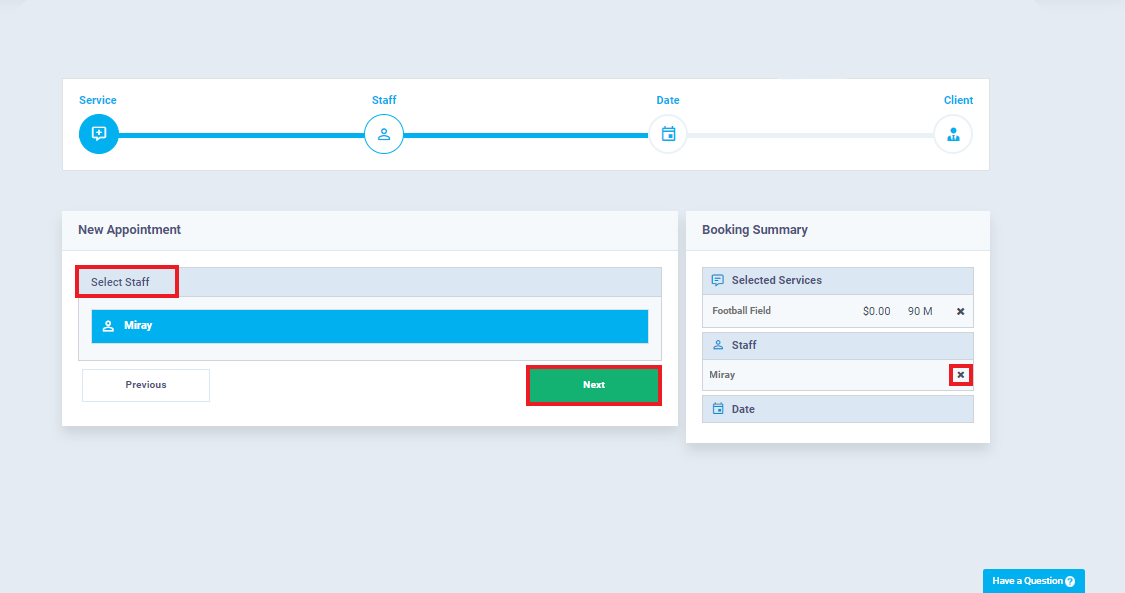
You can cancel the employee or service to change them by clicking on the “✖” symbol next to the name.
Choose the date and time for the booking, then press the “Next” button.
Click on “Select Client,” then click on the name of the client for whom you want to book the service.
Then press the “Complete Reservation” button.
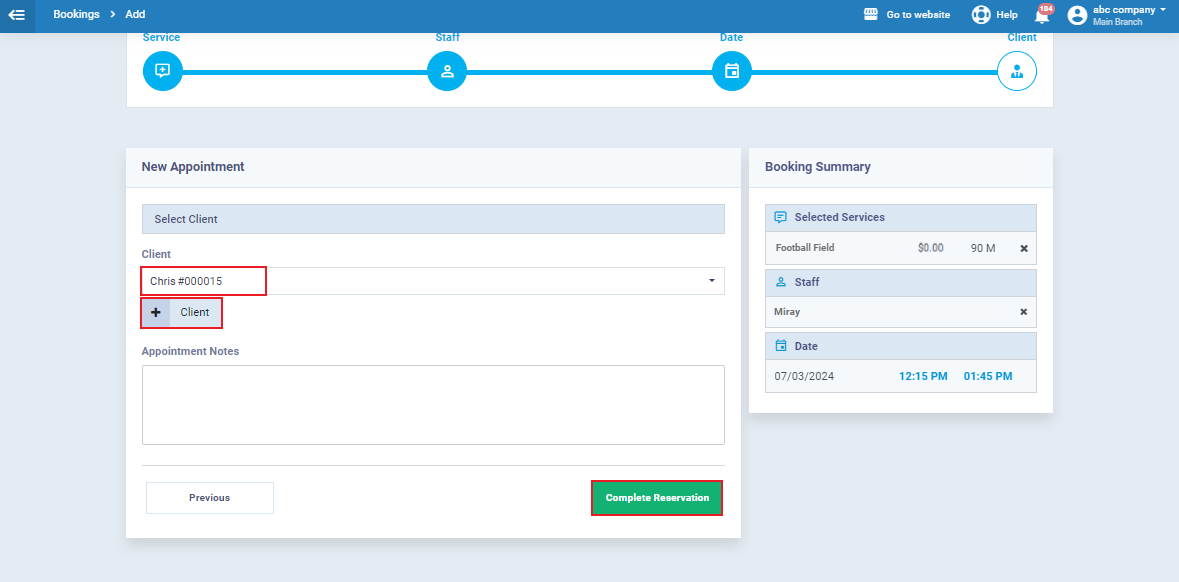
If the client you want to book the service for is new, you can add them instantly by clicking on the “+Client” button and entering their details.
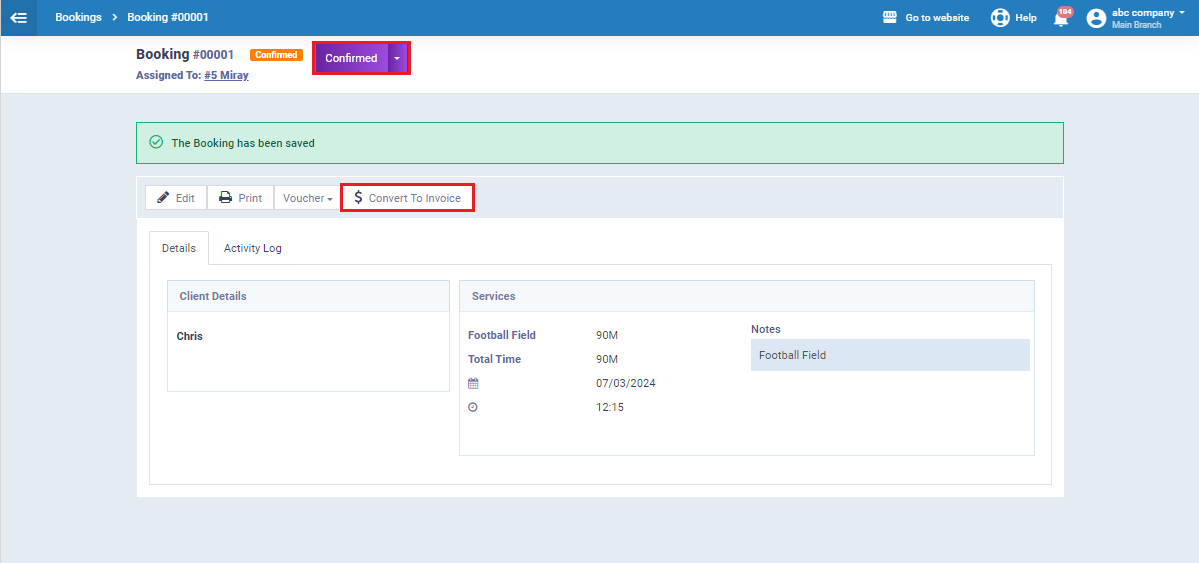
The reservation file and its details will appear after saving, and you can edit it, print it, or convert the reservation into an invoice by clicking on the “Convert to Invoice” button.
Booking Settings
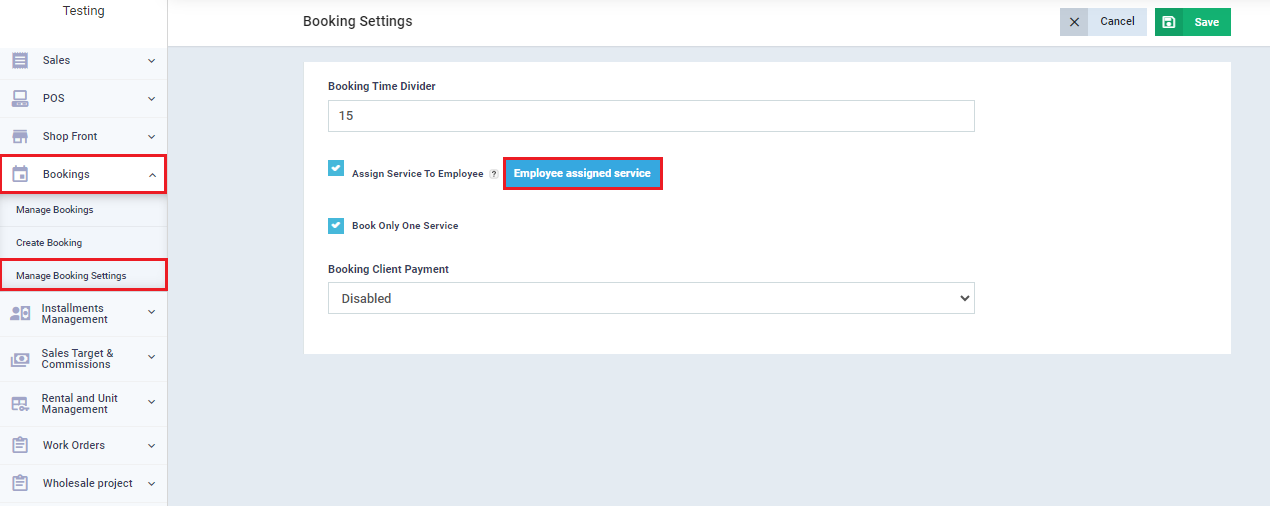
To adjust the settings, click on the “Manage Booking Settings” dropdown under “Bookings” in the main menu, where you will find the following settings:
Booking Time Divider: Enter the time interval between each appointment (in minutes). For example, if the interval is set to 15 minutes, booking slots will be available at 12:00, 12:15, 12:30, 12:45, and so on, for any booking hours.
Book Only One Service: When activated, the booking system turns into a single-service booking system each time, preventing the selection of more than one service in the same booking.
Booking Client Payment: This setting enables online payment features for the client after completing the booking. You can choose from the following options:
- Disabled: Disables the payment feature completely, and the client has to create the booking without payment.
- Enabled: Activates the payment feature, and the client is required to make the payment to complete the booking.
- Optional: Activates the payment feature for the booking invoice, allowing the client to skip the payment screen and complete the booking until the end.
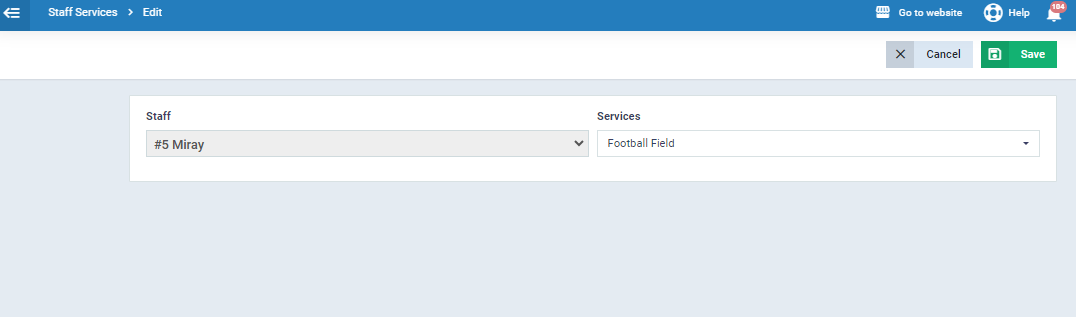
Assigning Services to Employees: Click the checkbox for this option to start assigning services to employees. You can refer to the “Assigning Services in Booking to Employees” guide for more details.
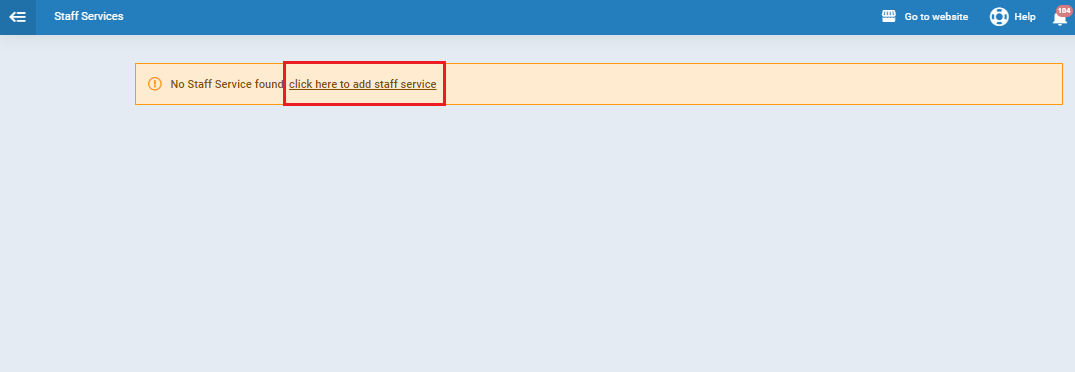
Click on “Click here to add staff service” to add a specific service for the employee.
Choose the employee you want to restrict to booking only one service and select the service name available for this employee to book.