Comprehensive Guide to Employee Custody Management
The system enables you to manage employee financial custodies from start to finish, including setting up settlement types, creating custodies, recording settlements, tracking balances and statuses, closing custodies, and handling exceptional cases such as bad debts. This guide walks you through the complete employee custody cycle.
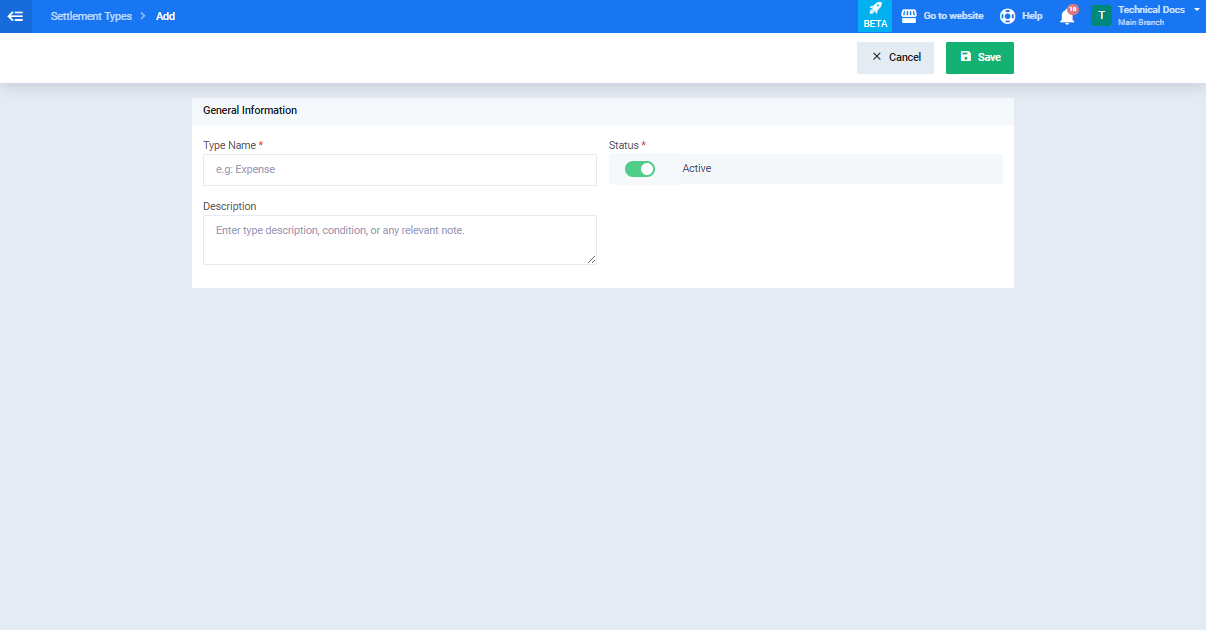
Before You Start: Setting Up Settlement Types
Before creating custodies and recording settlements, you need to configure the settlement types your team will use. Settlement types help categorize settlements based on their purpose.
- From the main menu, go to “Finance“.
- Open “Finance Settings“.
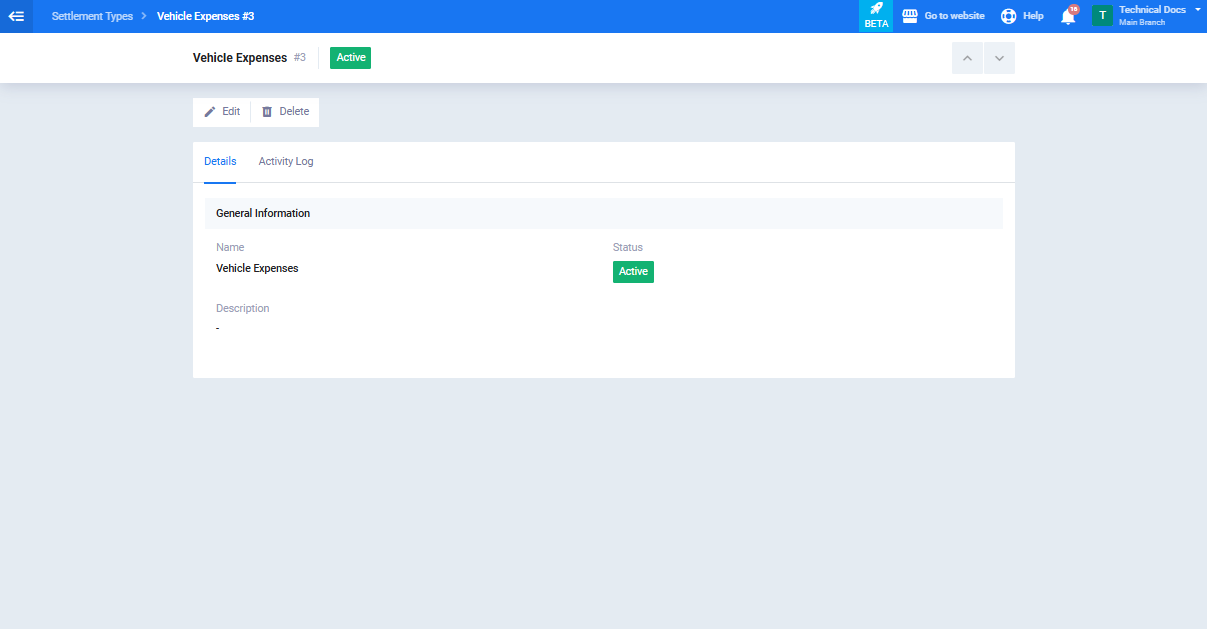
- Open the “Settlement Types” card.
- Click “Add Settlement Type“.
- Enter the “Settlement type name“. (Required)
- Enter a “Description” if needed. (Optional)
- Make sure the status is set to “Active” so it appears in settlement dropdown lists.
- Click “Save“.
First: Creating a New Employee Custody
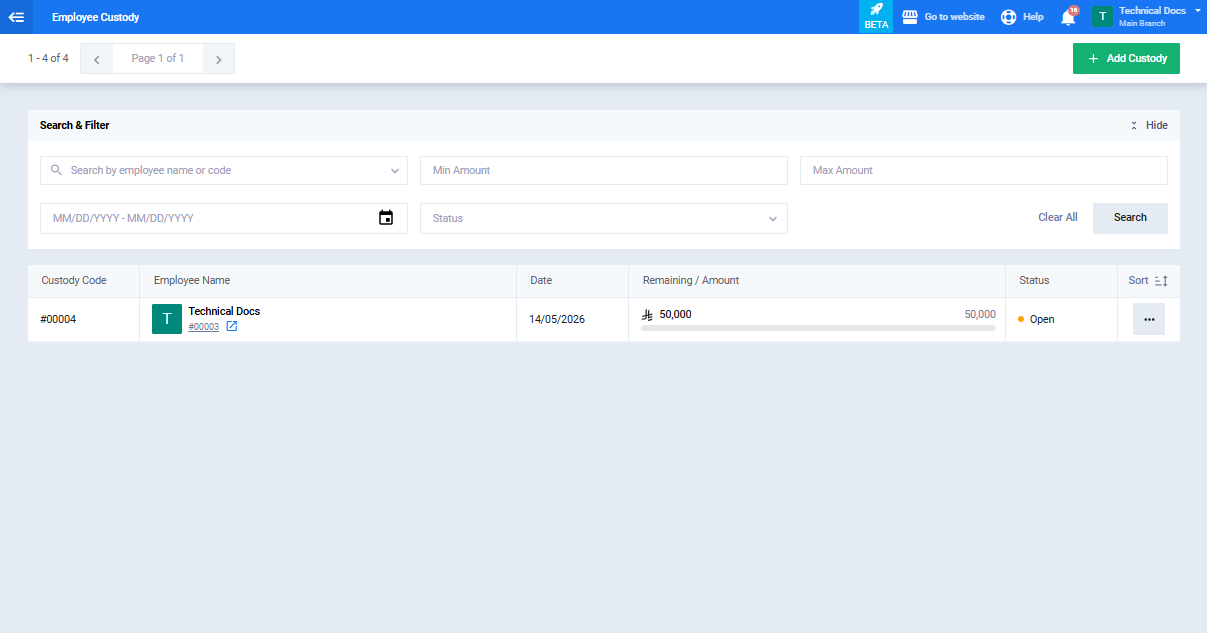
- From the main menu, go to “Finance” then select “Employee Custodies“.
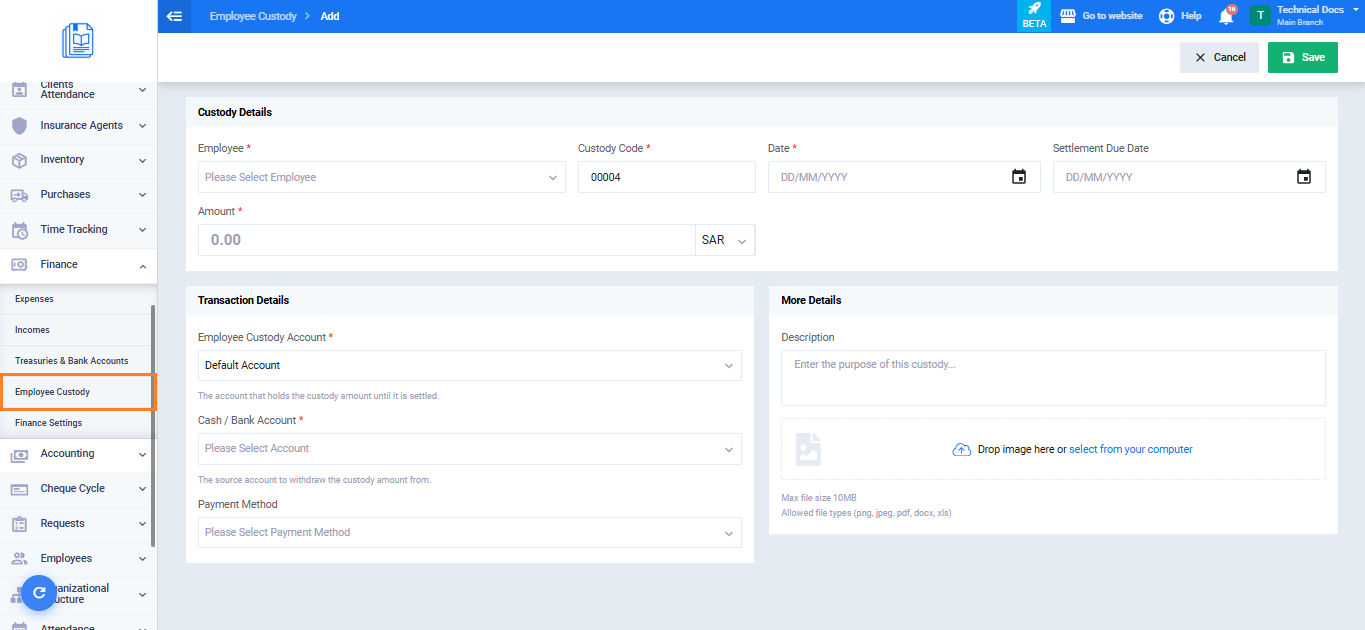
- Click “Add Custody“.
- Enter the custody details:
Basic Information- Employee: Select the employee assigned to the custody.
- Custody Code: Automatically generated by the system.
- Date: Select the custody date.
- Settlement Due Date: Select the due date for settlement.
- Amount: Enter the custody amount.
- Financial Transaction Details
- Employee Custody Account: Select the account carrying the custody balance.
- Cash / Bank Account: Select the main account used to disburse the custody amount.
- Payment Method: Select the payment method used for the transaction.
- Additional Information
- Description: Enter the purpose or details of the custody.
- Click “Save“.
Second: Adding a Settlement to the Custody
When the employee settles part or all of the custody amount:
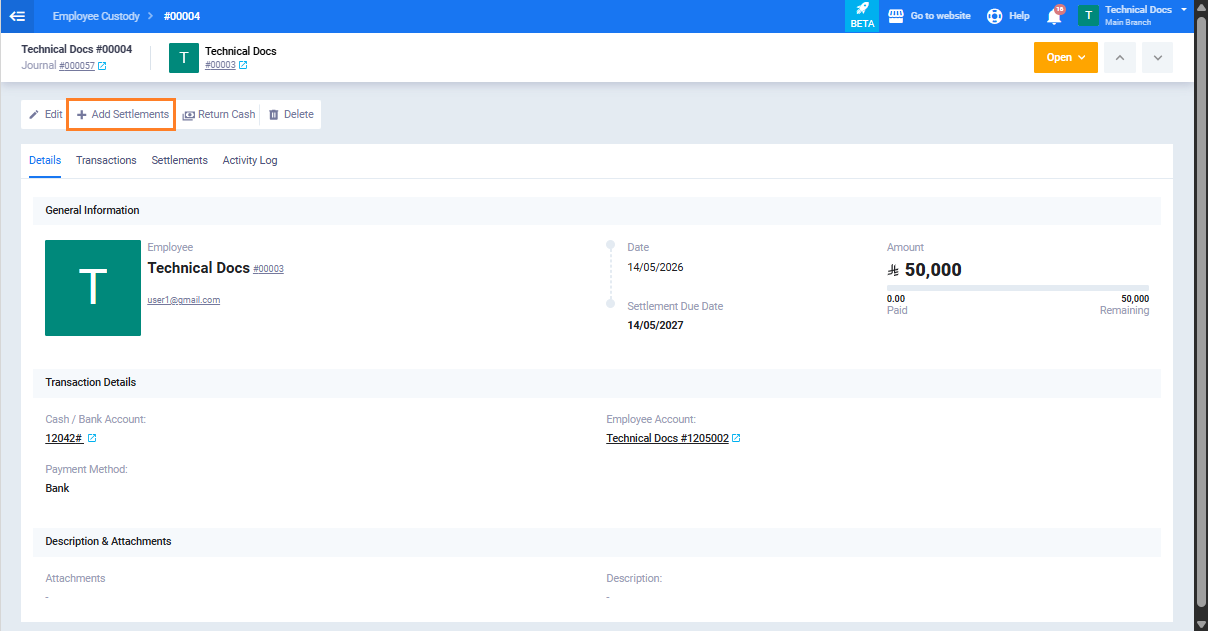
- Open the required custody from the “Employee Custodies” list.
- Click “Add Settlement” from the actions menu at the top.
- The screen allows adding multiple settlement lines before saving. For each settlement line, enter the following:
- Number: Automatically generated settlement number. (Required)
- Date: Select the settlement date. (Required)
- Type: Select the settlement type from the dropdown list. (Required)
- Account: Select the debit account from the chart of accounts. (Required)
- Description: Enter notes or additional details. (Optional)
- Attachments: Upload supporting documents. (Optional)
- Amount: Enter the settlement amount. Must be greater than zero. (Required)
- Managing Settlement Lines
- Click “Add Line” to insert a new settlement line.
- Click the delete icon next to any line to remove it before saving.
- Multiple lines can be selected and deleted using bulk delete.
After entering all settlement lines:
Click “Save” to record the settlements.
Or click “Cancel” to exit without saving.

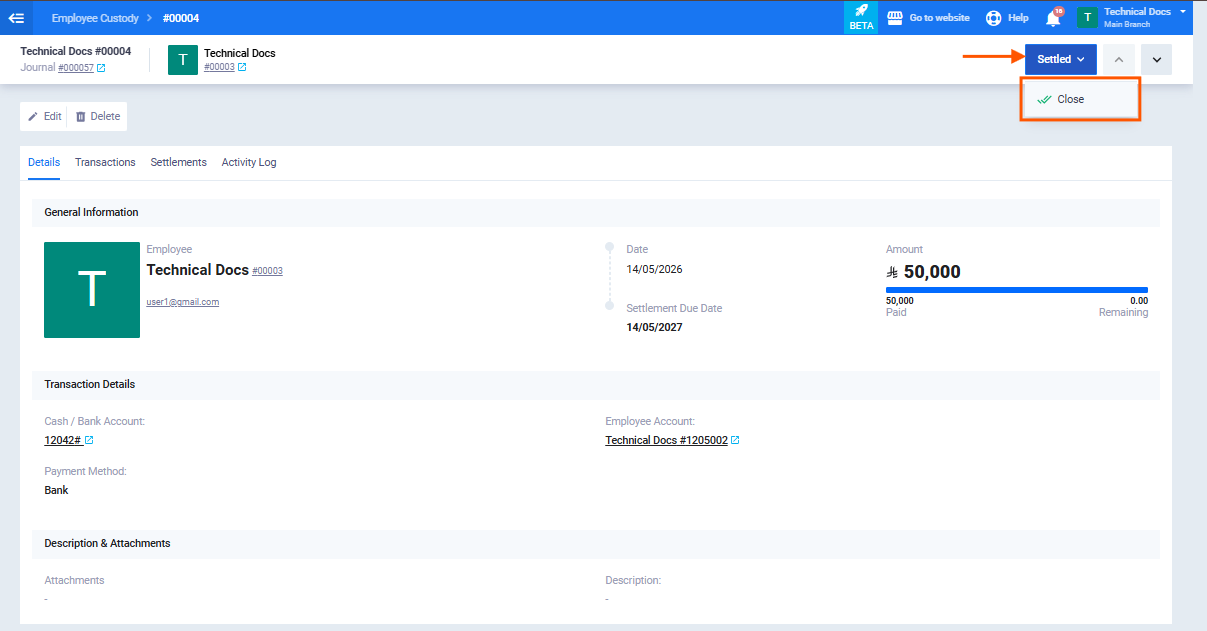
Third: Closing the Custody After Full Settlement
Once the remaining balance becomes zero and the custody status changes to “Settled“, you can officially close it.
- From the custody view page, click on the custody status.
- Select “Close“.
- A confirmation message will appear: “Are you sure you want to close this employee custody?”
- Click “Confirm“.


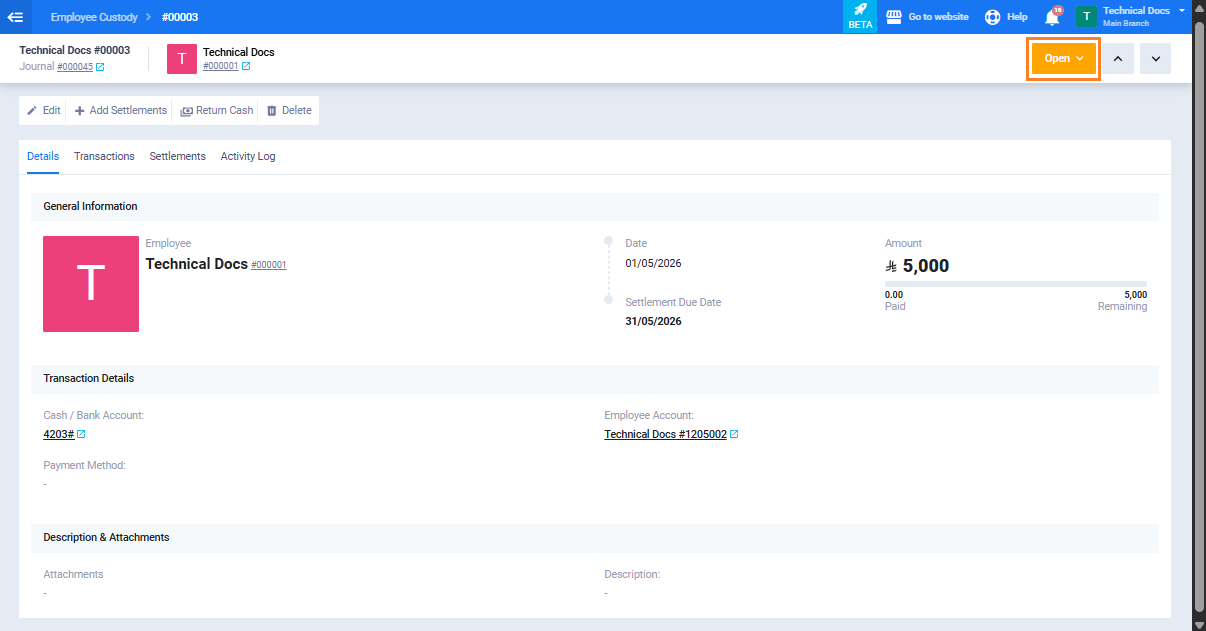
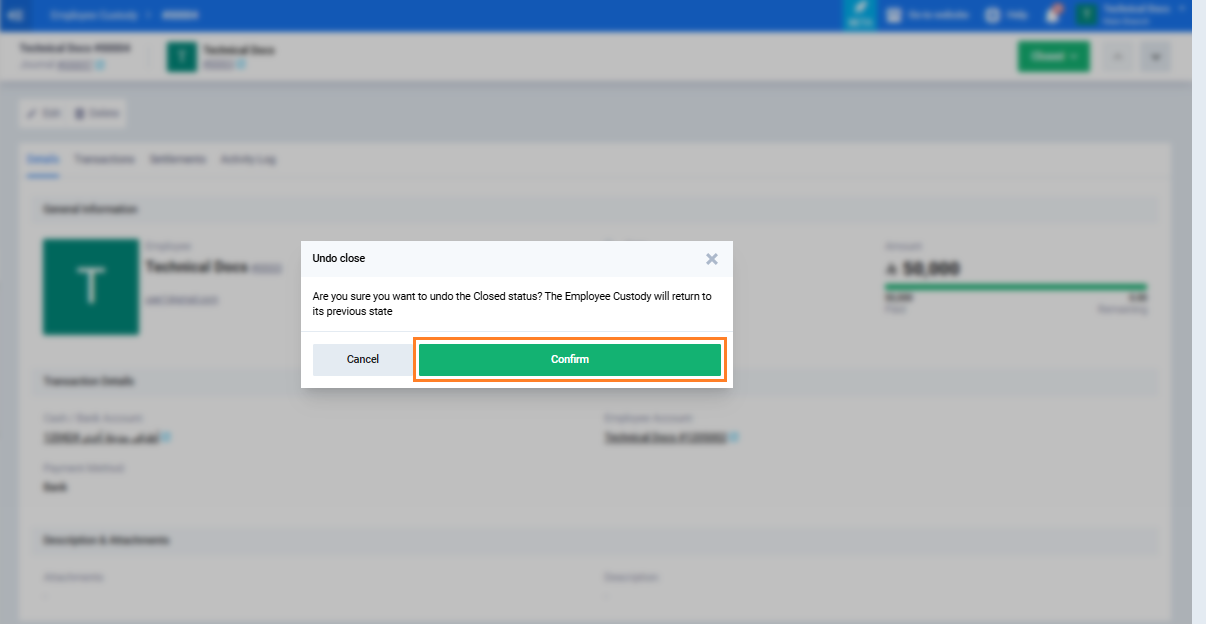
Fourth: Reopening a Closed Custody
If a custody was closed by mistake:
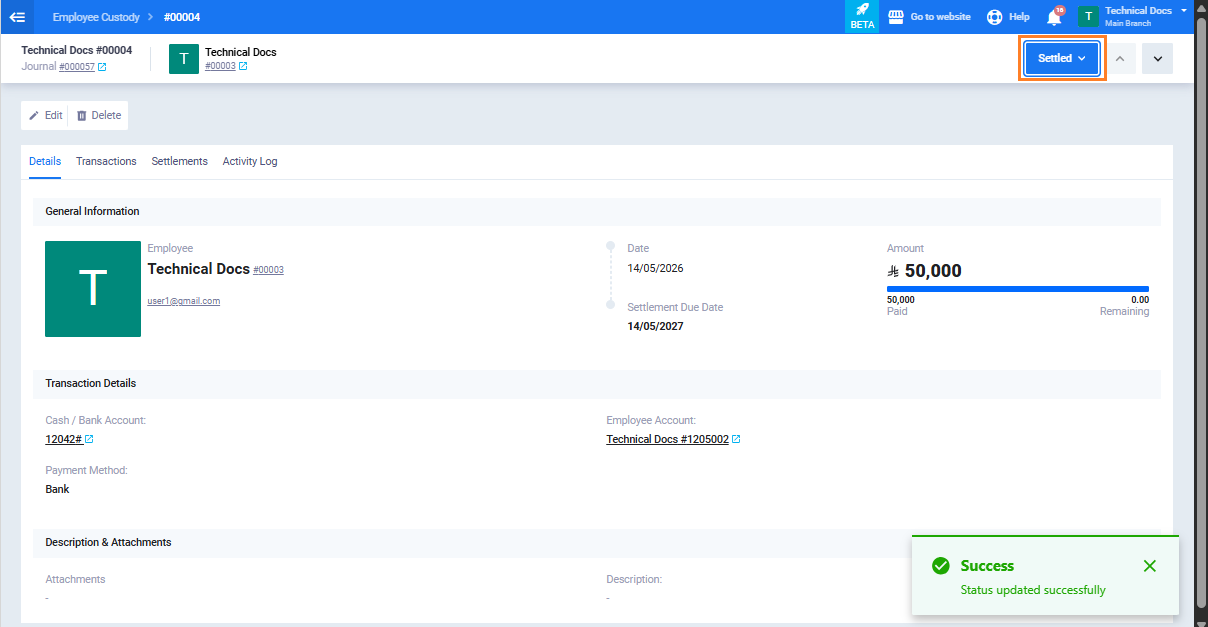
- Open the closed custody. Click on the custody “Status” then select “Undo Close“.
- A confirmation message will appear: “Are you sure you want to cancel the closed status?” The custody will return to its previous status.”
- Click “Confirm“.

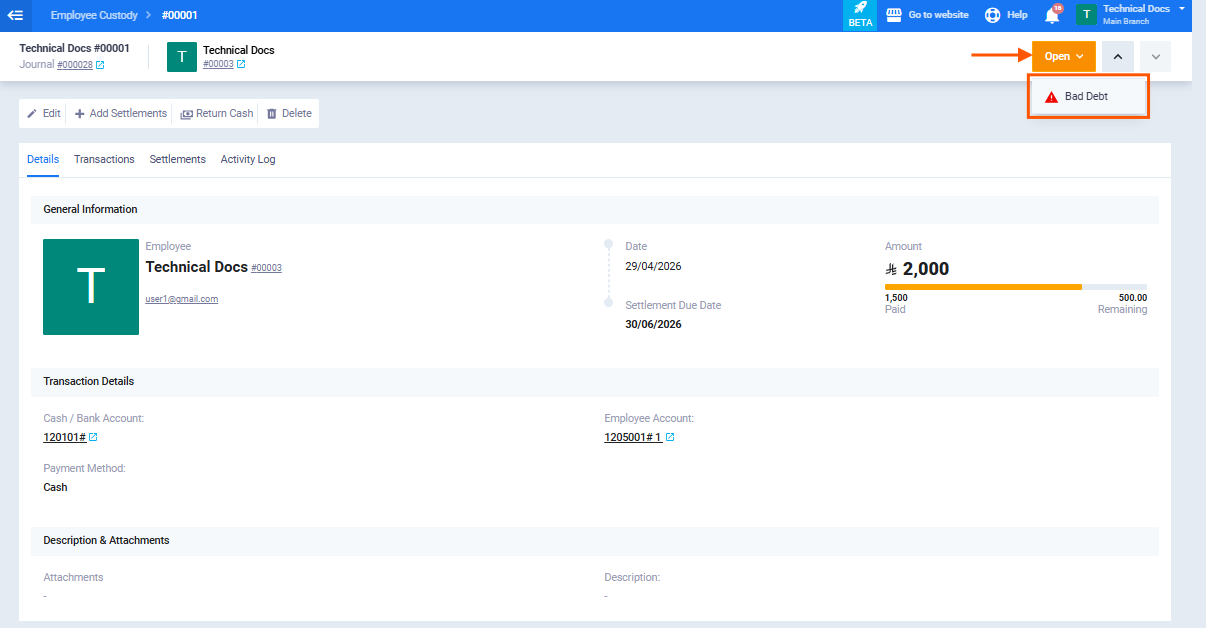
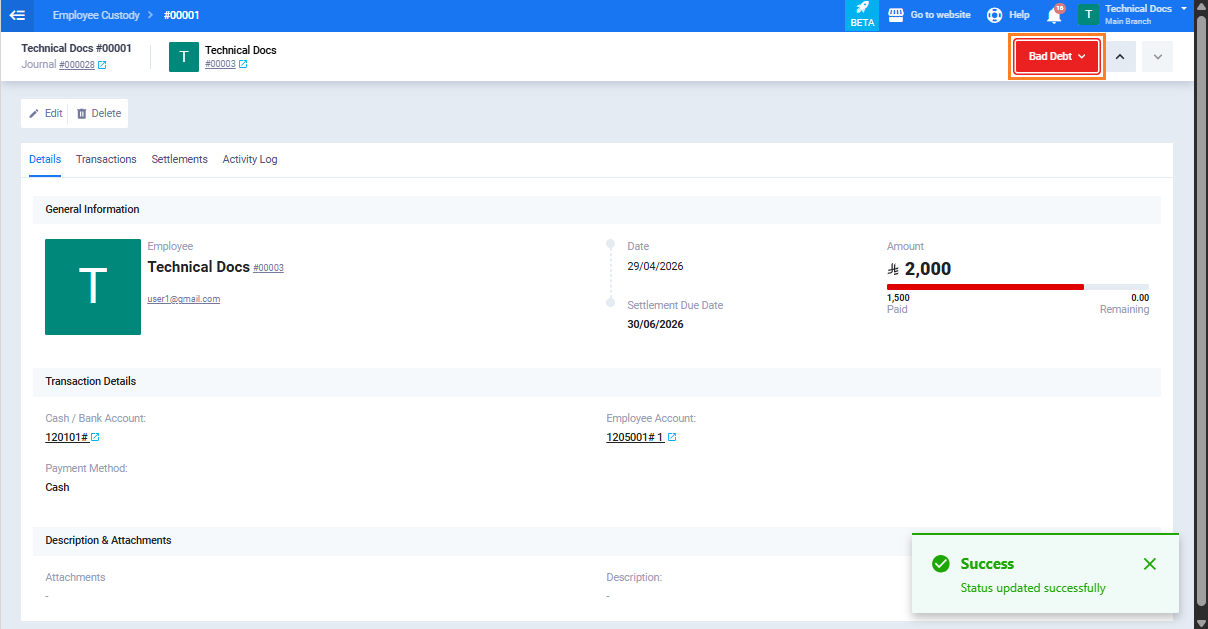
Fifth: Recording the Custody as Bad Debt
If the remaining balance cannot be recovered from the employee:
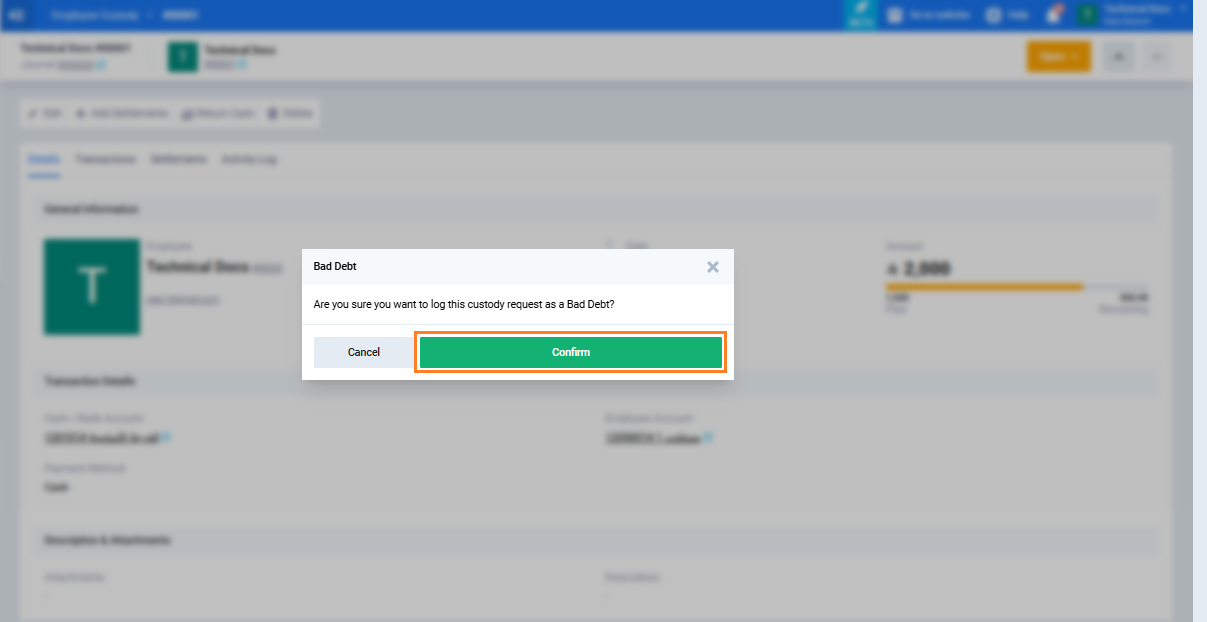
- Open the custody page. Click on the custody “Status” then select “Bad Debt”.
- A confirmation message will appear: “Are you sure you want to record this custody as bad debt?”
- Click “Confirm“.
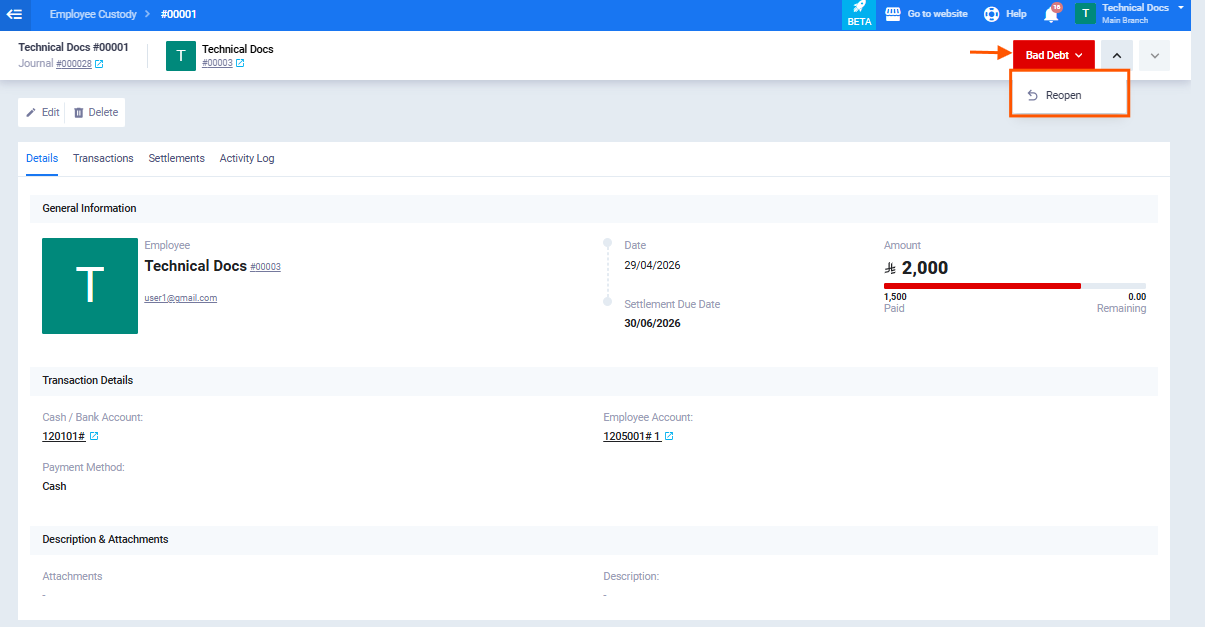
Sixth: Reversing the Bad Debt Status
If the custody was marked as bad debt by mistake:
- Open the custody marked as bad debt. Click on the custody “Status” then select “Reopen” .
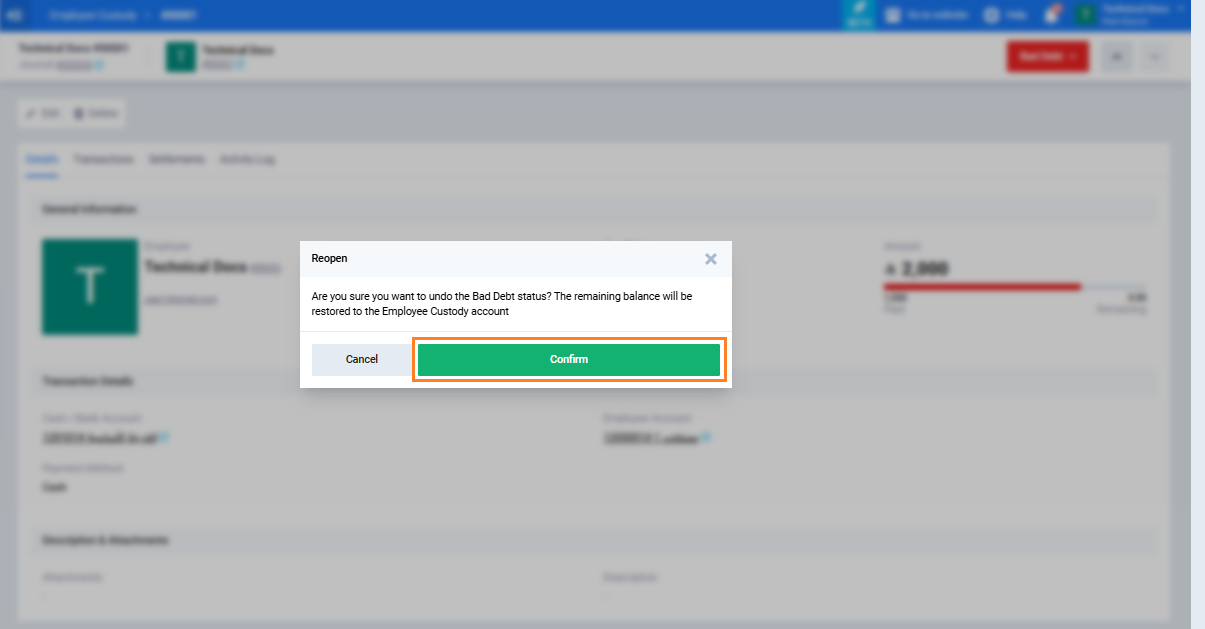
- A confirmation message will appear: “Are you sure you want to cancel the bad debt status? The remaining balance will be restored to the employee custody account.”
- Click “Confirm“.