Comprehensive Guide for the Work Flow Module
The workflow is similar to work orders, where it helps you create a special file for each budget-defined project, to which you add all documents and transactions associated with this project, and ultimately review its profitability,
but the workflow is more flexible and can be shaped in a way that best suits your business. Additionally, the system allows you to add and manage more than one workflow at the same time.
Workflows are used in:
- Project management like contracting.
- Managing operations where there is a time period or steps between the client’s request for service and its execution.
Examples of workflows that you can open according to your business activity:
- Opening cases for clients, in law firms.
- Creating maintenance orders, in various maintenance centers.
- Booking examinations and monitoring patient status, in clinics.
In the end, you can issue reports for each of your workflows independently, as well as load each workflow onto a different cost center if you want to estimate the profits resulting from the expenses paid to manage a dedicated project or each operation you perform separately.
How to Add a Workflow Type
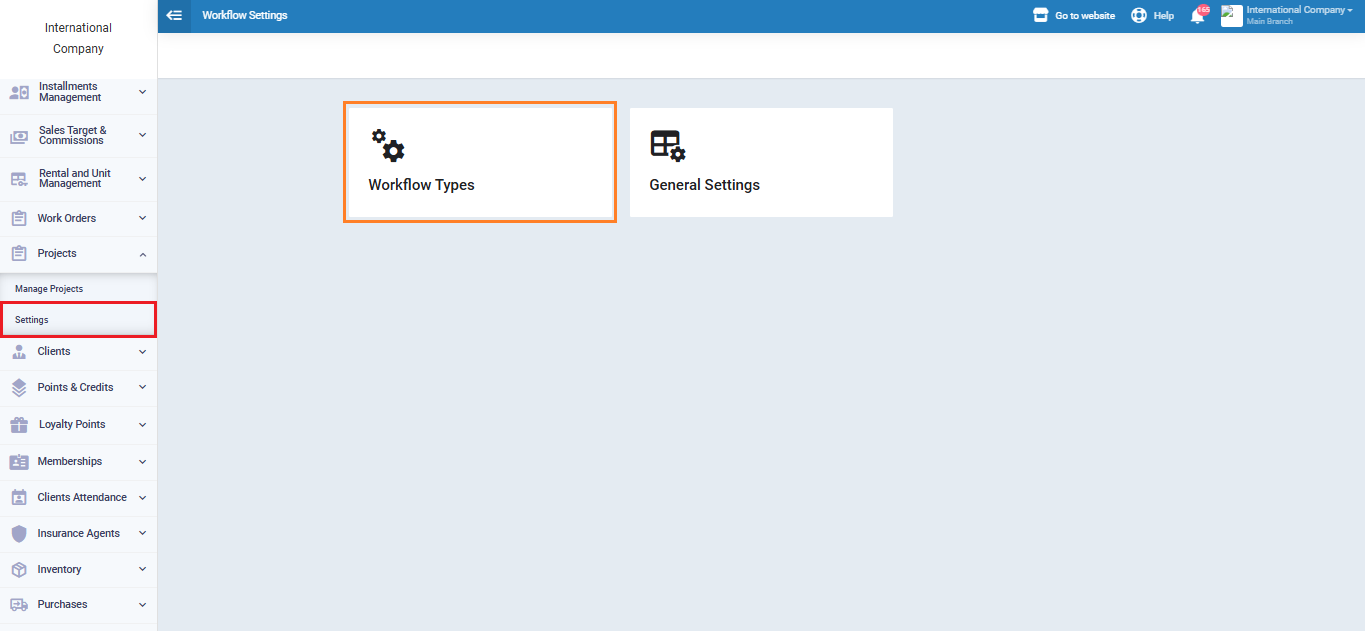
From the main menu, press on “Settings” dropped down from “Workflows” in the main menu then press on the card “Workflow Types”.

Press on the “Add Workflow Type” button.

Add the following general information for the workflow type:
- Plural Title: The name of the workflow type in plural form, for example: Car Contracts.
- Icon: Choose from the dropdown an icon that represents the nature of the workflow.
- Singular Title: The name of the workflow type in singular form, example: Car Contract.
- Status: Choose “Active” if you want to activate the type of workflow, and “Inactive” if you want to deactivate the type of workflow.
Press on the “Save” button.

You will find the workflow you created has appeared dropped down from “Workflows” in the main menu.

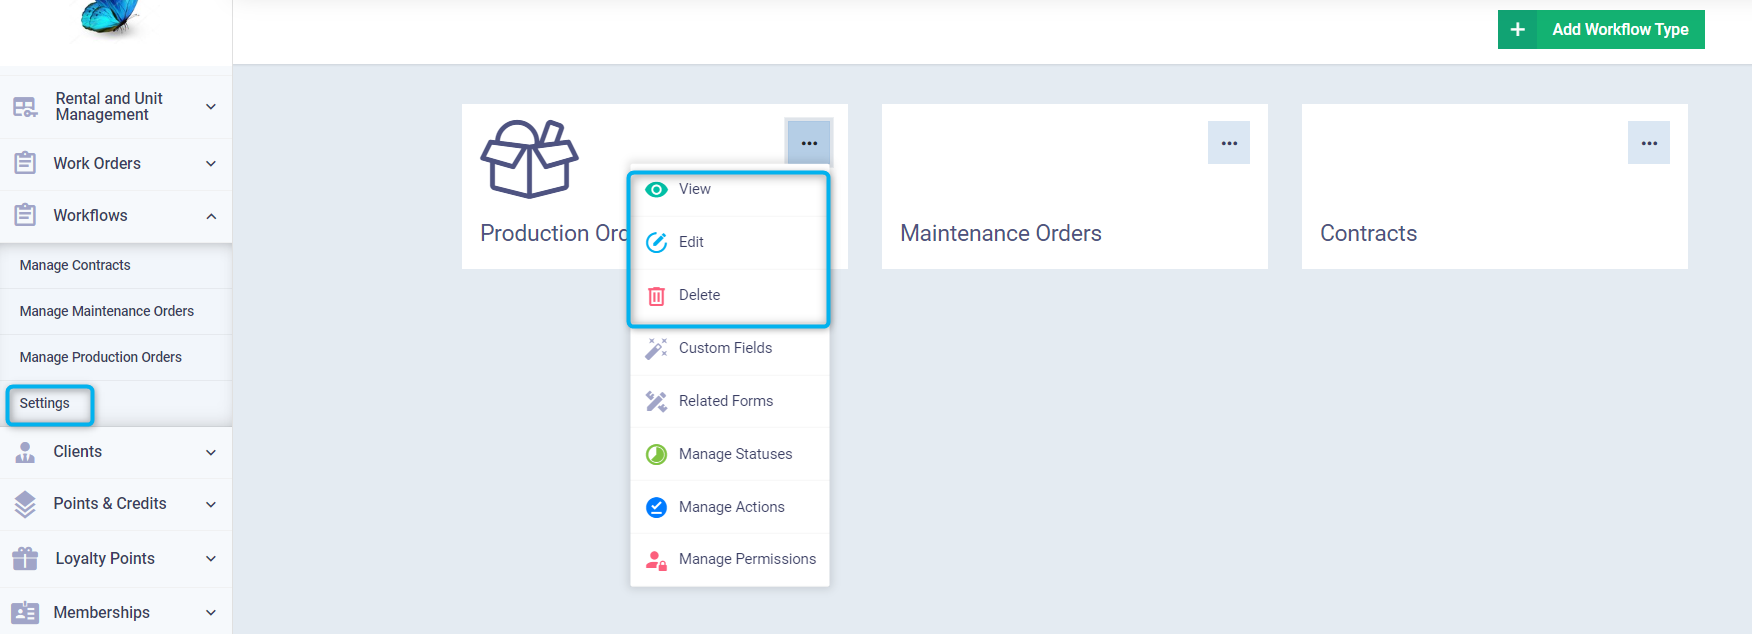
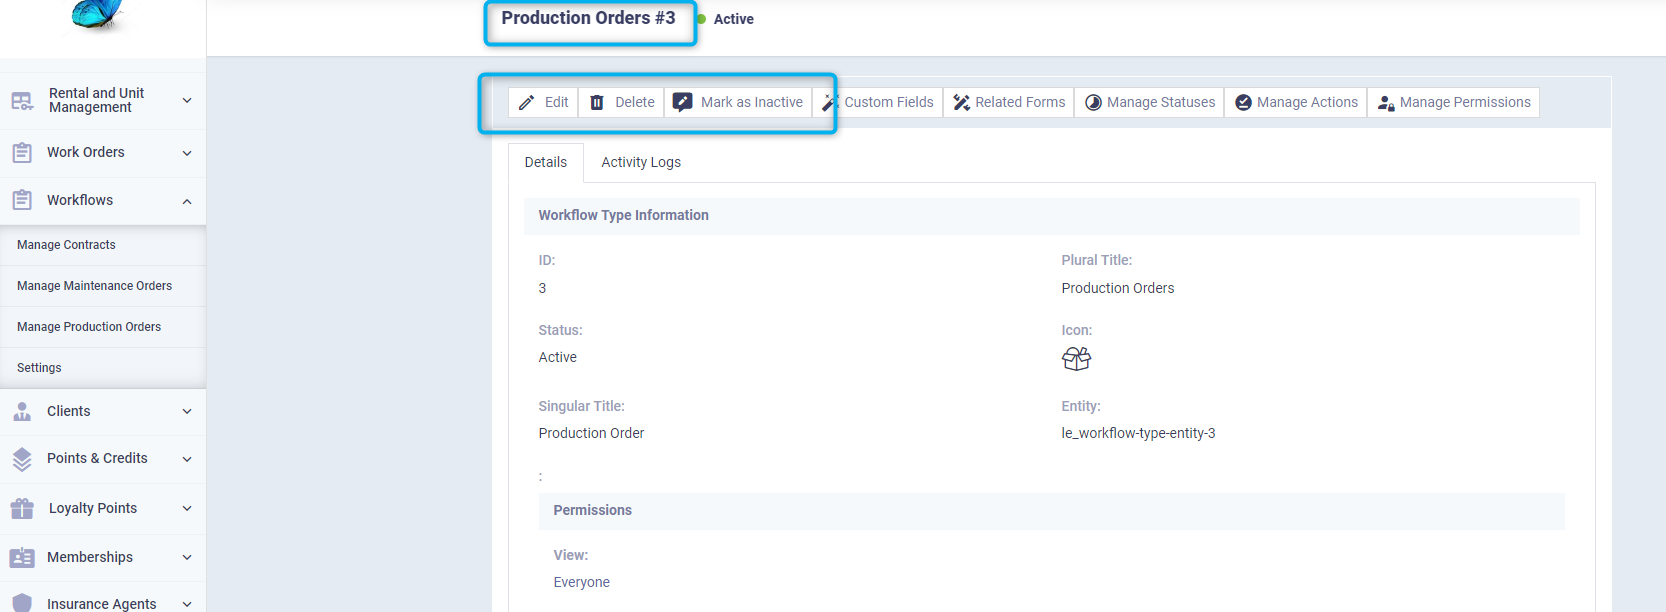
By clicking on the desired workflow type, you can perform some actions on it such as: “Edit” – “Delete” – “Mark as Inactive”.

Adding a Document in the Workflow
How to add a Document in the Workflow
From the main menu, press “Workflows”.
Press the “Add Workflow” button or, for example, “Add Car Contract”

When adding a new “Workflow Type” for car contracts, for example, you can add custom fields to control the type of data required for each new file, i.e., for each car contract, and you can stick with the default data found without setup if you added a file within the workflow type.
Add the document data, which you find an explanation for its default fields here, in addition to the custom fields that you add yourself.
Then press the “Save” button.
You are able to perform some actions on a workflow document, which you can review here:
- [Additional fields for the Workflow Type]
- [Related forms for the Workflow Type]
- [Statuses of the workflow type and its procedures]
- [Controlling the permissions of the workflow type]
- [Assigning a transaction to one of the projects of the workflow type]
- Schedule an appointment on one of the projects of the workflow type
- [Add a note/attachment on one of the projects of the workflow type]
