Importing Expenses via Excel
Recording expenses on the system can be done individually for each expense or by uploading all expenses to the system in an Excel file. In this guide, we review how to prepare the Excel file and how to import expenses from it into the system in moments.
Preparing the Excel File for Uploading Expense Data
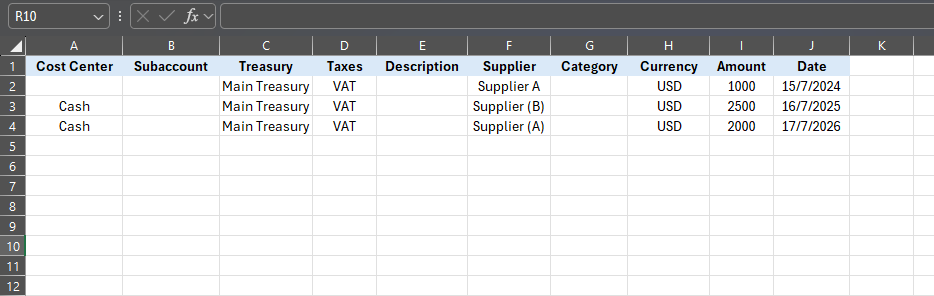
Make sure to prepare an Excel file that includes the expense data you want to upload to the system, such as the date of the expense, amount, currency, taxes, treasury, cost center, and other relevant data.
How to Import Expenses From an Excel File
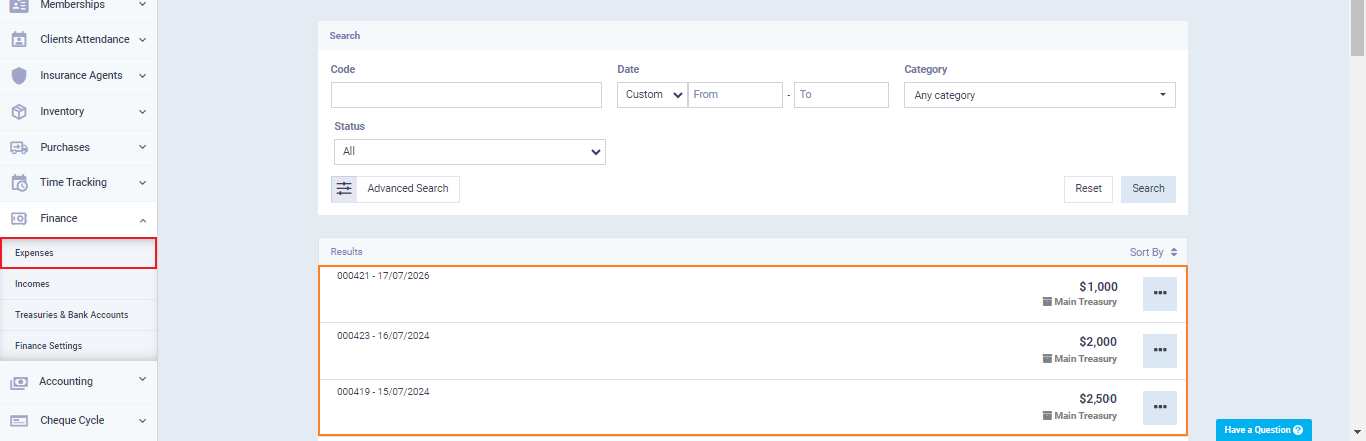
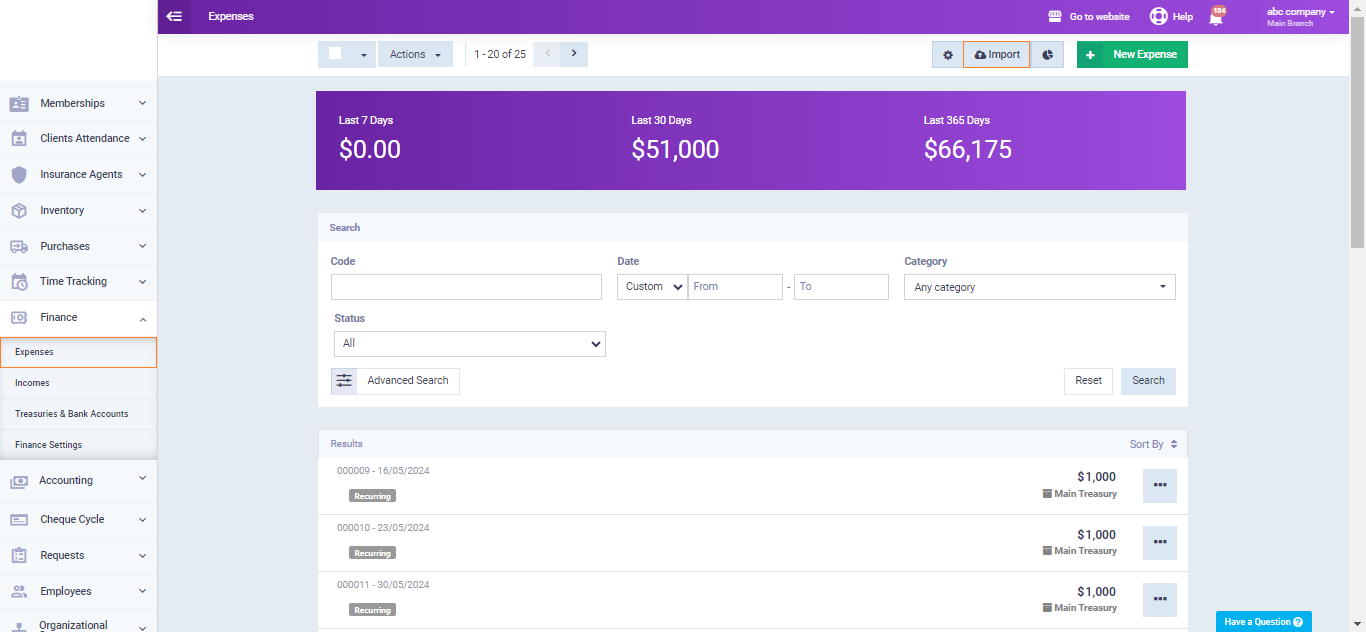
Click on “Expenses” under “Finance” in the main menu. Click on the “Import” button.
Select the “Comma Separated” option and click on “Choose File” to upload the Excel file from your device.
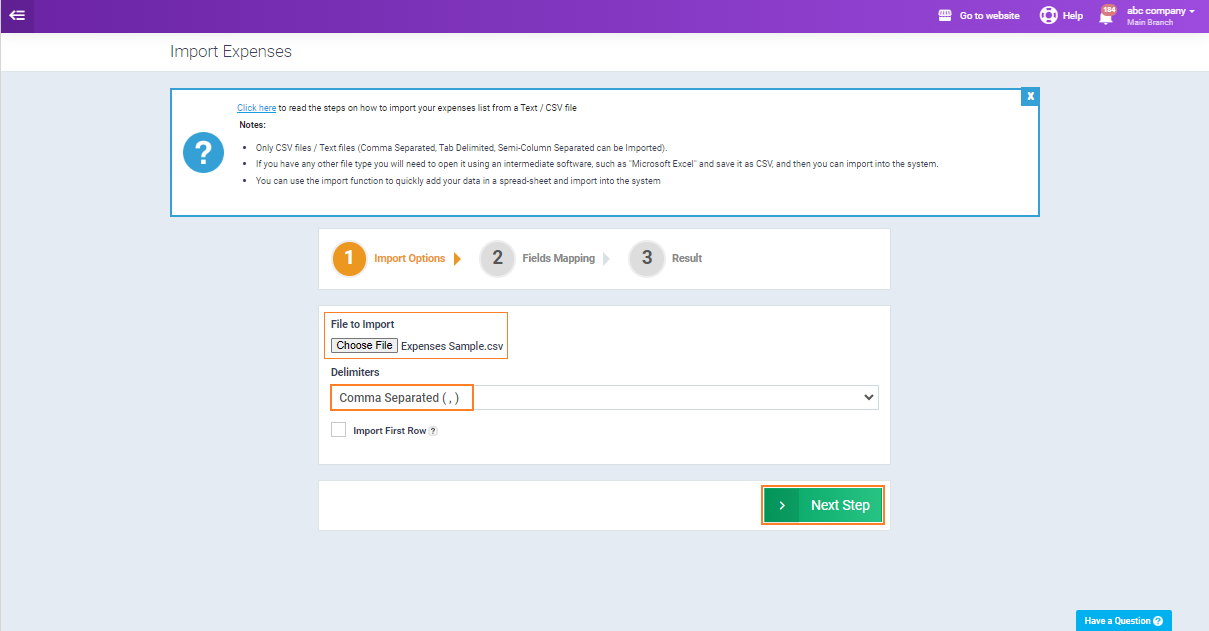
Select the Excel file containing the expenses from your device to upload to the system.
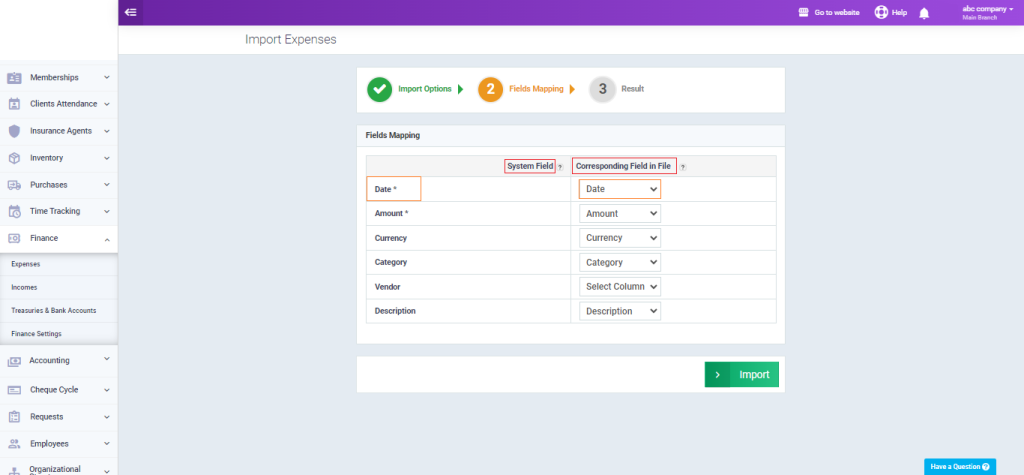
 Match the data fields in the Excel file containing the expenses with the corresponding fields in the system. For example, if the column header for the date of expenses in the Excel file is “Date,” select this header for the date field in the system so the system can recognize the type of data being uploaded. Then, click the “Import” button.
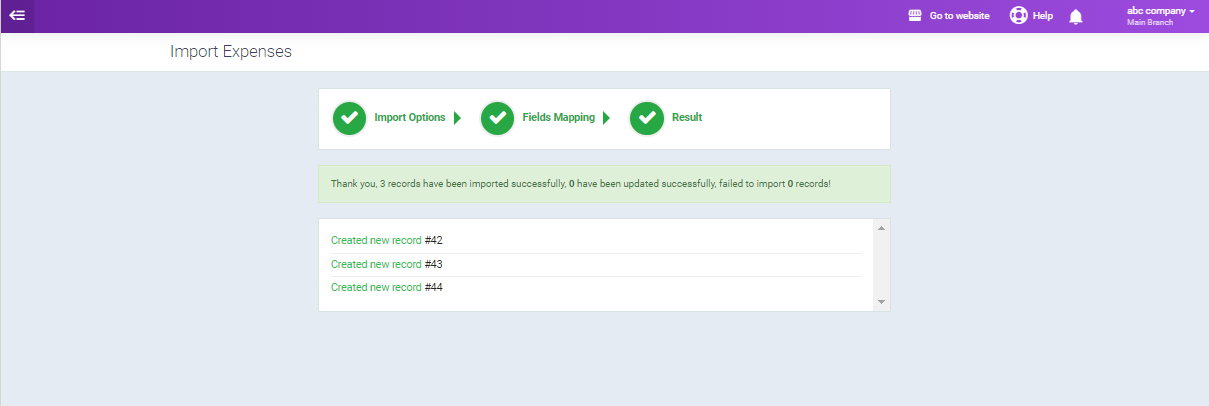
You will receive a message showing the number of expenses successfully imported, as well as those that failed to import, so you can correct the errors that caused the failures.