


Manually Importing Bank Statement to Match the Bank Account with the system
Through this feature on the system, you can reconcile the financial transactions occurring on your bank account with the corresponding expense and income in your account by uploading the Excel file containing your bank account transactions. This helps you manage your financial situation more efficiently and generate a comprehensive statement that clarifies the source, description, and bank reference of the financial transaction.
Reviewing the Appropriate Excel File for Importing Bank Account Data
Ensure that the Excel file is properly prepared with comprehensive client data intended to be uploaded to the system, such as the client’s name, email address, client code, business name, phone number, and other relevant information.

Method for Importing Bank Account Data From an Excel File
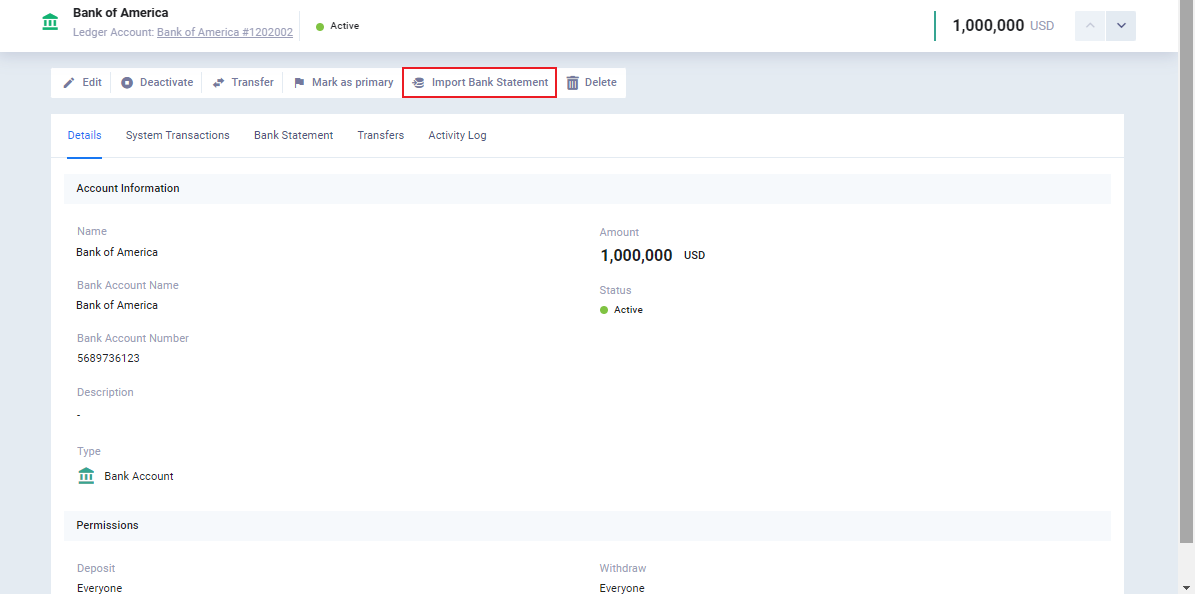
Click on “Treasuries & Bank Accounts” under “Finance” in the main menu, and select the bank account for which you want to import transactions.

Click on “Import Bank Statement“.
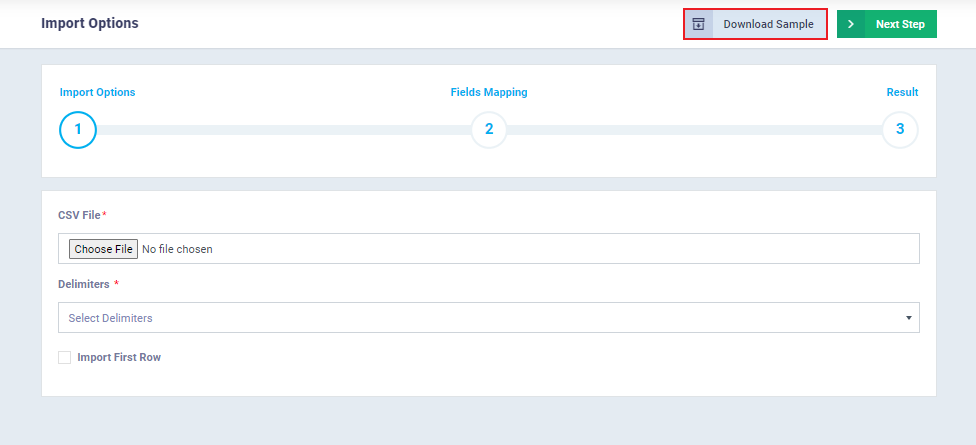
Select the “Comma Separated” option and click on “Choose File” to upload the Excel file from your device.
Match the data from your Excel file of the bank statement with the corresponding fields in the system. For example, if the column header for the transaction date in the bank statement Excel file is “Date,” write this header against the Date field in the system to recognize the type of data you upload. Then click on the “Import” button.
When you activate the “Ignore errors while importing” field, any errors that occur during the import process will not be displayed.
However, if it is not activated, the system will show you these errors for correction.

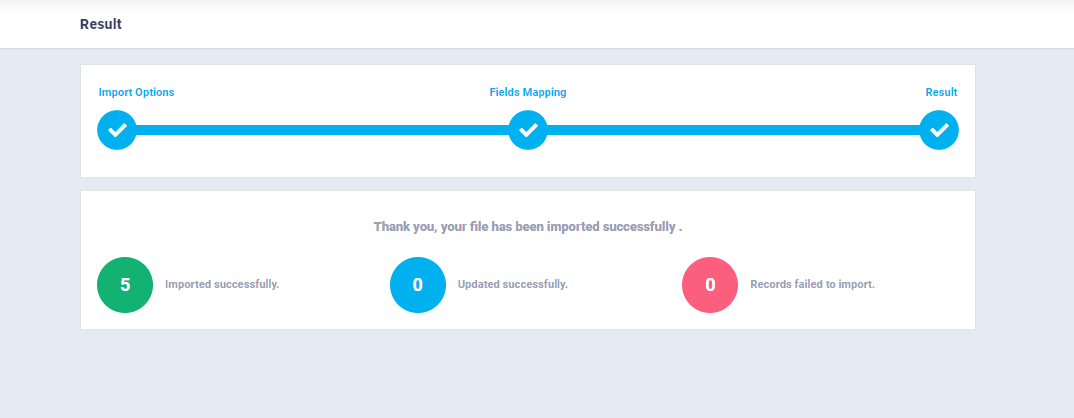
After successfully importing the bank statement via the Excel file, you can find it in the respective bank account in the system. Then, you can manually match it with the transactions recorded on the system.
Matching the Bank Statement with your Bank Transactions on the System
After importing the bank statement, click on “Treasuries and Bank Accounts” under “Finance” in the main menu. Then, select the bank account you want to reconcile with the bank statement file and click on the “Bank Statement” tab.
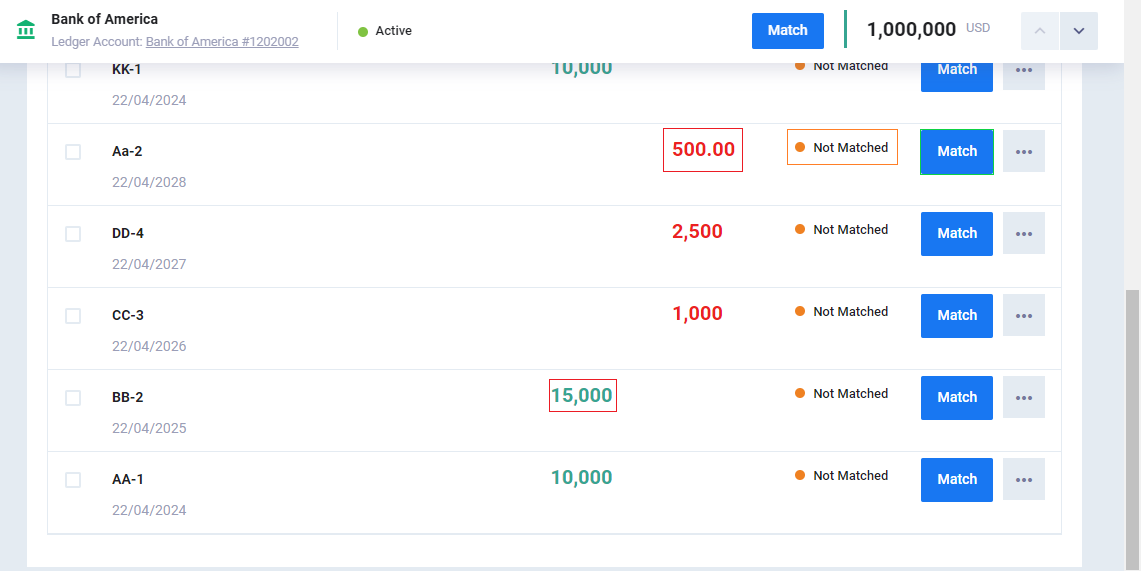
Here, you will see all the transactions imported from the Excel file, but they will appear as “Not matched” until you manually reconcile them with the transactions in your account.
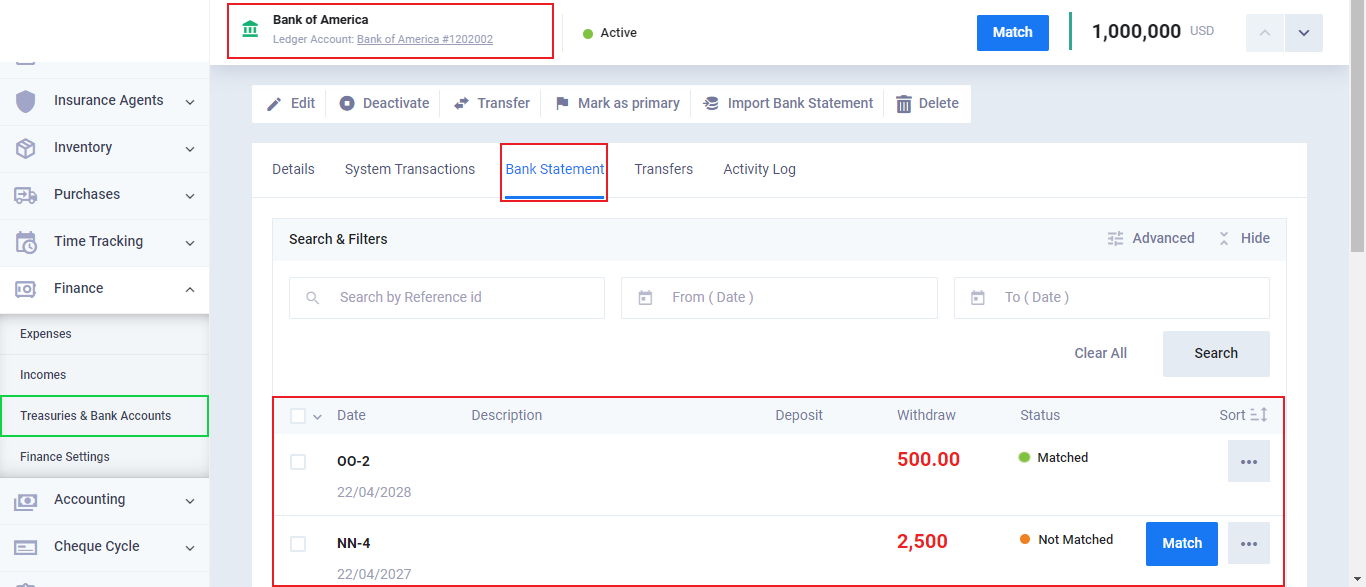
You can delete or exclude any of the transactions imported from the bank statement, and of course, you can match them with the transactions on the system.
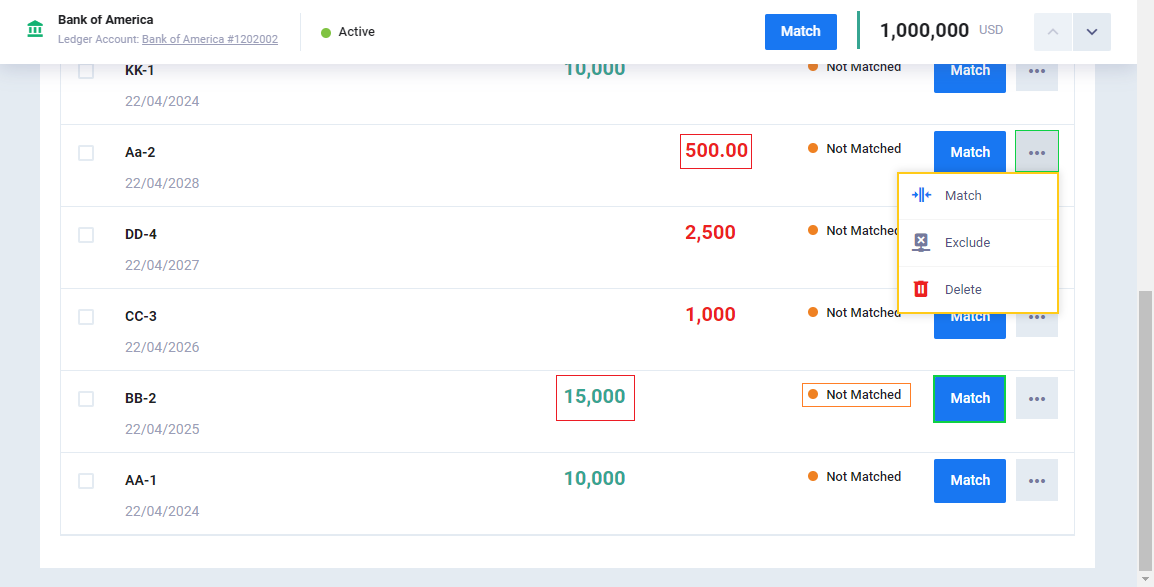
Withdrawal transactions appear in red, while deposit transactions appear in green. You can press the “Match” button to link the transactions from the Excel file (actual bank transactions) to those recorded in the account.
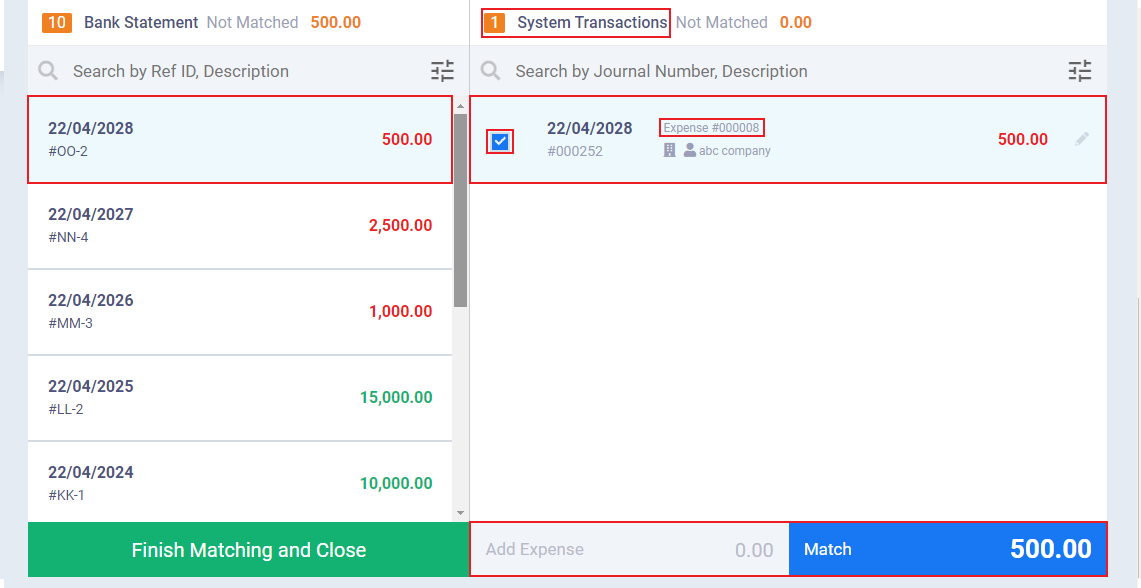
After clicking on “Match,” you will see a screen with two columns. The first column represents the bank statement you imported from the Excel file. By clicking on any of these transactions, all similar transactions from your account will automatically appear. If they are the same, click on the checkbox next to the system transaction to display a checkmark (✔), then click on the “Match” button. After matching all the desired transactions, click on the “Finish Matching and Close” button.
Note: If you do not find a similar transaction in the system for the bank account transaction, click on the “Add Income Voucher” or “Add Expense Voucher” button and manually add the transaction to the system, then proceed with matching.
To view system transactions, click on the “System Transactions” tab within the page of the desired bank account. Here, you will find all transactions related to the bank account, and it will indicate whether they have been matched with the bank statement or not.
