Sometimes, your business may need to create a purchase invoice and directly link it to a particular expense account to ensure accurate financial tracking and proper expense categorization. Follow the steps below to complete this process easily.
Start by disabling automatic account routing to allow manual selection of the desired account when recording purchase invoices.
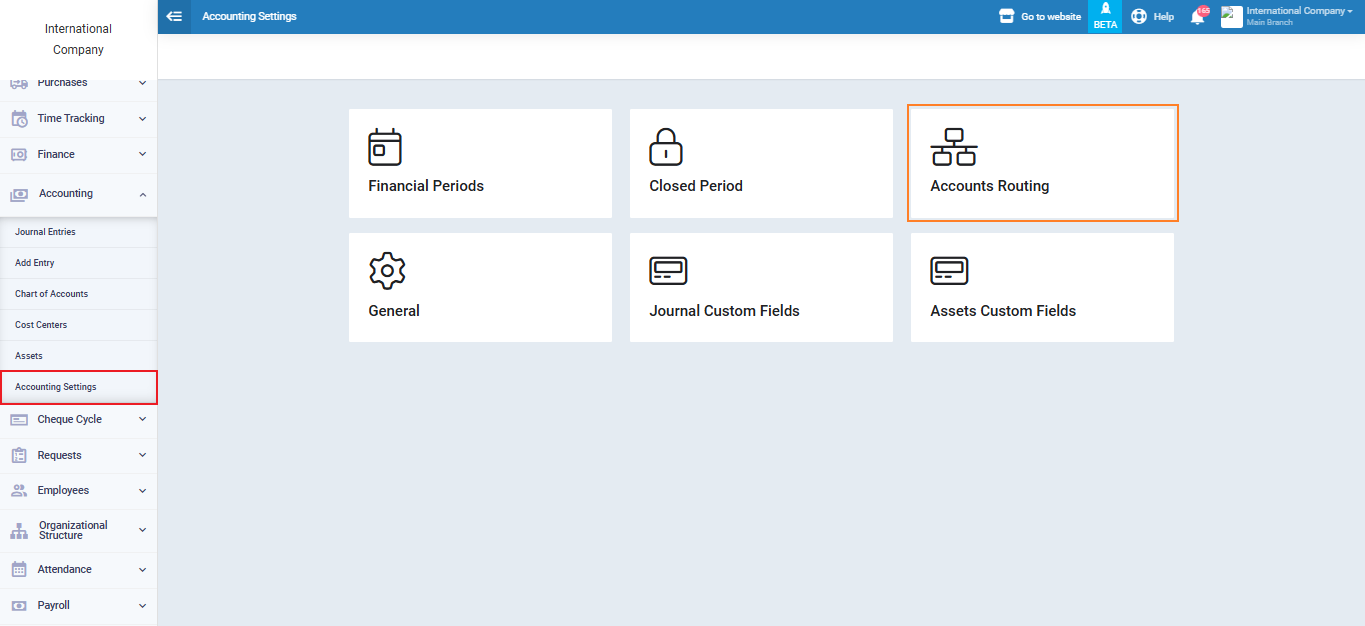
From the main menu, go to “Accounting”, then “Accounting Settings” and select “Accounts Routing.”
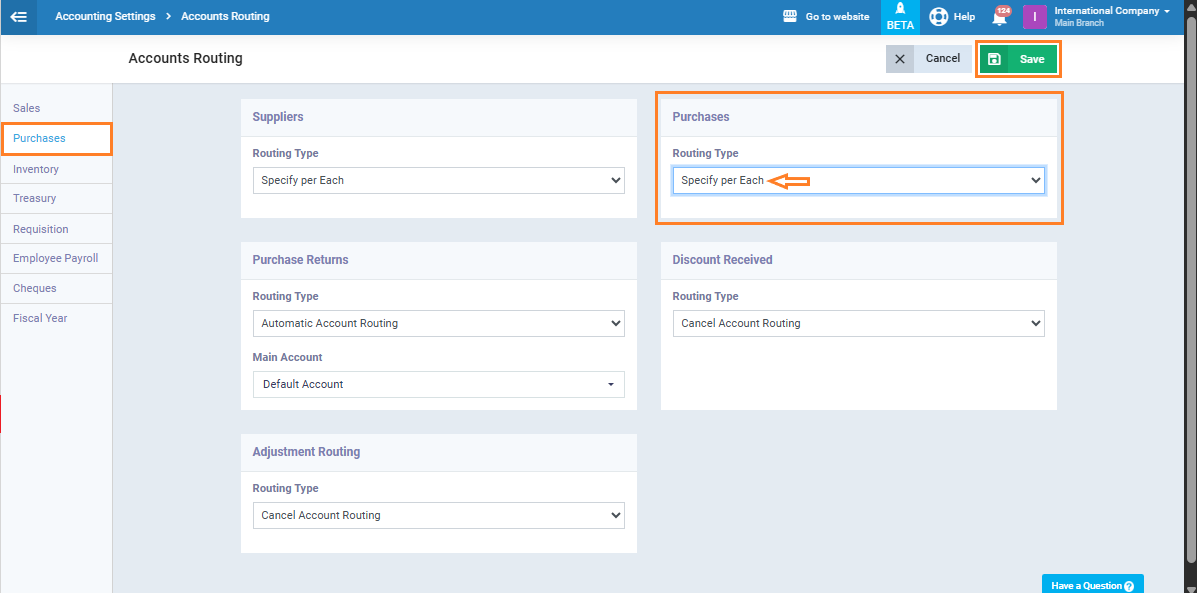
In the side menu, open the “Purchases” section, then select “Specify per Each” under “Purchases“. Click “Save” to apply your changes.
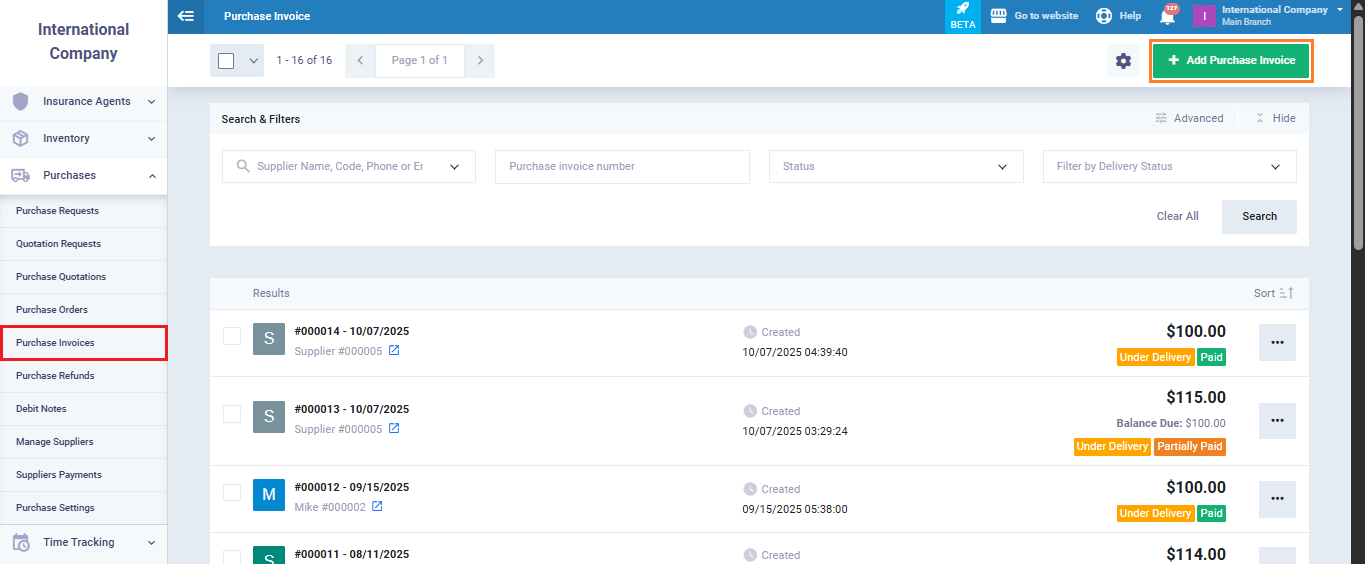
From the main menu, select “Purchases”, then “Purchase Invoices.” Click “Add Purchase Invoice” to start creating a new invoice.
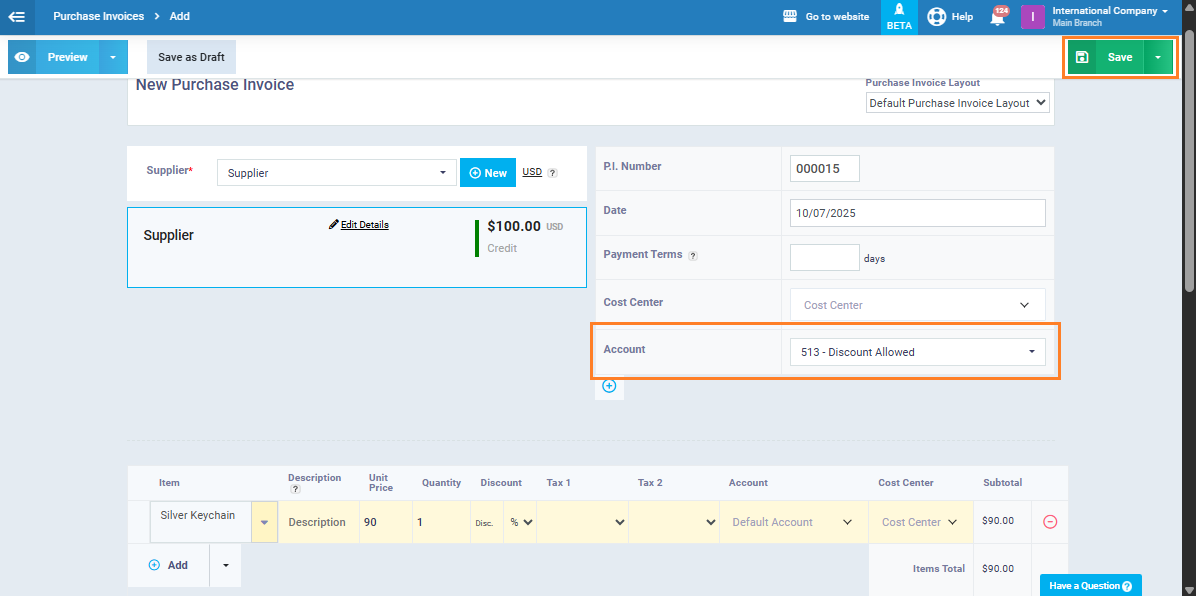
Enter the usual invoice details, then in the “Account” field, choose the expense account you want to route the invoice to, and click “Save.”
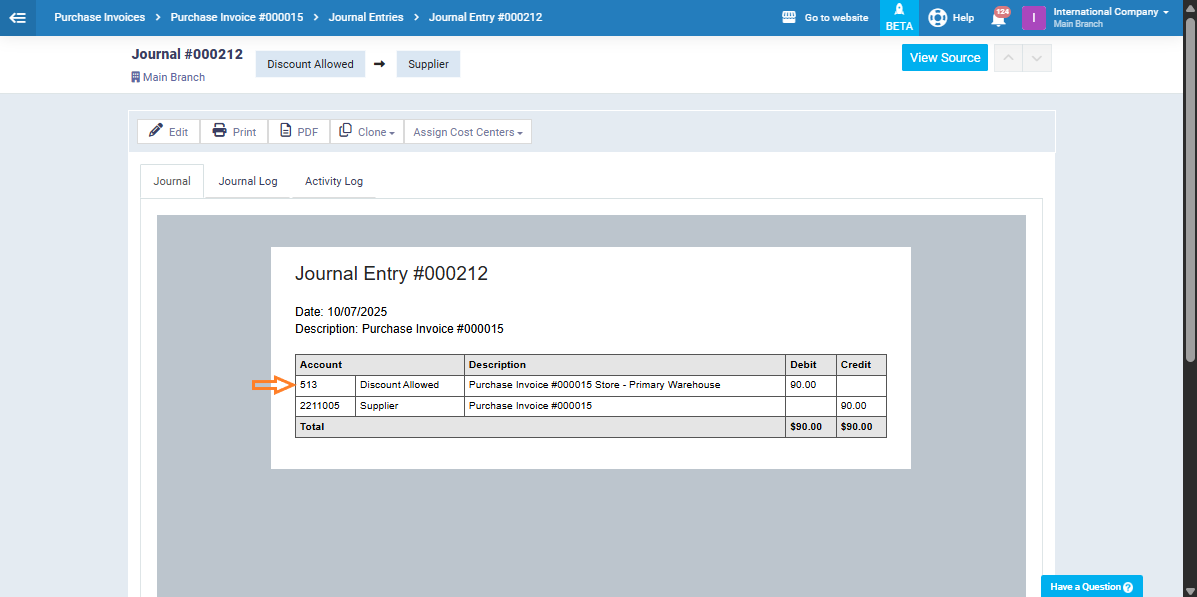
After saving the invoice, open the resulting journal entry. You’ll see that the expense account you selected has been applied correctly in the entry.