Manual Cases in the General Purchase Cycle
You can easily distinguish documents in the purchase cycle such as invoices and purchase orders by adding different manual cases, in addition to the automatic cases given by the system. Cases help employees in dealing with documents, organizing and categorizing work, and are also used in the search and filtering process.
How to add manual cases to the purchase cycle
You won’t be able to assign manual cases to purchase cycle documents without activating this feature from the settings.
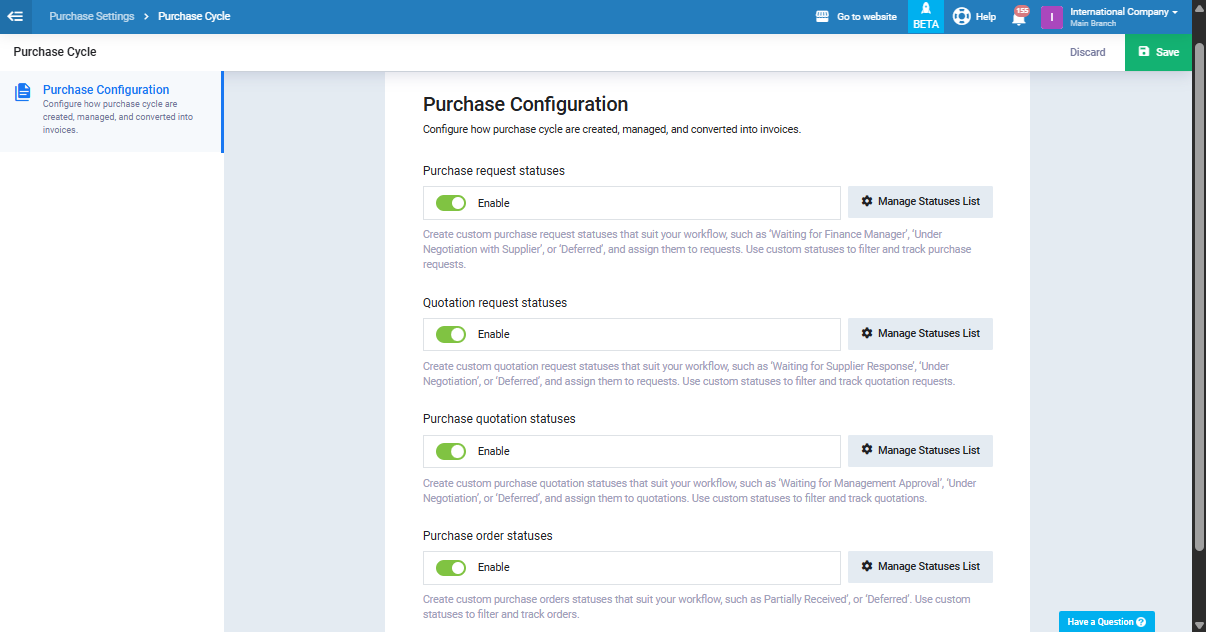
Click on “Purchase Settings” from the dropdown menu under “Purchases” main menu and click “Purchase Cycle” under “Purchase Order & Cycle Section“.
Activate assigning manual cases to purchase cycle documents that you want to assign cases to, then click on the “Save” button.
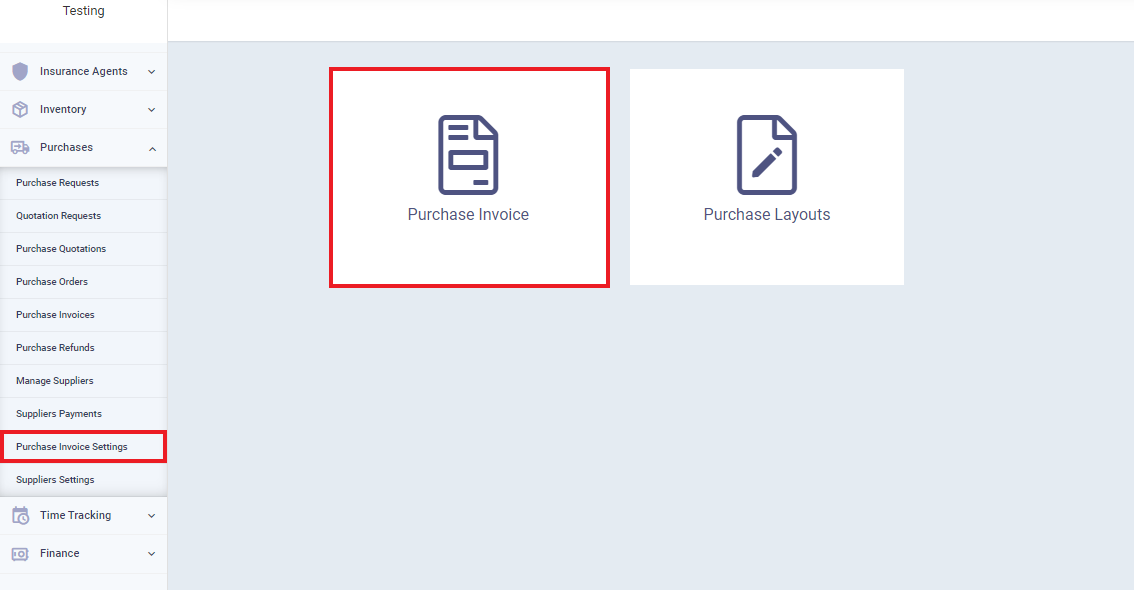
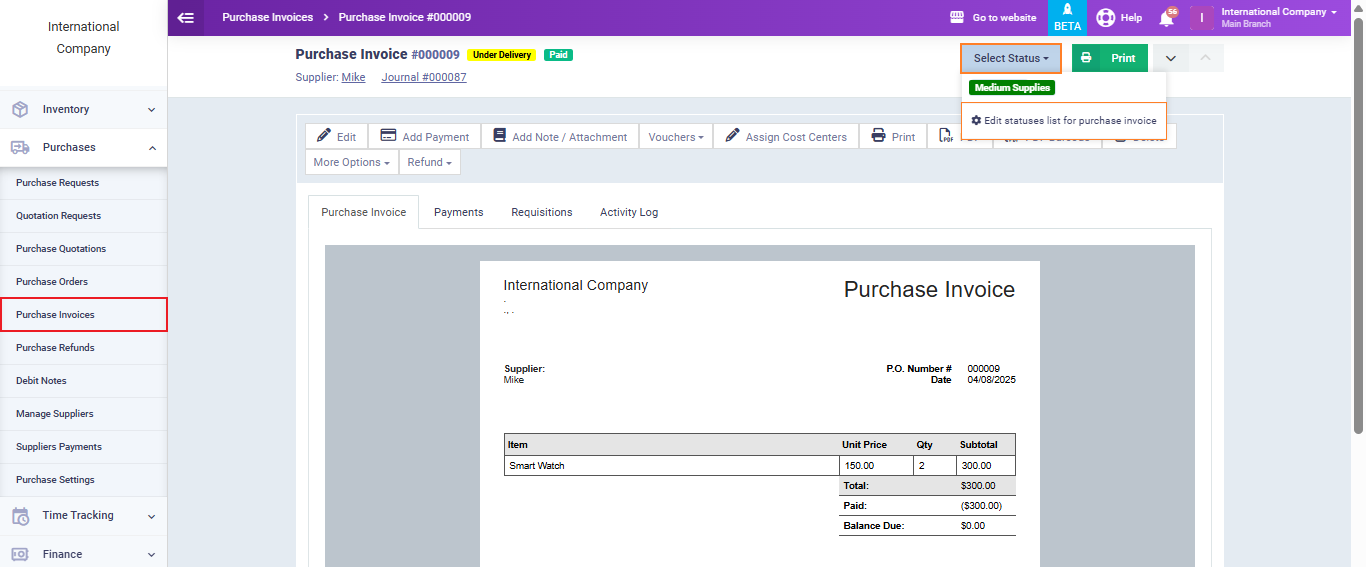
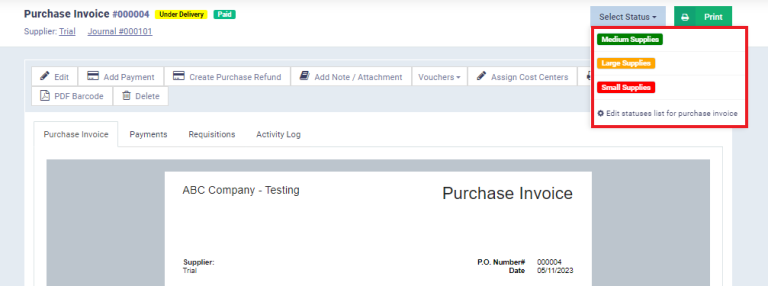
Click “Purchase Invoices” or other documents, open the desired document (Purchase Invoice), click on “Select Status,” and select “Edit the list of statuses for purchase invoices” from the drop-down menu to add new statuses.
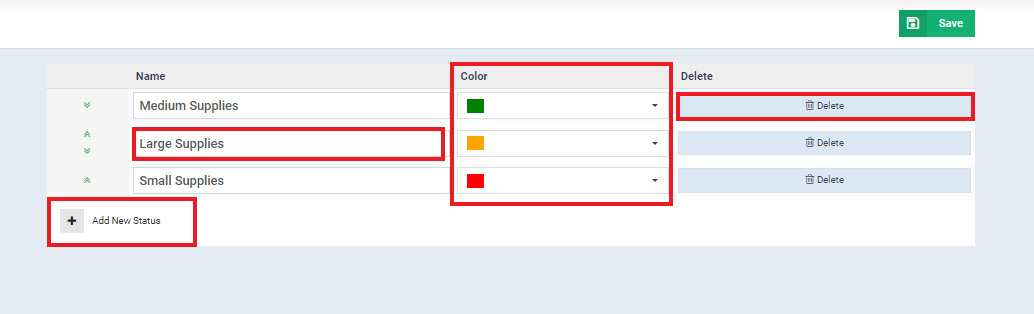
Enter the names and colors of the manual statuses you want to use to distinguish this type of purchasing document. Then, click on the “Save” button.
You can add more new statuses by clicking the “Add New Status” button, and you can delete statuses by pressing the “Delete” button next to the status.
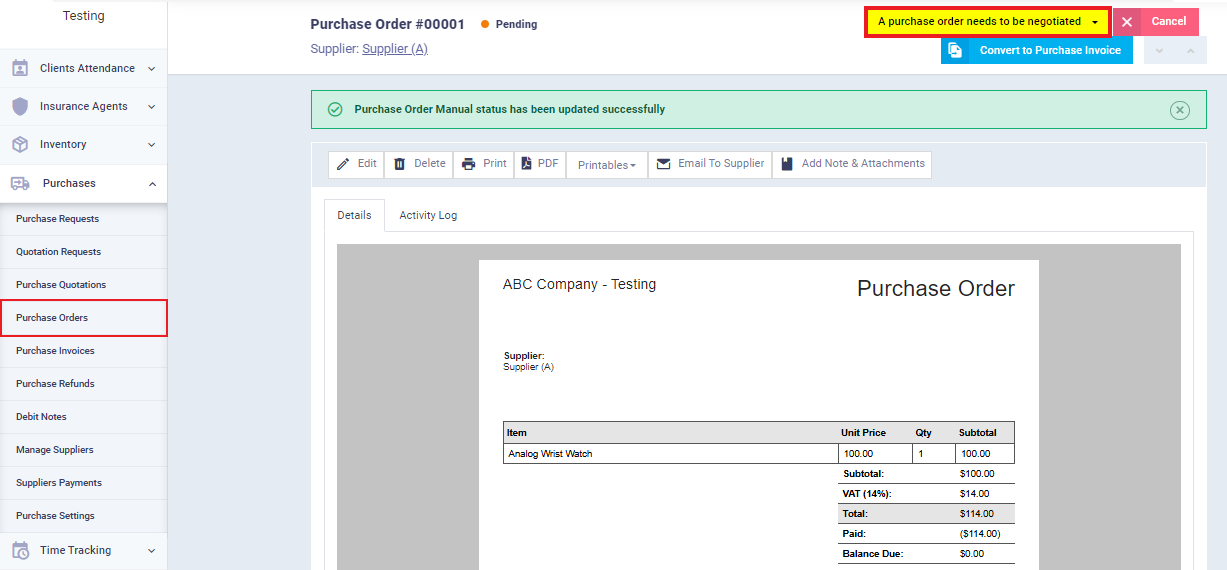
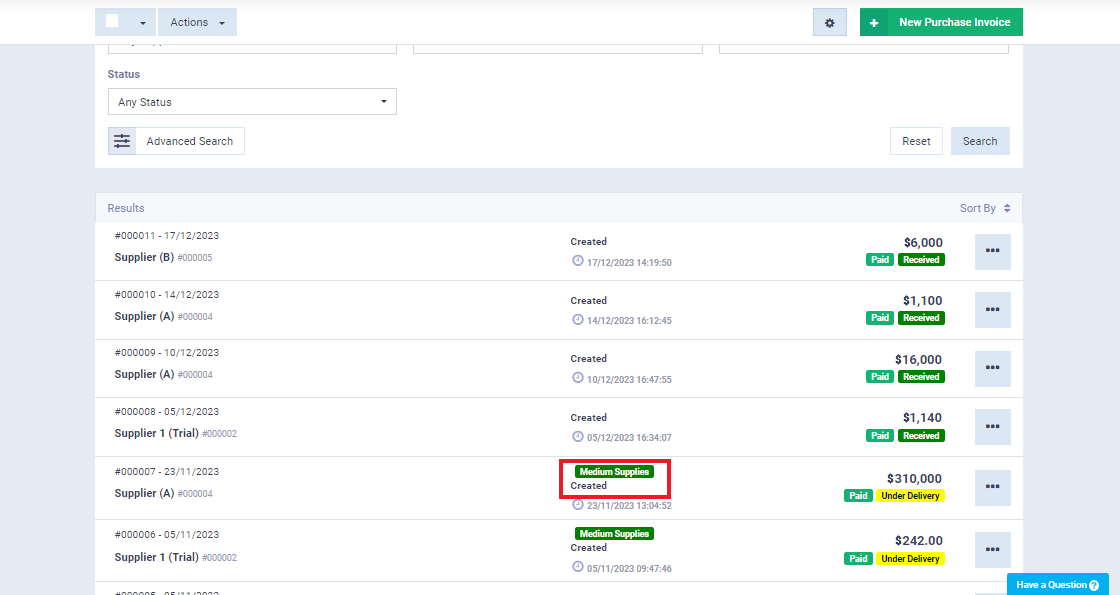
After adding the manual statuses, go back to the document or invoice you want to assign a status to and click again on “Select Status,” then select the status from the drop-down menu.
The status will appear next to the invoice in the list or when you click on it.
Here, you can see the difference in the types of manual statuses given to purchase orders compared to those given to purchase invoices based on the manual statuses you added for each type of purchasing document.