Non Completed Journals
It’s common for users to start creating an entry and get interrupted before completing it, whether due to internet disconnection, closing the browser, or navigating away from the page without saving. In such cases, the system automatically saves the entry as a non-completed journal entry, allowing users to resume where they left off. Follow the steps below to view, edit, and complete your non-completed journal entries.
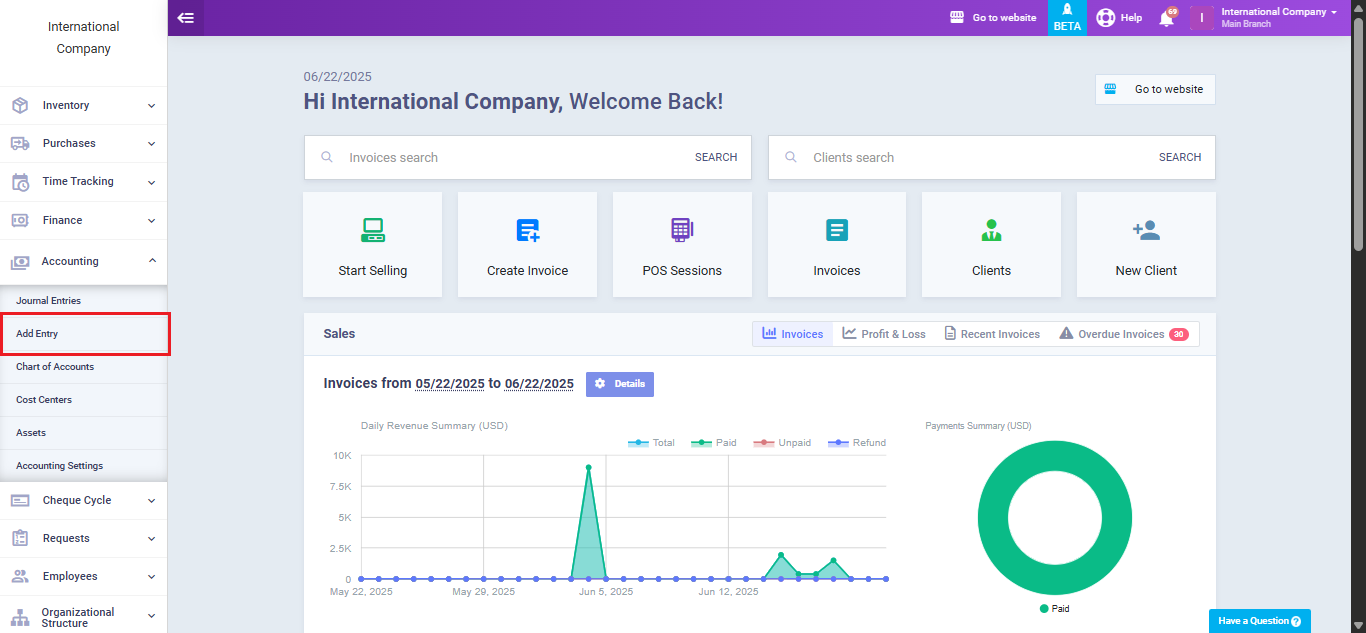
From the main menu click on “Add Entry” listed in the dropdown of “Accounting“.
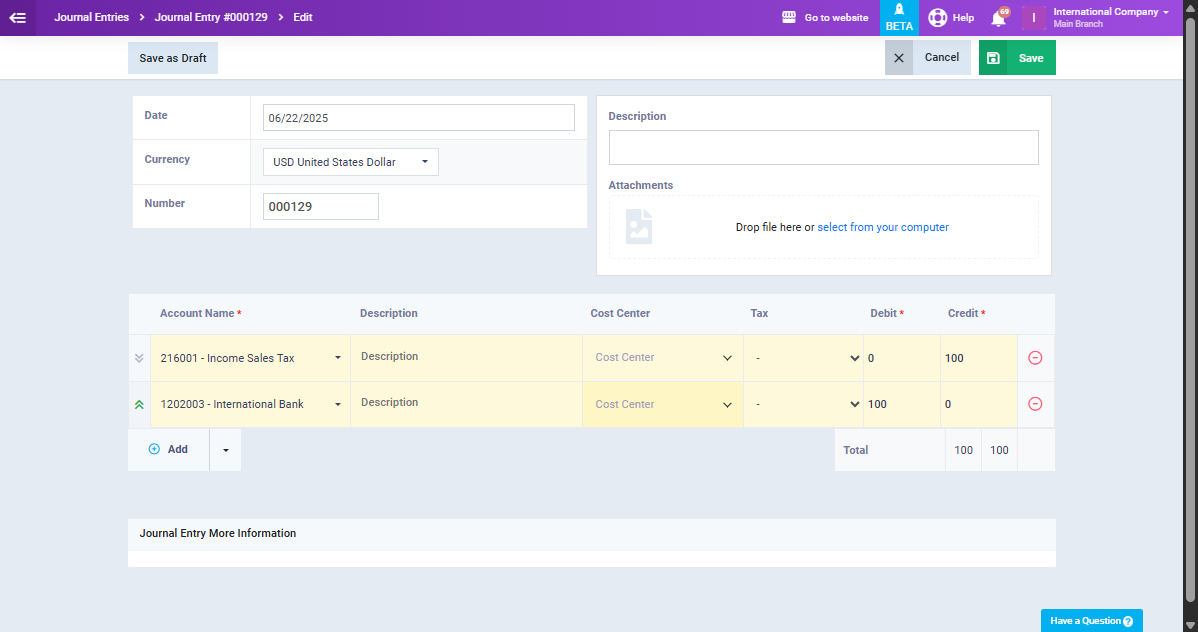
Start by filling in the required data for the journal entry.
Now, let’s assume that you accidentally navigated to another page or closed the tab before saving your changes, then get back to the “Journal entries” page.
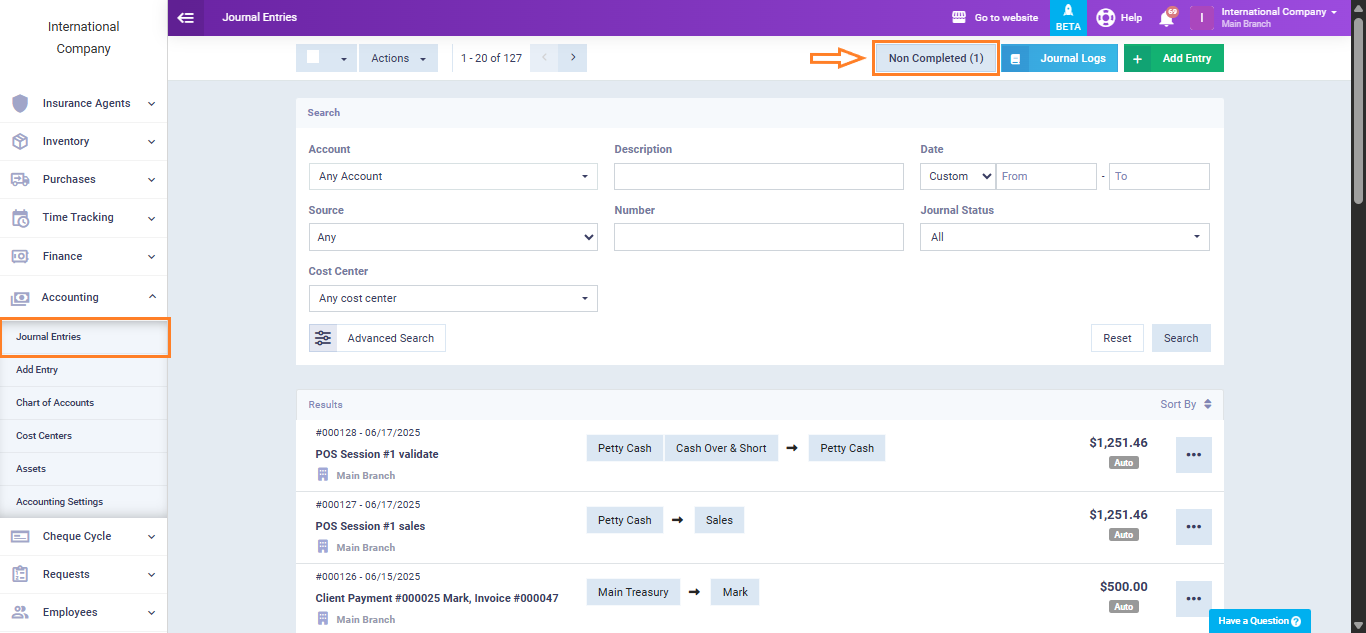
A new button labeled “Non Completed” will appear at the top right corner of the screen. This section stores all entries that were not completed.
You can choose to “complete” the entry or to “delete” it. Click on the button “Complete“.

You will be redirected to the journal entry you were previously working on, allowing you to continue from where you left off, finalize the entry then click on the button “Save“.
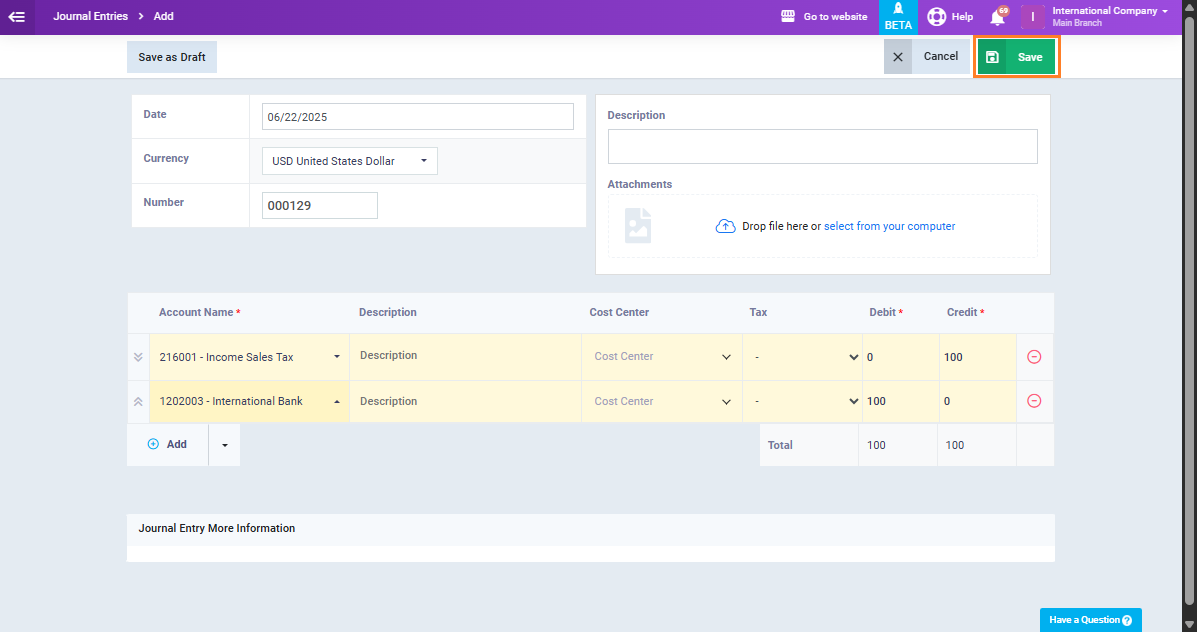
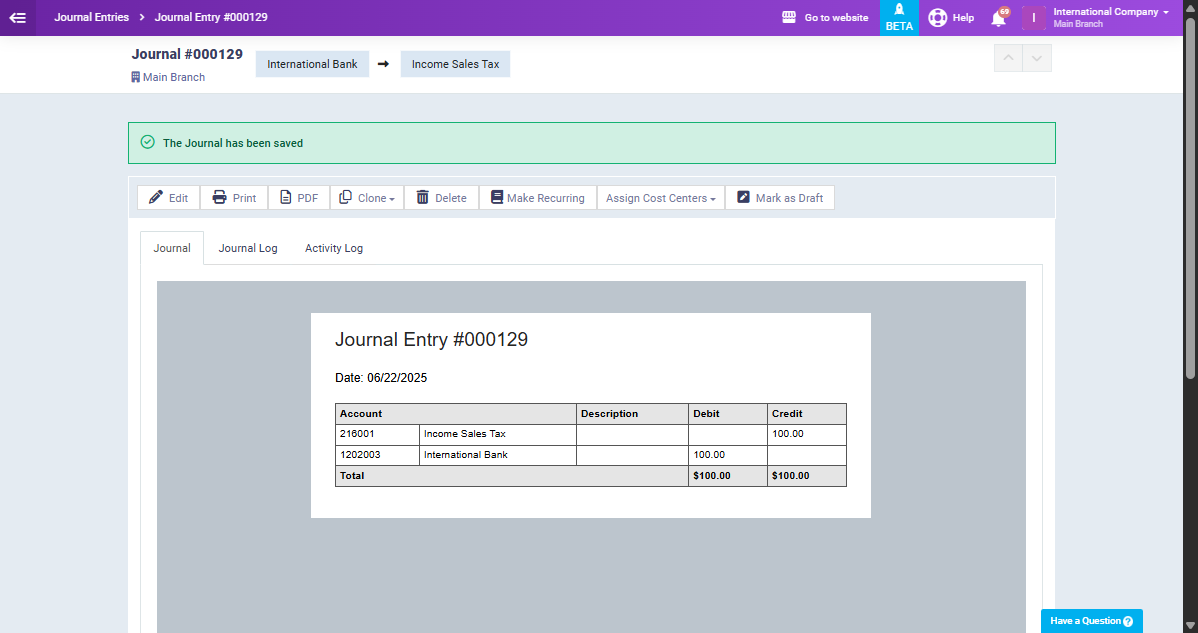
The journal entry is now successfully created.