How to Add Variables in the Invoice Layout
The system provides various templates alongside the default invoice layout, which you can use as they are or customize by adding, or removing fields or changing the design. This article will explore how to modify the printable template for sales and purchase invoices.
Adding a Variable to the Invoice Layout from Within the Template
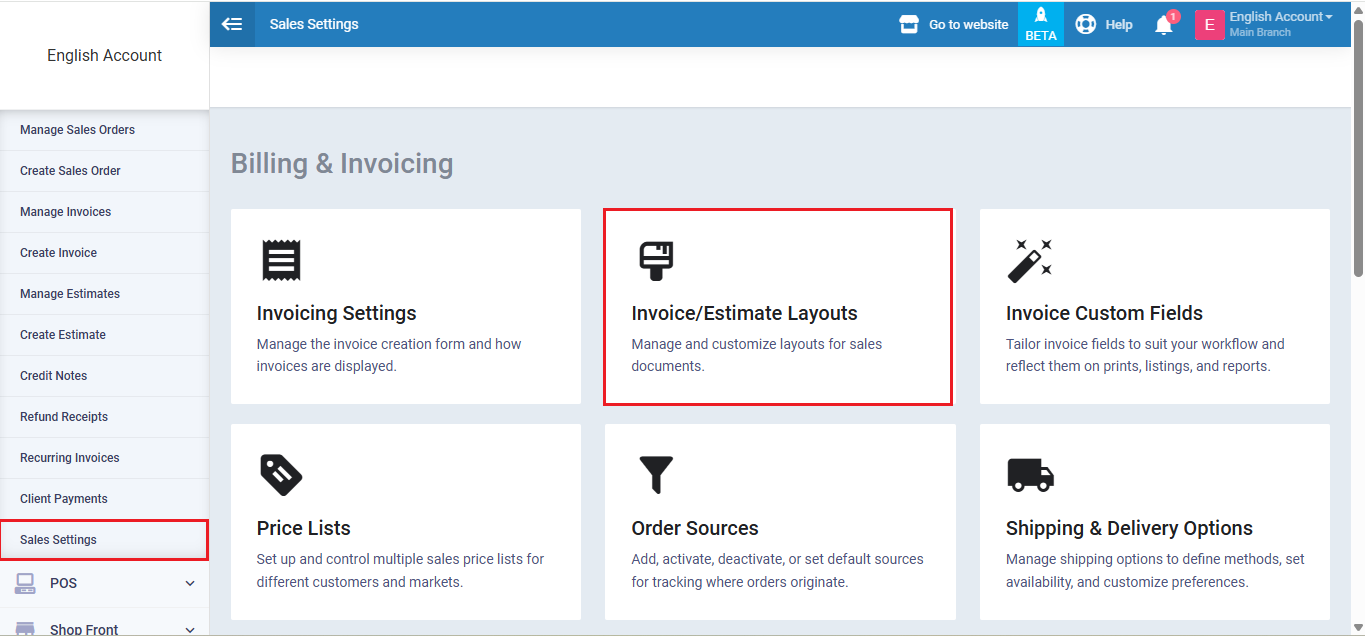
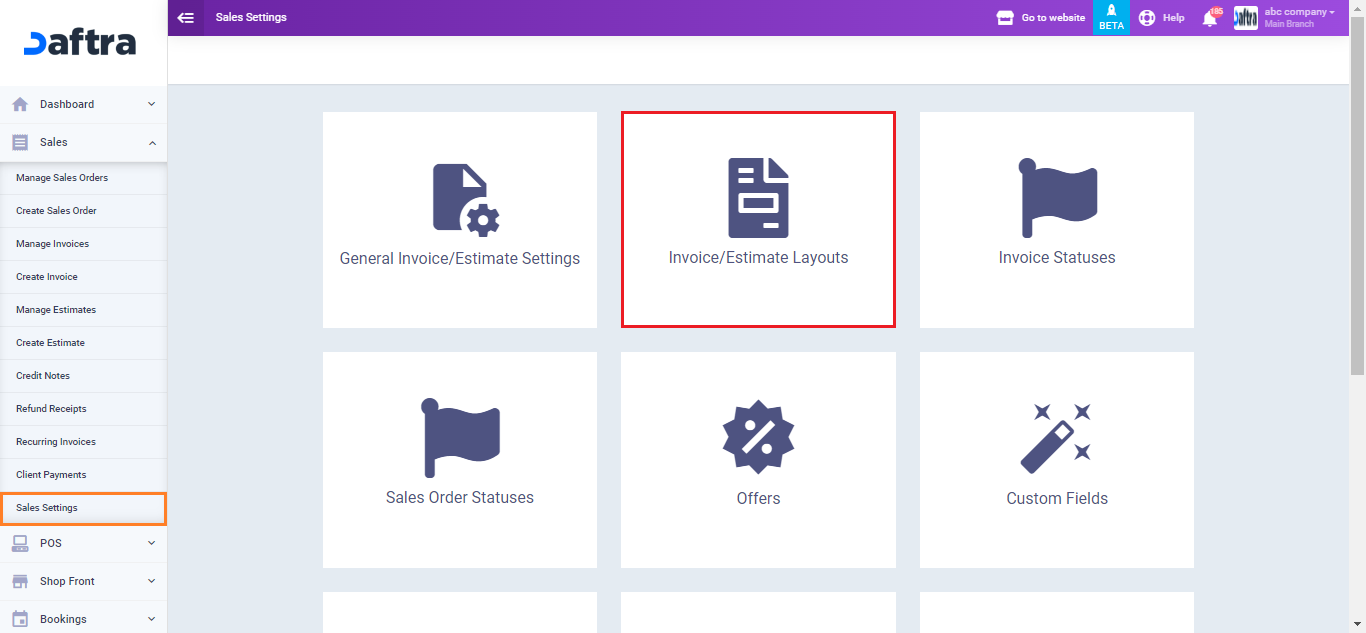
To access the invoice layout for template modifications, click on “Sales Settings” from the dropdown under “Sales” in the main menu to go to the “Invoice/Estimate Layouts”.
Alternatively, click on “Purchase Invoice Settings” from the dropdown under “Purchases” in the main menu to access the purchase invoice templates. Then, click on “Purchase Invoice Layouts.”
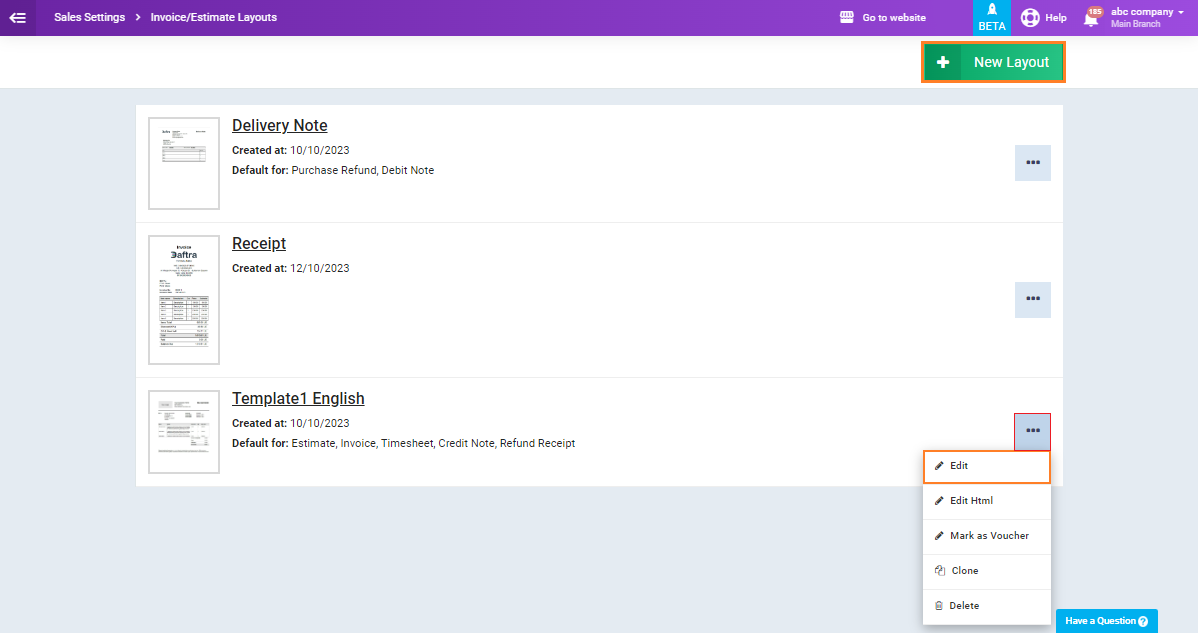
All templates you have previously modified will appear. You can click on the three dots next to any template, then click ‘Edit,’ or choose a different template by clicking the ‘New Layout‘ button and selecting the template.
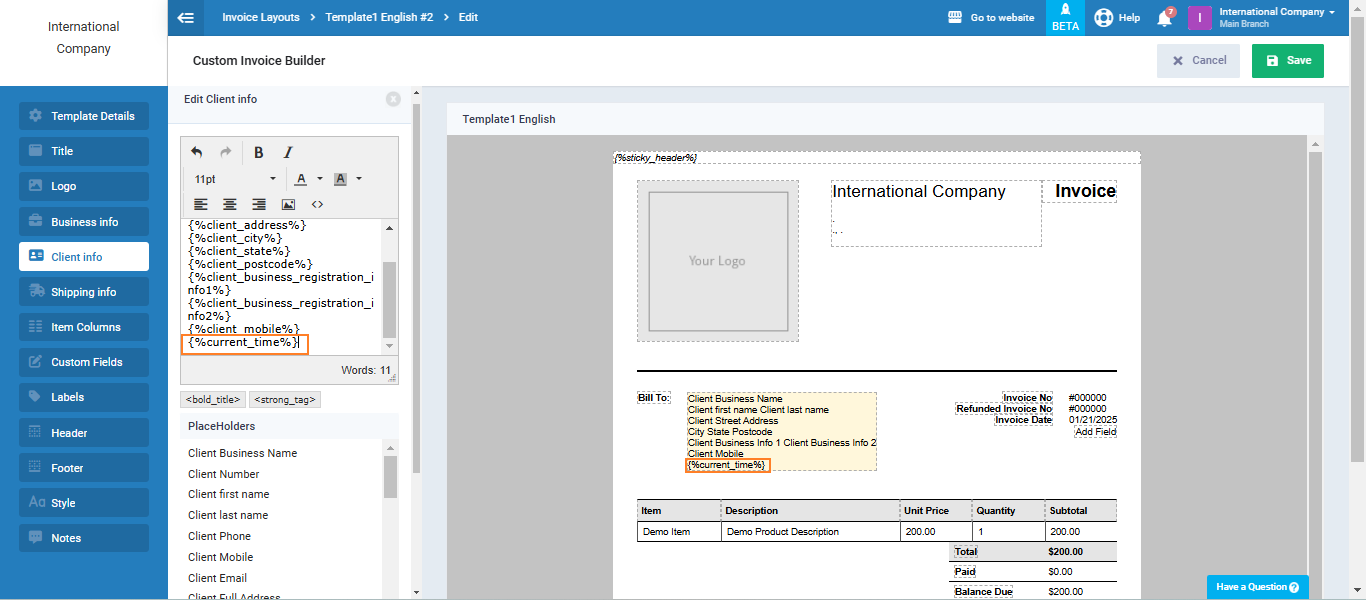
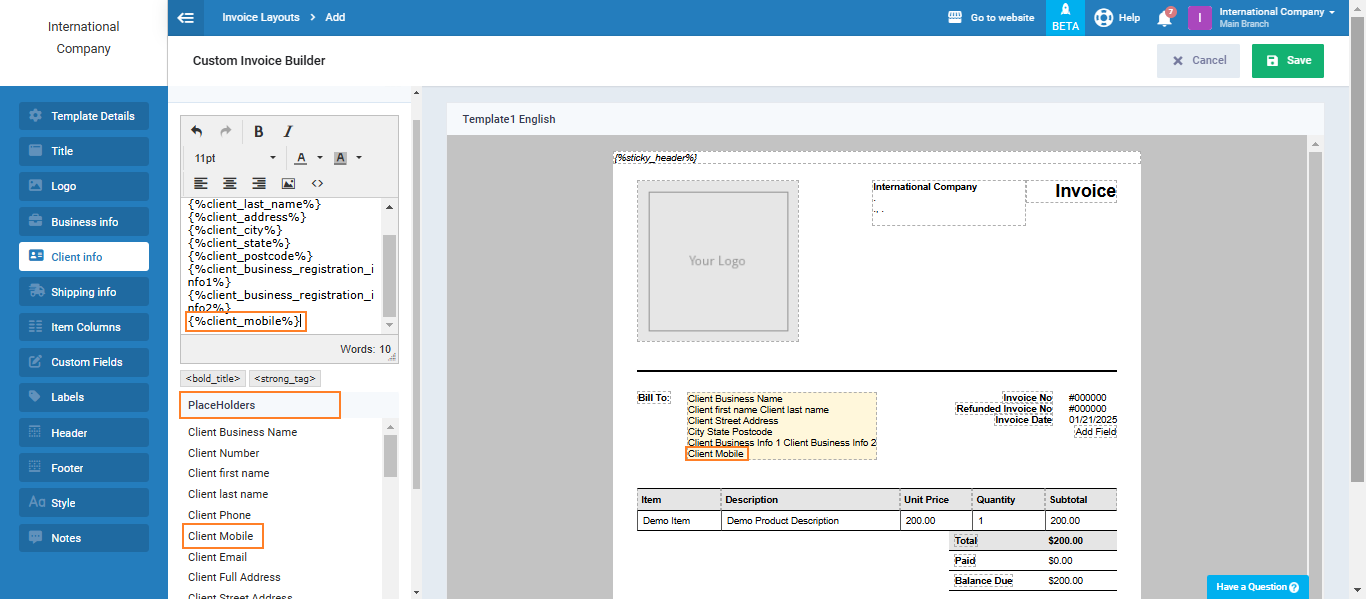
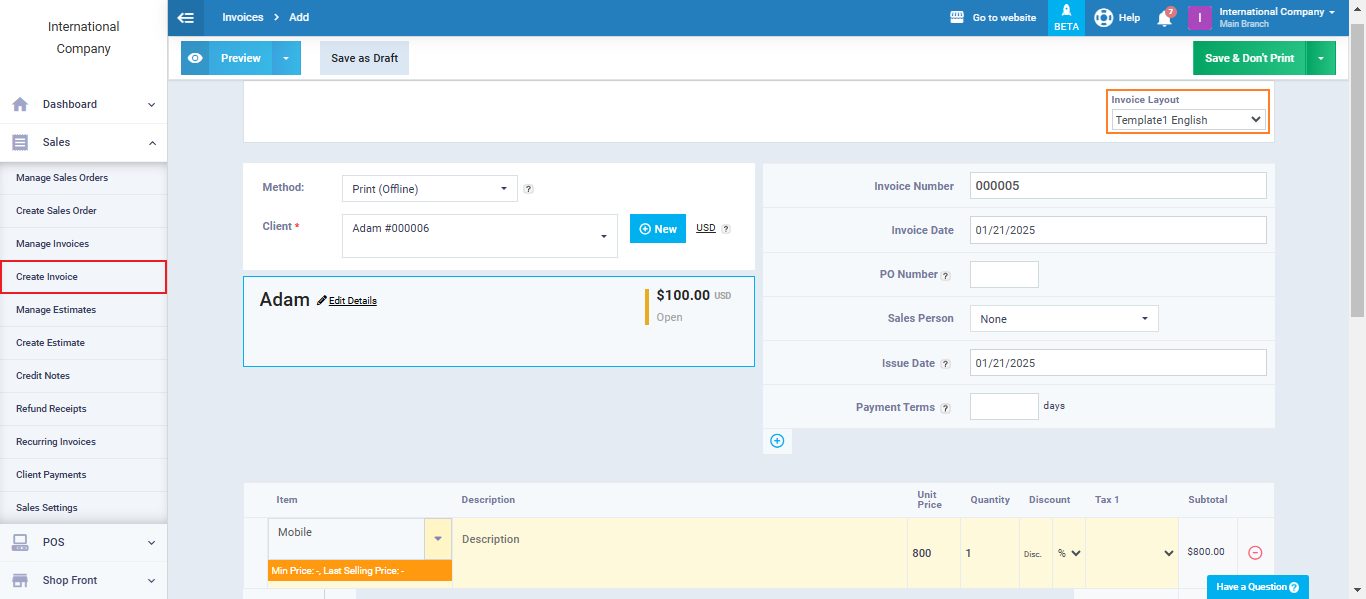
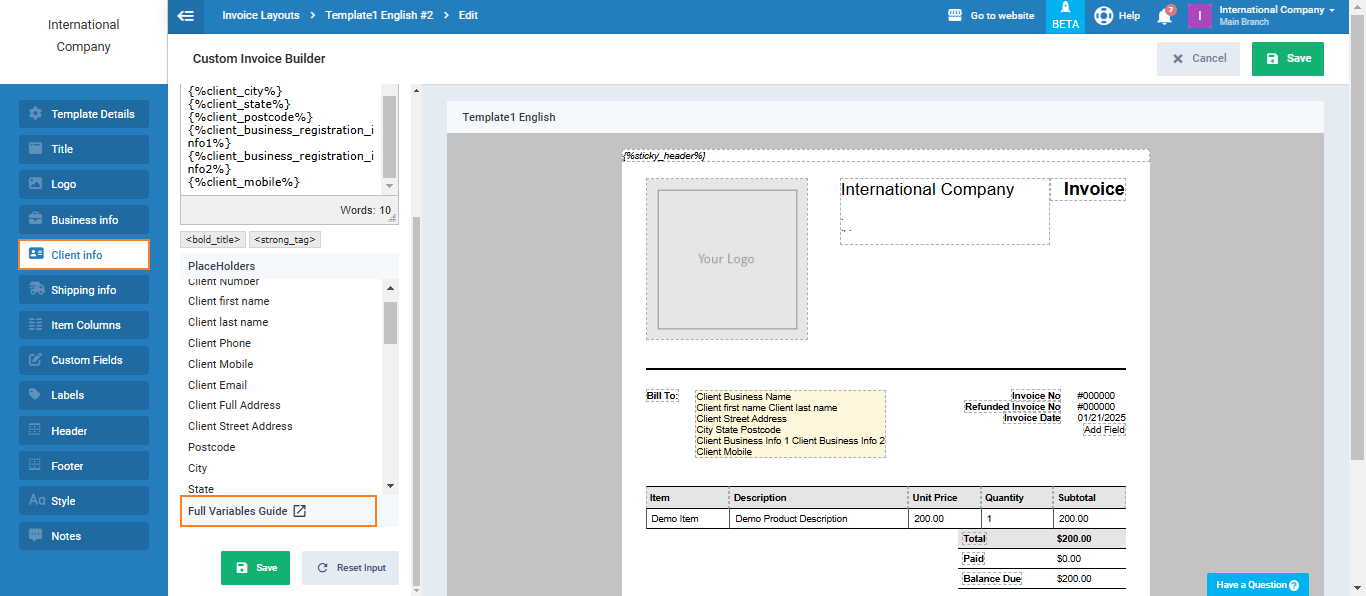
Click on the section where you want to add the new variable in the invoice template or select it from the side menu.
Then, click on the desired variable from the ‘Placeholders‘ list, and you will immediately see the variable appear in the invoice template in the selected location, just as it will appear when using this template to create invoices.
- Copy the variable using Ctrl + C and paste it in the desired location using Ctrl + V.
- To adjust the spacing between variables, use the standard method on your keyboard; you can add horizontal space using the spacebar or place the next variable on a new line by pressing the “Enter” key before the variable.
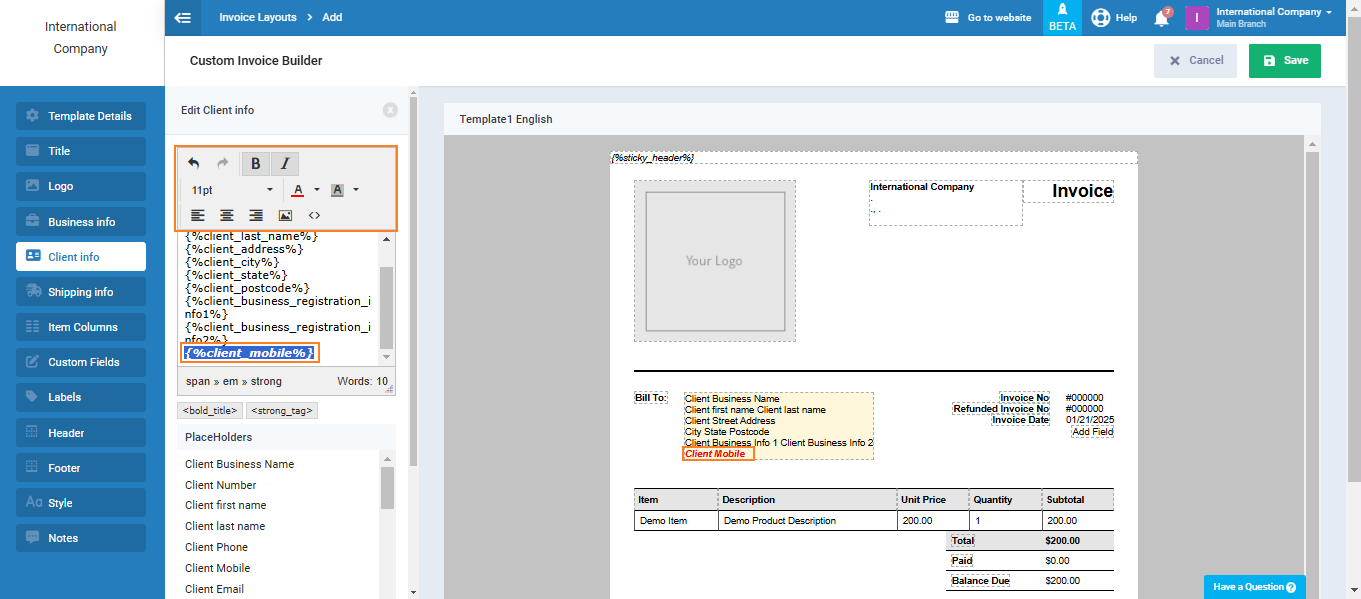
Using the formatting tools, you can control the appearance of the variables by adjusting properties such as:
- Making the text bold or italic.
- Changing the font size.
- Changing the font color.
- Changing the background color of the text.
- Aligning the variable to the left, right, or center.
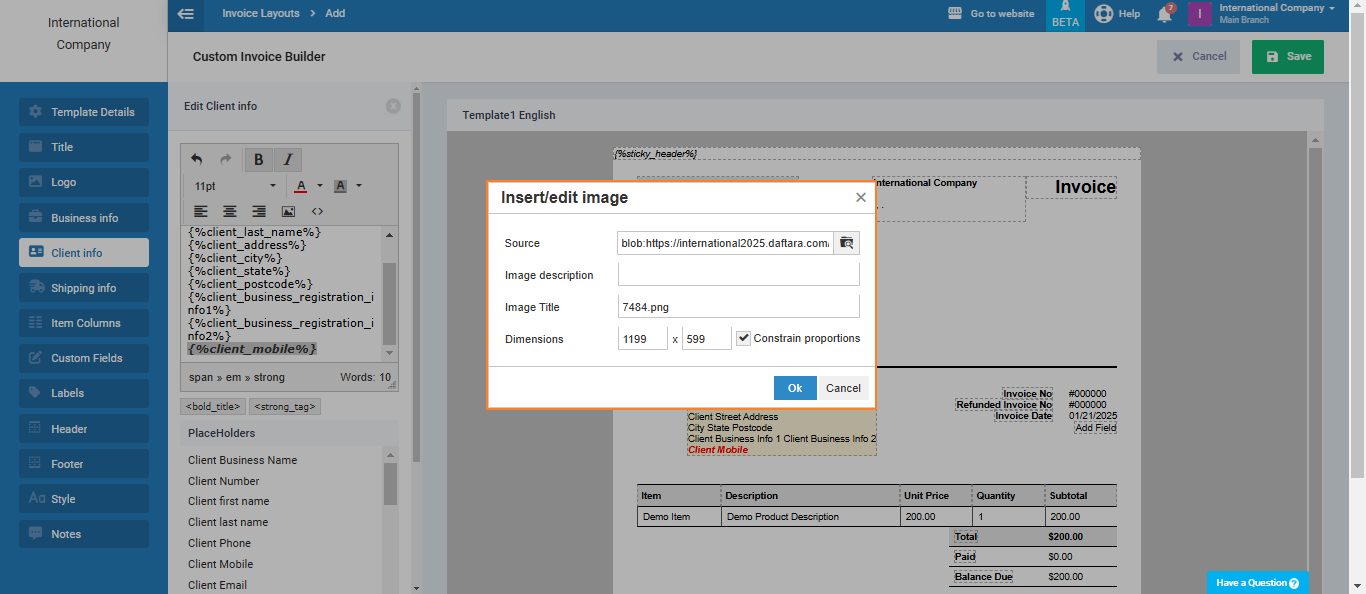
If you want to add an image to the invoice template, click on the ‘Insert/Edit Image‘ tool from the formatting tools, then choose the image you want to display in the invoice template from your computer or by pasting the image link. Adjust its size, then click the ‘OK‘ button.
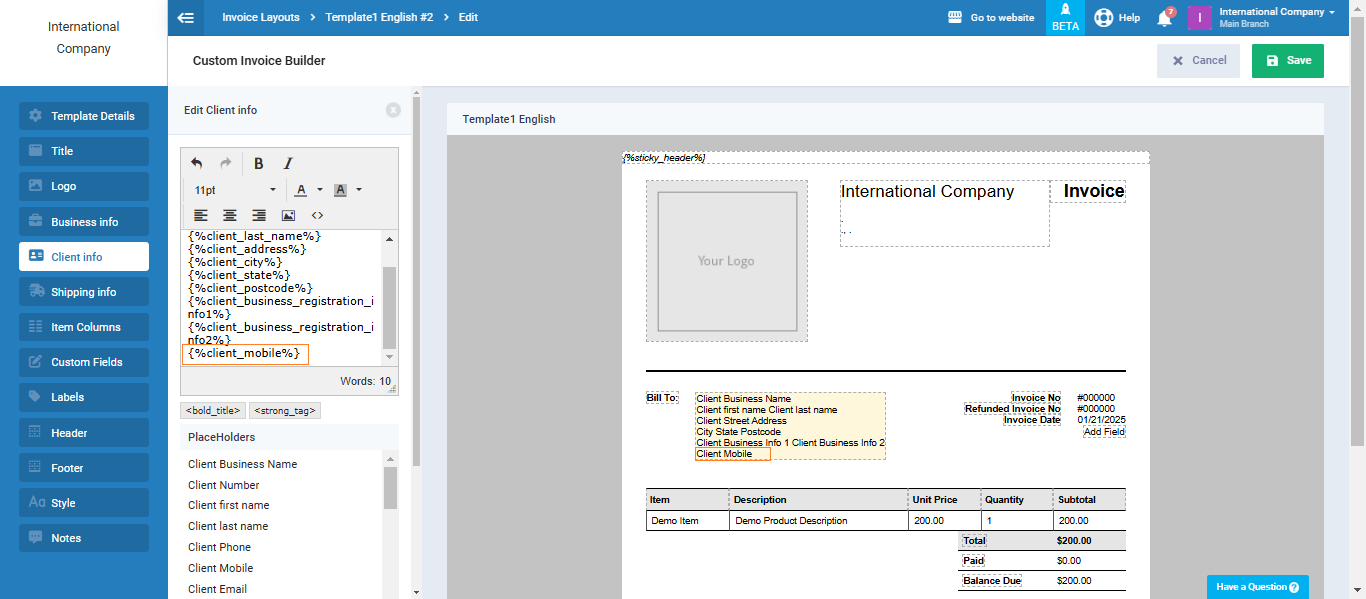
After the image is added to the layout, it will appear as follows, allowing you to test whether the size and position are suitable for the final desired layout. You can adjust it further until you achieve the appropriate appearance.

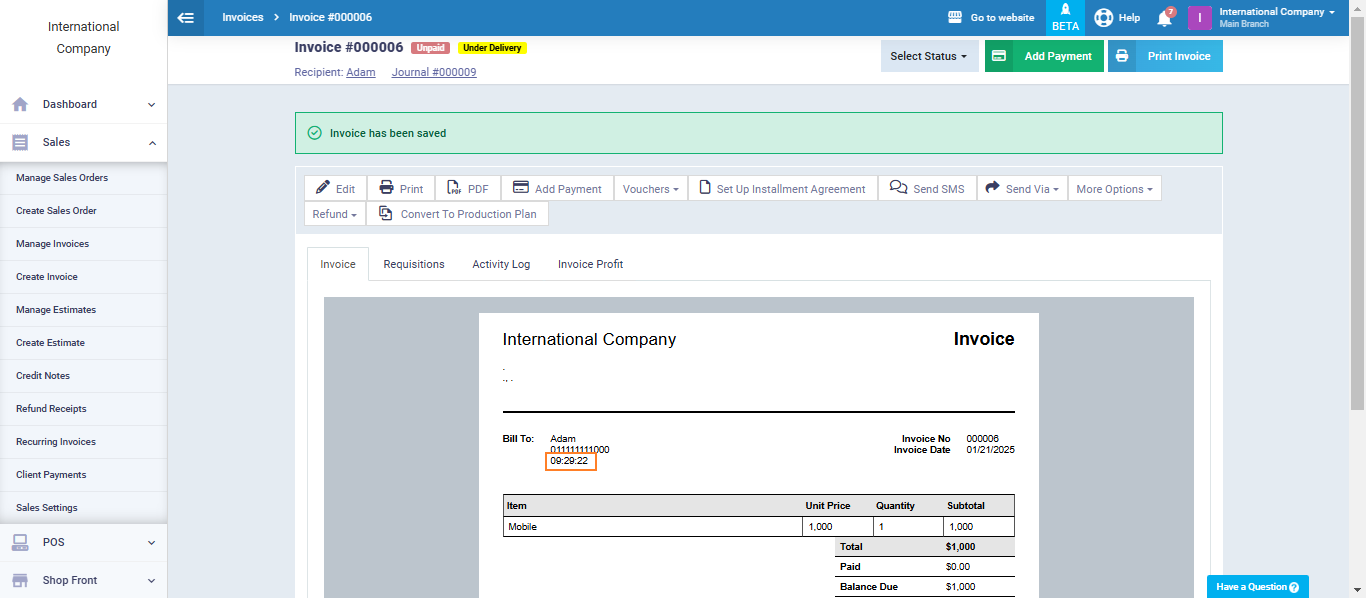
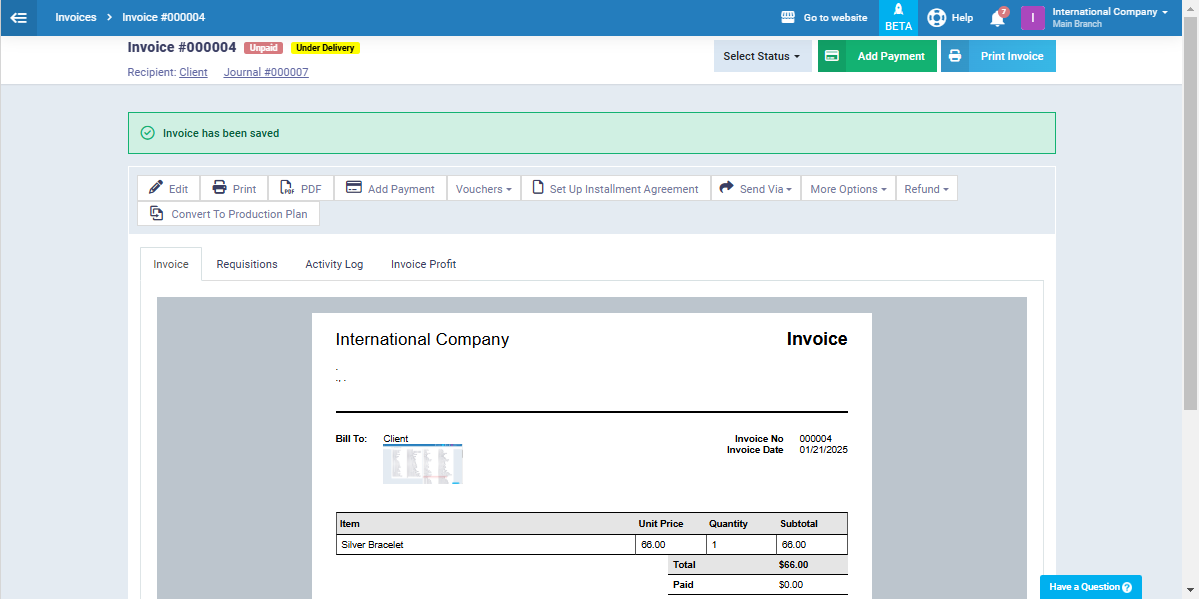
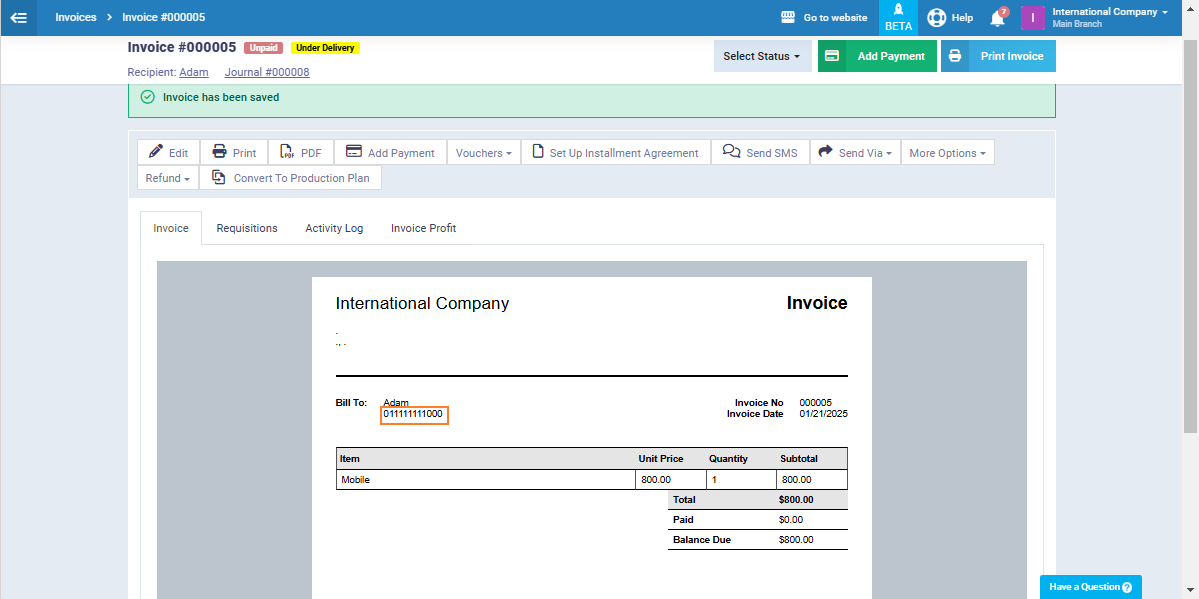
The variables and images appear in the invoice as follows, where you will notice that the formatting matches what was set using the formatting tools.
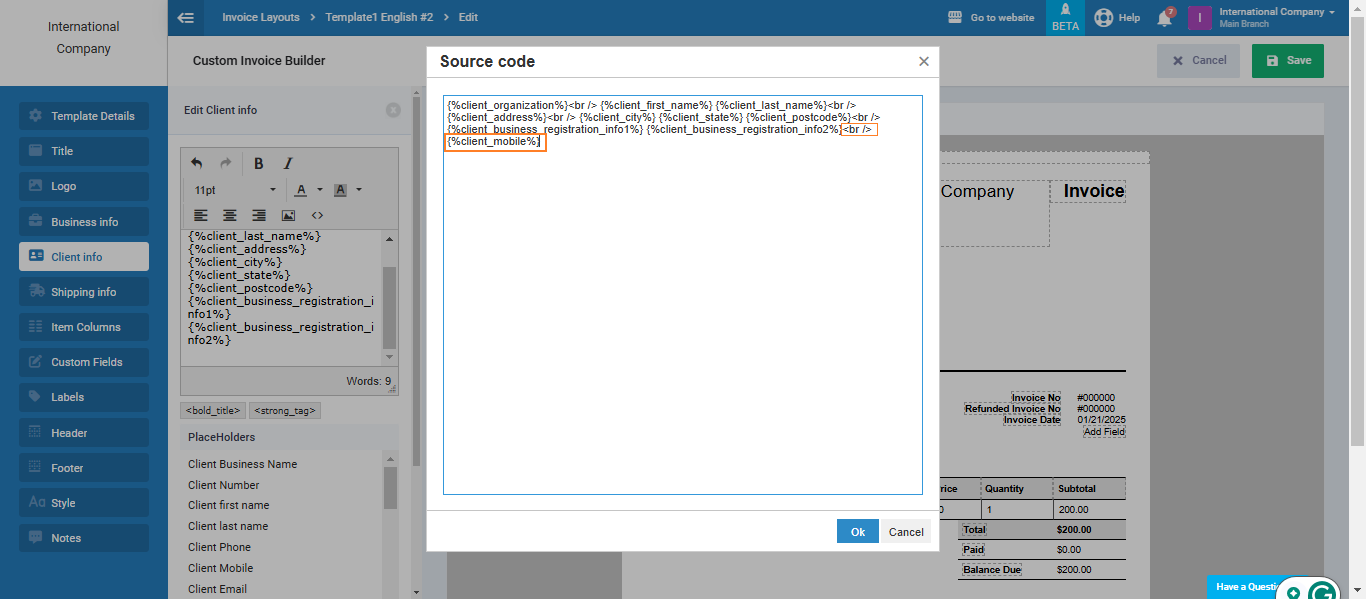
You can also control the order, display method, and position of the variables in the invoice template using codes, which allows for more flexible and extensive modifications. Click on the ‘Source Code‘ button to edit the code <>
Copy the desired variable and paste it in the location you choose, as the variables will appear in the same order as written in the code.
In this example, we moved the variable for Client Mobile to appear as the last variable in its section in the invoice template. We used the `<br />` tag to place the “Client Gender” variable on a new line, separate from the previous variable.
Adding a Variable from the Full Variables Guide

Go back to the invoice layout and paste the variable you copied into the desired section of the invoice. You can use formatting tools to control the appearance of the variables, and you can adjust the position of the variable through the ‘< >’ source code, just as we did with the variable from the “Placeholders” list.