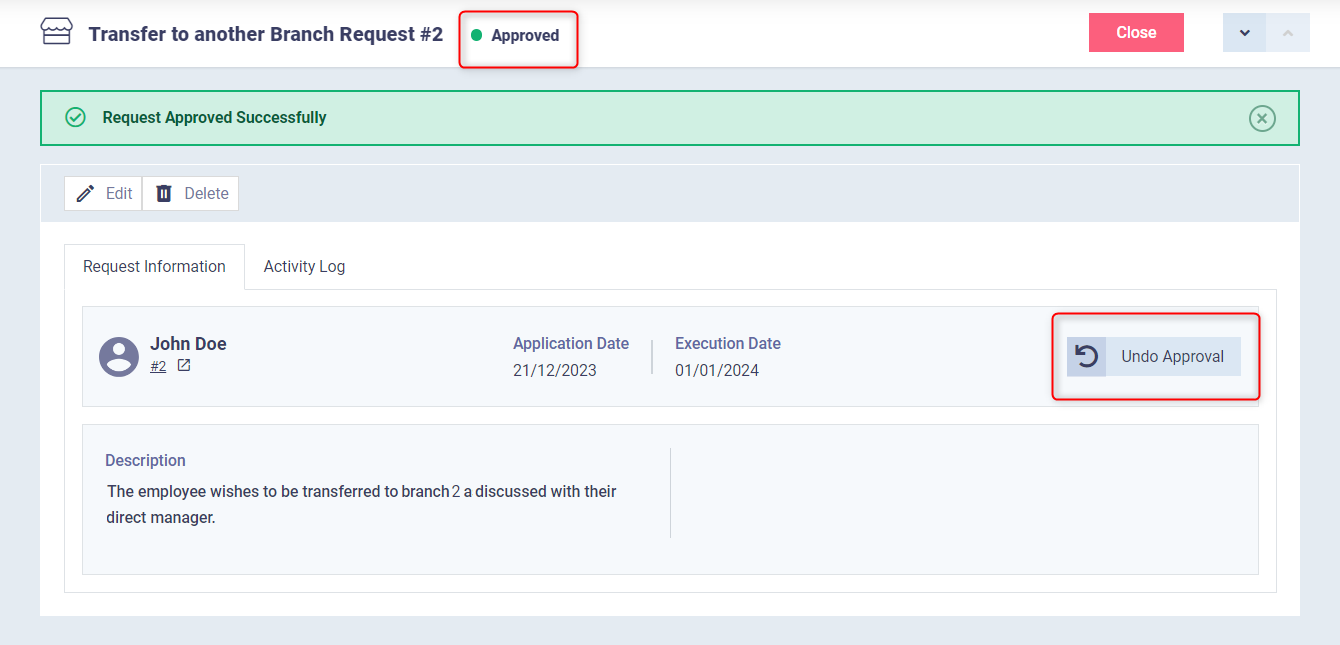
Managing Employee Requests
The system simplifies the process of managing employee requests, encompassing various types of requests such as leave applications, promotions, transfers to another branch, and more. You can add different types of requests, as well as record all incoming requests from employees and approve or reject them. The request recording process is conducted by one of your human resources staff members who are users of the system, or by the employees themselves if they are users on the system.
Adding a New Request Type
Requests are categorized to include all their specific types, so before adding requests, you should add request types.
Click on the “Settings” dropdown under “Requests” in the main menu, then click on “Request Type”.
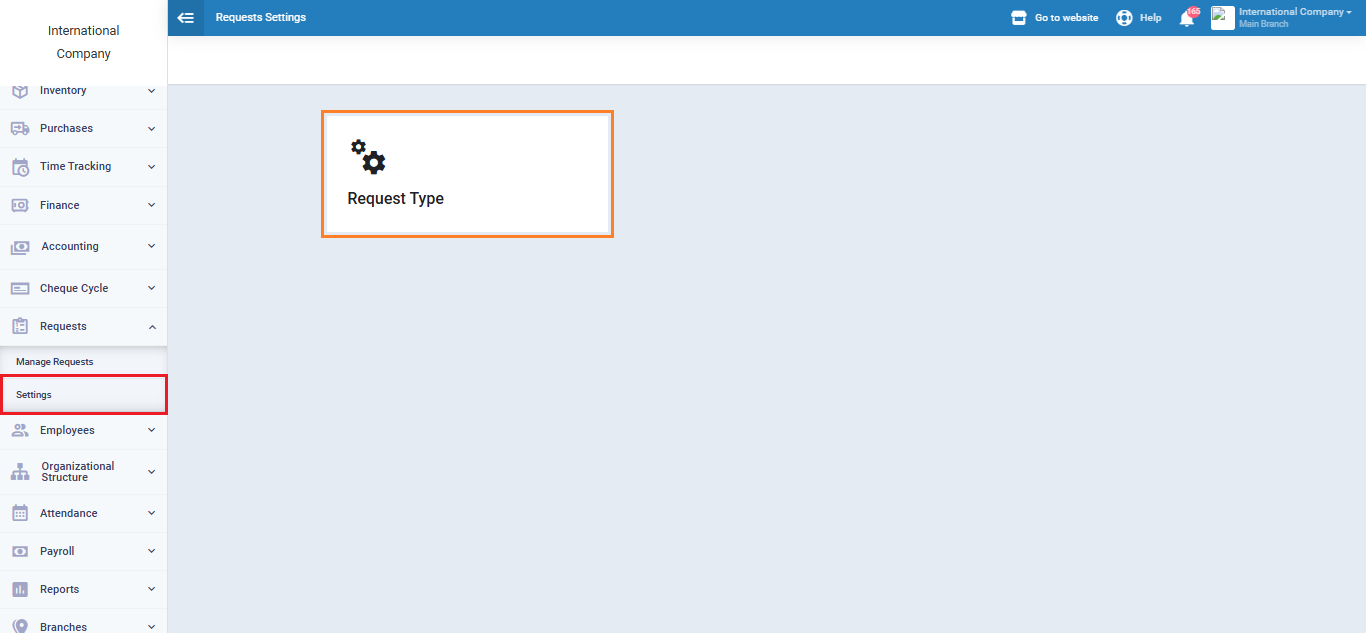
You will find a list of existing request types, and you can add a new one by clicking on “New Request Type”.

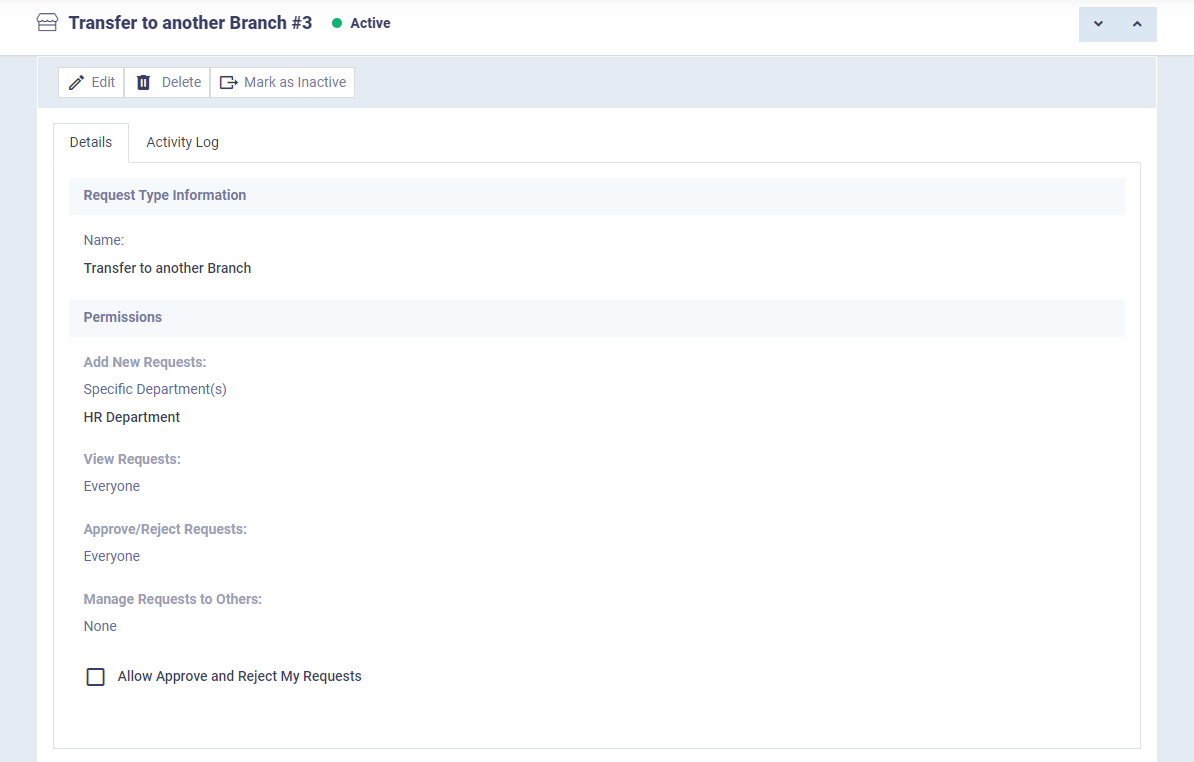
Enter the request type name, choose the corresponding icon, and select the request status:
- Active.
- Inactive.
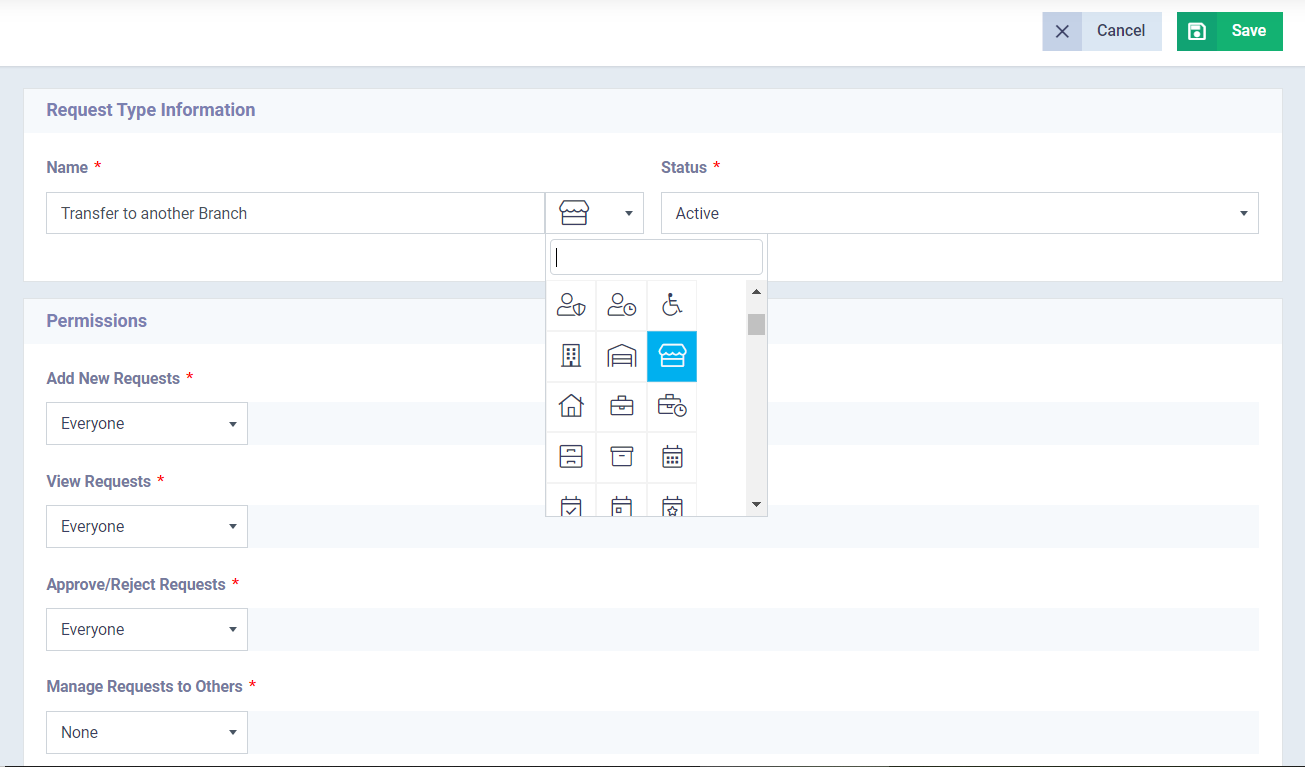
Specify the available users who have permission to add, view, approve, reject, and manage requests from the dropdown menus in the field. You can choose from the following:
- Everyone.
- None.
- Specific branches.
- Specific departments.
- Specific designations.
- Specific employees.
- Specific roles.
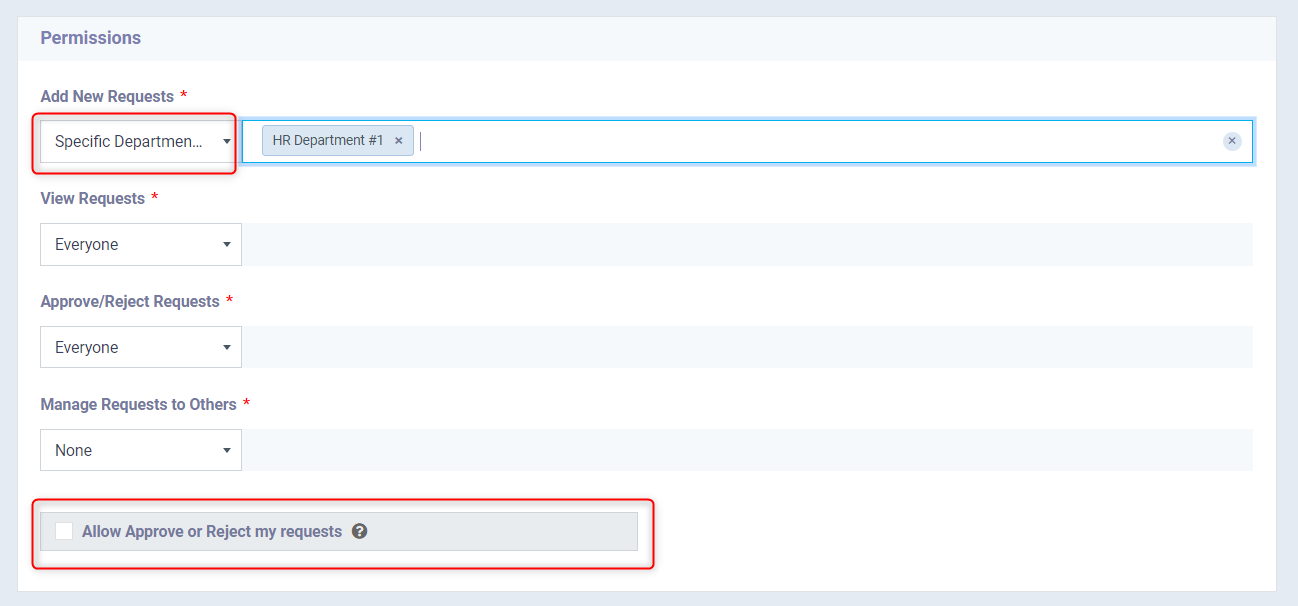
If the user has permission to approve and reject requests and also has the right to submit requests as an employee, you can control the employee’s ability to reject or approve their requests by enabling or disabling the “Allow Approve or Reject my requests“ feature.
You can review the request type data and perform actions such as deletion, editing, deactivation, and reactivation.
Managing Employee Requests
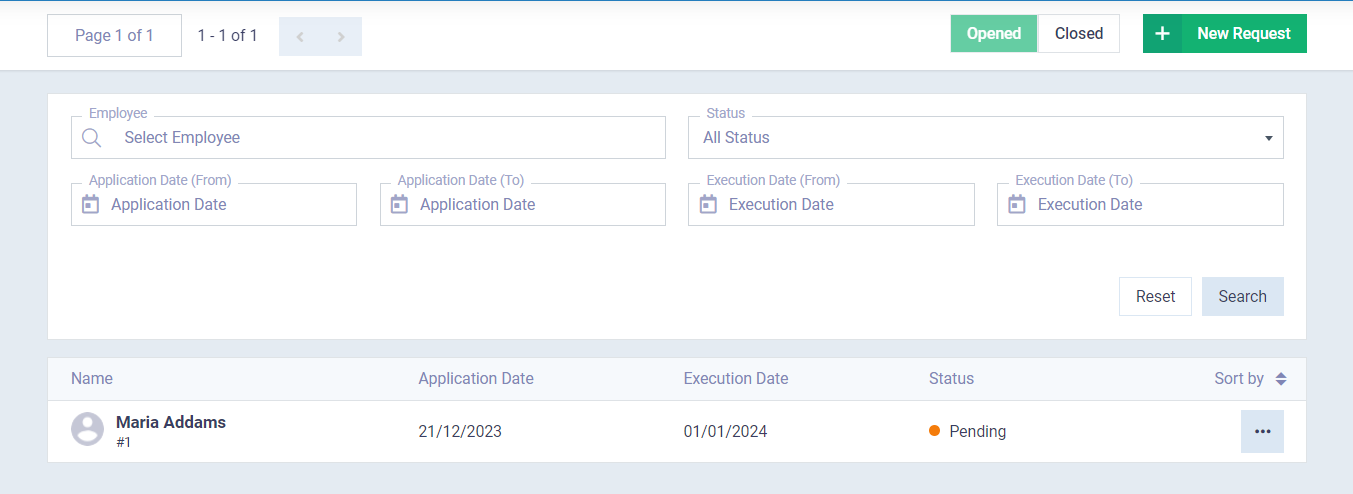
To be able to add and manage new requests, you can go to the “Manage Requests” dropdown under “Requests” in the main menu and click on the desired request type or “All Requests” to view all requests of all types.

You can use the search and filtering tools if desired or perform actions on requests such as editing and deleting. Additionally, you can add a new request by clicking on the “New Request” button.
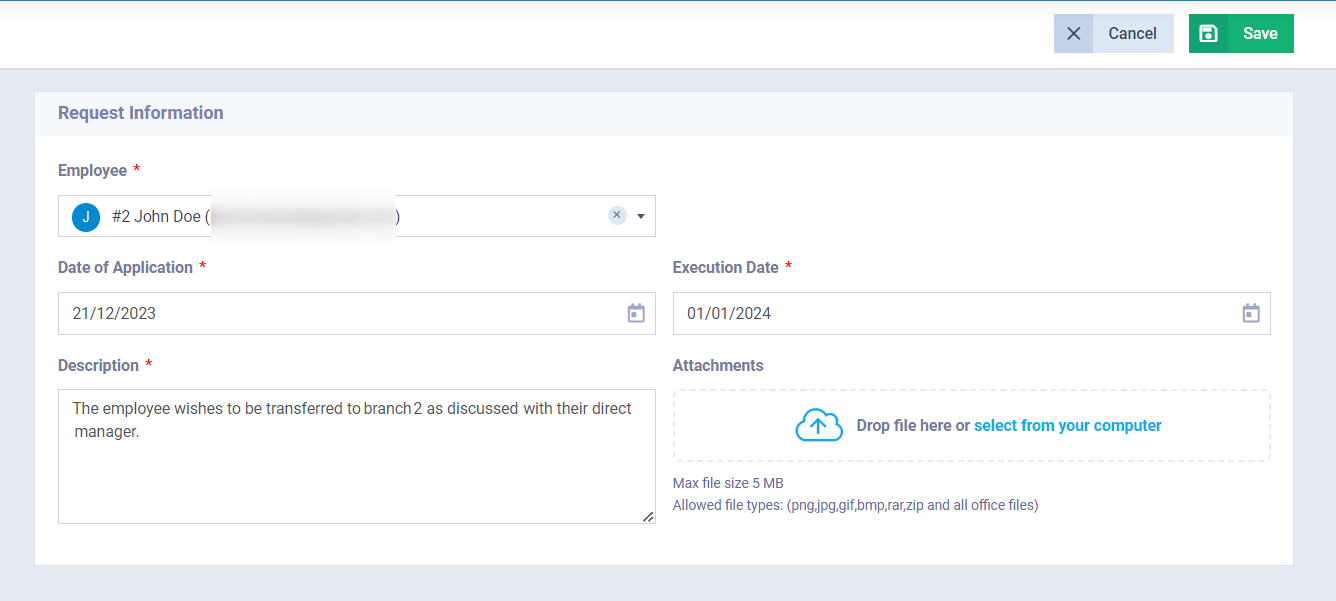
- Choose the employee’s name from the dropdown menu in the employee field, whether the employee is a system user or not.
- Enter the date of request application by the employee.
- Specify the execution date for the request. For example, if the request is for leave, the execution date is the desired leave date.
- In the description, provide some information to clarify the request.
- You can attach files from the attachments.
Then click on the “Save” button.
Approving and Rejecting Requests
After creating the request, it remains in the “Pending” status until it is approved or rejected by authorized users.
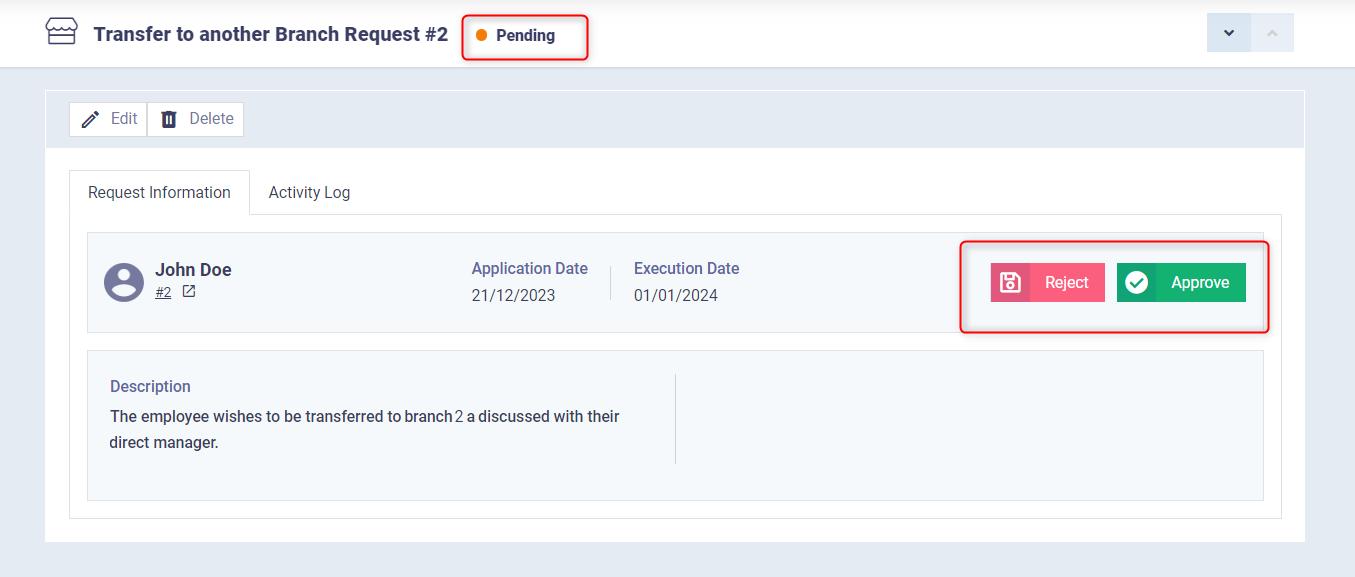
Then its status changes to “Approved” or “Rejected”.
