Approve/Reject Leave Applications
Managing leave applications in the system requires following a few easy steps. You can approve or reject requests directly from the employee’s individual leave application or from the main list of all leave applications. In this tutorial, we’ll walk you through both methods in detail to help you handle leave approvals effectively.
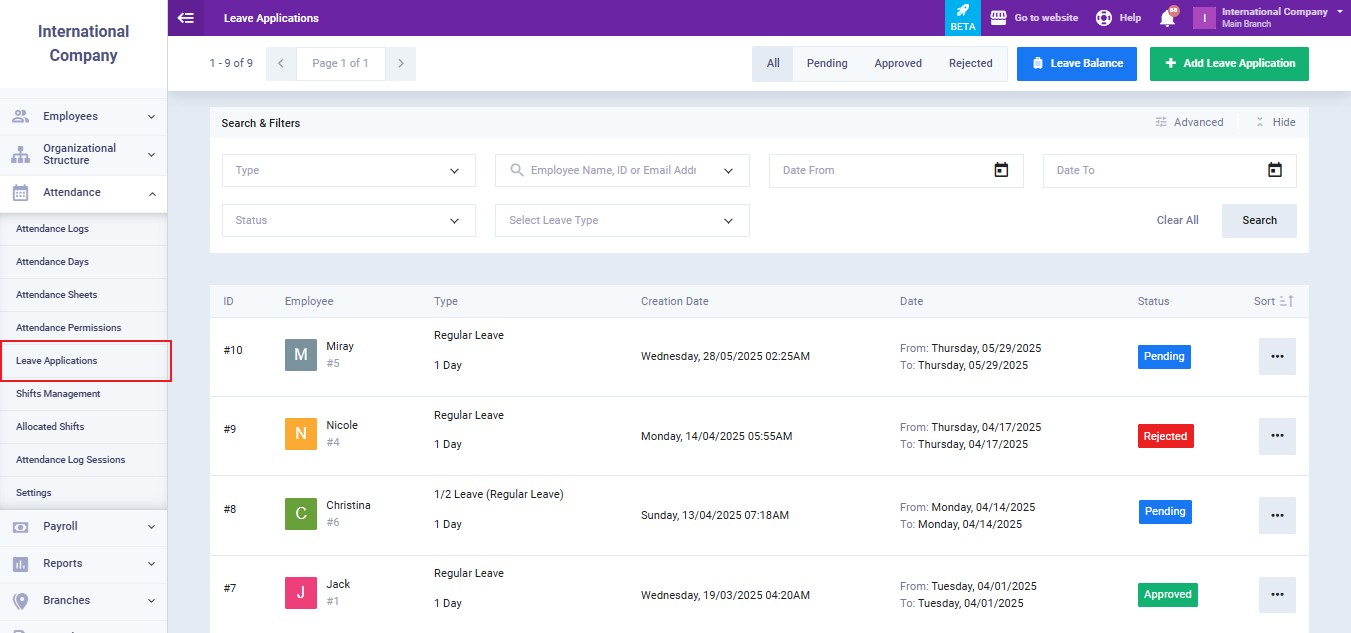
From the main menu, click on “Leave Application” in the dropdown menu of “Attendance“.
Choose a pending leave application that requires action.
Let’s assume this application is to be rejected. Click the “Rejected” button.
The status of the application is now “Rejected,” as displayed below.
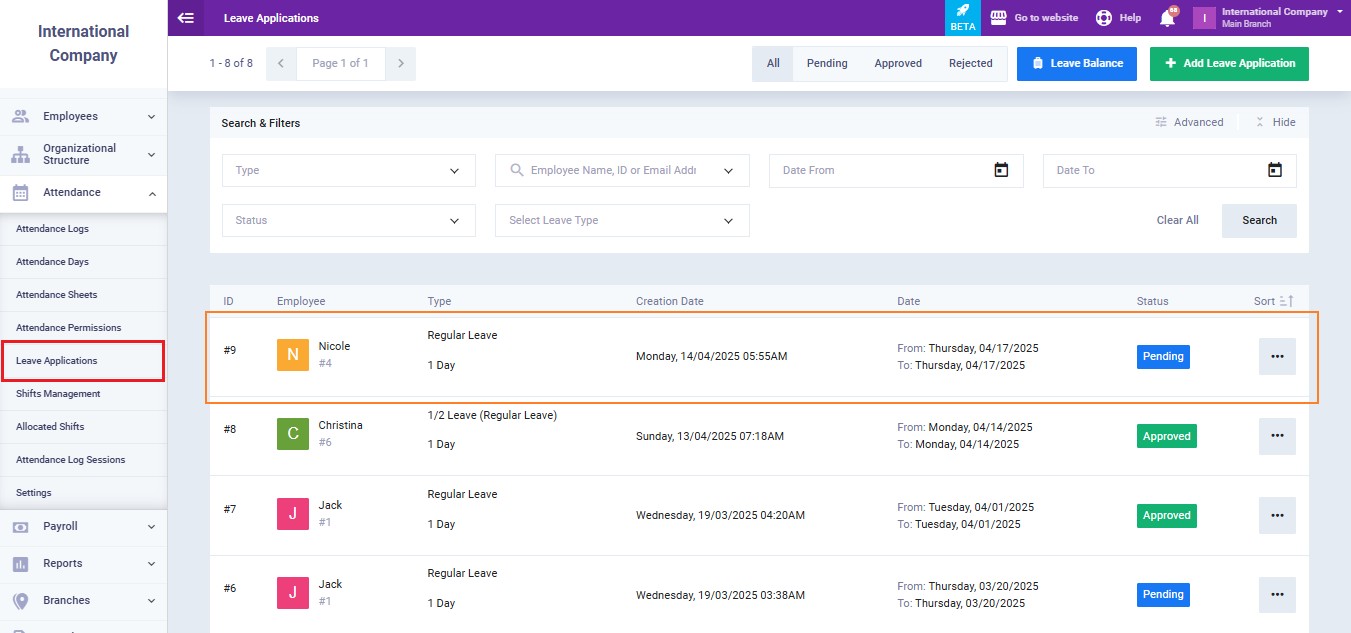
Another way to manage leave applications is by navigating to the “Leave Applications” list from the ‘Attendance‘ dropdown menu.
Click the three dots ‘…’ next to the leave application that requires action.
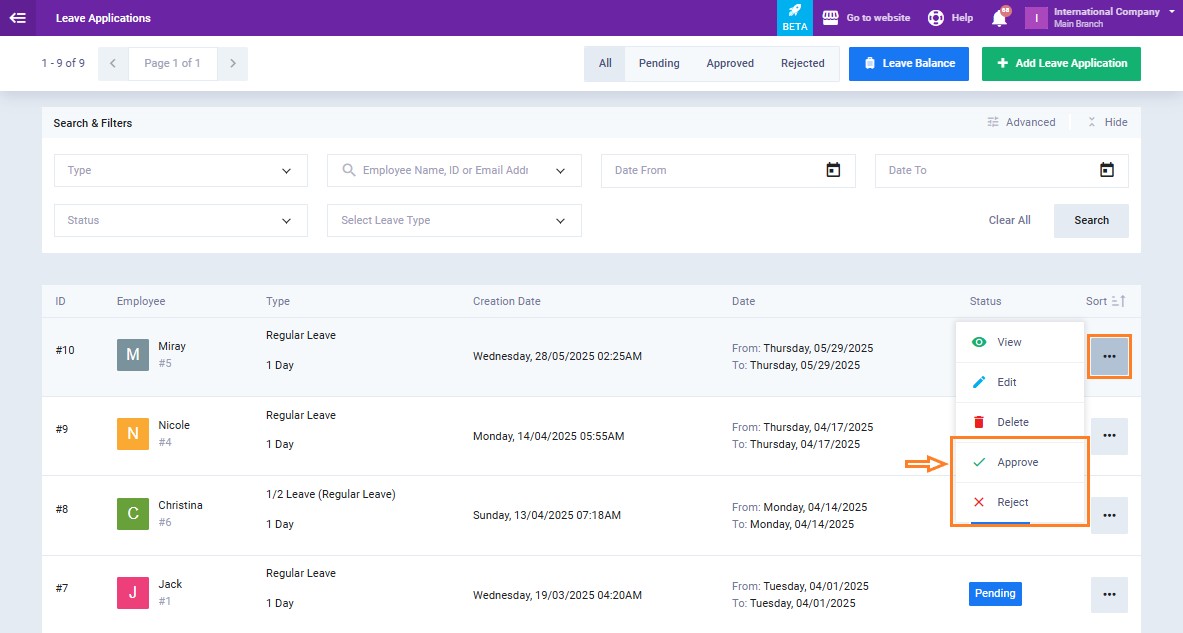
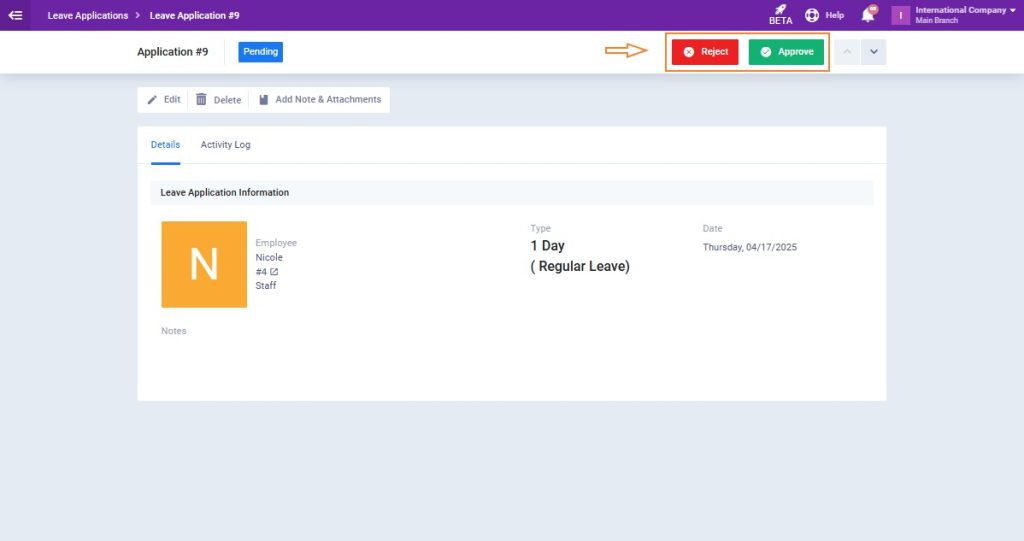
In this case, the leave application is accepted, so we click the ‘Approve‘ button.
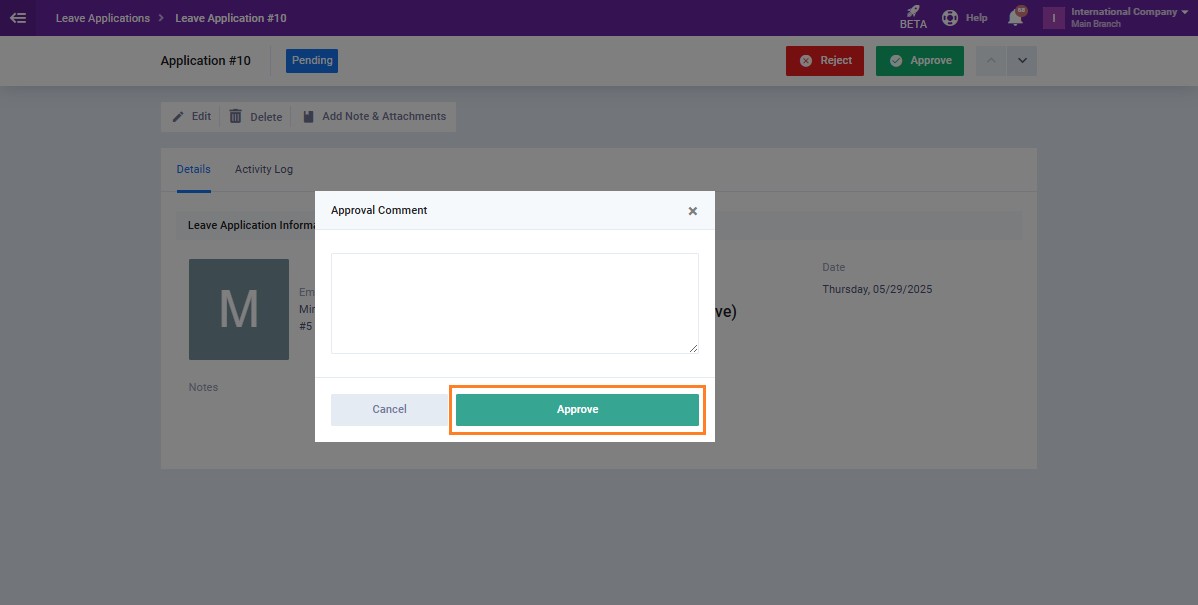
A pop-up window will appear, allowing you to add an approval comment in the dialog box if needed. Then, click the ‘Approve‘ button.
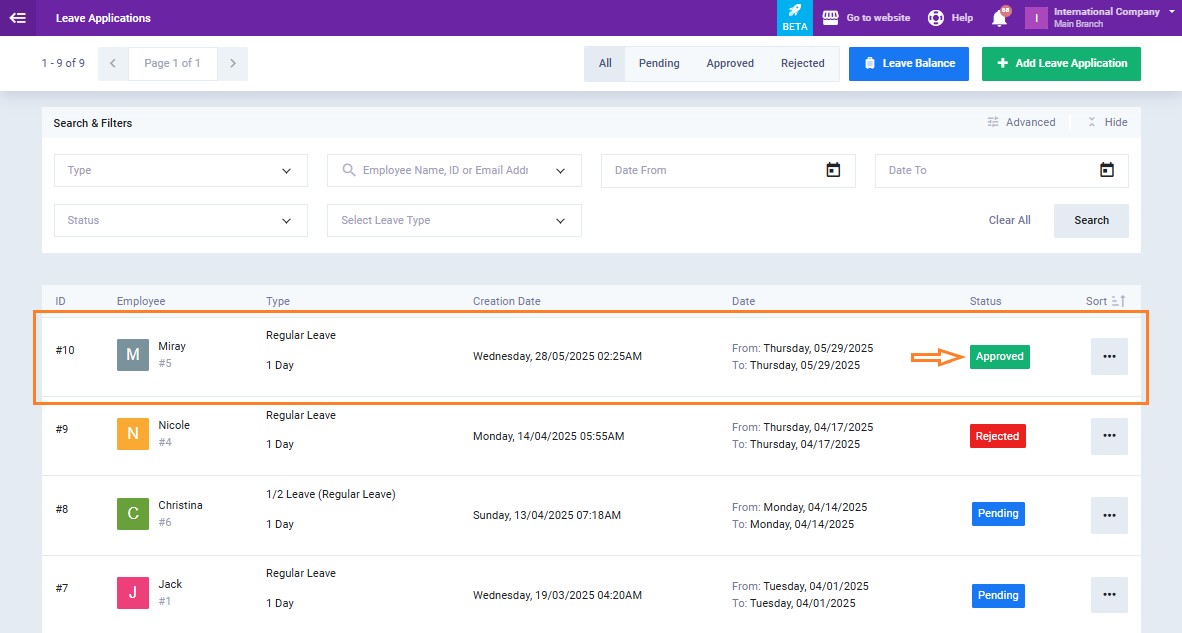
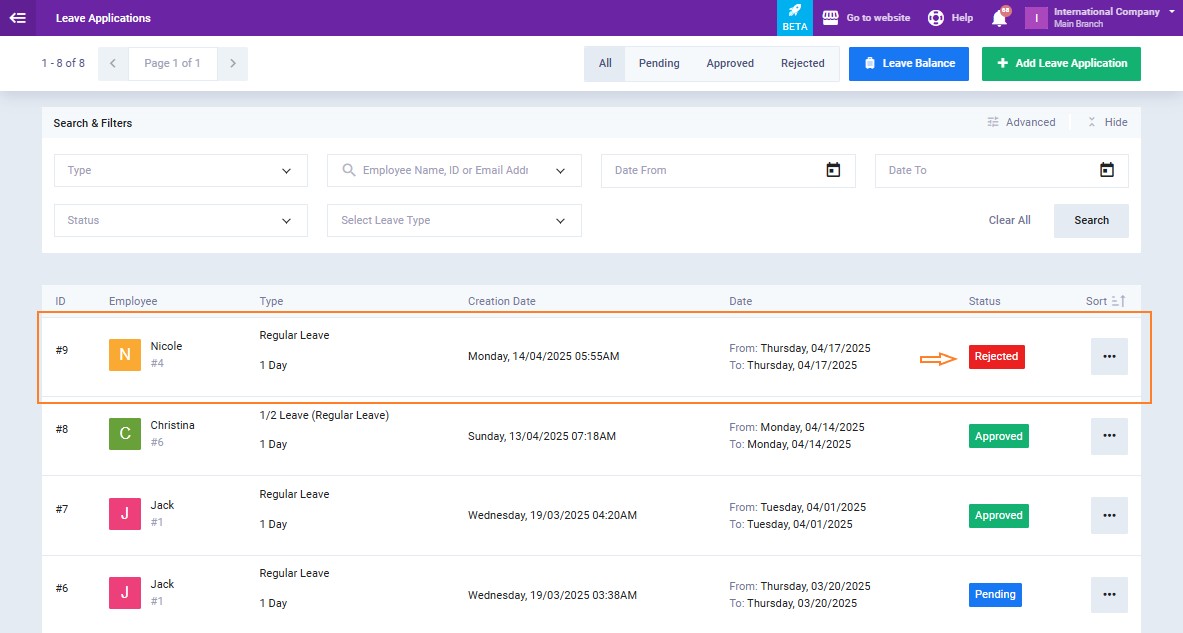
The status of the application is now “Approved” as displayed below.